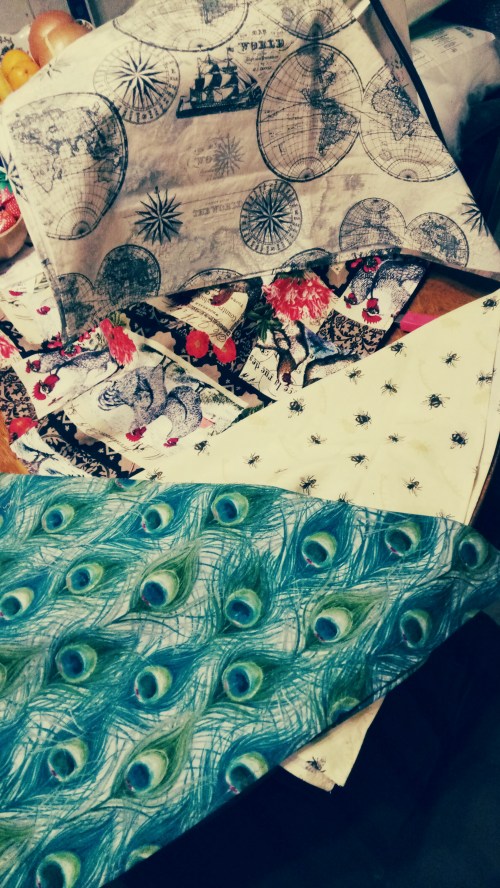
It’s gotten hard to find bandannas lately. Fortunately I have several already, but decided I should have a few more, just because. At work we sell pre-cut lengths of fabric, 1 yard each. I picked up some fun designs and made 4 for me and 4 to give away. It takes about an hour to make 2 if you don’t stop to take pictures for the blog.
I measured them with an existing bandanna, but if you don’t have one just make the fabric about 18 inches square.
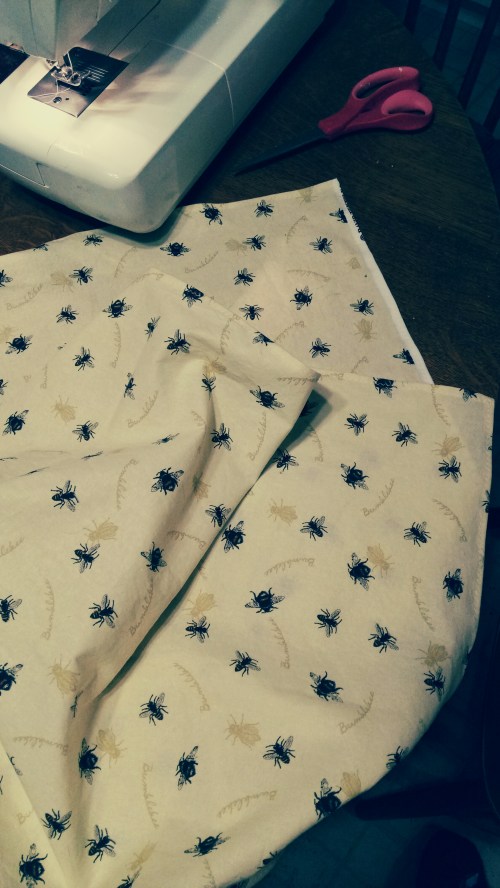
Pre-wash the fabric, then fold it in half.
 The 1st time it was too short, so I re-folded it.
 This time it was just right.
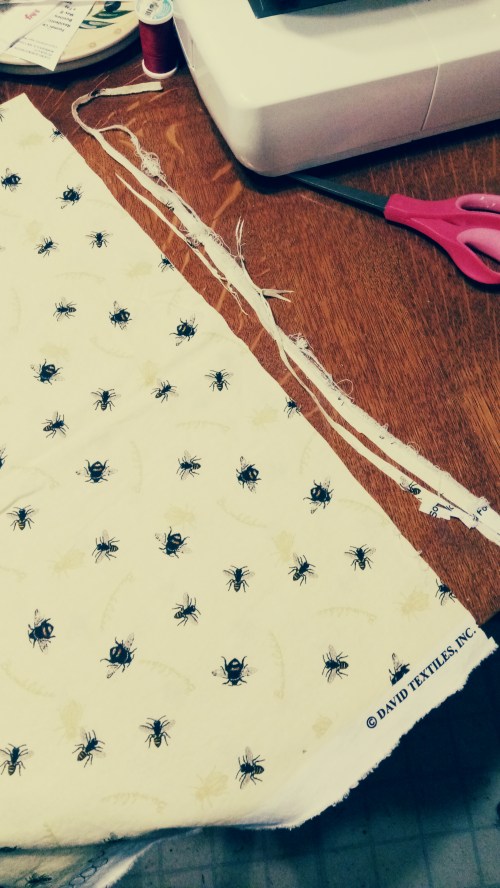 Then carefully cut the fabric along the edge so it will have a clean, square edge along the open folded edge. Some patterns lend themselves to more easily gutting straight than others.
 Then I folded it diagonally into a triangle
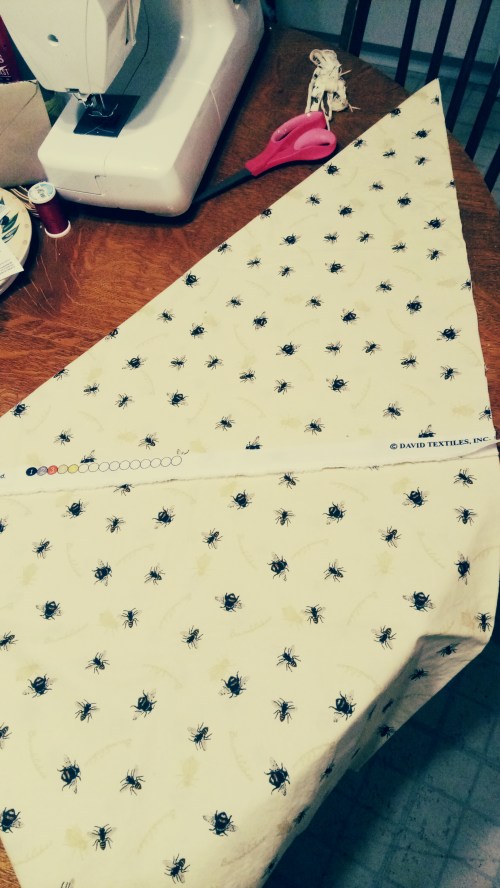
 and cut off the extra length while at the same time cutting the raw edge straight and clean.When folded back it’s now a square with a fold at one end.
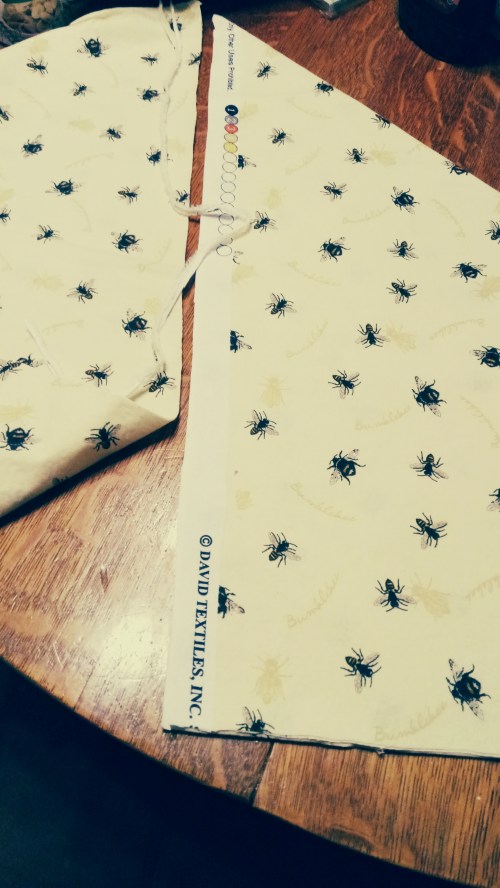
 Carefully cut along the fold so you now have 2 squares.
 Pull out your iron and ironing board. Yes, I only use mine when sewing. Iron out any minor wrinkles, then iron a small fold along one edge.
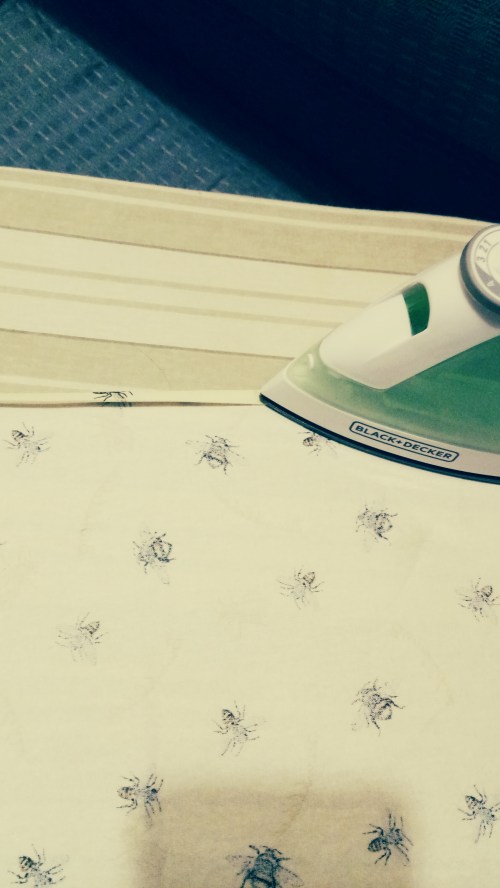 Now fold it over again so the raw edge is inside the 1st fold. Try to keep them as small as possible.
 Sew it up at the sewing machine. You can use a straight stitch or zig-zag. I prefer zig-zag. You’ll probably also want to use thread that matches or complements the fabric.
 Nip off the stray ends.
Repeat the folding, ironing, sewing and nipping for all 4 edges, then do up the other bandanna.
 Now you have 2 new, custom bandannas!
 These are my 4 new bandannas. Use them any way you like, but the traditional way to wear them is to fold them into a triangle and tie them over your hair for a country look or over your mouth and nose for a great train robbery look. Have fun!

Thanks! I especially like the buggy ones for vivid face masks!
By: Sherry G Oliver on June 28, 2020
at 12:51 pm
lol It amused me, too!
By: briellethefirst on June 28, 2020
at 2:10 pm