Mom used to make these for special occasions. Yes, they’re a bit more trouble than simple drop cookies but they’re fun to make, you can make them ahead and refrigerate or freeze to bake later, they’re decorative and yummy. What more could you want from a cookie? These can be in any configuration you can manage, but checkerboard makes them wonderful for game-side snacking or even using. Well, so does the pinwheel pattern, since it’s like a race game…kind of…and marble is good because it’s pretty, like things (like pieces and game-boards) made out of marble. So get cooking.
1 oz Butter (for melting the chocolate)
2 oz melted Bittersweet Chocolate (next time try just 1 oz)
1 stick (8oz) Butter or Margarine, softened (yes, you need to plan ahead).
1 c sugar (I used 1/2 brown and 1/2 granulated in this batch). I used brown sugar because I like the flavour, but you can use all plain granulated sugar if you like.
1 tsp Vanilla
1 Egg
1/4 tsp Salt
1/2 tsp Baking Powder
2 1/2 c All Purpose Flour (I use unbleached, for what it’s worth)
1 or 2 Tbsp Cocoa Powder (how chocolatey do you want it?)

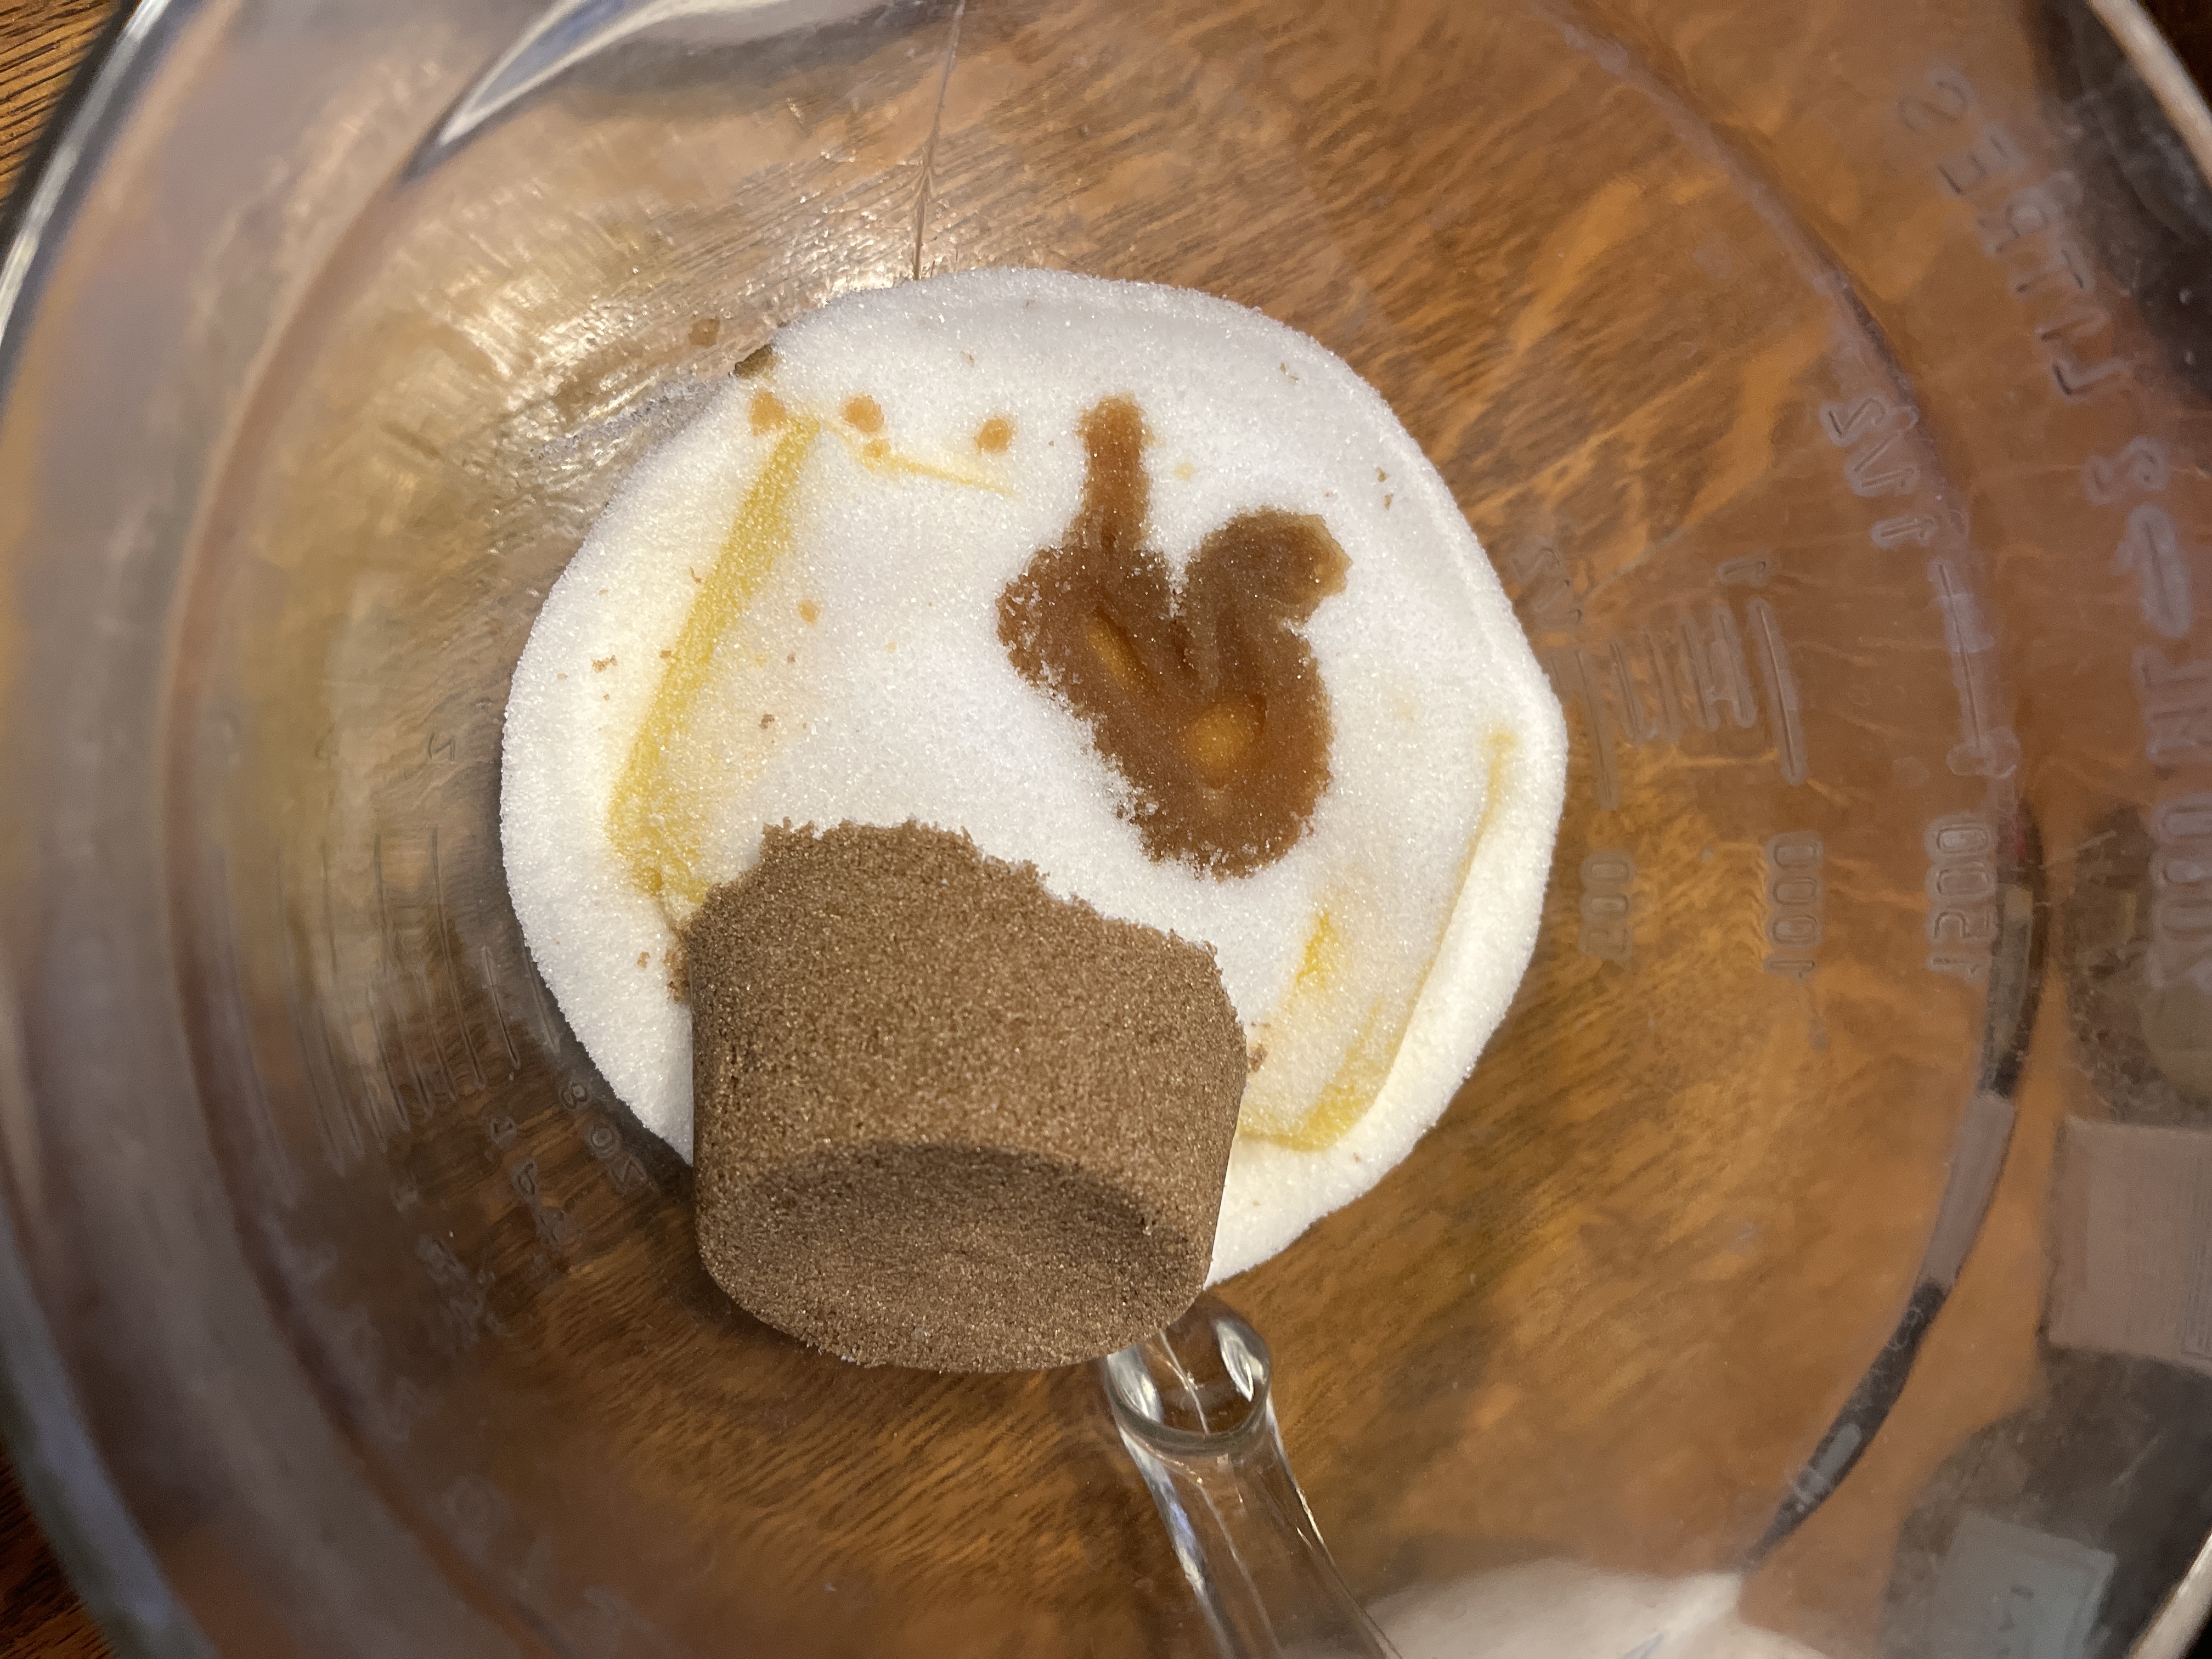
Melt 2 oz unsweetened baking chocolate with 1 oz butter. I warm a small pan, let the butter melt, then turn off the heat and let the residual heat melt the chocolate in the butter. It’ll melt while you mix up the other stuff.
Cream together the butter, sugar and vanilla.
Stir in an egg. with the salt and baking powder.

Mix in the flour

Divide the dough in half. One half might be a but larger than the other half. If you make the smaller half the coloured one the remaining dough you marble at the end will probably be nicer.

Stir the chocolate to make sure it’s all melted and mixed with the butter, then add it and the cocoa powder to half the dough and mix well.
You might want to refrigerate the dough for a bit, maybe 30 minutes or so (longer if you get distracted). This’ll make it easier to handle when rolling.
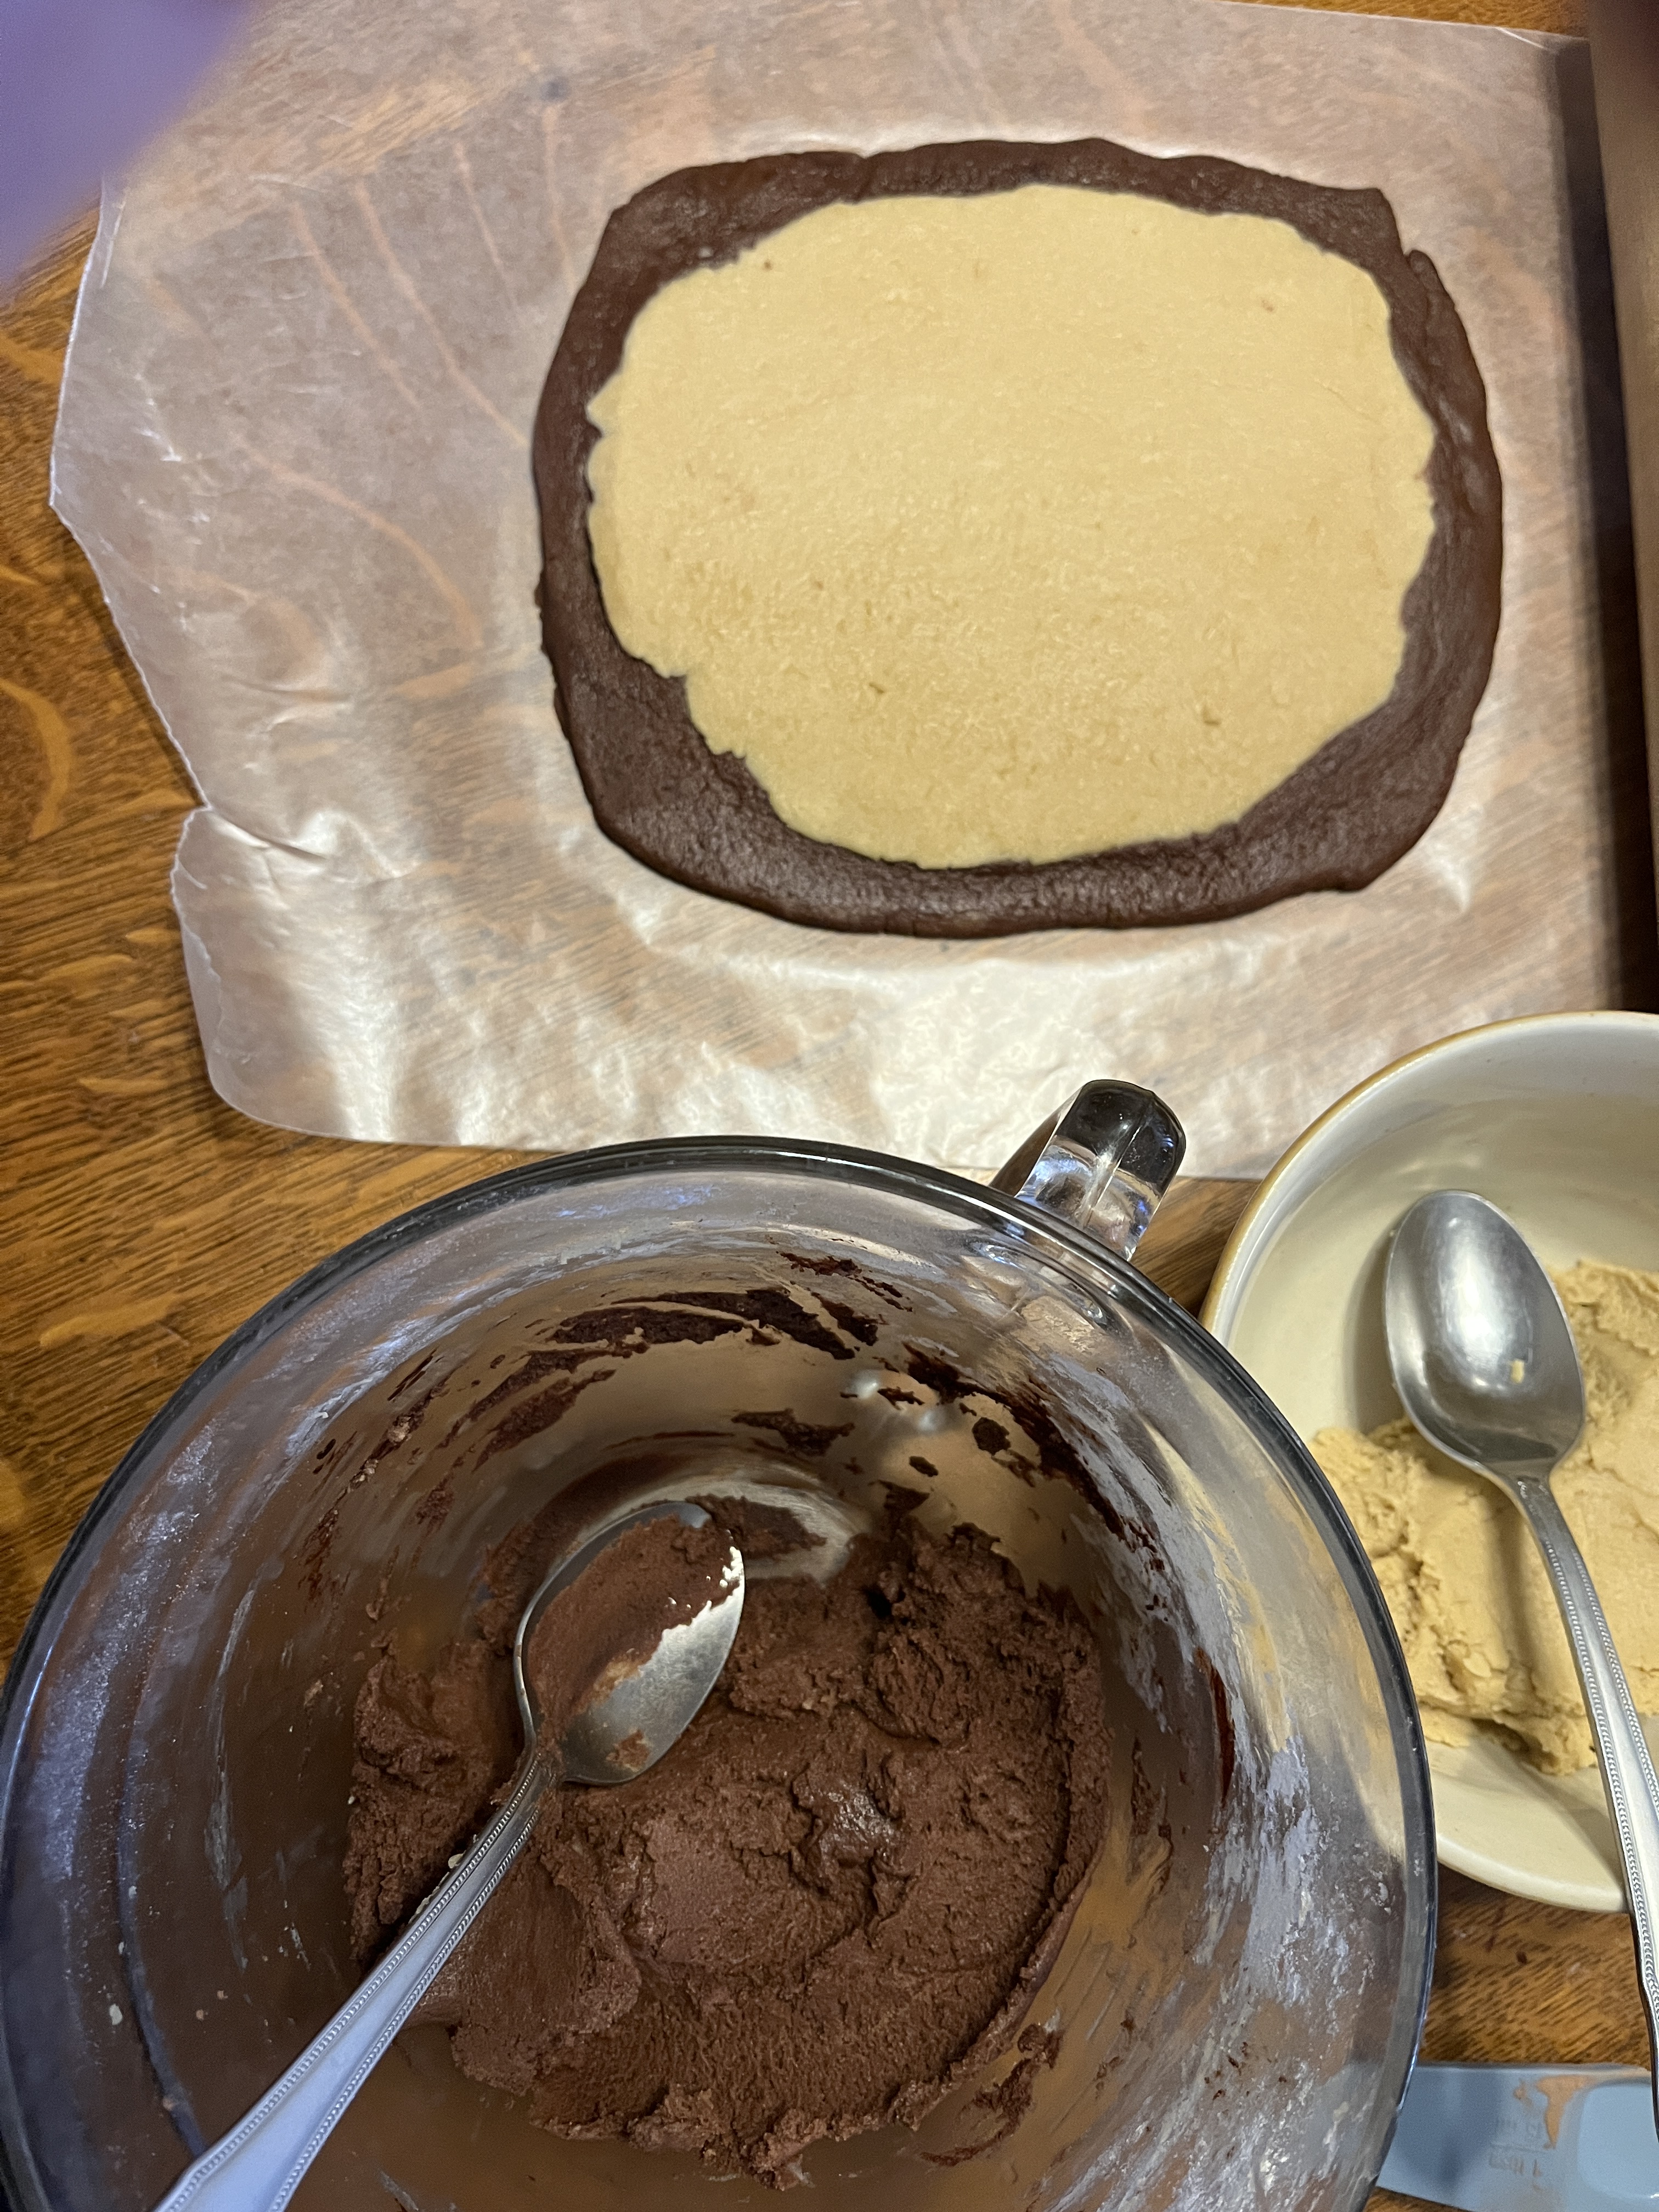
Divide the chocolate dough in half and roll half the chocolate dough out on a piece of waxed paper.
Divide the plain dough in half, flatten it with your hands and roll it out on top of the chocolate dough. On second thought, next time I think I’ll roll them out on their own pieces of waxed paper and then put one on top before rolling it up. Cut off the wonky ends and put them aside.

Use the waxed paper to roll the dough into a log, then wrap it all in the waxed paper.
Next take the plain dough and form into a square about 1/4 inch thick on another piece of waxed paper, then do the same with the chocolate dough. If either is bigger than the other cut the bigger one down to size and add the off-cuts to the scrap pile.
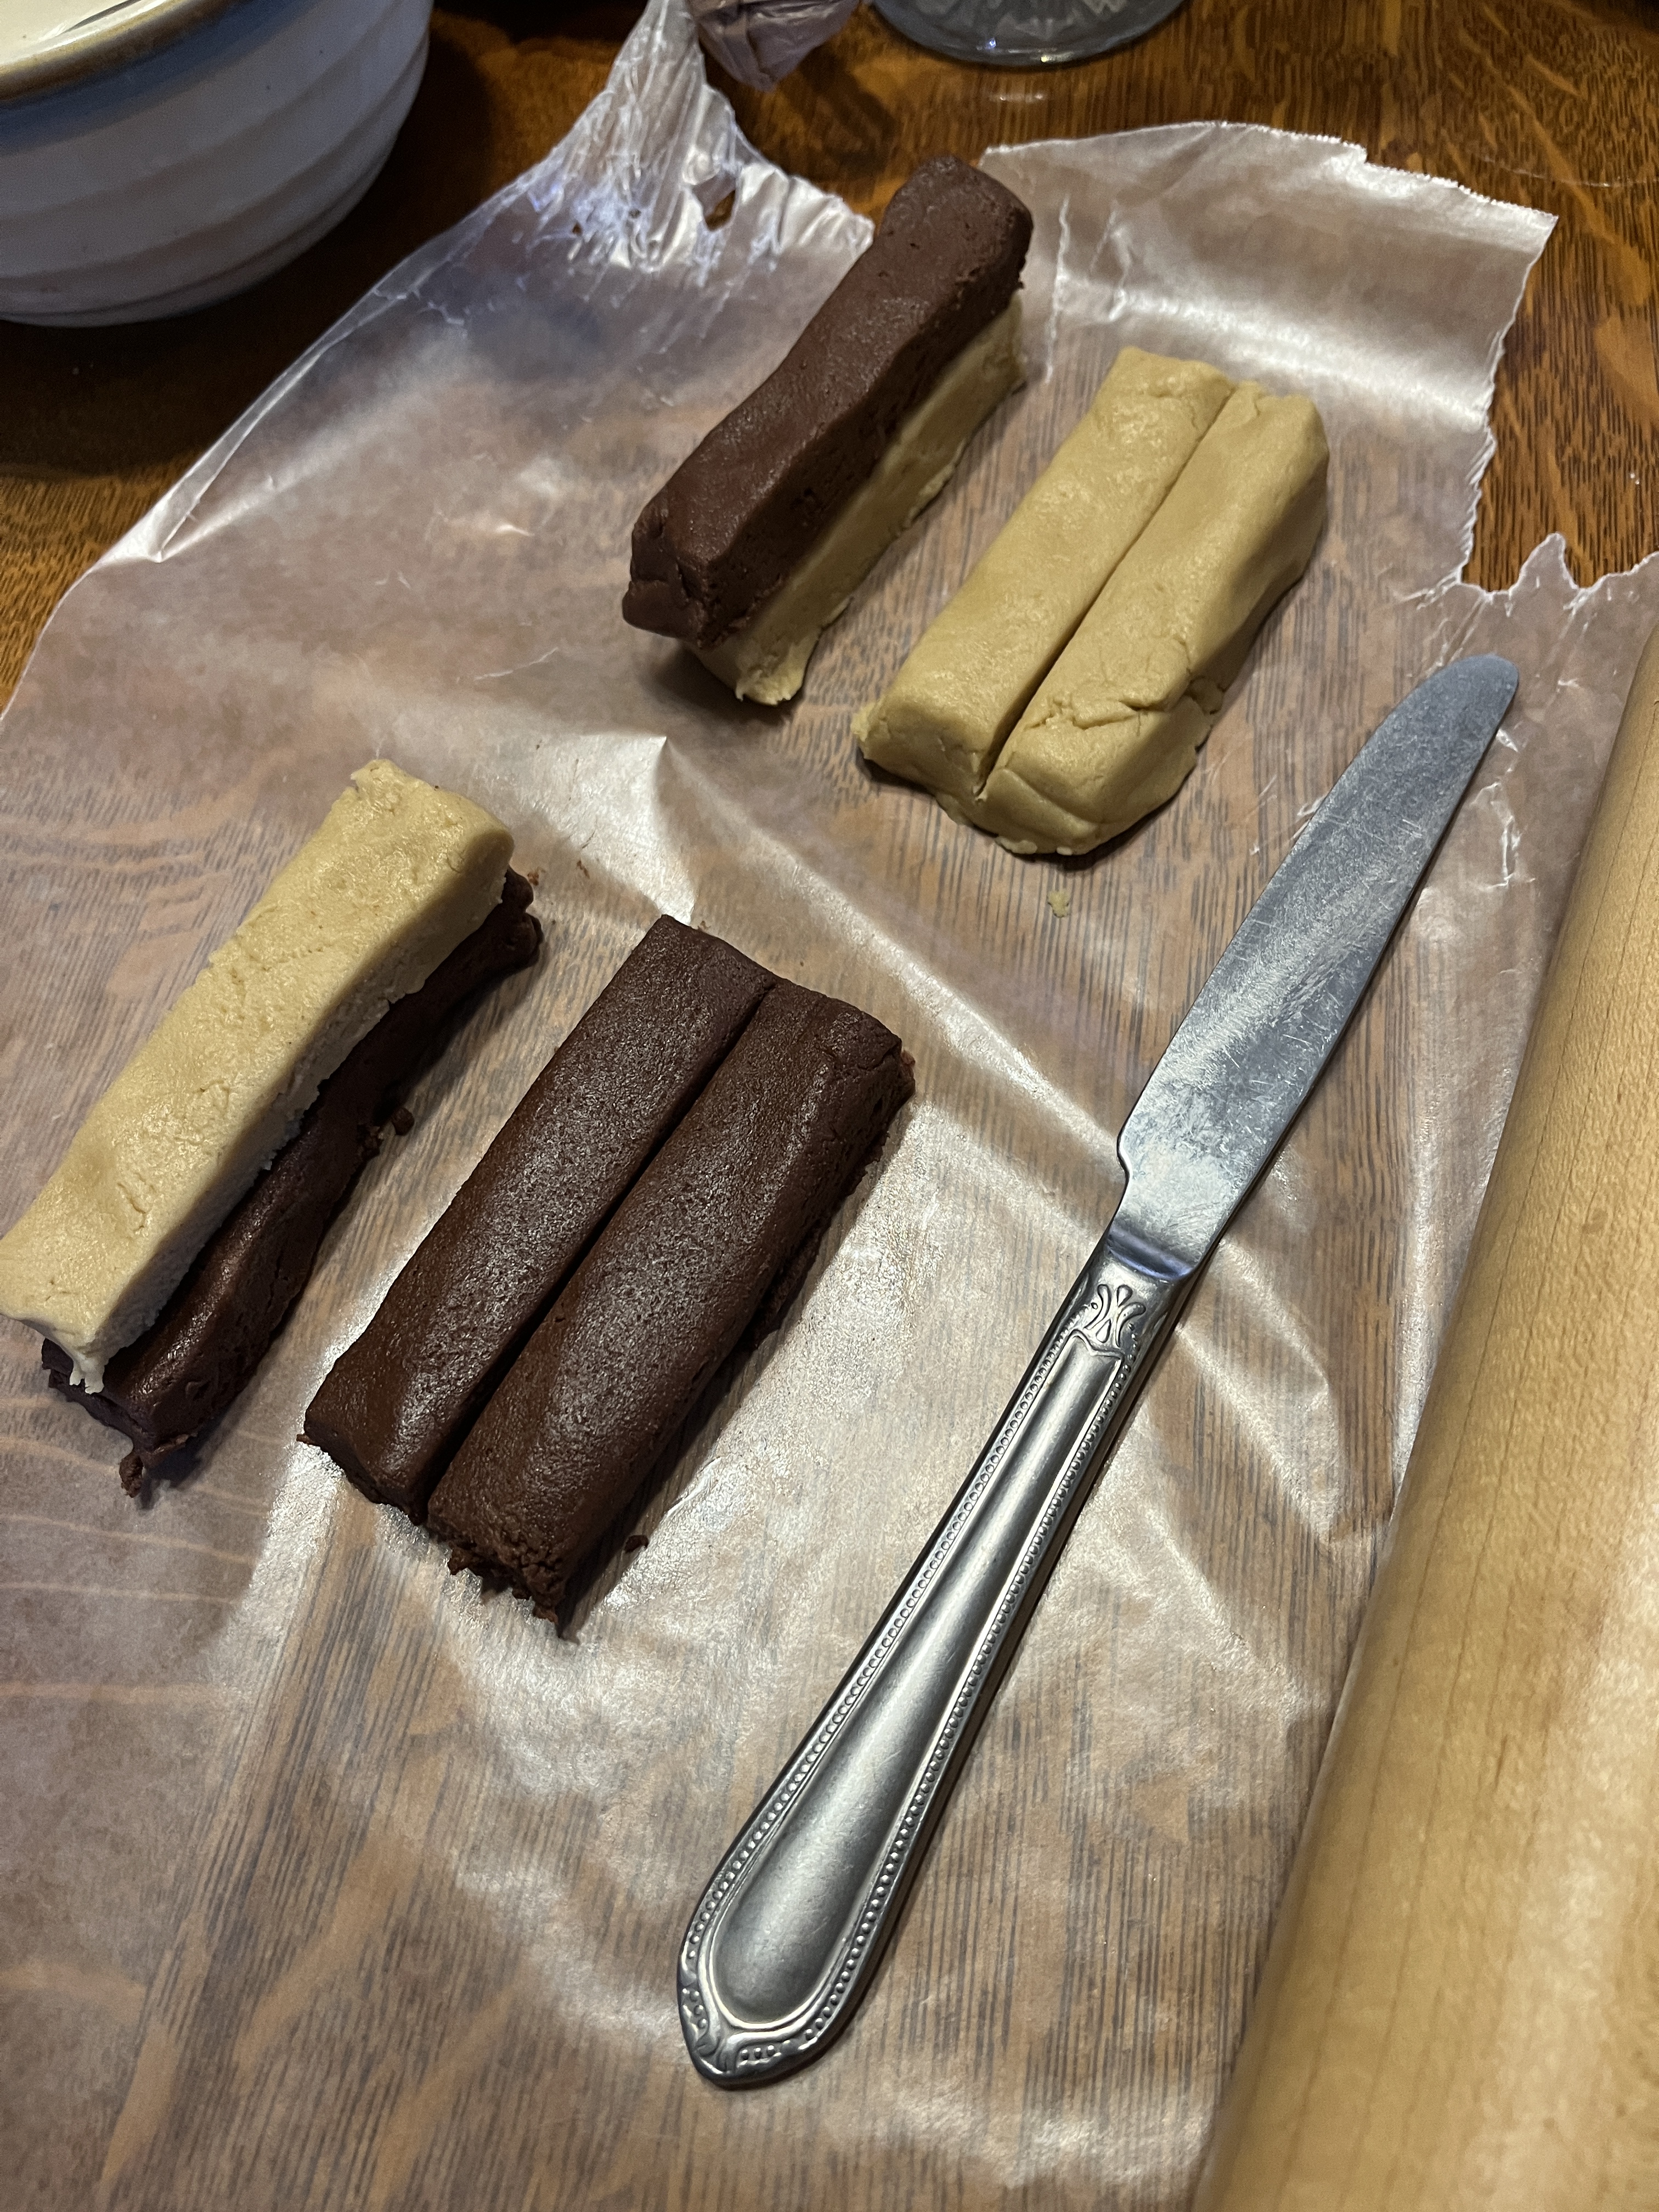
Cut each square into 4 long pieces and stack the pieces into a checkerboard pattern.

Work the checkered plank into a long form. Cut off the ends to square it off and set them aside. Wrap in the dough in the waxed paper, trying to keep the log square-ish.
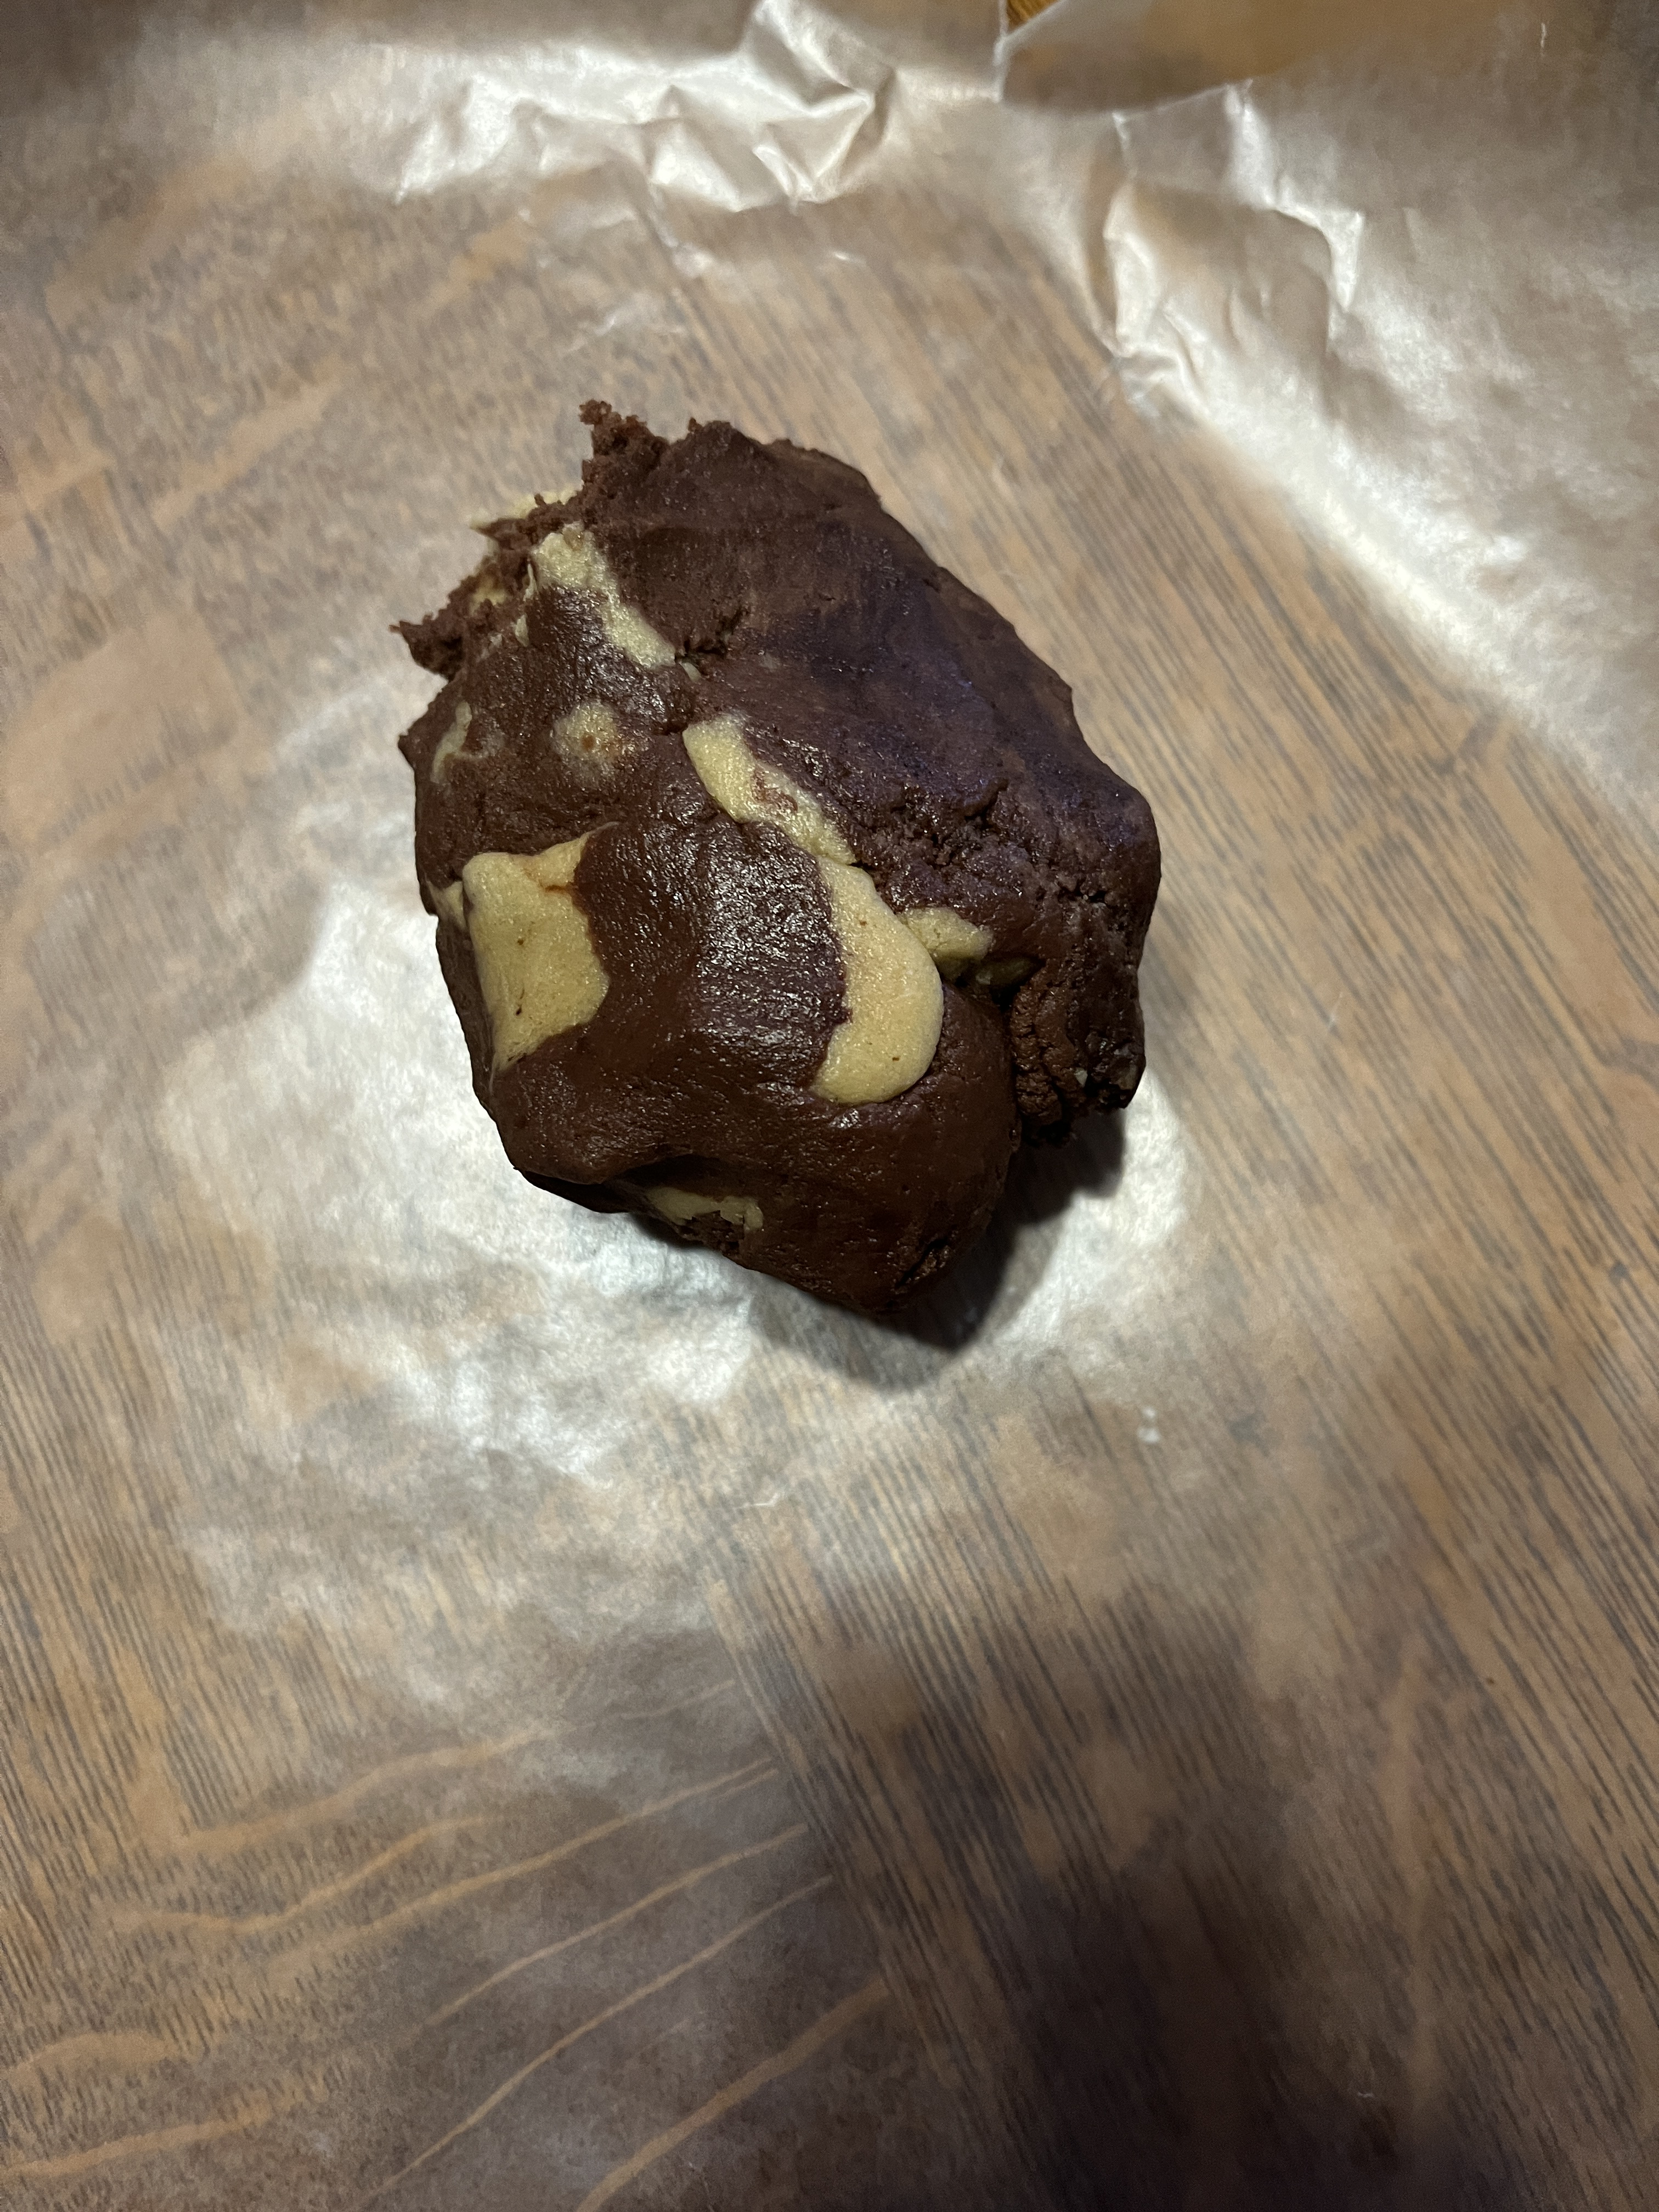
Now take the scrap pile and roughly tear and mix it to make it marble-y.

Roll it into a log and roll up in waxed paper.

Chill them all for at least 30 minutes or until you get something else done or have time to make the cookies. I put these in the freezer to chill them faster. If you put them in the freezer too long they can be harder to cut, but if you freeze them for long storage (a week or more) you can put them in the fridge the day before you plan on baking them so they can defrost but still be firm enough to cut into cookies.
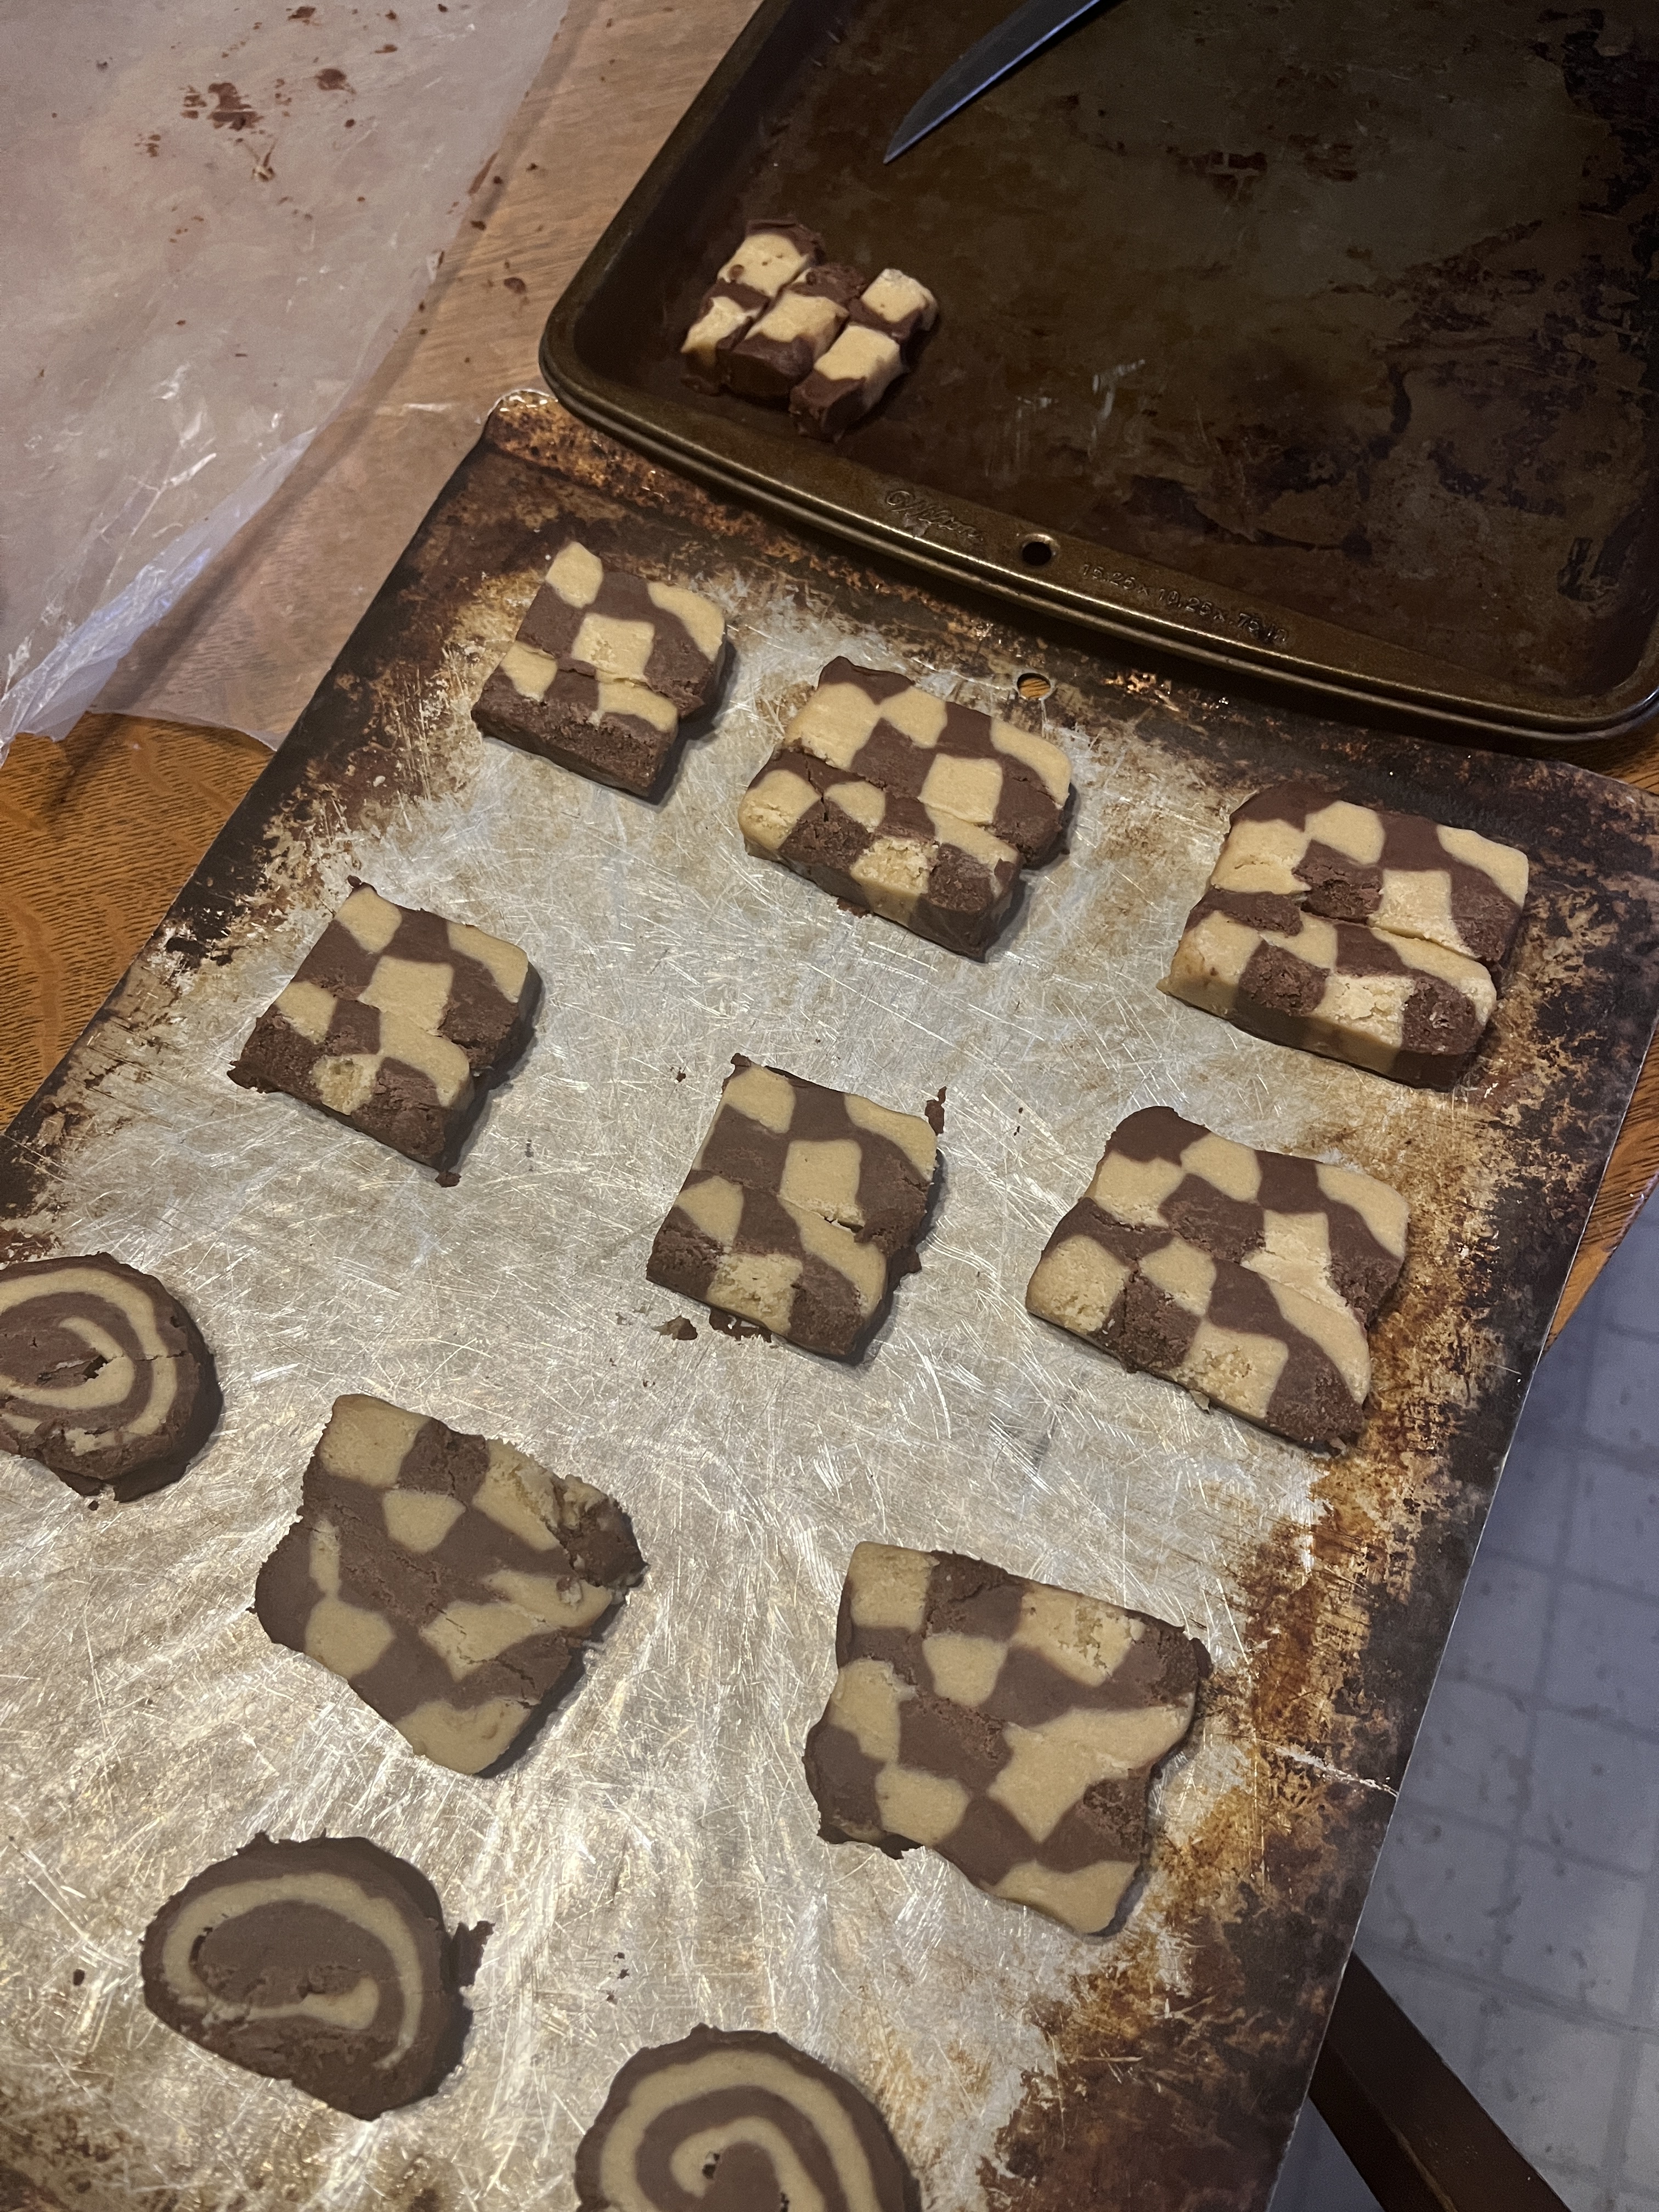
Slice about 1/4 inch thick and place each slice on a cookie sheet. Spraying with oil is not necessary but you can adjust the thickness to your taste. You’ll probably also get some that aren’t evenly cut, but that’s OK, you’ll get better with practice.

When all the logs are sliced and arranged bake them at 350 degrees f for about 8 minutes or so. Don’t let them get too brown.

When done take them off the cookie sheets with a spatula and stack on a plate to cool. Serve with milk, coffee, tea or cocoa. Yum.
The plastic containers in the background are meat pies I made for my lunches at work. They’re cooling enough to put in the fridge. the potato sprouted so it’s about to go into the garden to make more potatoes.
If you don’t like chocolate you can use food coloring and flavour extracts to make the 2nd colour. Red with strawberry, cherry, raspberry or even peppermint could be nice. Green with lime or spearmint, orange with orange, blue with anything you want.
I’m thinking a doughnut cutter could be used to make cookies with a center that can be taken out and exchanged with the other colour for another pattern. These in turn could also be cut into pieces and re-arranged into patterns with quartered colours. I’ll have to play with this some more.
Experiment with flavours and shapes and have fun baking.

Leave a comment