I’ve recently found out that a lot of people don’t know how to do a lot of simple things, including sewing on a button! It’s so easy I figured I’d do a quick blog post on it, considering I have a blouse that needs a couple buttons.
So how long does it take to sew on a button? Just a few minutes if you have everything you need. If you have to run to the store to buy needles, thread, scissors and/or buttons, it’ll take longer, especially if you find other things to buy for other projects while your at it. If you do those other projects before sewing on the buttons, it’ll take longer still. This time I expected it to take 2 days while writing this blog post around work. Then I had to work overtime. Then I ended up in the hospital for 3 days with a painful but minor something. Then more overtime, so it’s taken me about 3 weeks to sew on these buttons.
So yes, it’s a long post with a LOT of pictures, but it really is easier than it sounds. If you do it once you can do it again and again as much as you need to. Simple as sewing on a button.

So go to your sewing box/basket/footstool and pull out what you need. If you don’t have one then go to the store, buy a tin off cookies, eat the cookies and then you’ll have a place to put a few things to start your sewing box. If you don’t have sewing things, then stop by the area where the store sells sewing stuff and get a pair of scissors, needles, thread (maybe a few basic colours like black, white and any colours you commonly wear) and maybe a thimble.

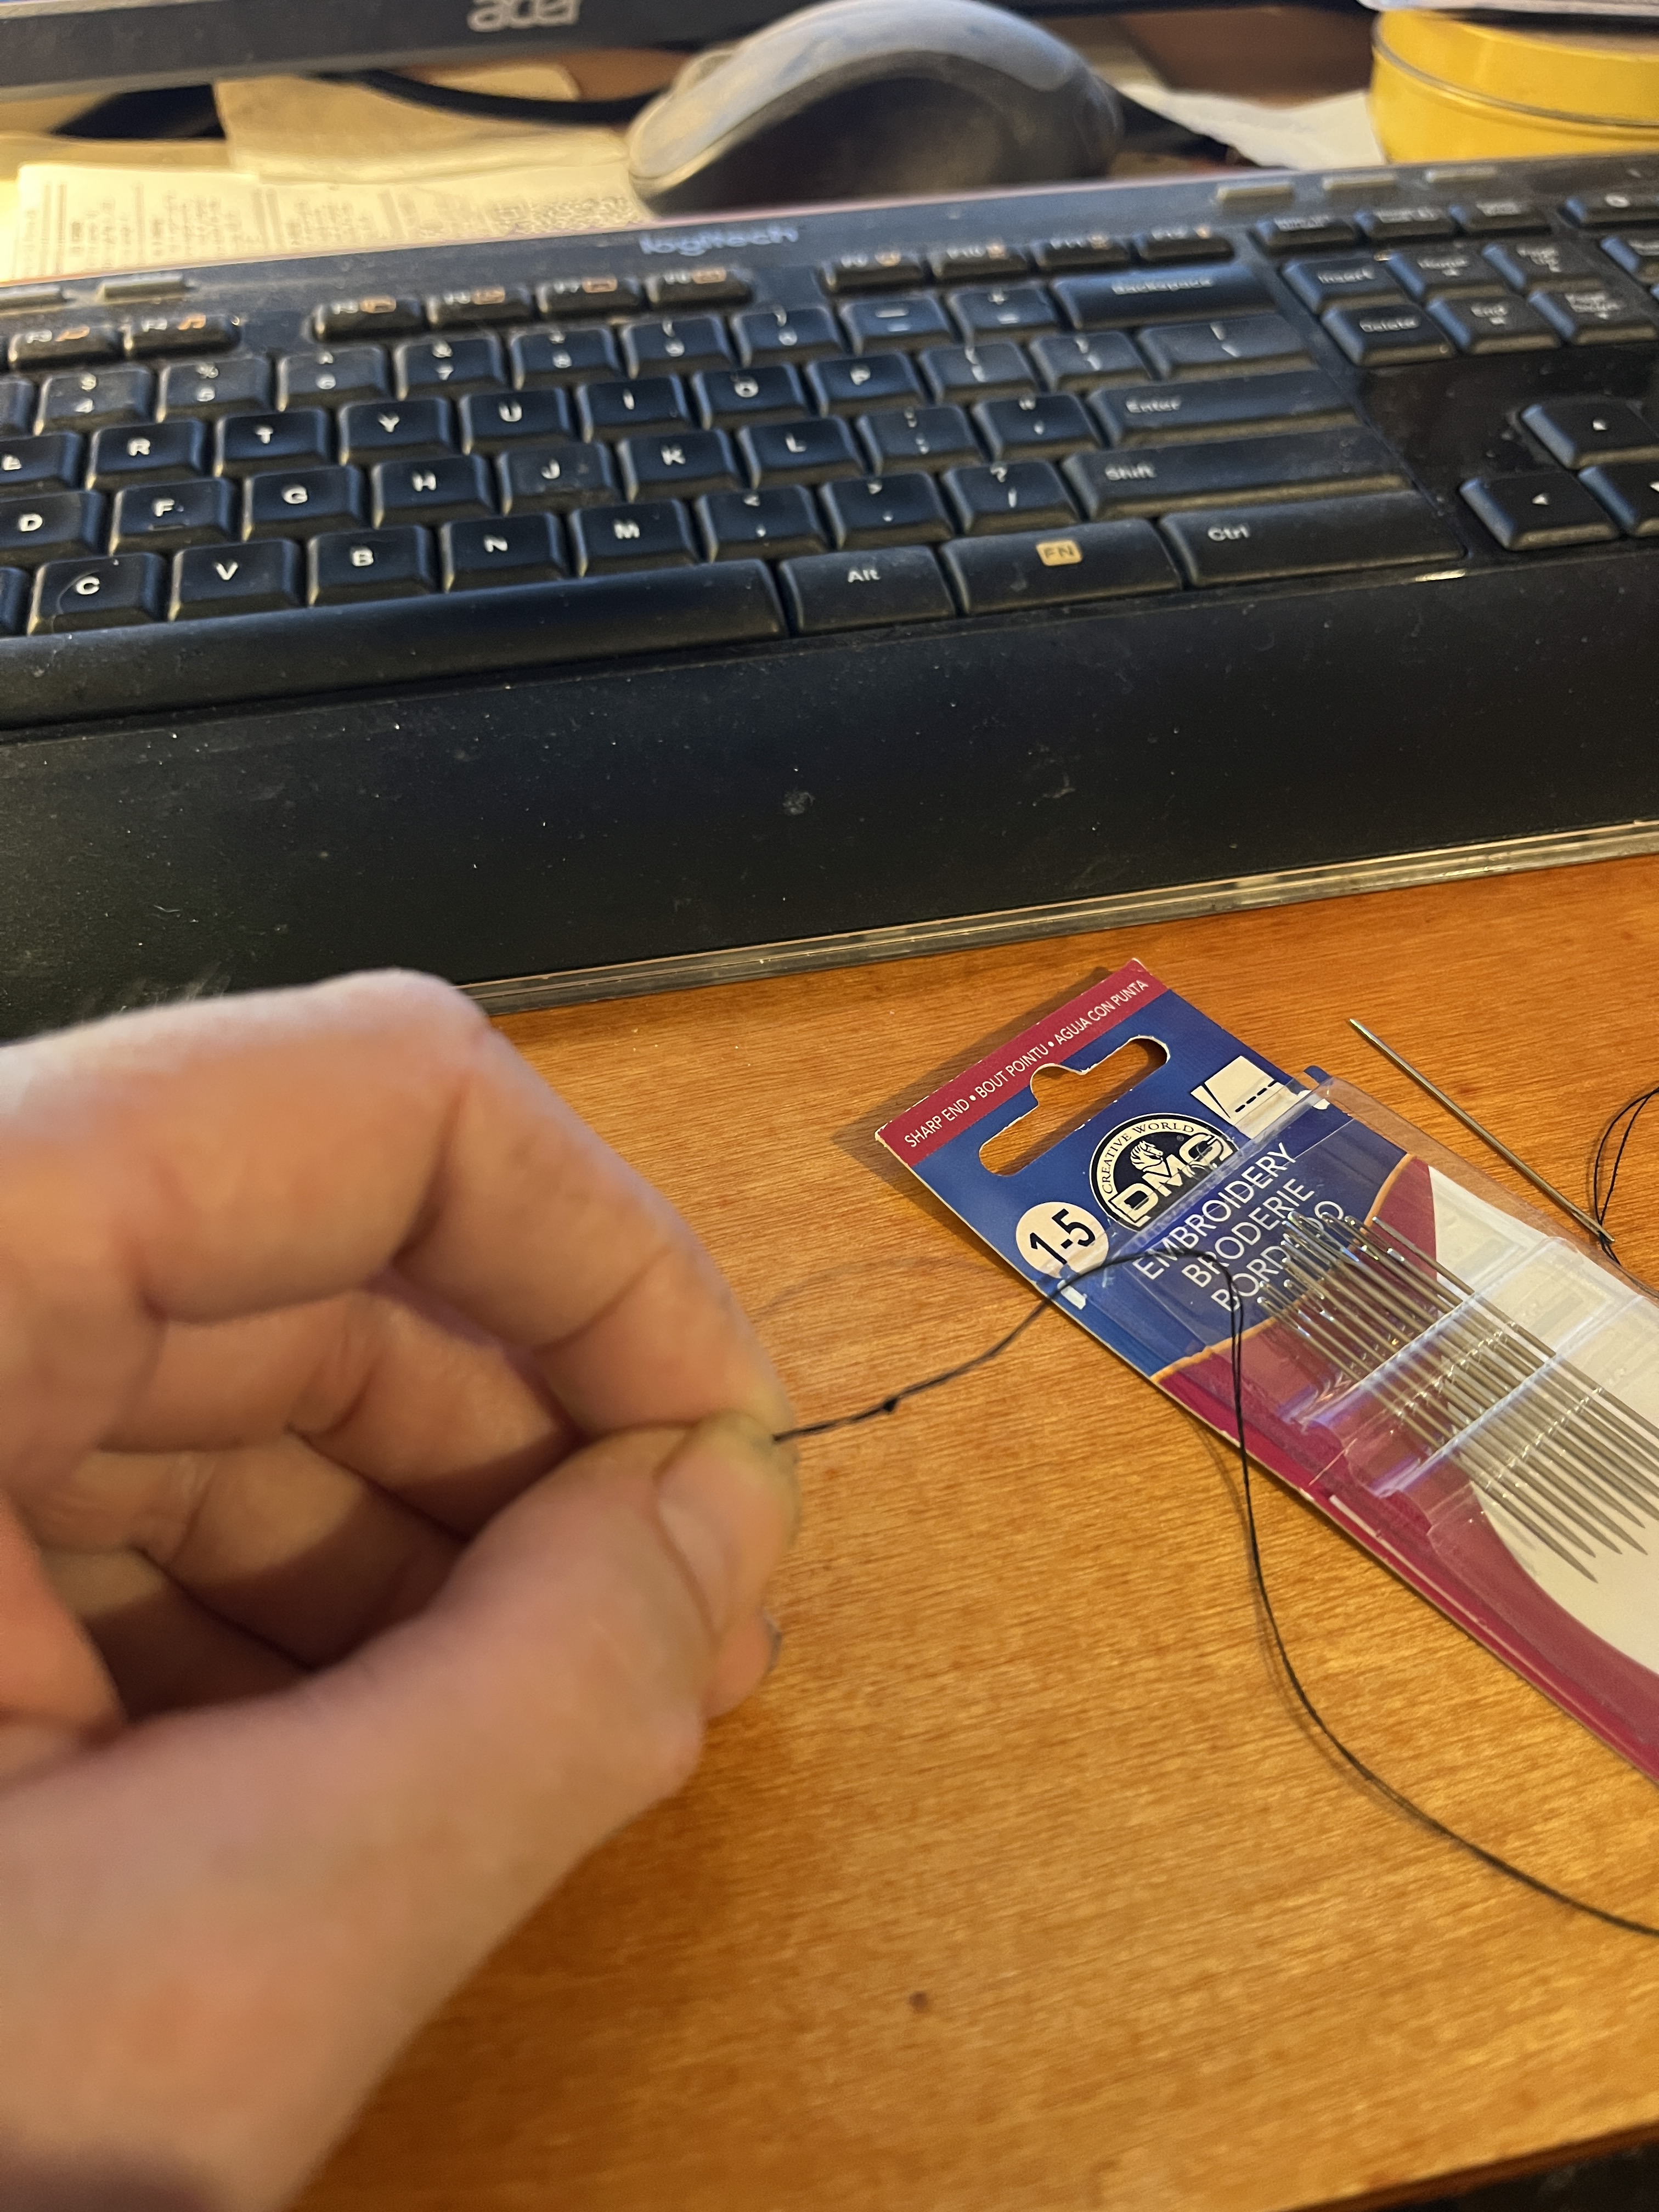
You’ll need a needle, thread, pair of scissors to sew on a button.

And some buttons. Well, as many buttons as you have missing. I had other buttons but they were obviously too small. If the button isn’t big enough it’ll keep coming unbuttoned and that defeats the purpose of buttoning and could get you talked about.
What? You don’t have a stash of buttons in your sewing box or a random cookie tin!? For SHAME! You must correct this immediately! Quick! Buy a cookie tin, eat the cookies (you do have a fair supply of milk, right?), then have it ready to collect any random buttons that pop off of clothes or buttons that you cut off pieces of clothing before you toss them. Waste not want not, after all. You can also keep other fasteners in there, like snaps, hooks and eyes, zippers…just in case you need them. The extra benefit with this is that when someone opens the cookie tin in the not-kitchen-room expecting cookies you can giggle at their reaction. OK, maybe it’s an old auntie or grandma thing, but you can get a kick out of it if you want to.

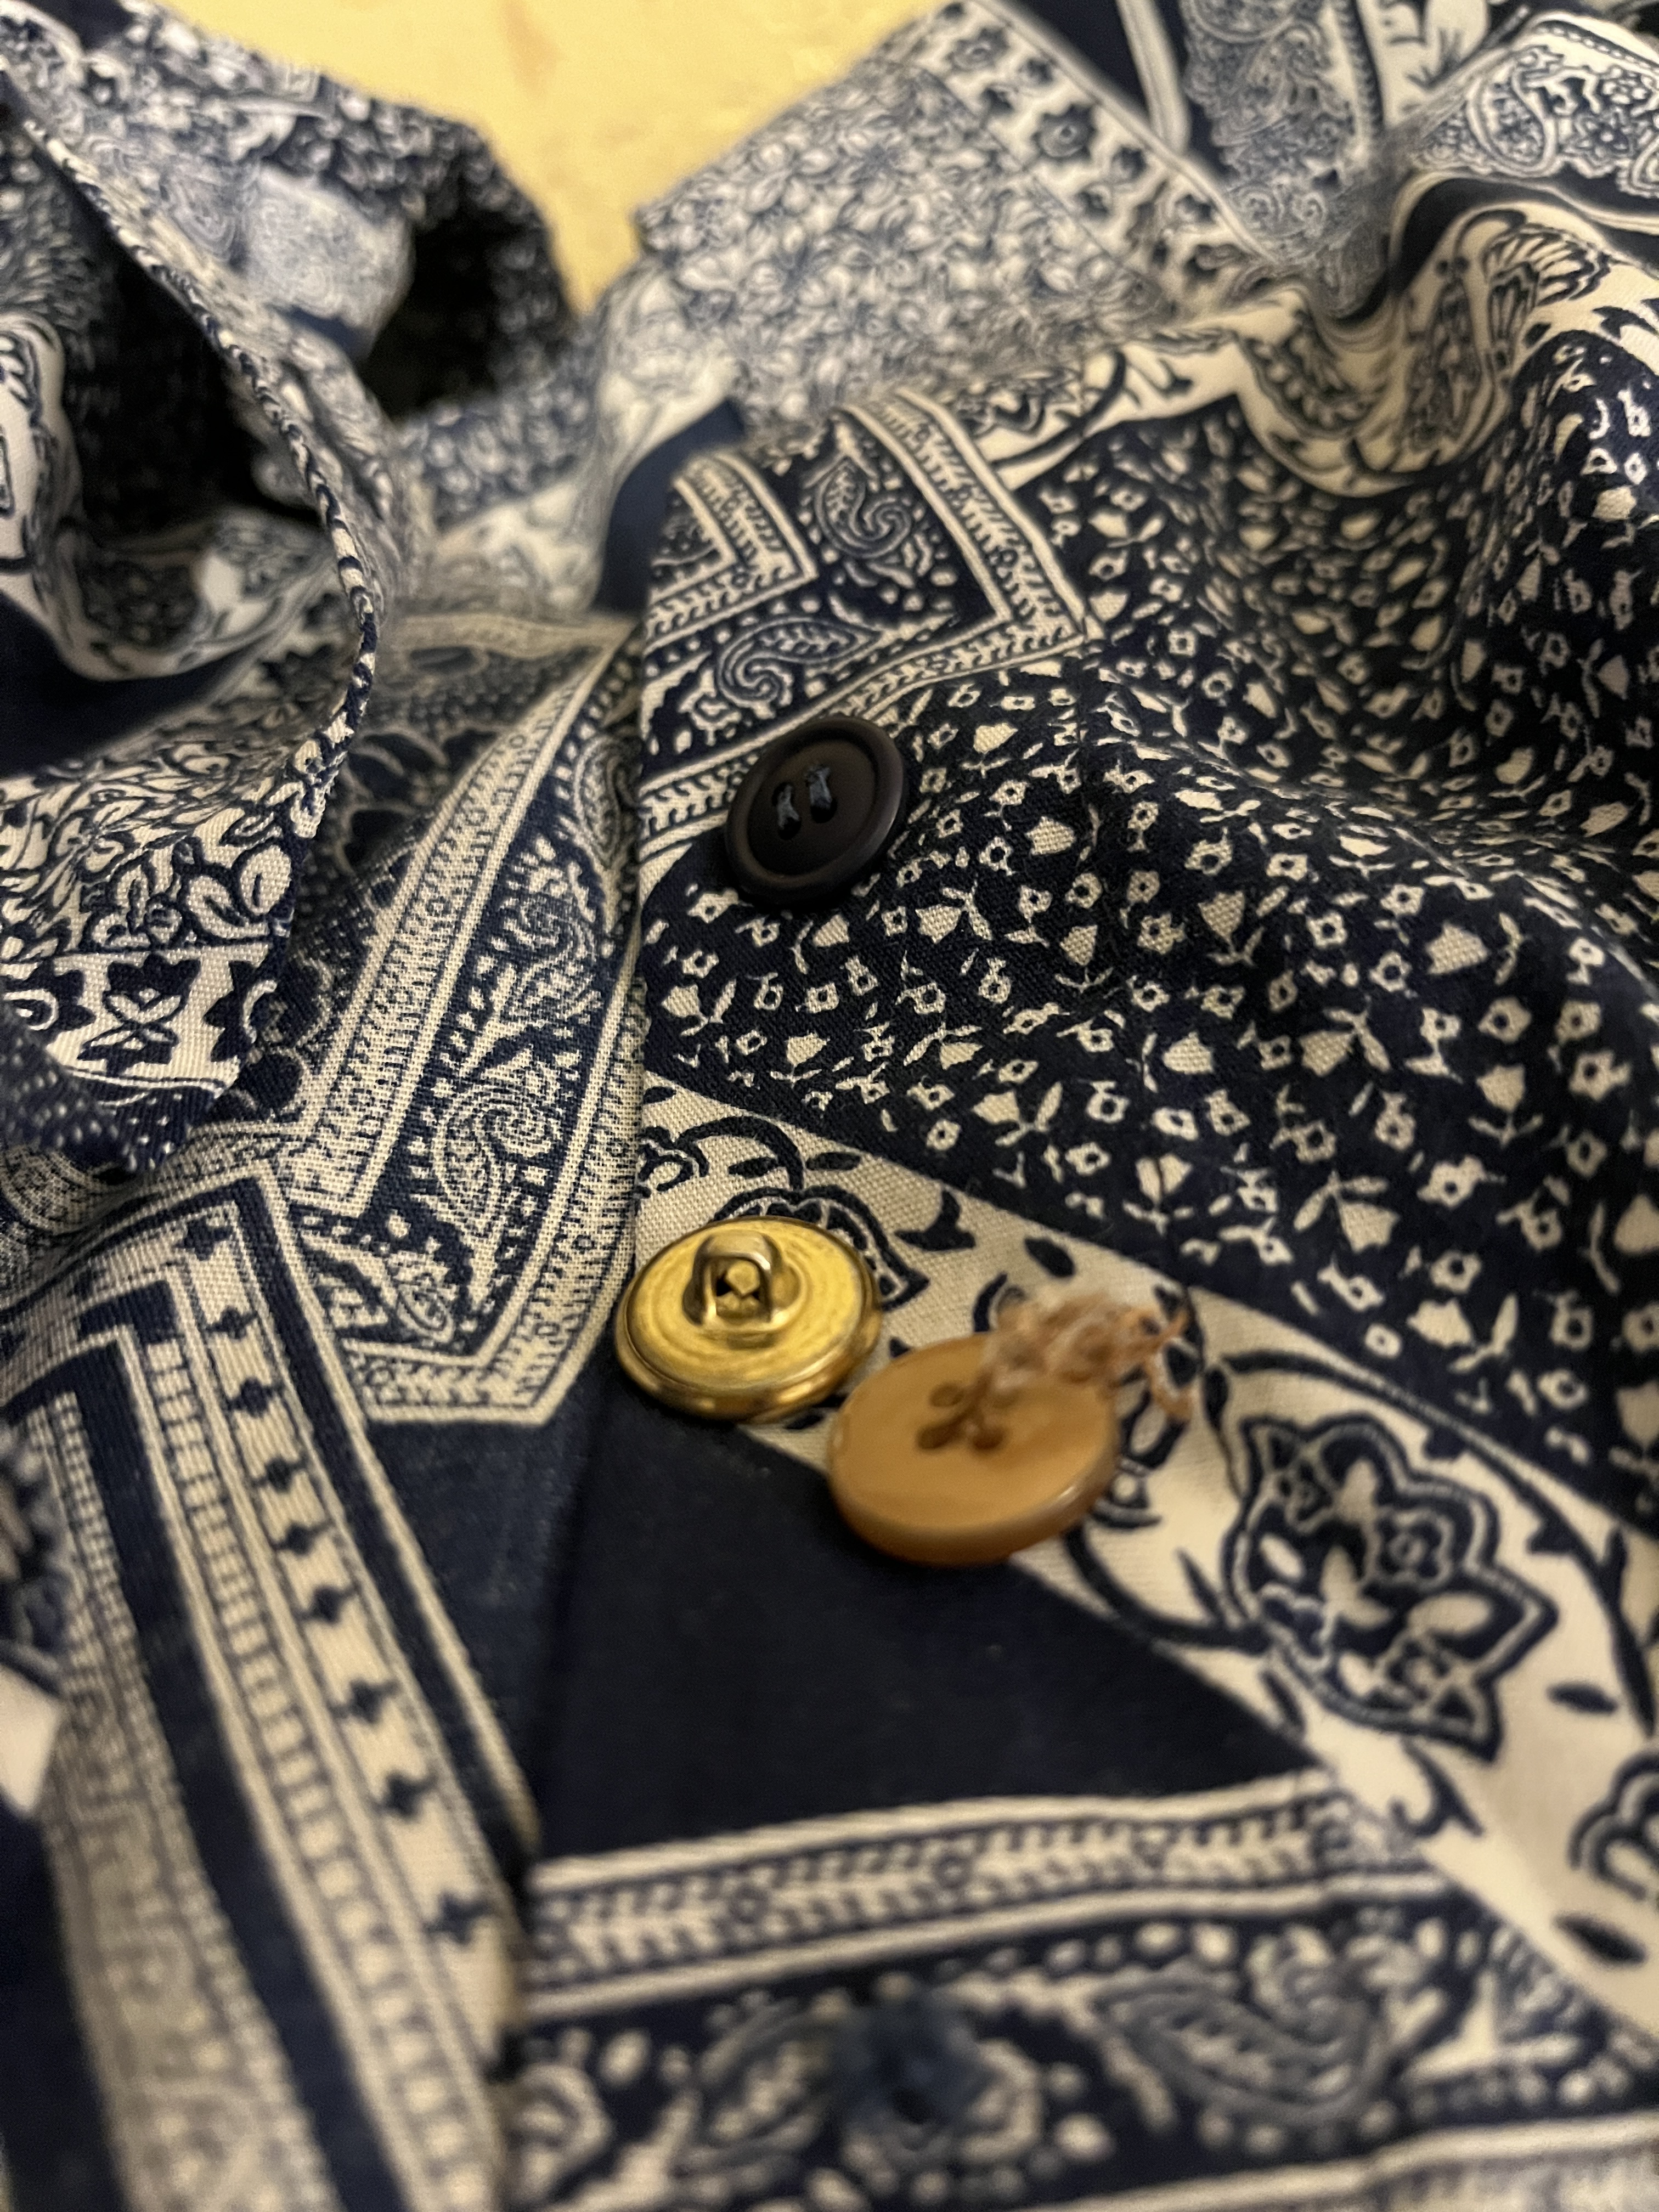
Since this blouse is kind of patchwork-y I didn’t worry about the buttons matching, but if you want them to match you can use an old set cut from another blouse or 2 (sometimes clothes use standardized buttons) or you can go buy a few that match (this might be hard to find, depending on the buttons) or you can cut off all the buttons and buy a whole new matching set. Just make sure they fit through the buttonholes. This one’s obviously too big.
This one looks similar to the original buttons but it doesn’t fit through the buttonhole.

The light one doesn’t match the others but it fits.

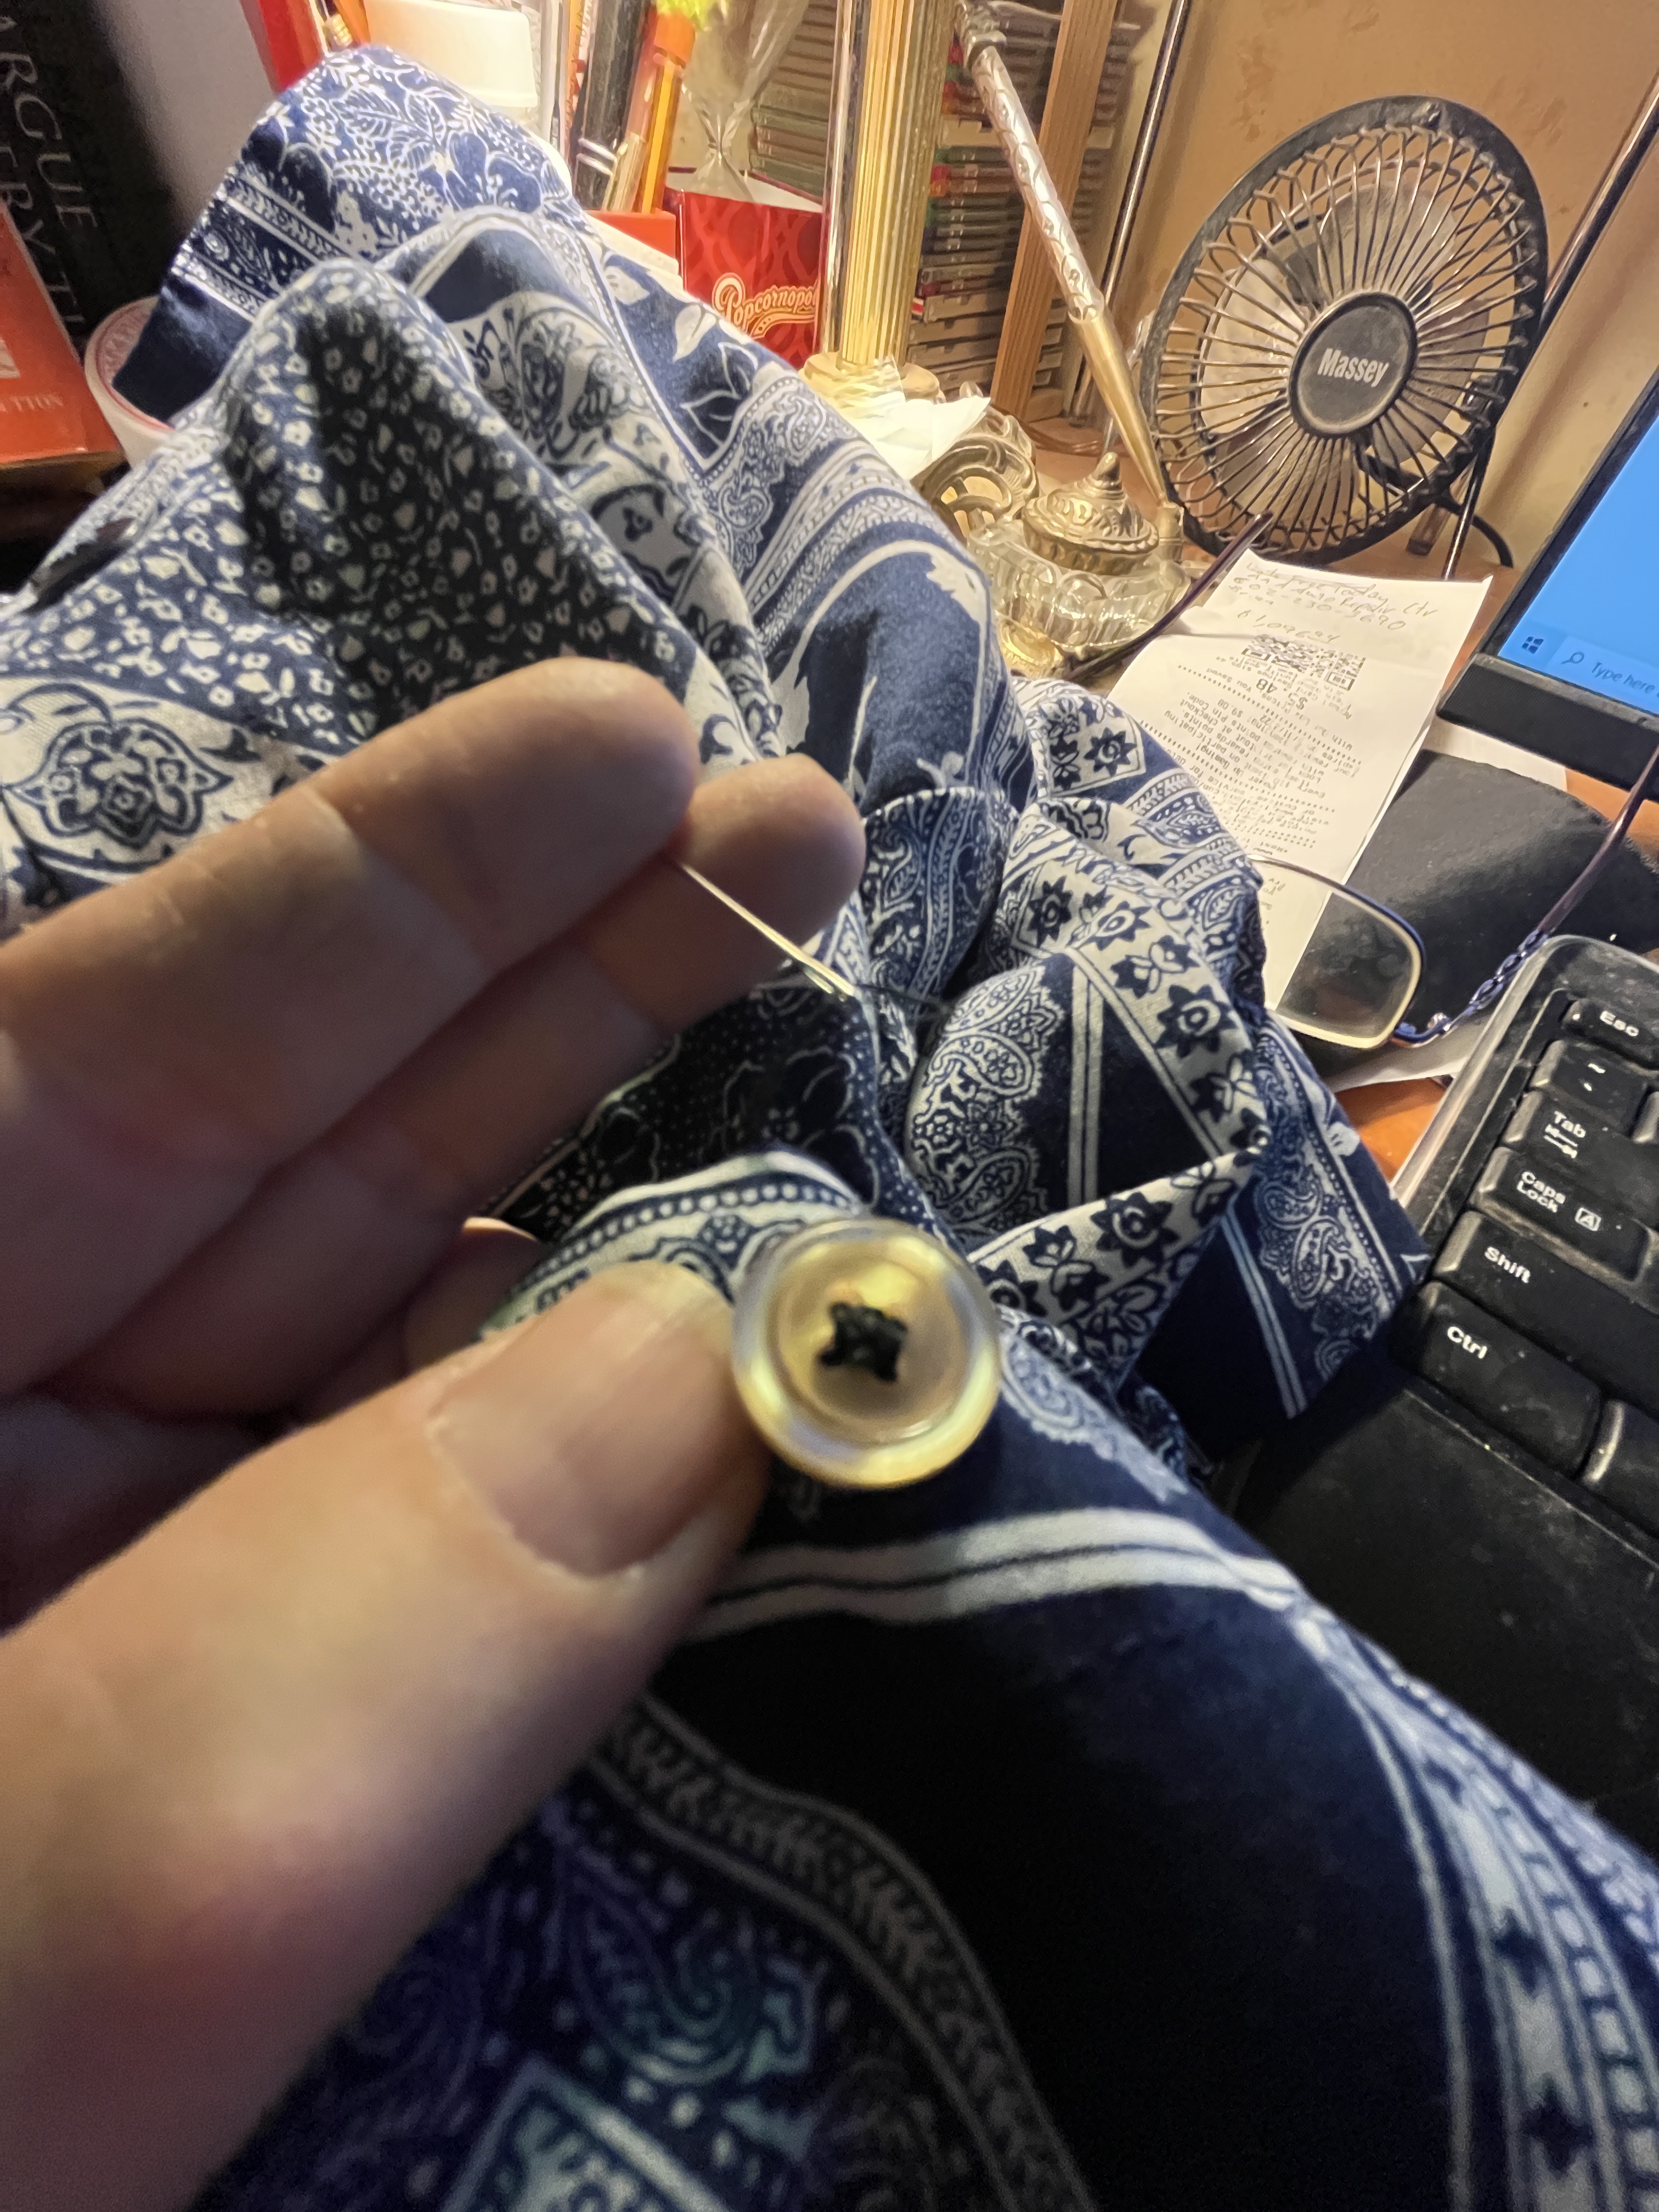
The shank button fits, too, so I’ll use it as well.
Oh, what’s a shank button? It’s a button on a shank instead of just a round piece of something with holes (usually 2 or 4) drilled in it. The shank can be just a loop attached to something you want to use as a button or a hole drilled in one end of a roundish object used as a button. They can be made of metal, stone, glass, wood, leather (usually knotted), cloth, chord (knotted) or any number of things creative people come up with in a flight of fancy creativity or out of sheer desperation to keep their clothes on.

Now that we have our needle, thread, scissors and buttons we can get on to sewing on said buttons. Cut off about an arm’s length of thread.

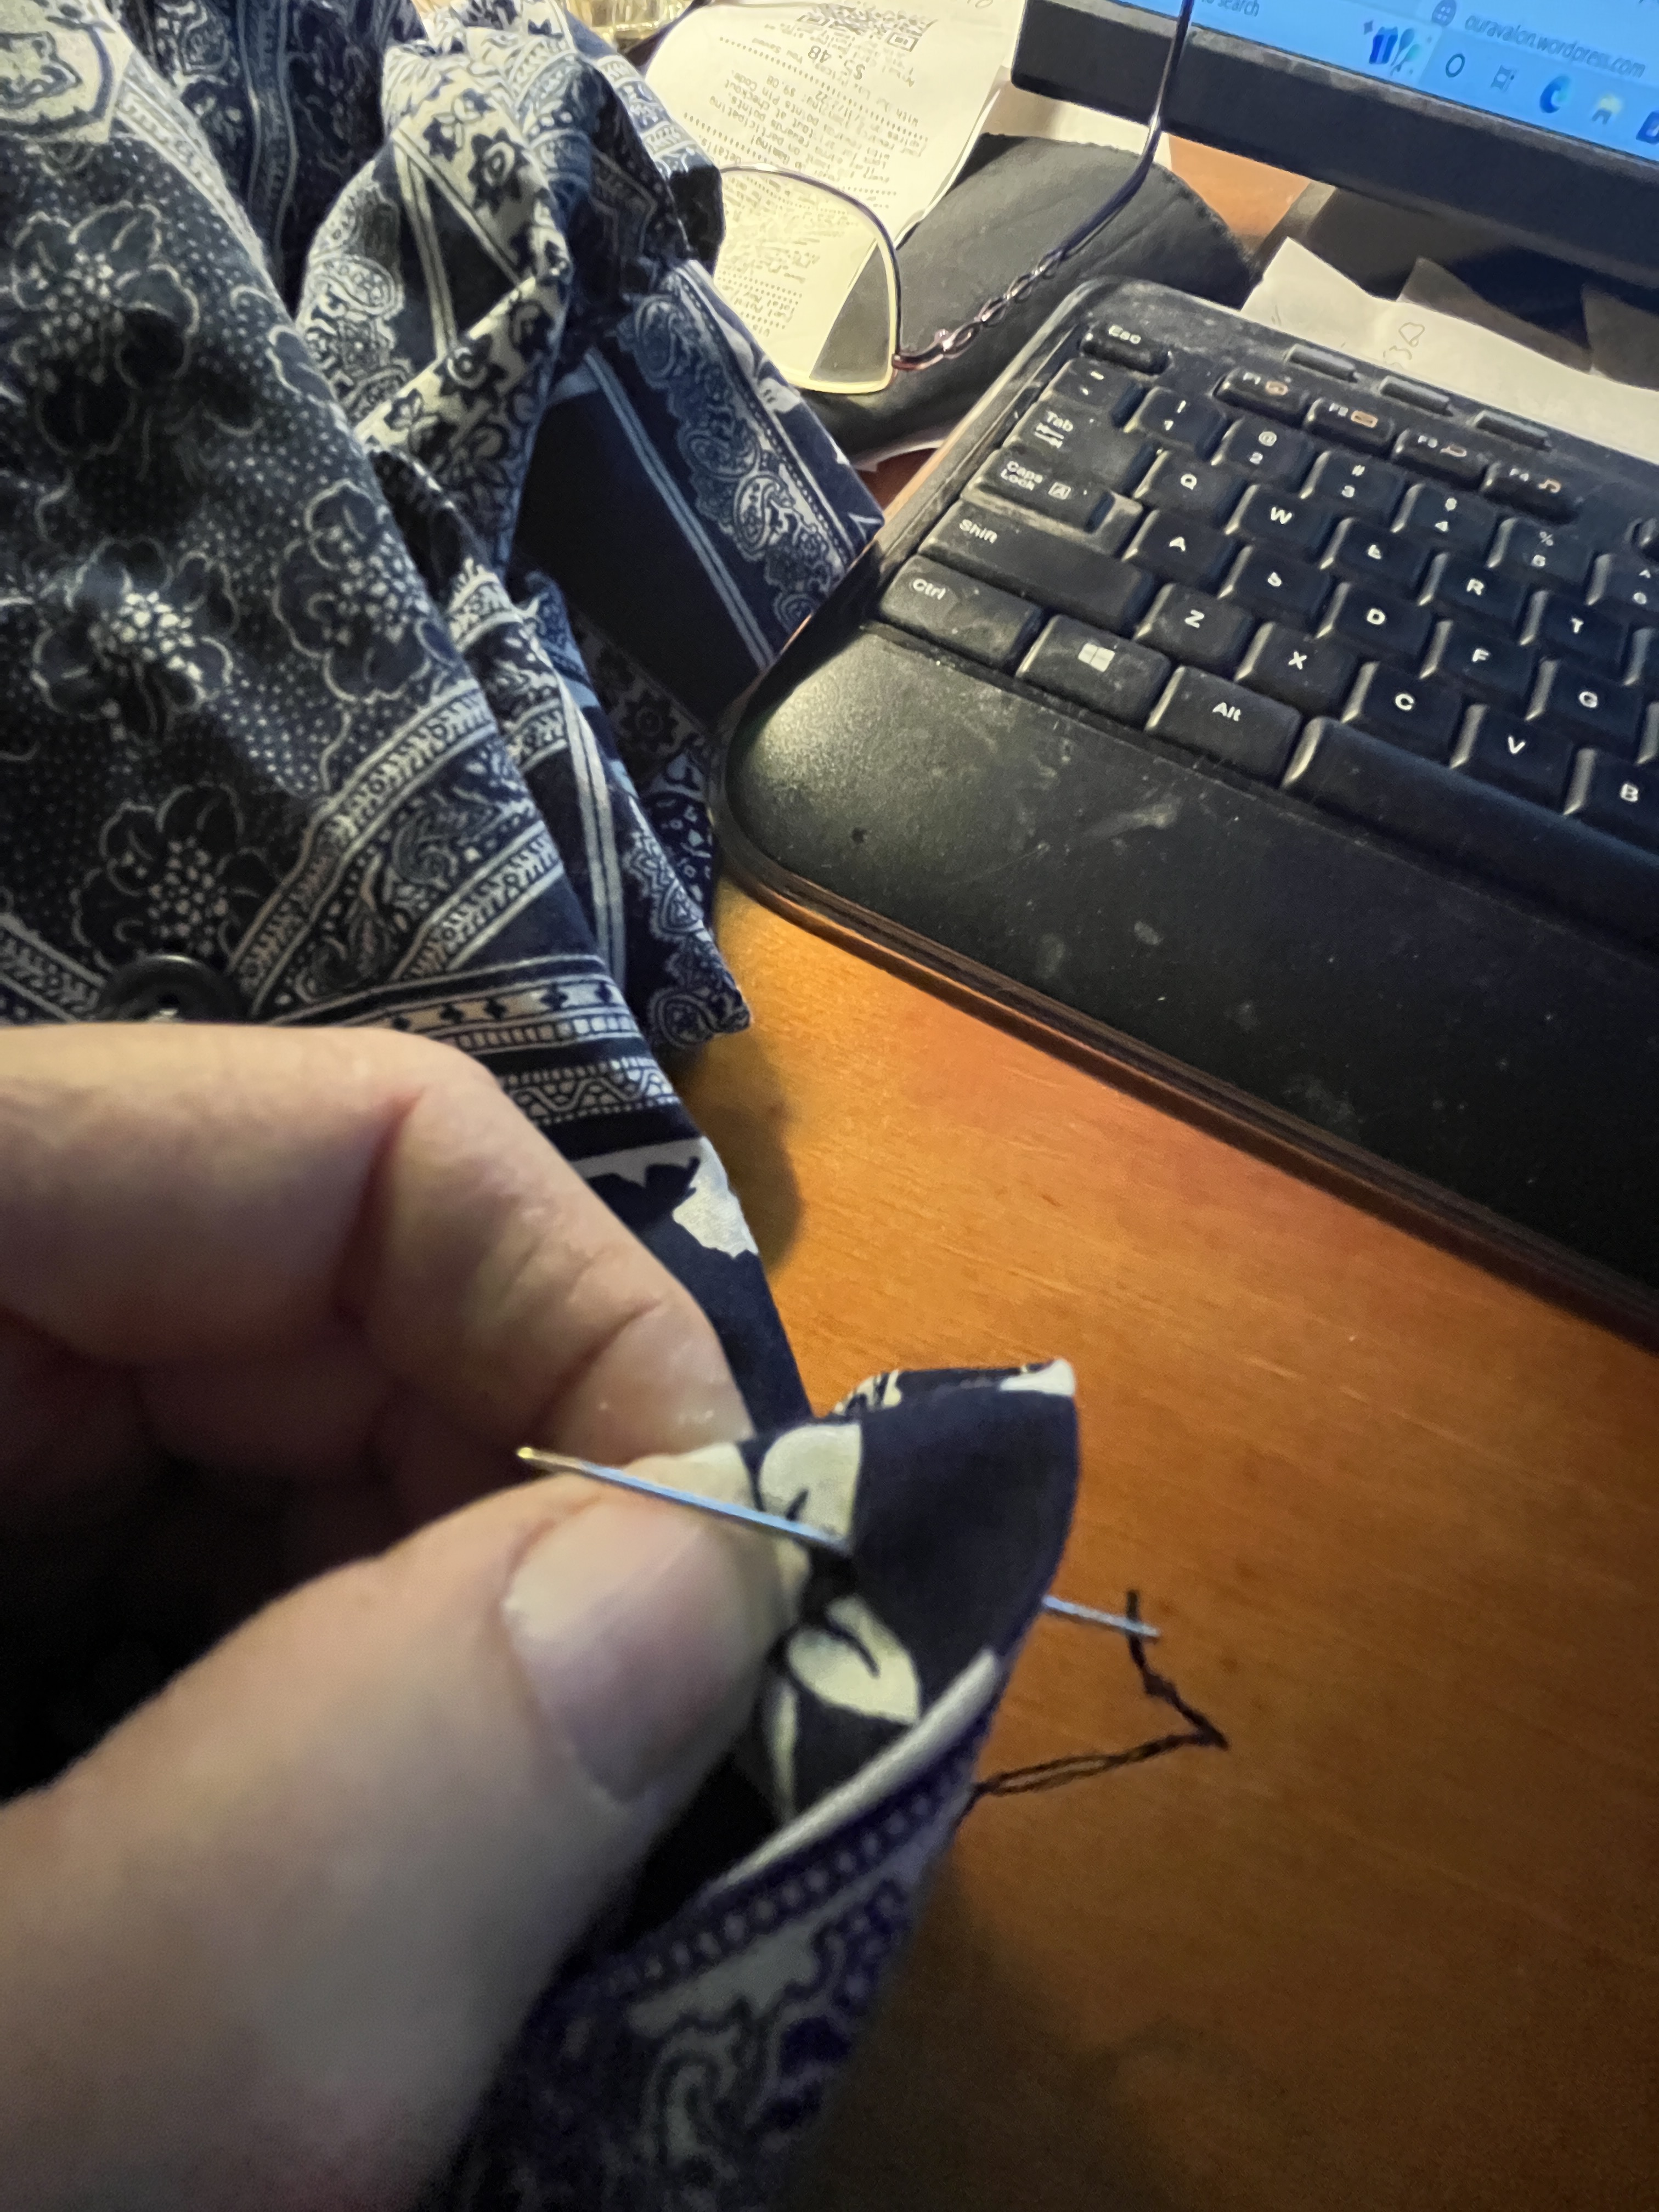
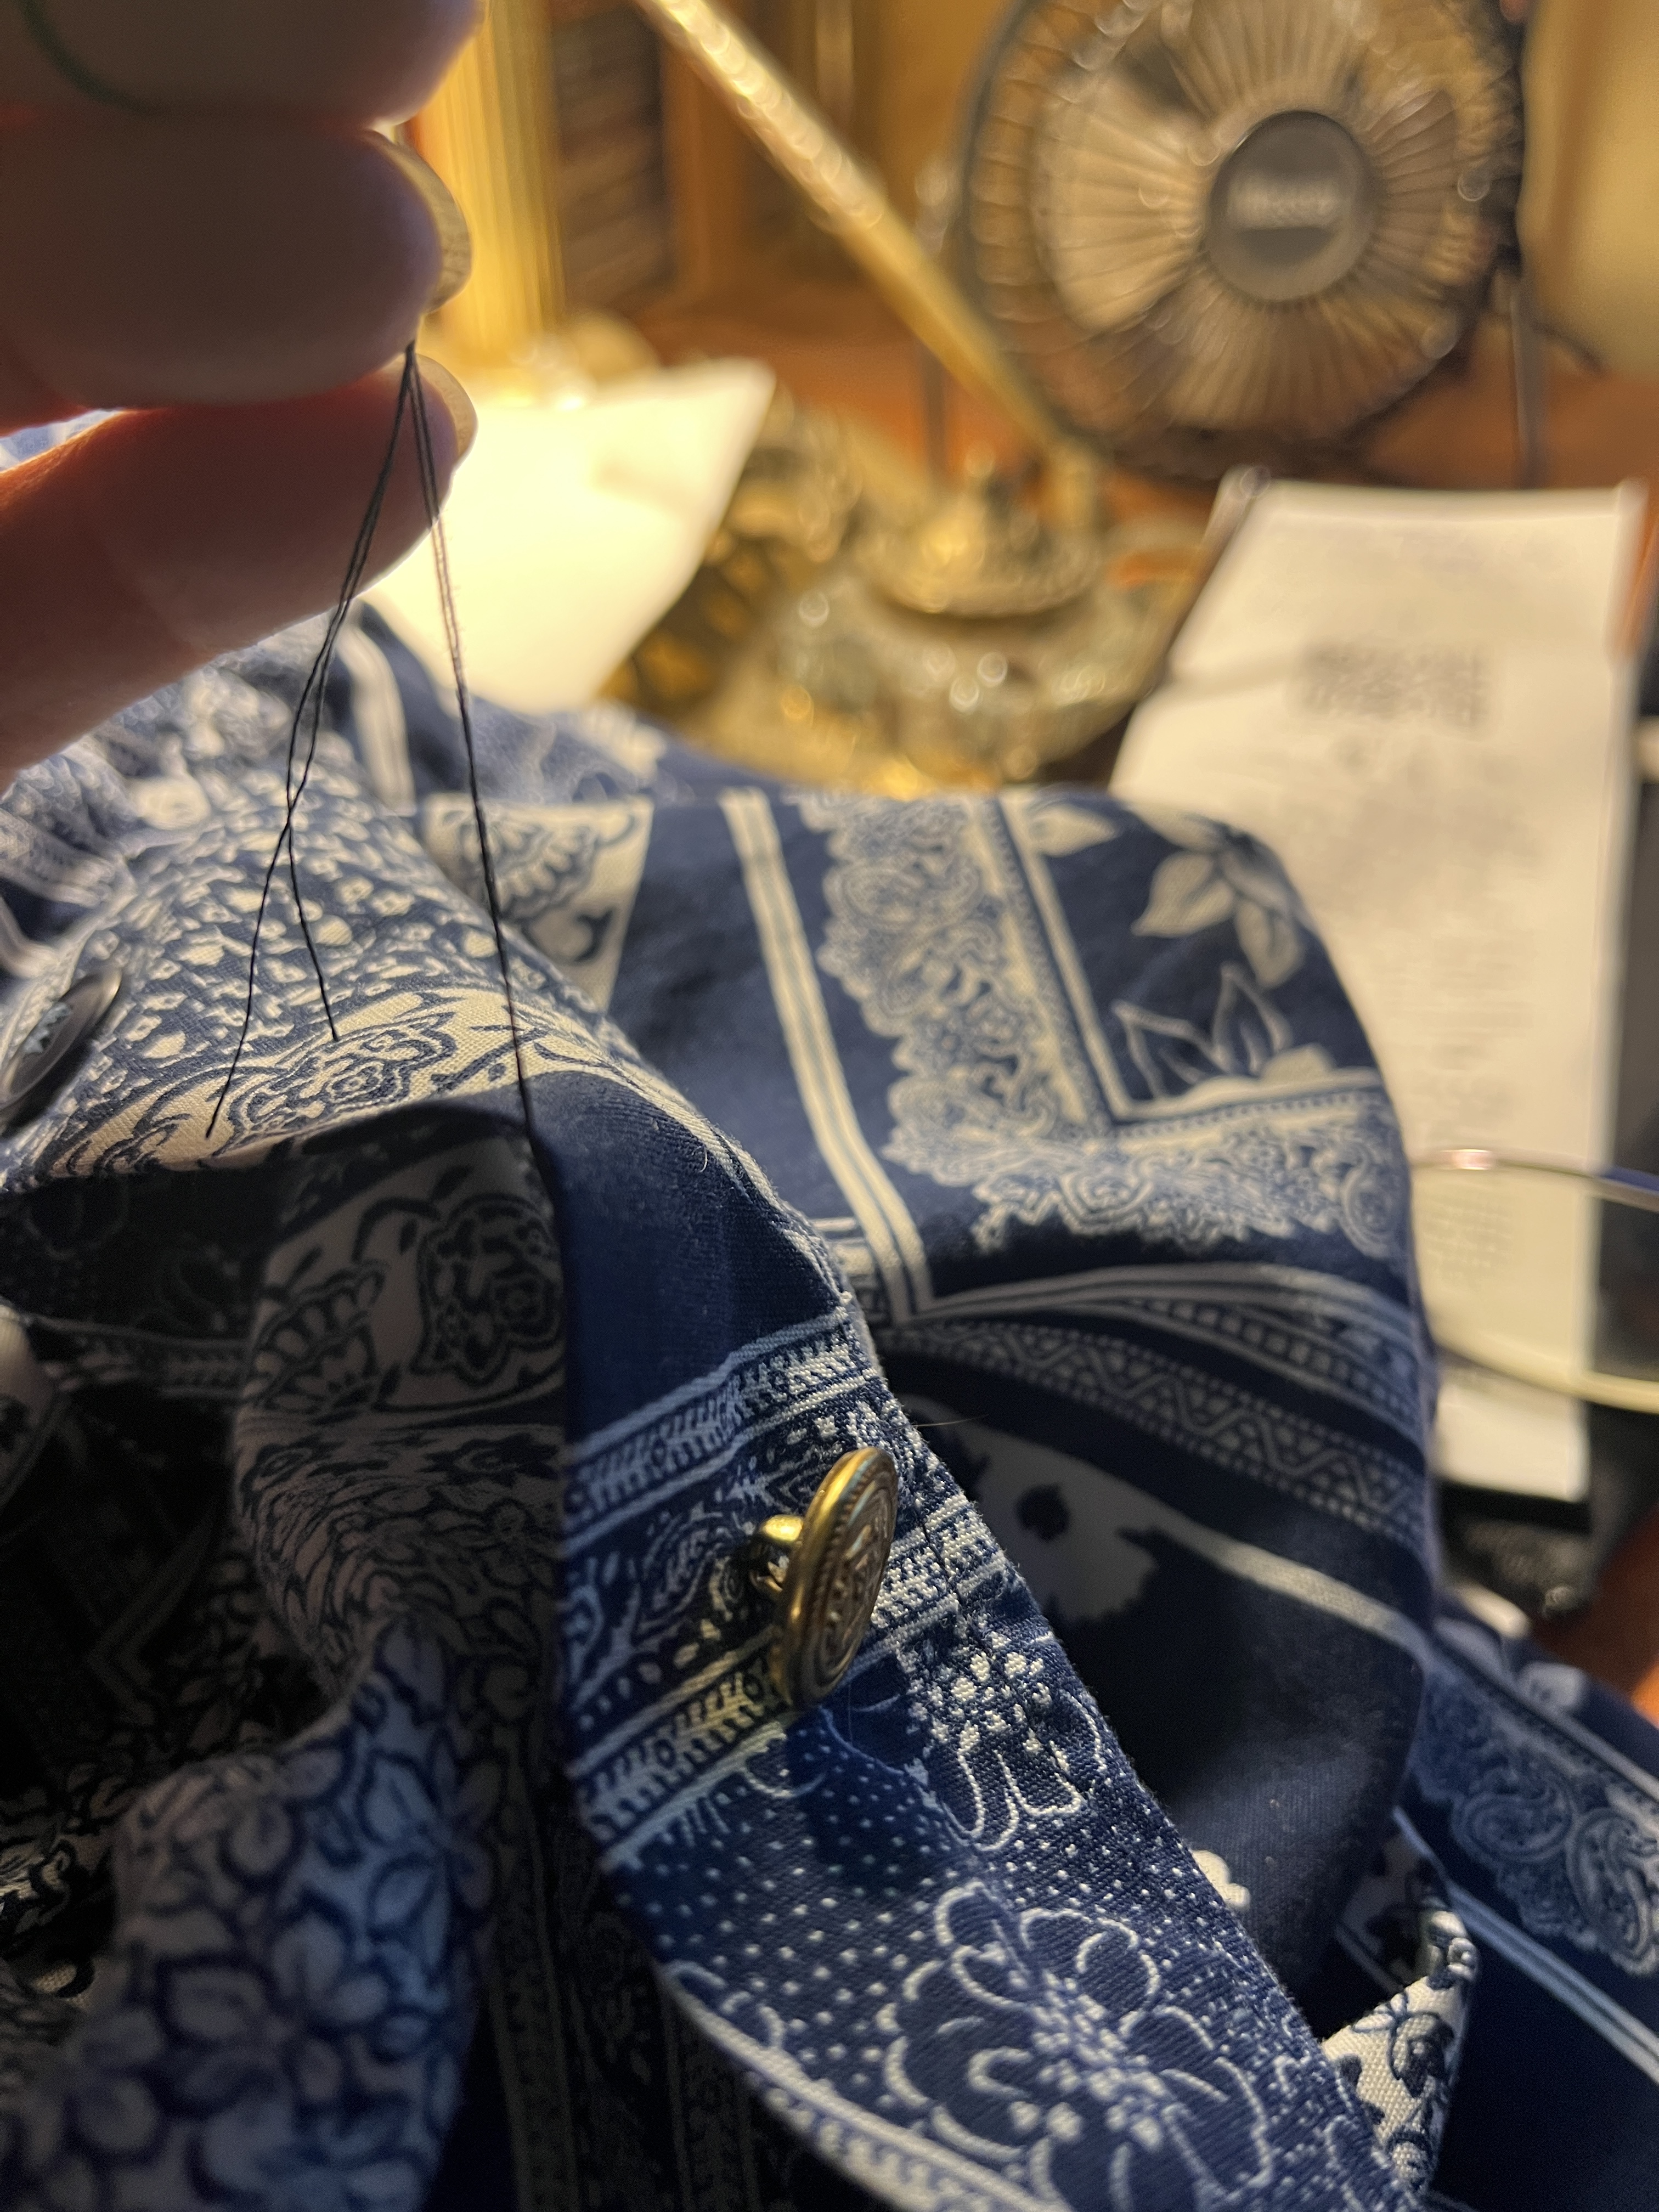
Double the thread, hold the ends together, moisten with your lips and thread through the eye of the needle.

Make sure there’s a nice ‘tail’ so the thread doesn’t come unthreaded from the needle.

Tie a knot in the folded end of the thread. Wrap the folded end of the thread around the end of your finger.


Roll the thread off the end of your finger.
Pull the knot tight. This might take a time or 2 to get the hang of it, but it really is easy.

Cut the tail off the knot. Now we’re ready to sew.
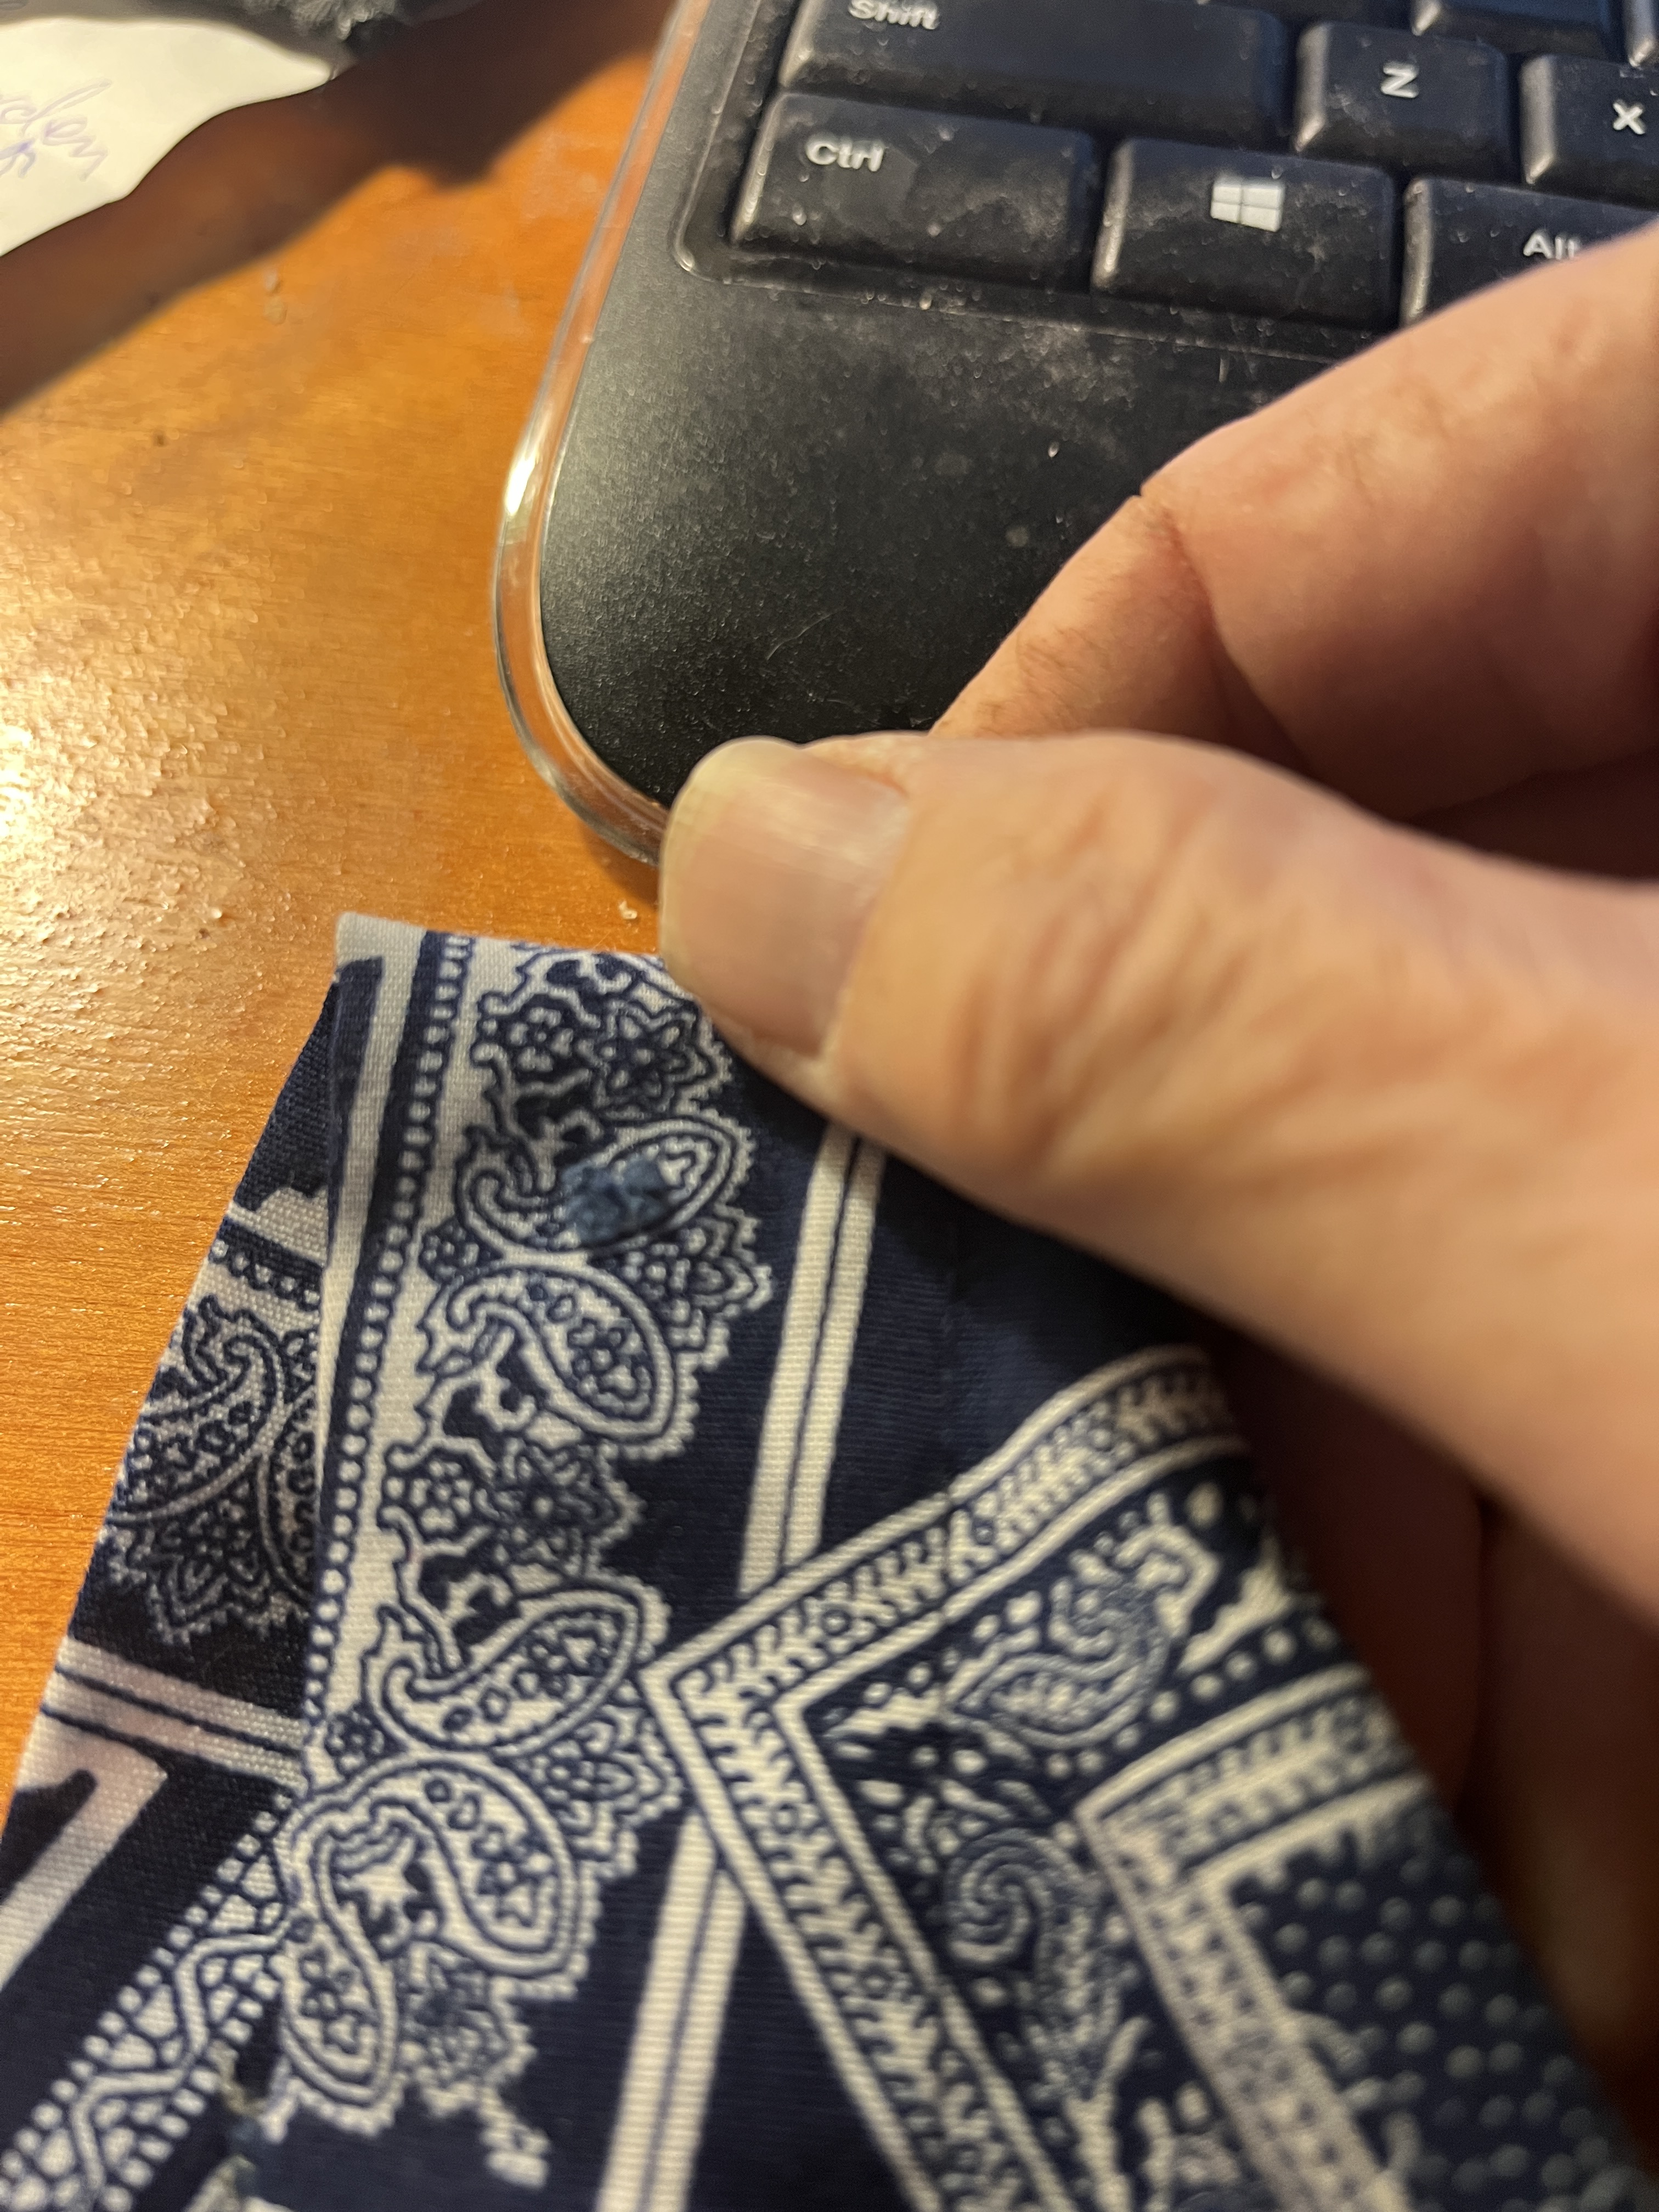
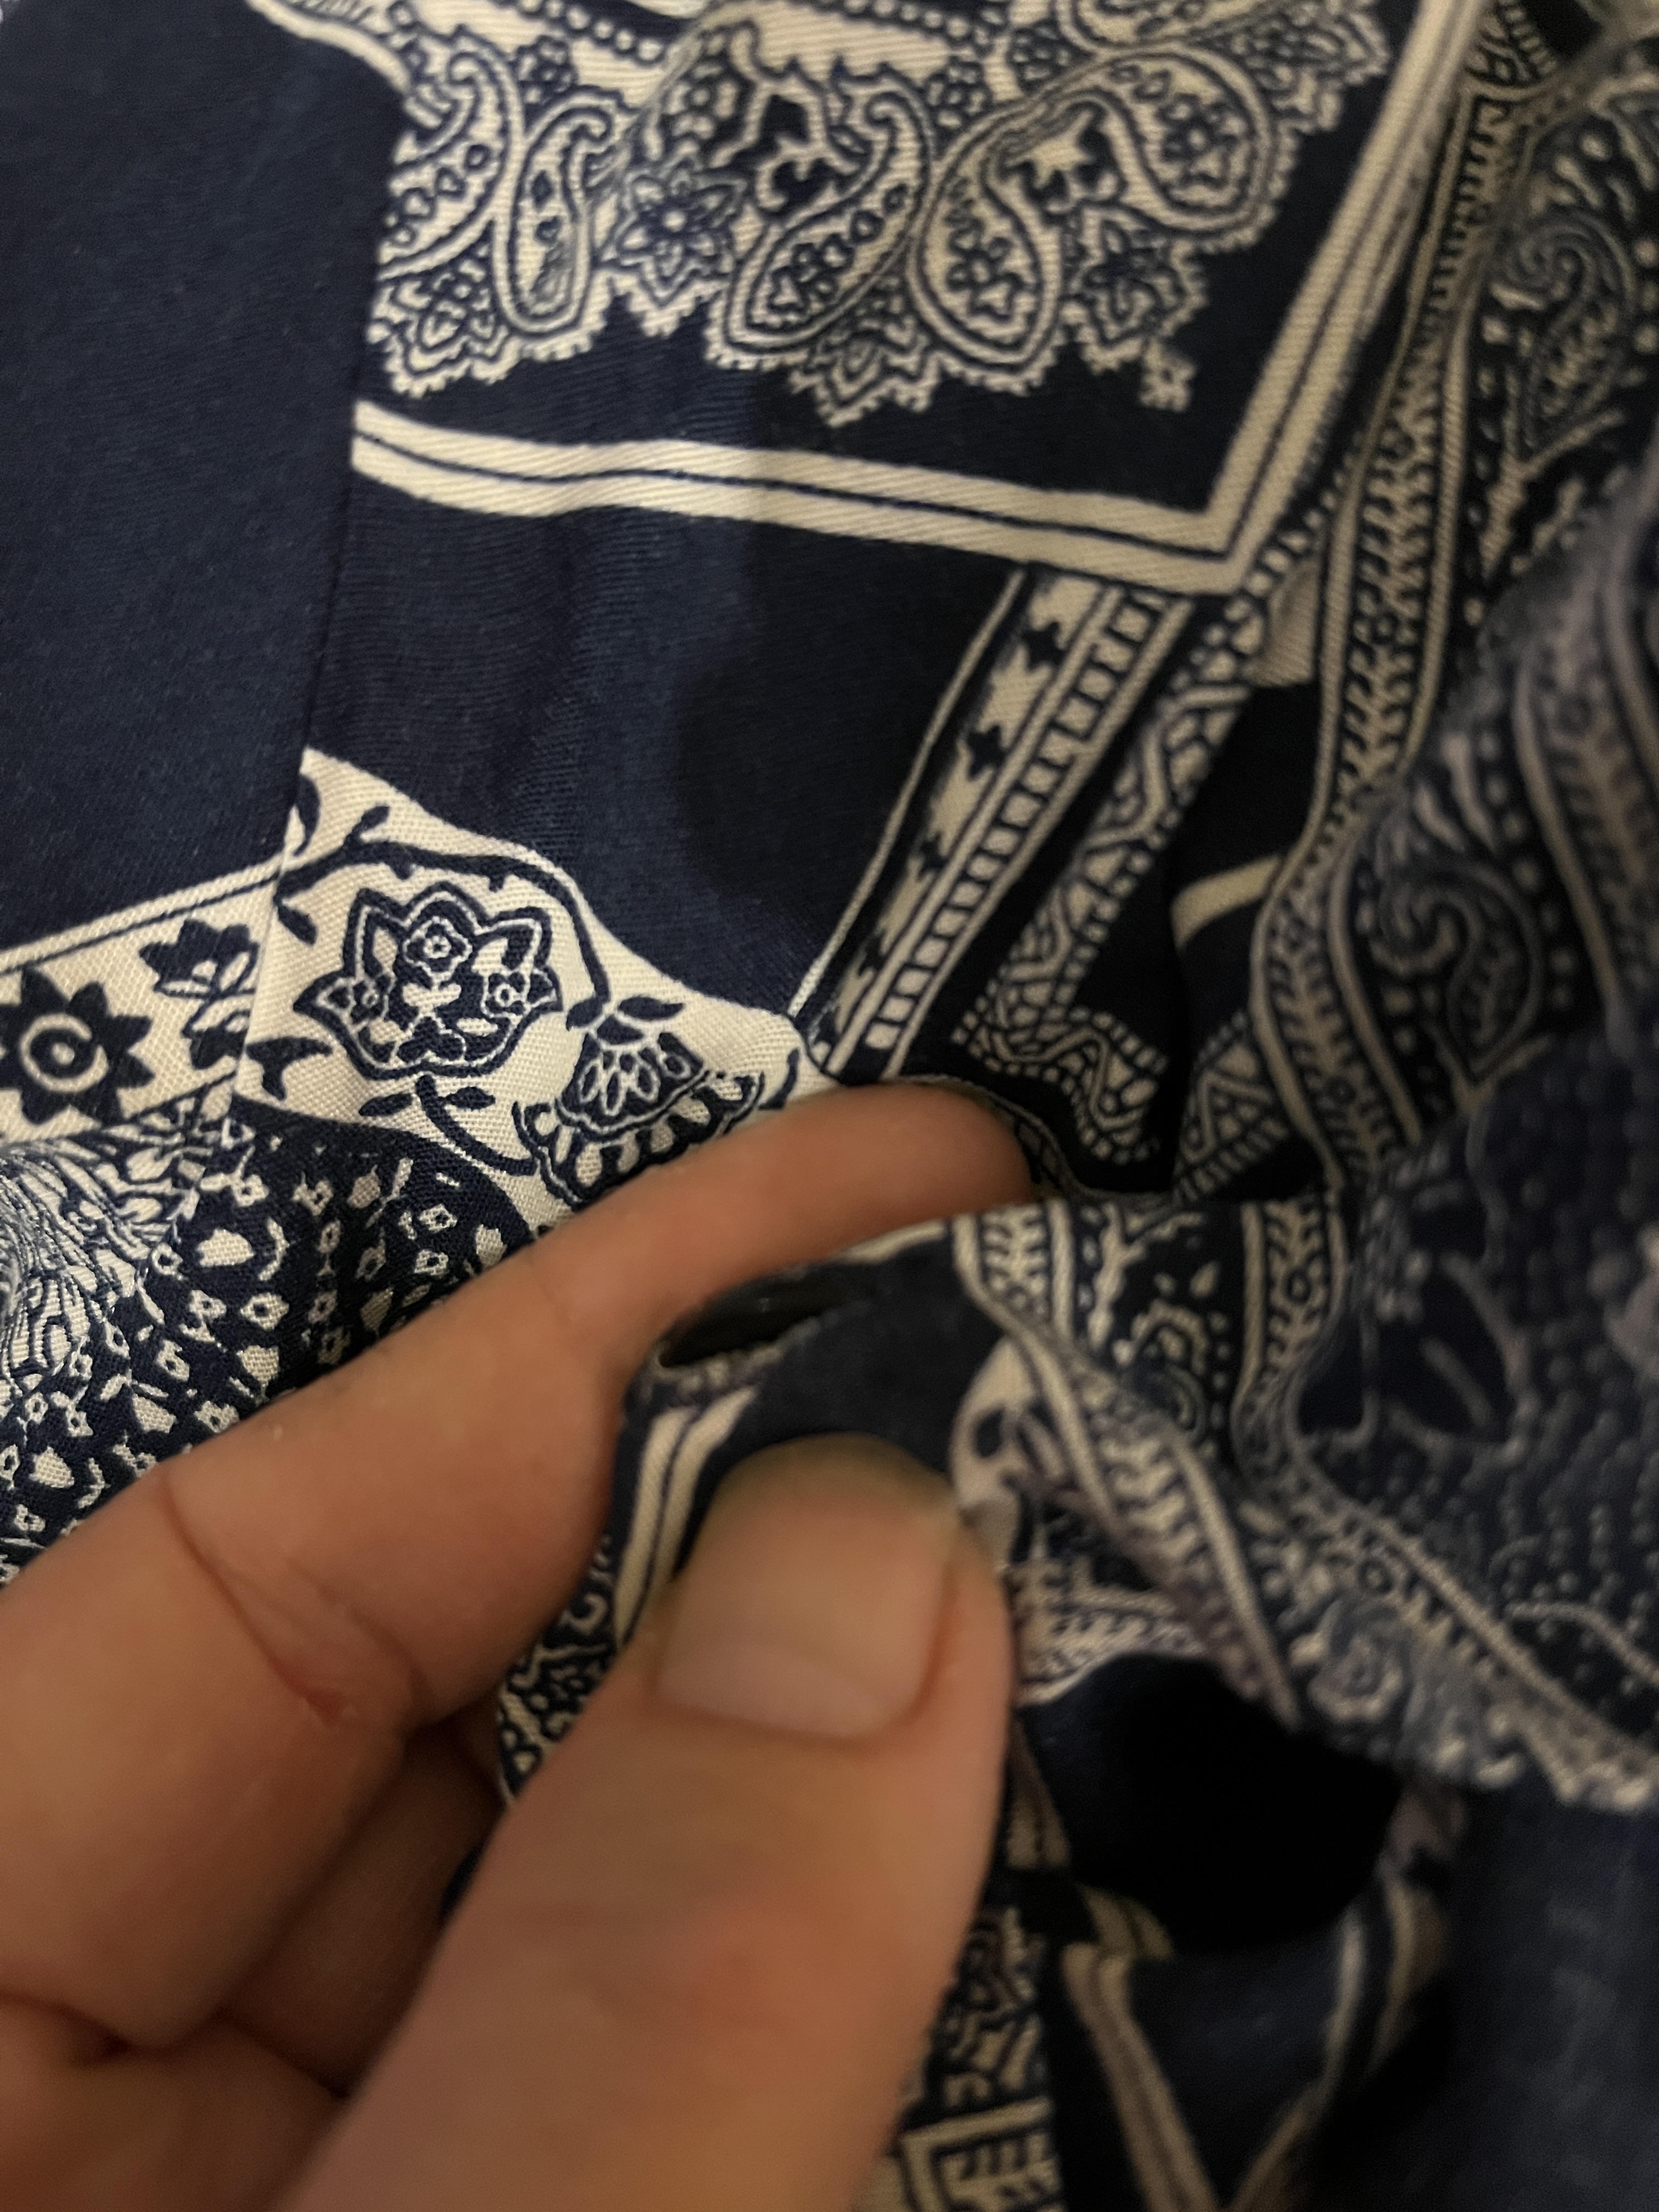
Find the spot where the button goes. Usually there will either be a tuft of thread or a tiny hole. Leave the tuft of thread until you’re ready to sew, it makes it easier to find the spot.

When you’re ready, pull out the tuft of old thread, at least as much as is easy, and put the needle through the spot. Pull it through to the knot. You can see how hard the tiny holes are to spot & why I suggest you leave the tufts of thread in as long as possible.

Put the needle through the spot where the old thread was.

Pull the thread tight, bringing the knot to the back of the cloth.

Put the needle through the 1st hole in the button. Usually there’s either 2 holes or 4. This one has 4. Pull the thread through.

Now put the needle down through the next hole. Pull the thread tight.

Now carefully put the needle up through the 3rd hole and pull the thread tight.

Put the thread down through the 4th hole and pull the thread tight.

You’re probably seeing a pattern by now.

If you’d rather make an X than 2 lines you can do that.
Or you can make a square around all 4 holes, whatever delights you. Just go up and down a few times through all the holes. Yes, a 2-hole button would be simpler but I didn’t have one and I wouldn’t have been able to show the optional patterns, so there you are.

Next come up through the cloth but don’t go through a hole.

Pull the thread to one side and wrap it around the stitches on the underside of the button 3 or 4 times.
Now put the needle back through to the back of the cloth. This wrapping isn’t strictly necessary, but it makes a stronger bit of sewing.

Now put the needle through one of the stitches on the back.

Pull the thread through til it’s a manageable loop.

Pull the thread through the loop

and pull into a knot.

Put the needle through again,

make another loop,

pull it tight. Yes, you can do this a 3rd time if you want to. Now cut the thread and you’re done with this button.
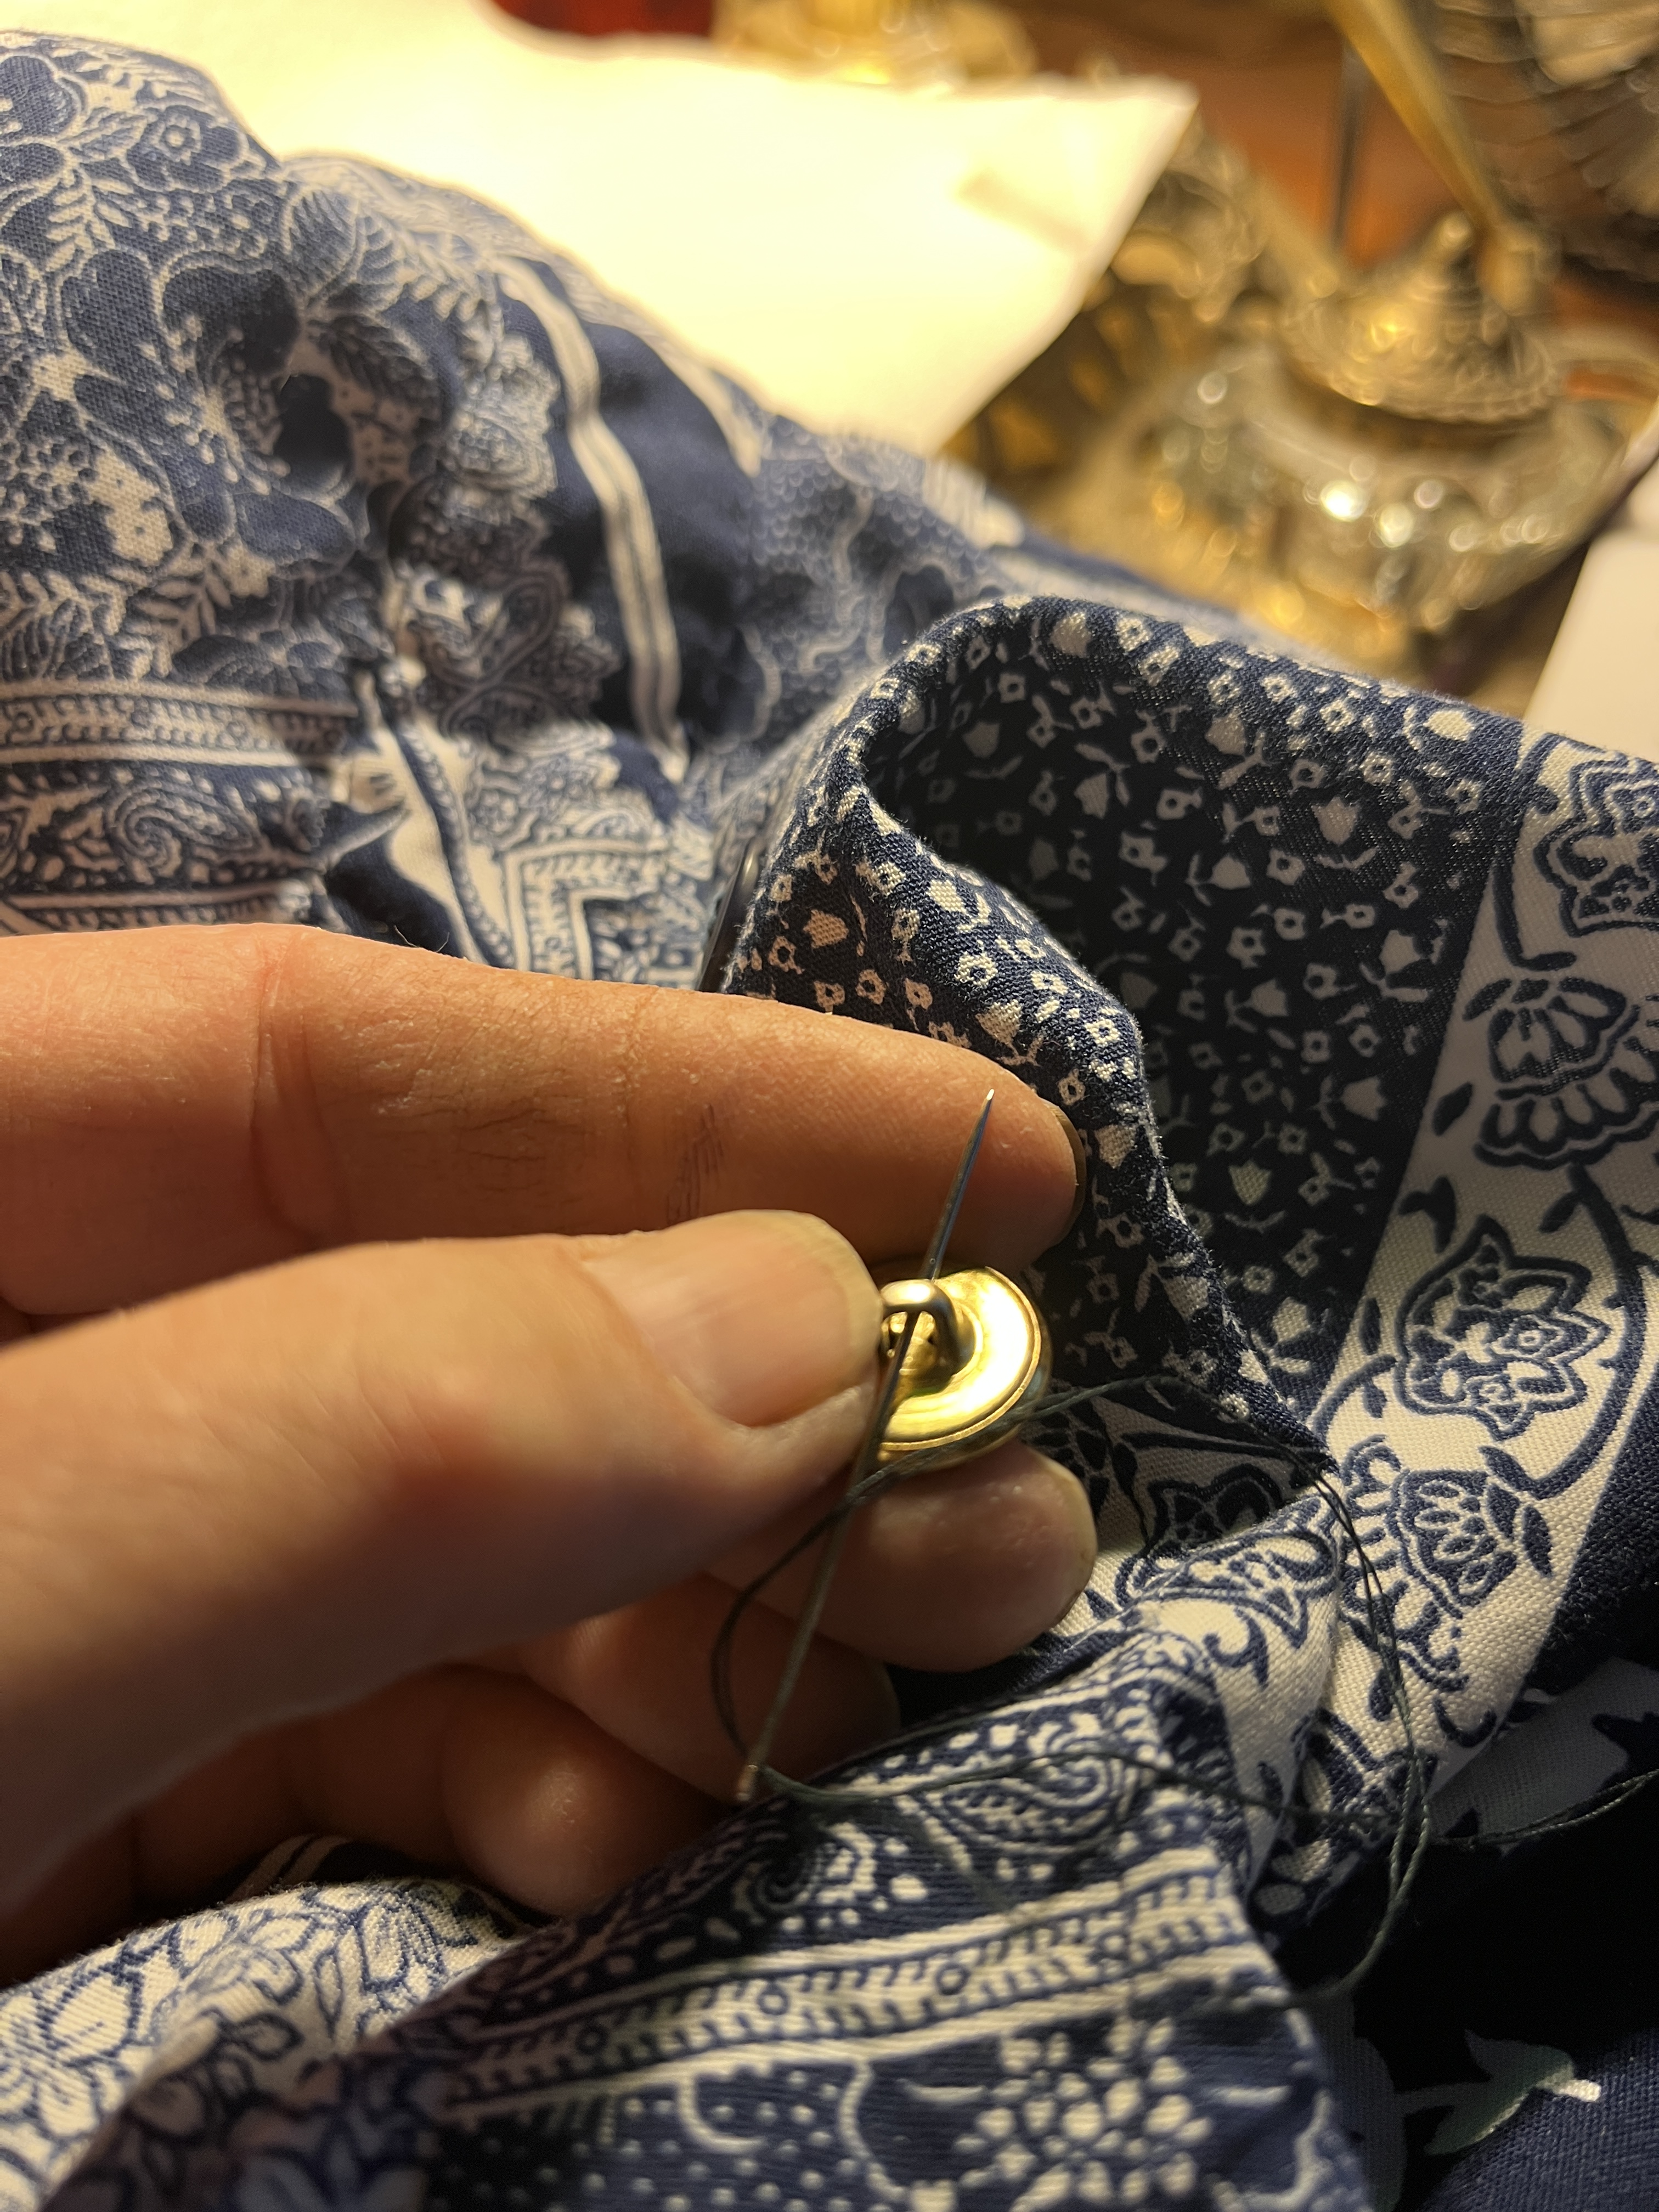
Now for the shank button. Put another knot in the thread, put the needle through the spot where the button needs to go and pull it tight, just like the 1st button, then put the needle through the shank of the button.
Put the needle through the cloth next to where it came up.
Pull the thread tight.

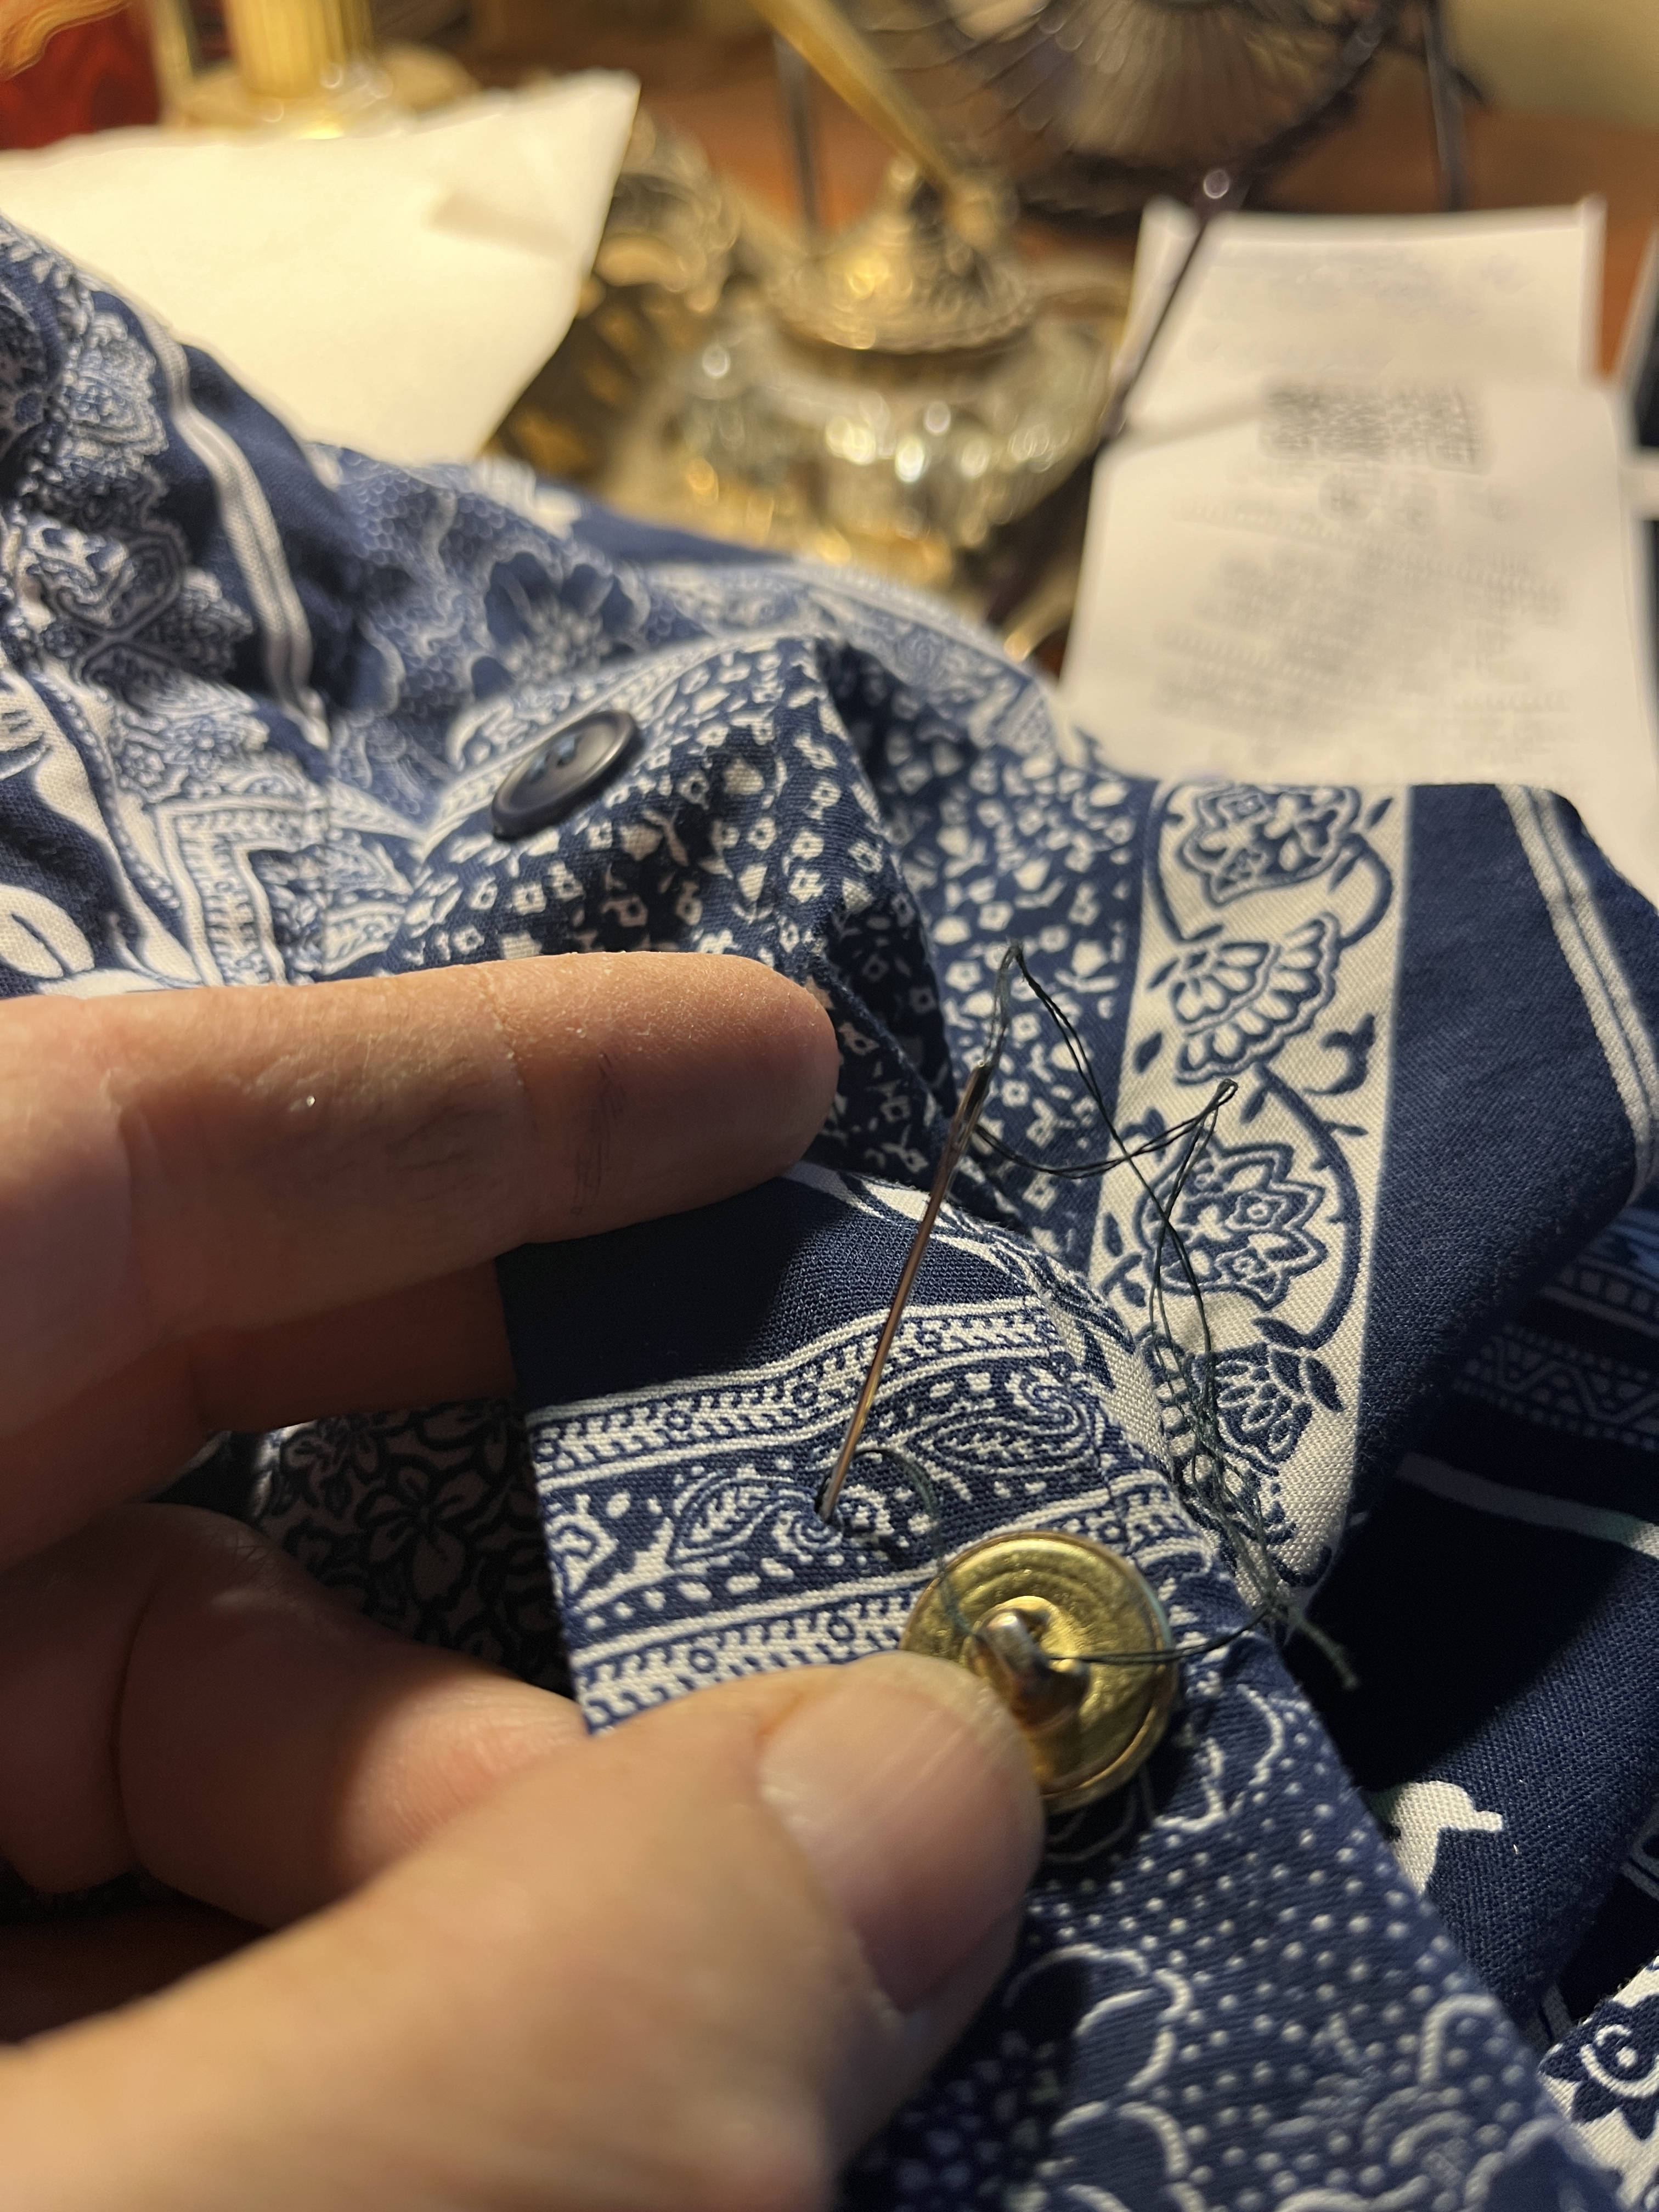
Put the needle back up through the cloth and shank, pull the thread tight.
Put the needle back down through the cloth and pull tight again. Repeat a few times.

Now tie a knot like before. Yes, this button’s a bit easier. You can do a bit of a wrap to strengthen the stitches if you want, or not, it’s up to you.

No, they don’t match, but I don’t care. Another’ll come off soon and I’ll find another odd button to replace it with that doesn’t match, either. This particular blouse doesn’t need to match. Now go forth and save your favourite shirts and other pieces of clothing with buttons.
Buttons come in a dizzying variety! You can get really artsy on clothes for not a lot of money. The designs are quite surprising if you’ve never thought about buying buttons before. You might even start customizing your clothes with whole new sets of buttons! Better get a bigger cookie tin for buttons! You’ll need it for the buttons you cut off for new, cooler buttons. Another option is to sew buttons on clothes and hats as a design element in themselves. There’s a whole Cockney tradition for this in England, but that’s another story. Get artsy and have fun!

Addition 10/6/22:
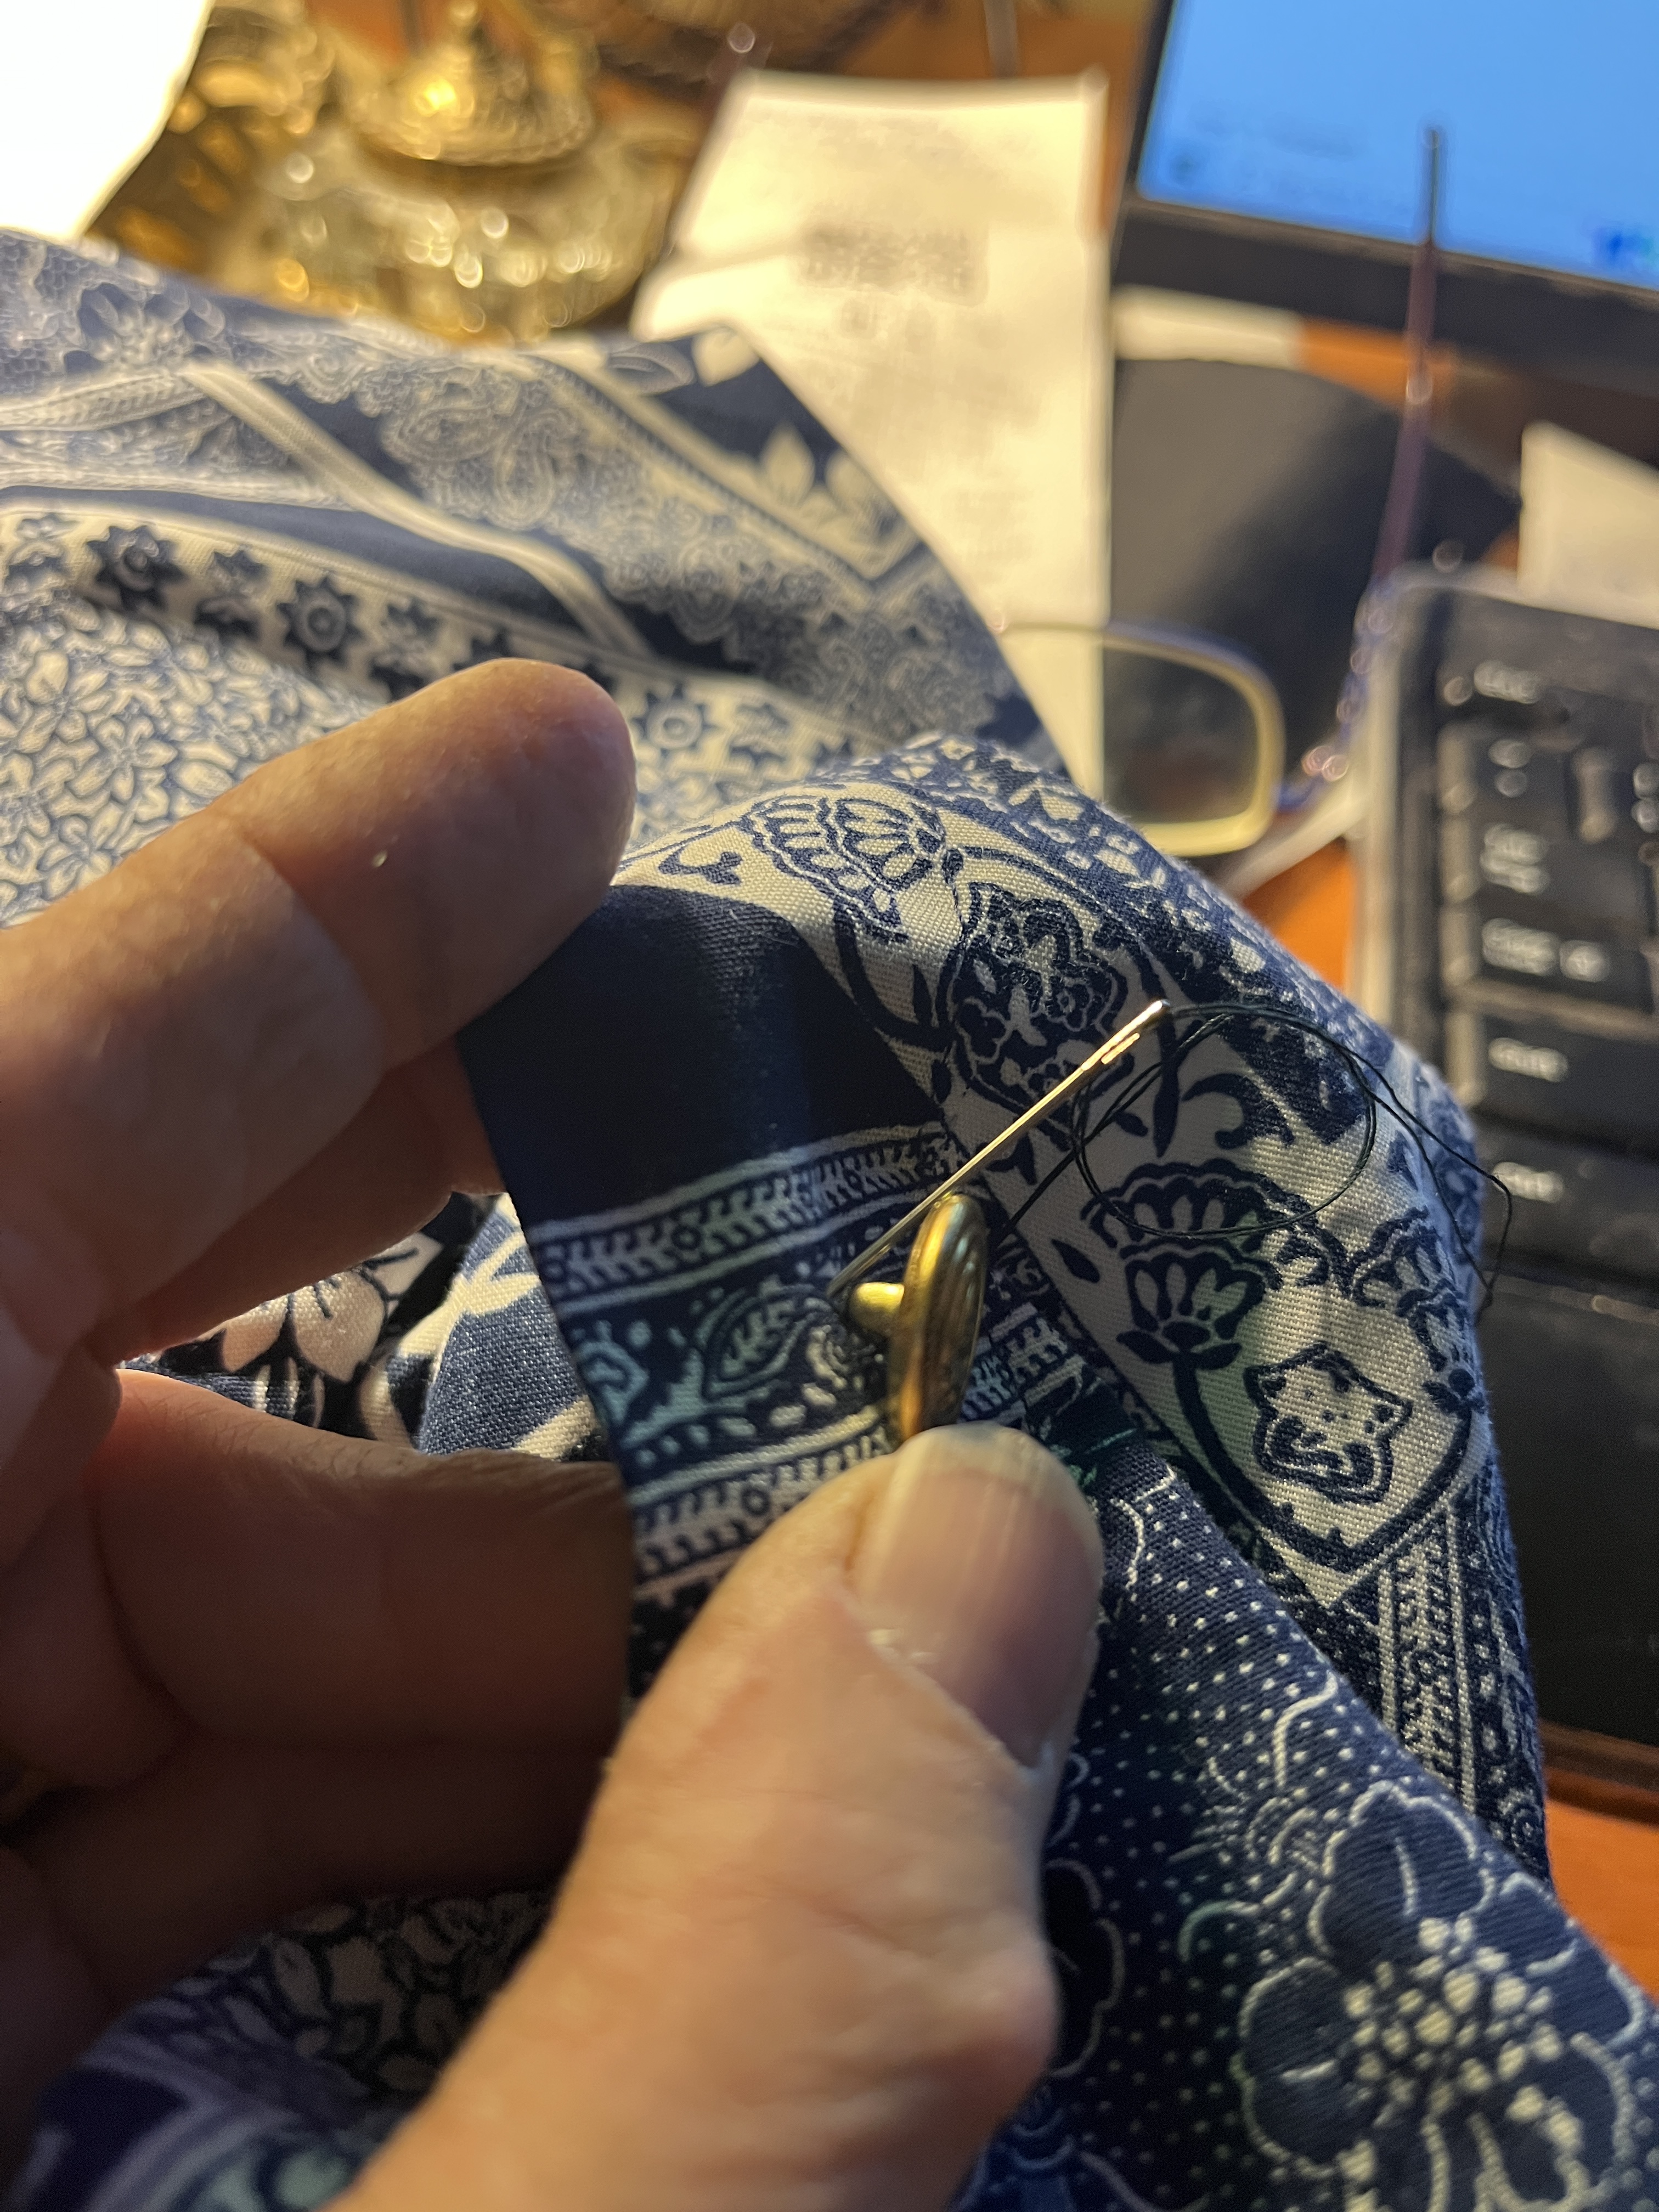
Of course, if you don’t have time to sew on a button, or if you don’t have the stuff to sew one on (yet) you can always use a safety pin. Don’t have a safety pin? Run to the store and get a package of assorted sizes. They’re handy and you’ll be surprised how often you need one. While you’re there pick up a few sewing notions you need to sew on that button or do random other mending chores.

Leave a comment