I had arbours over 2 windows for over 20 years. 2 years ago they died. The one on the west side window had to go in first so the queens bower could grow over it and shade the window. The one on the north side is mostly just to frame the window and maybe grow gourds or maybe hops. We’ll see.
I got the first one made last week, now to get this one done and I’m hoping they’ll both last another 20 years. I sketched the basic design I wanted, figured out what size they needed to be and bought the lumber. Then life happened and it took 2 years to get to make them! But now one’s up and the other’s getting done so progress on the house and garden continues.
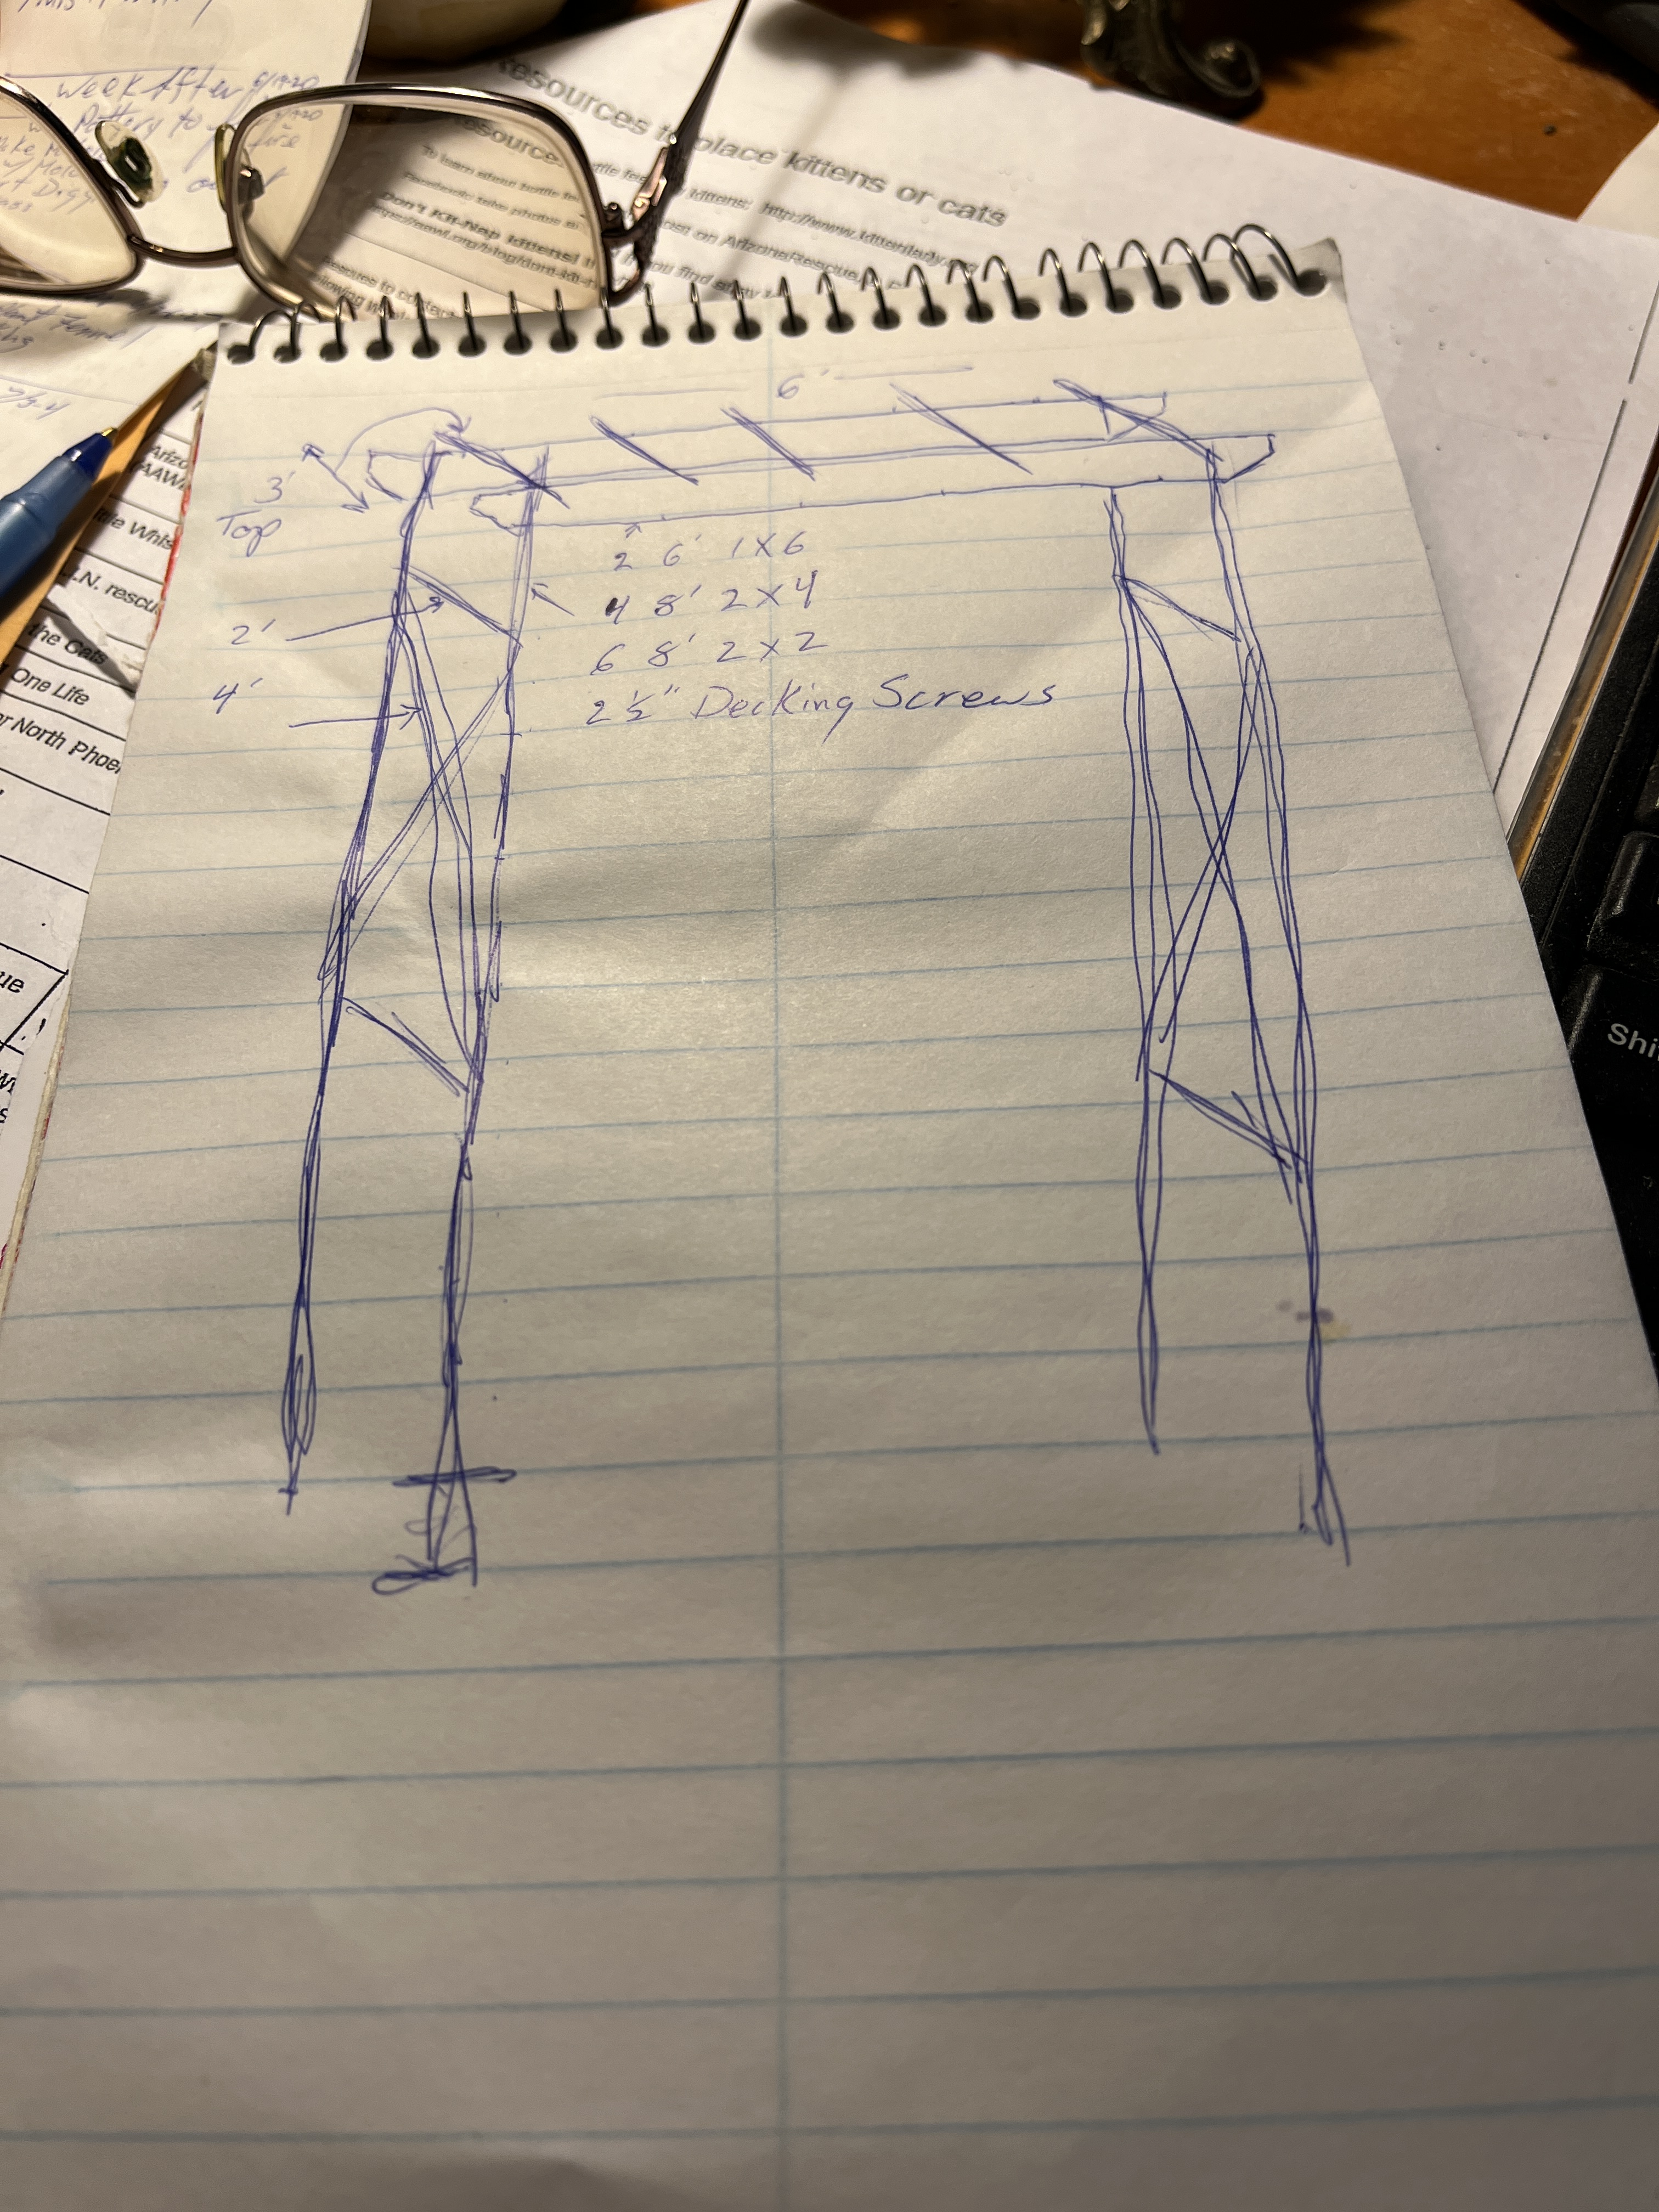
Start with a simple sketch with measurements so you know how big you need to make it and what you need to buy. It doesn’t have to be great art, this is just to get you started since you’ll probably change your mind as you go.

Measure twice, cut once.
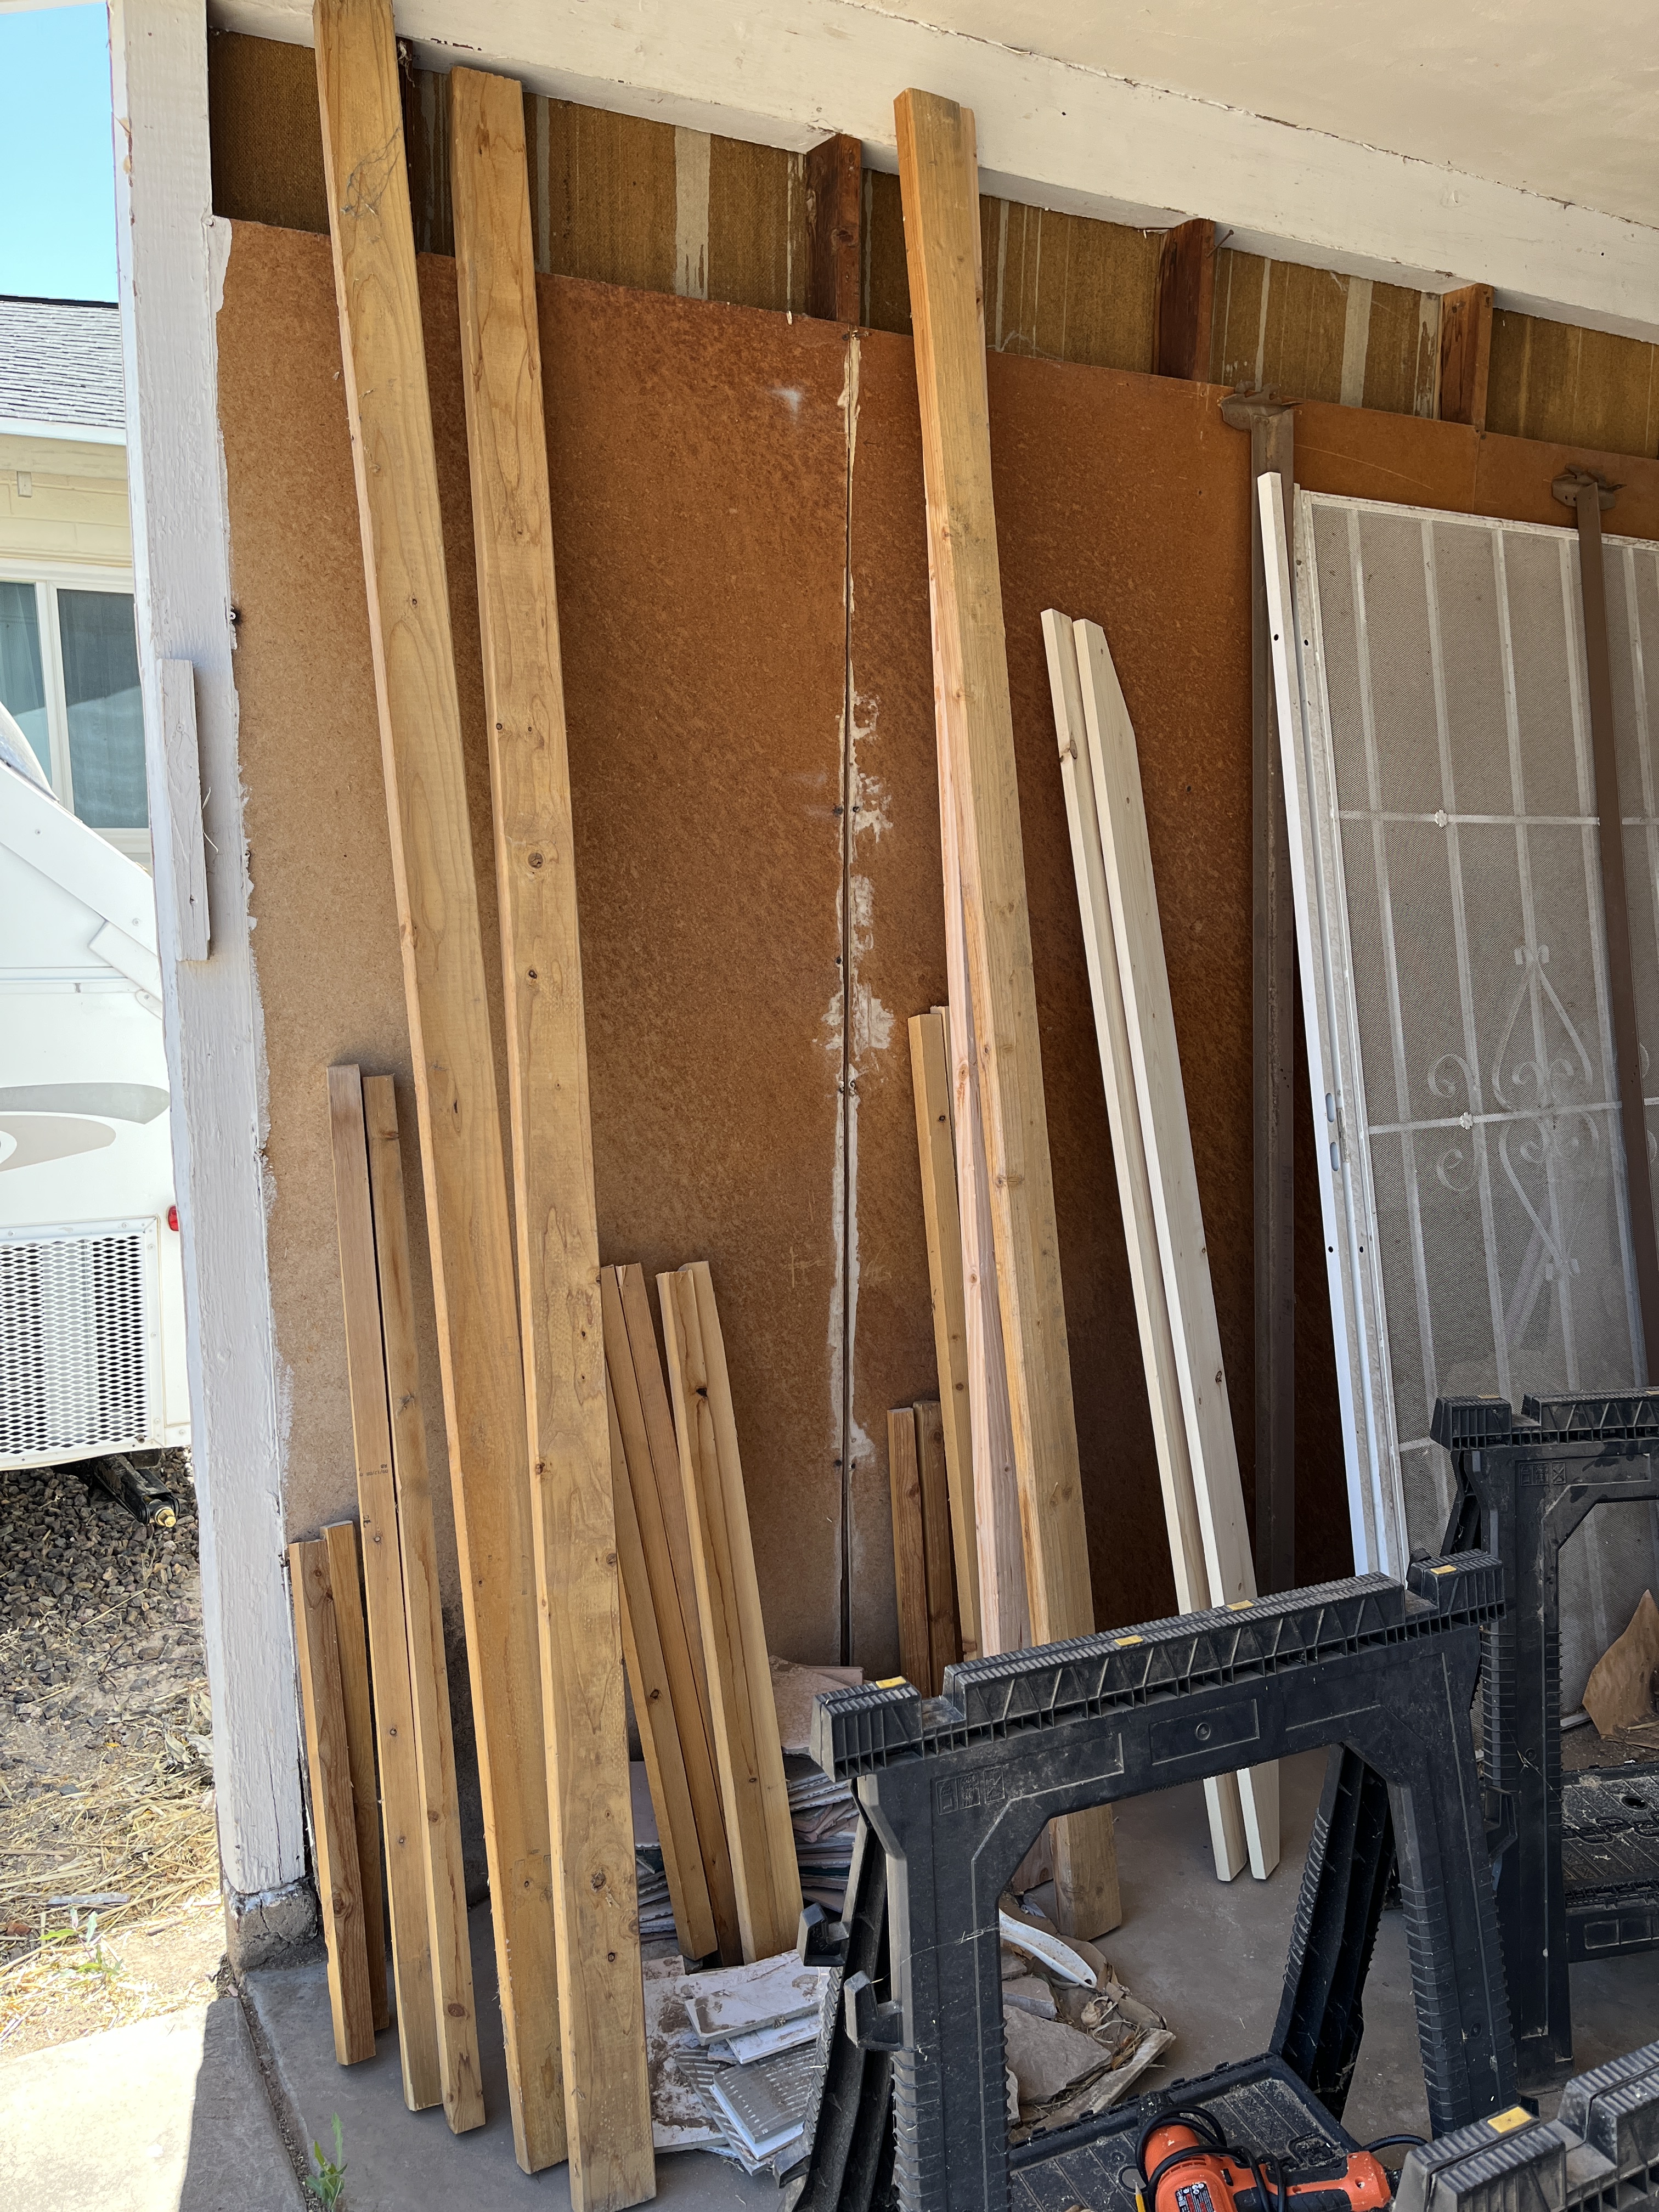
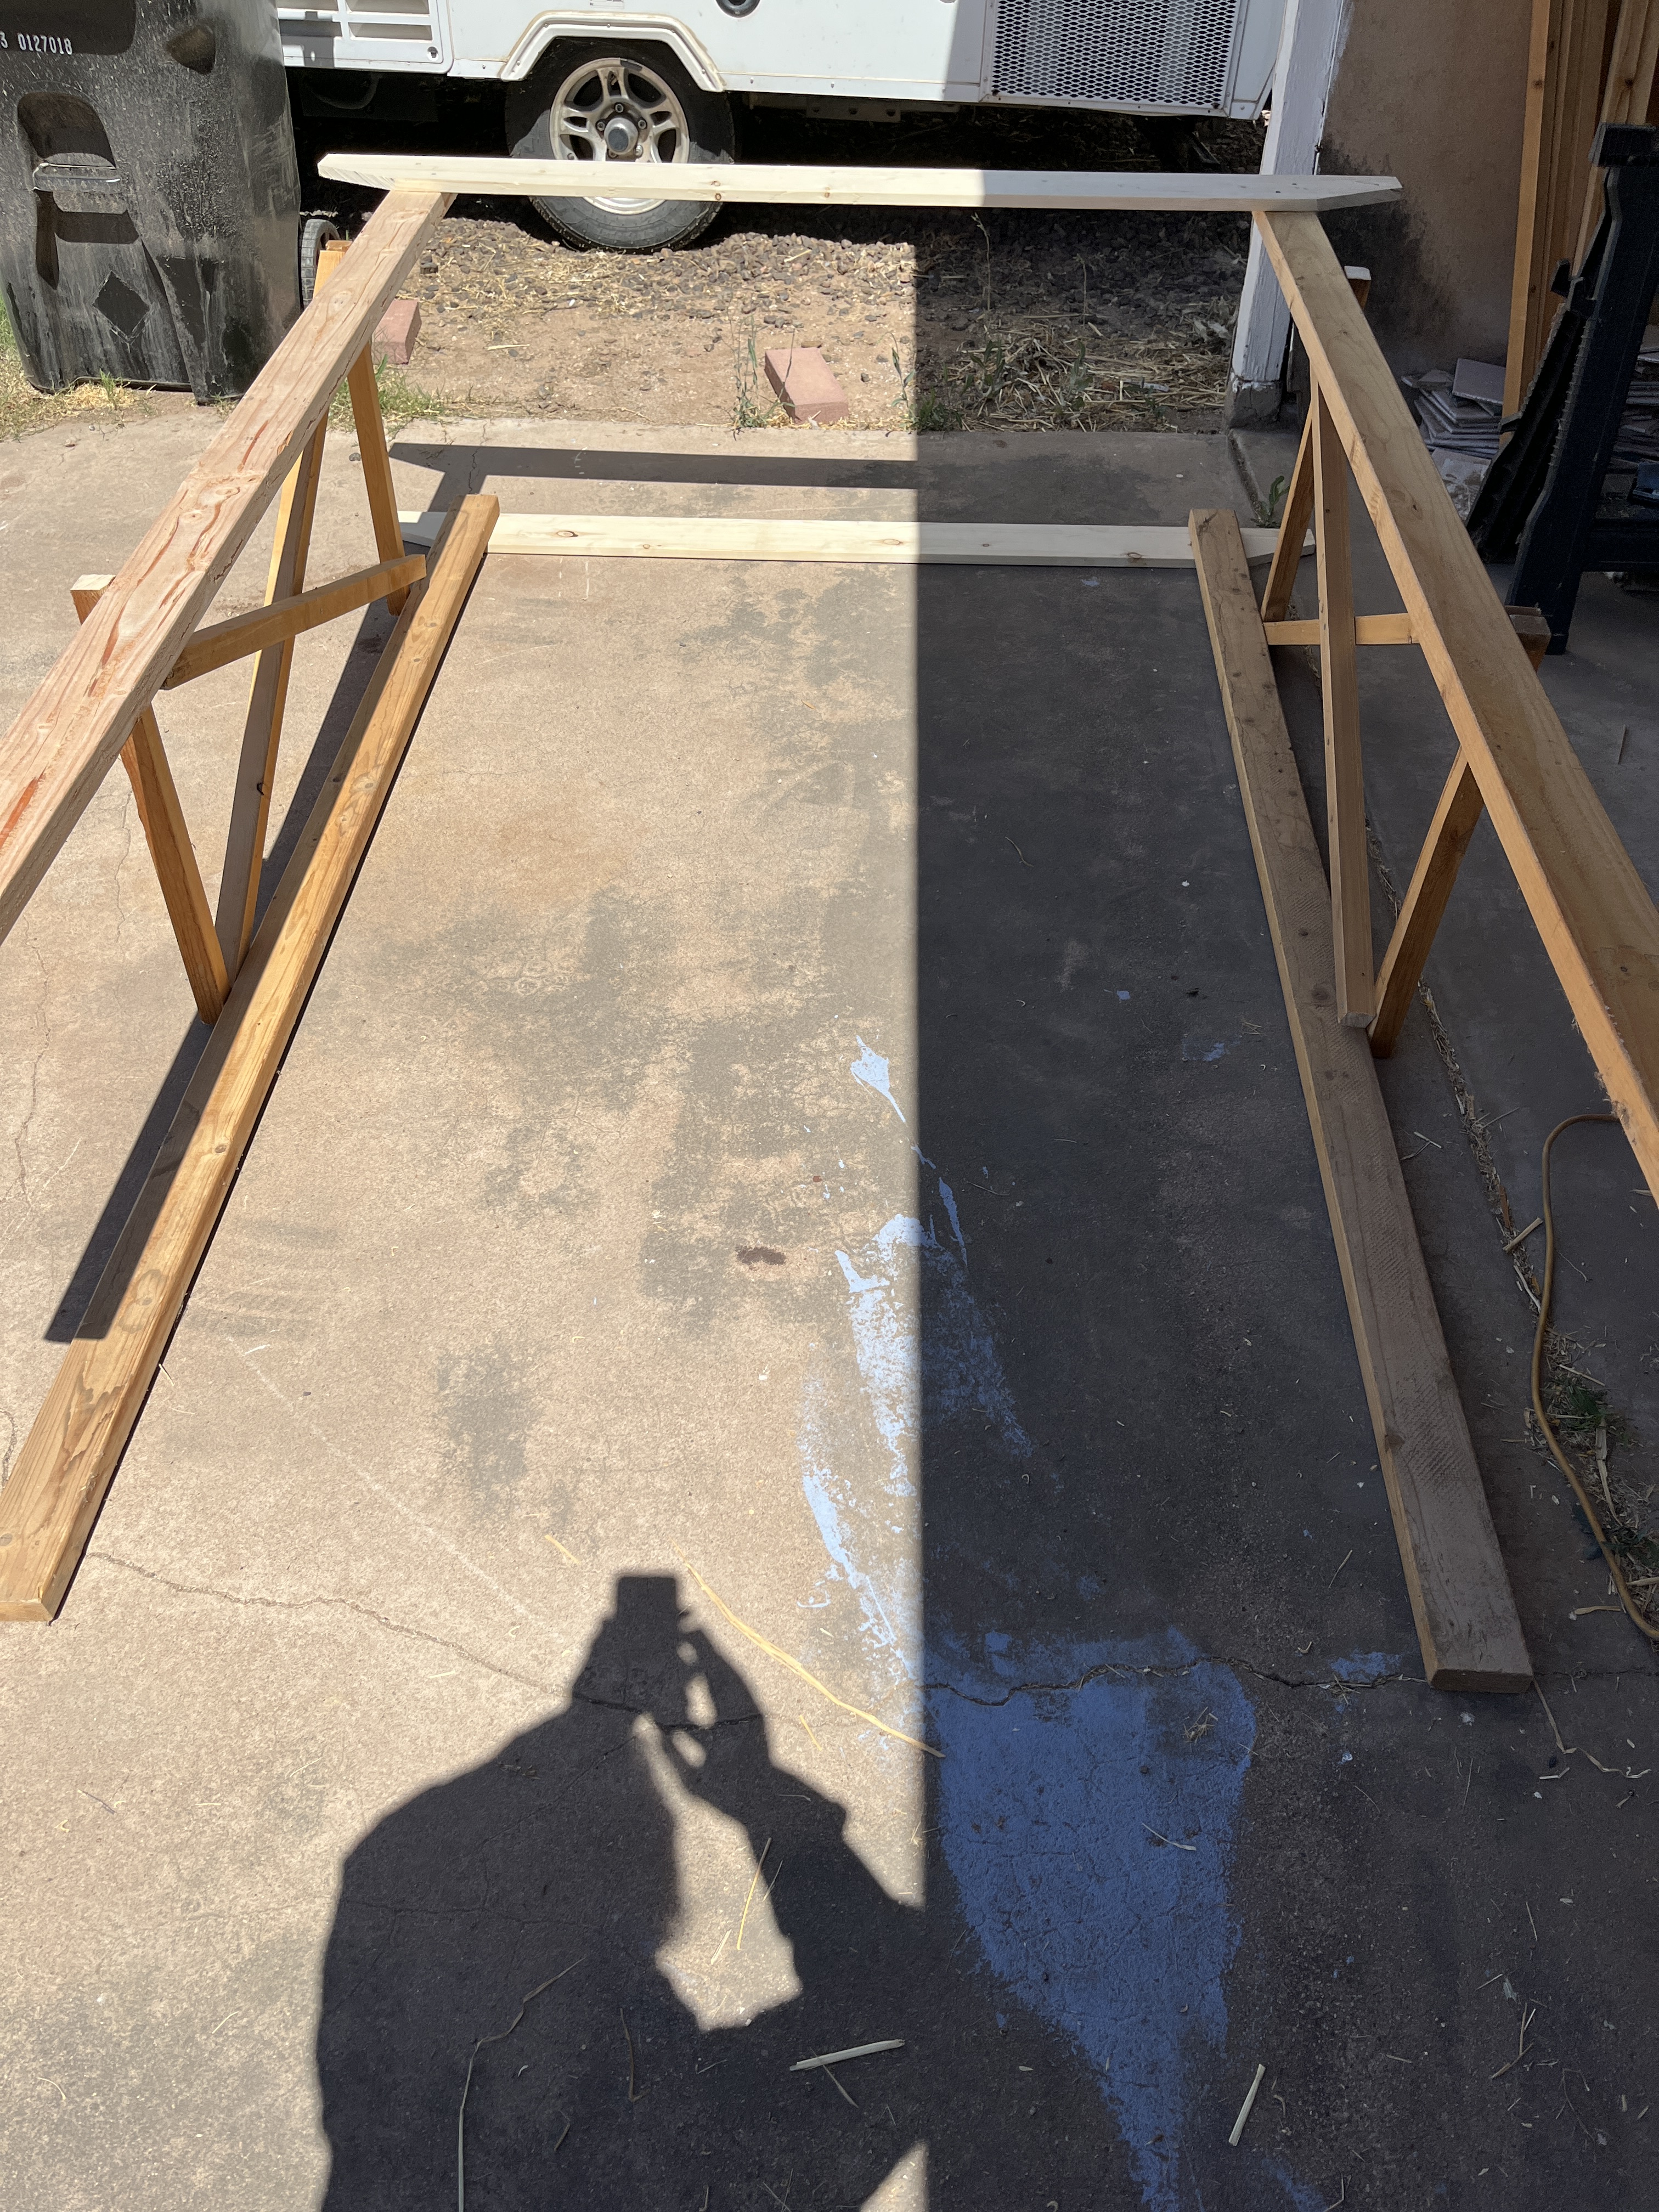
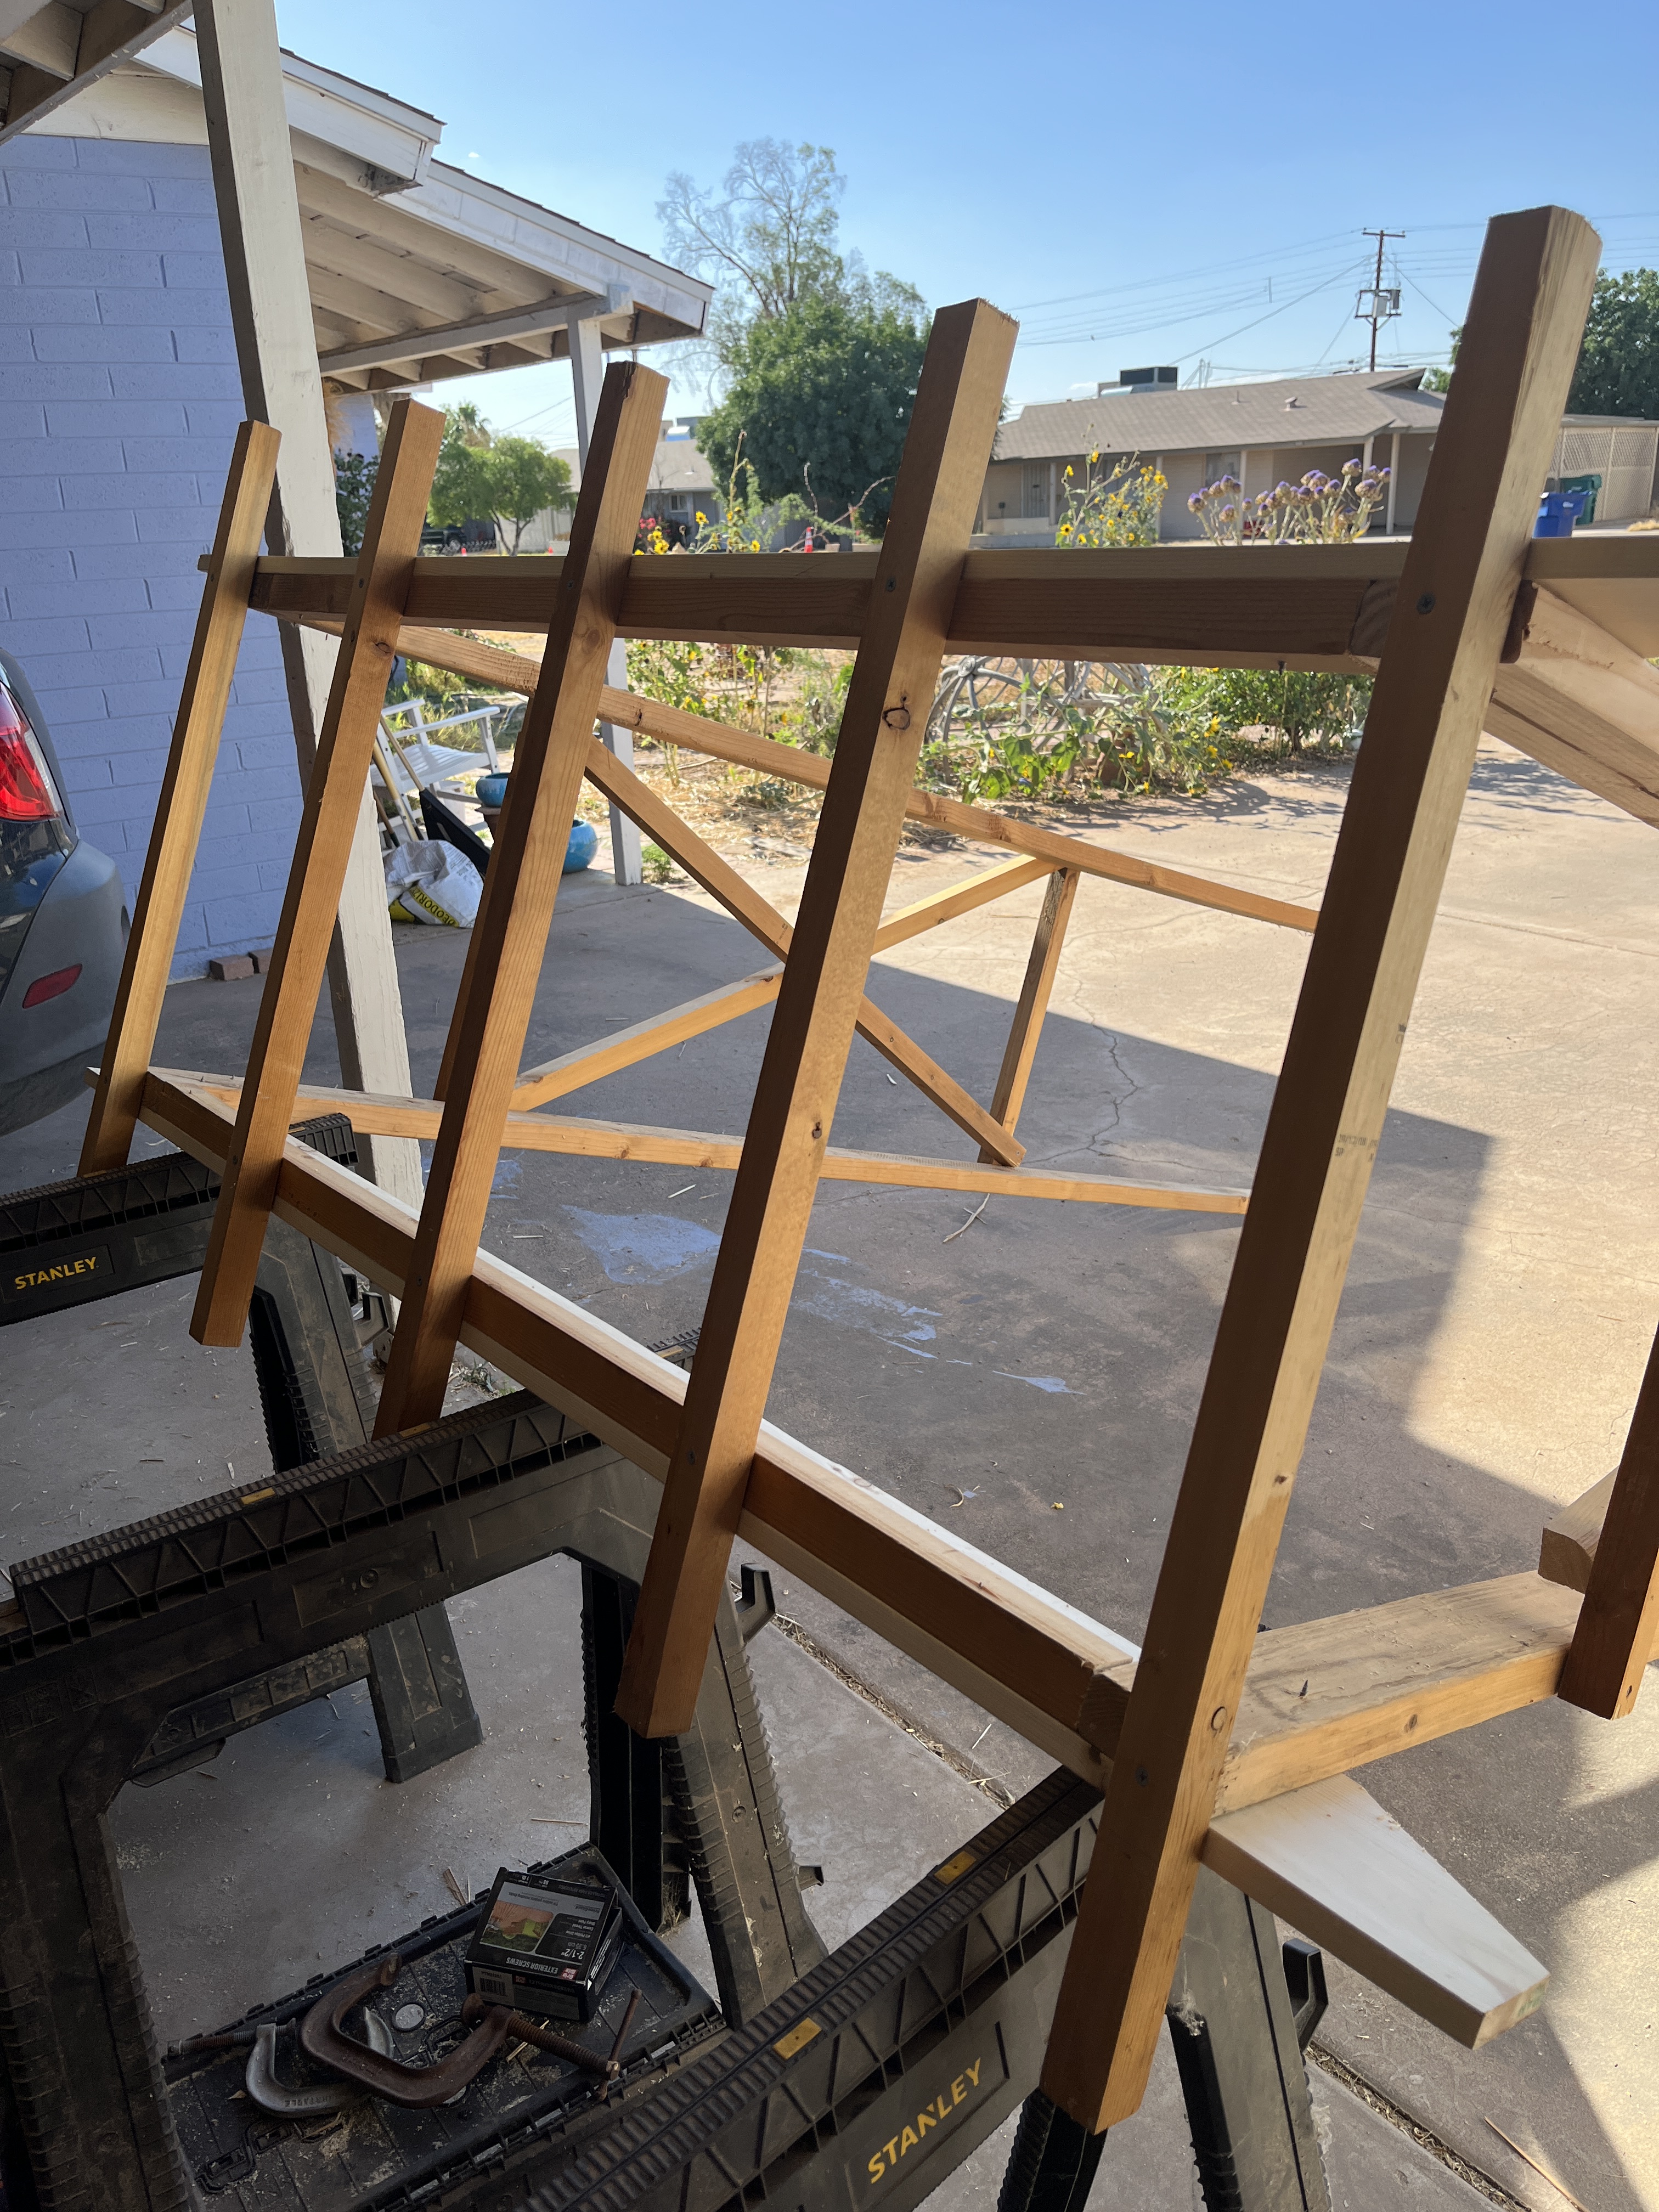
Set everything up and you’re ready to go. I cut as I went with the first one, but then I was redesigning as I went.
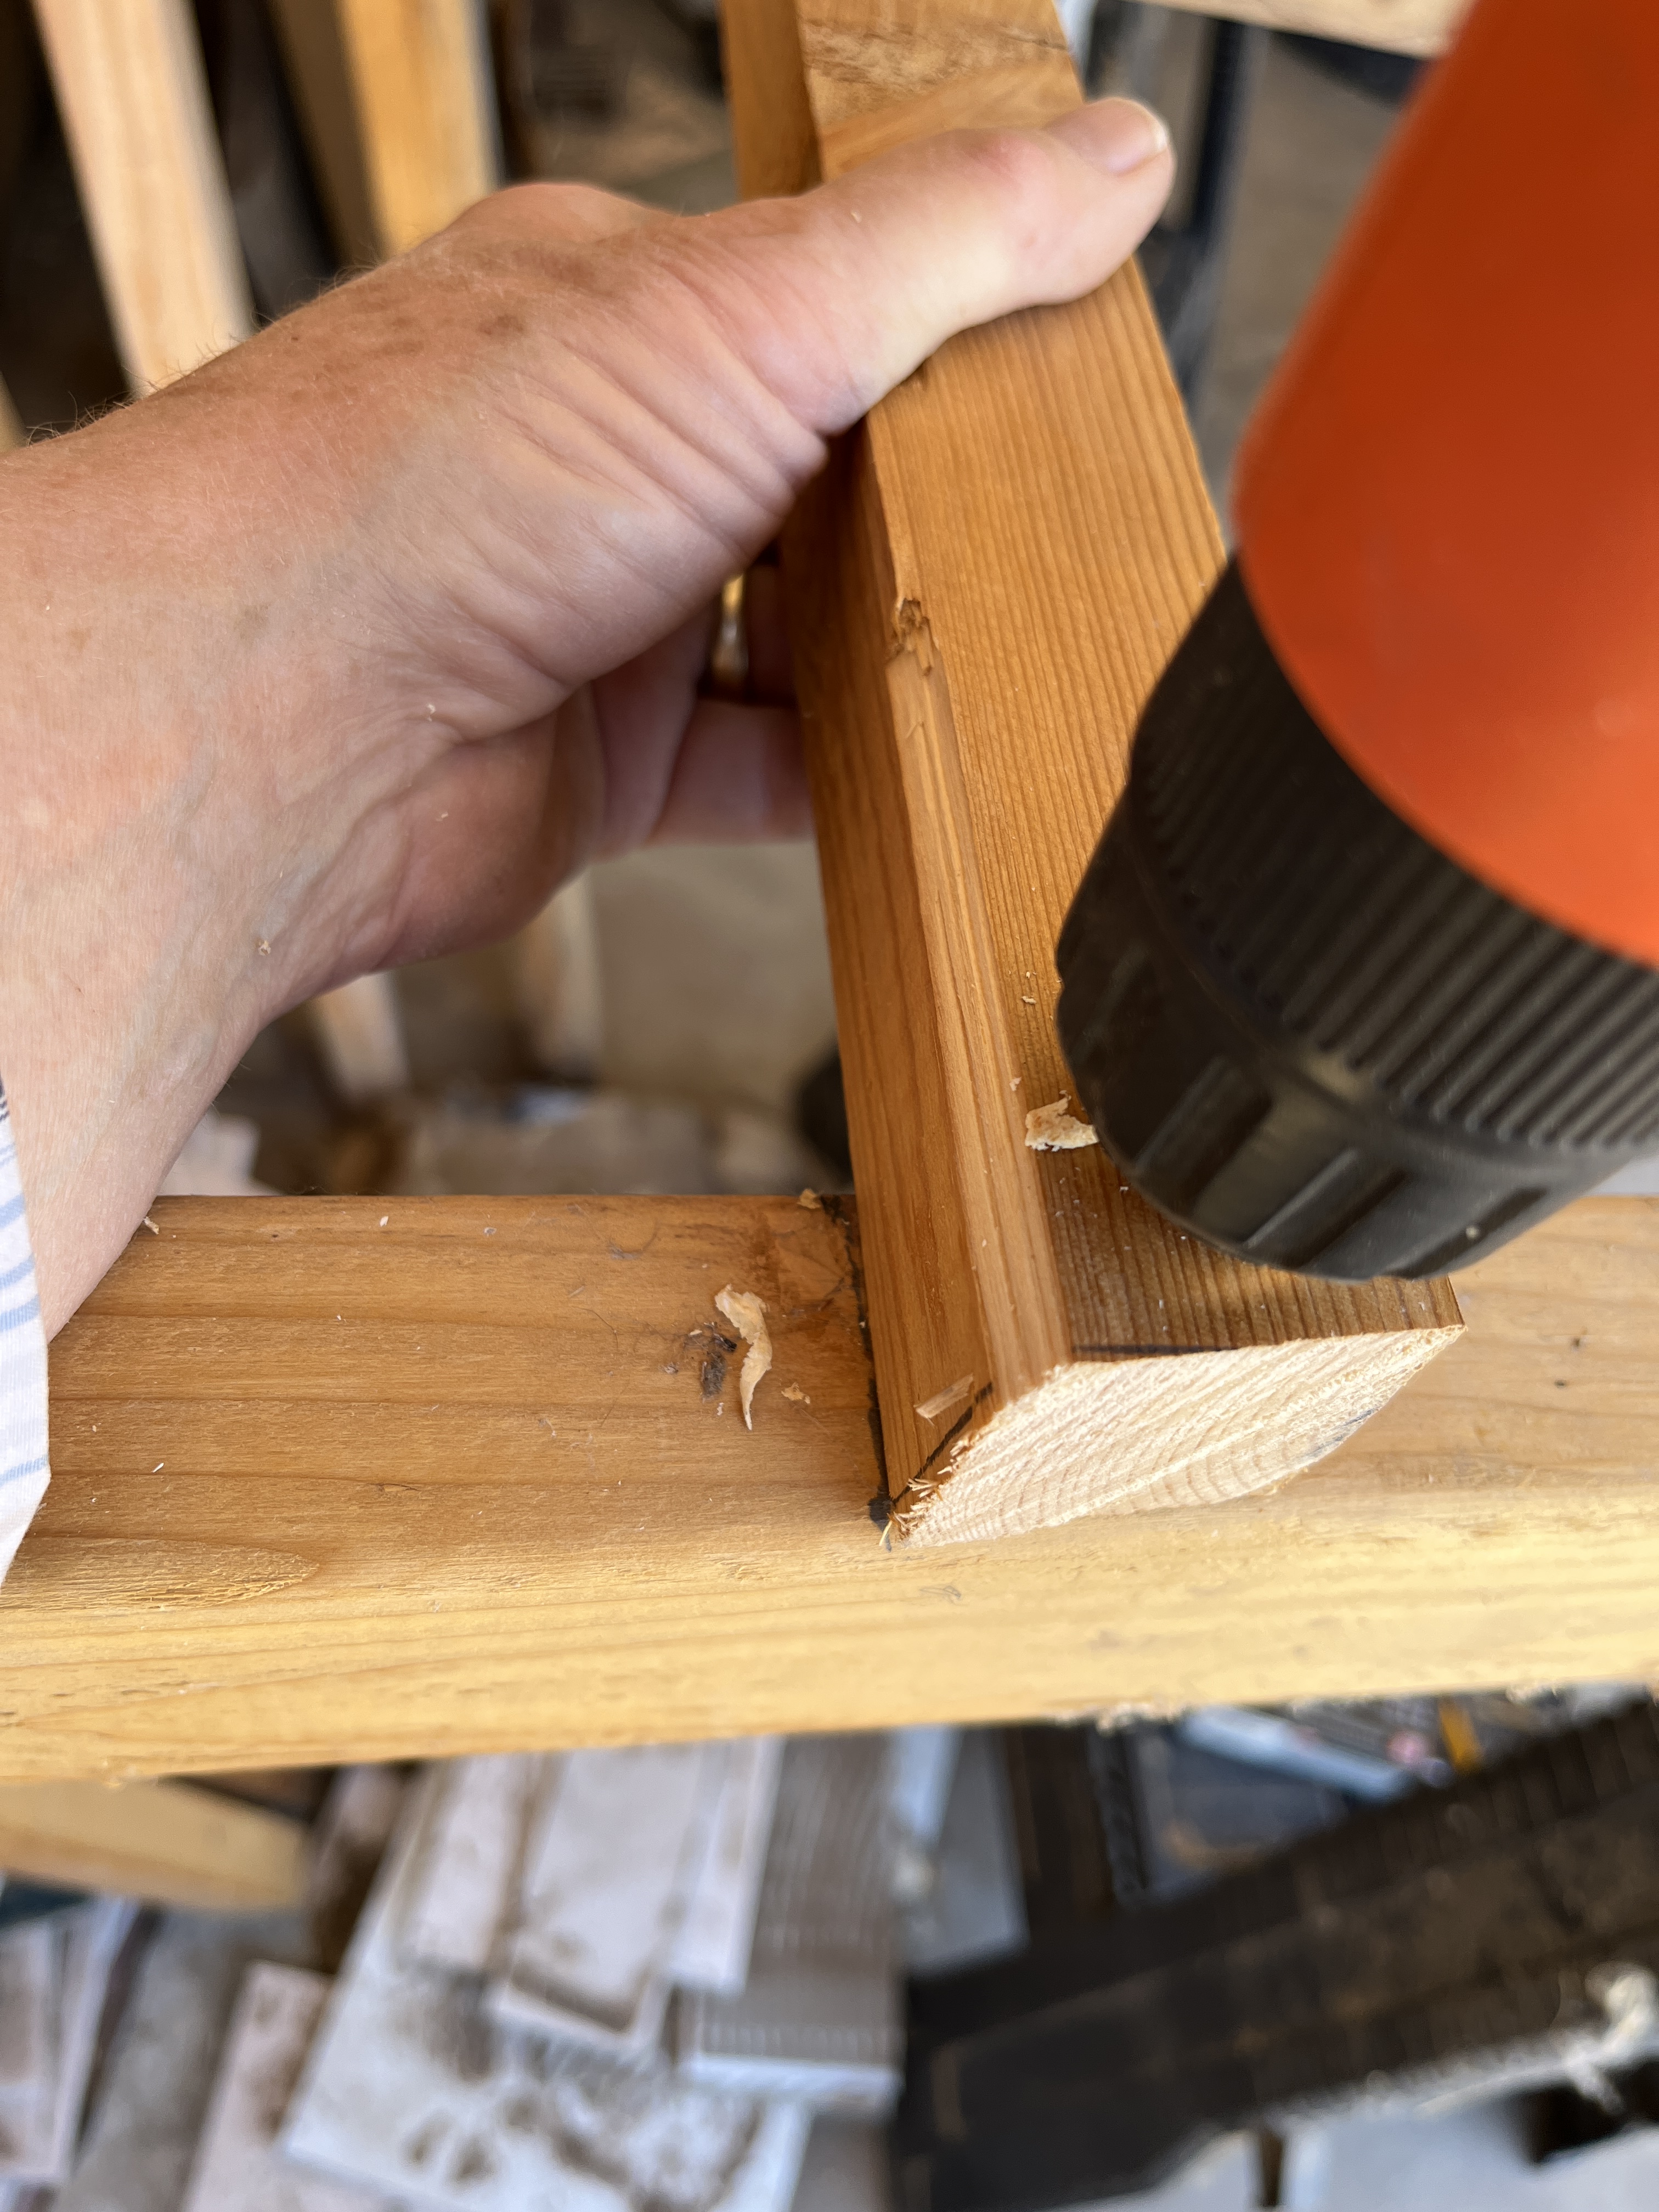
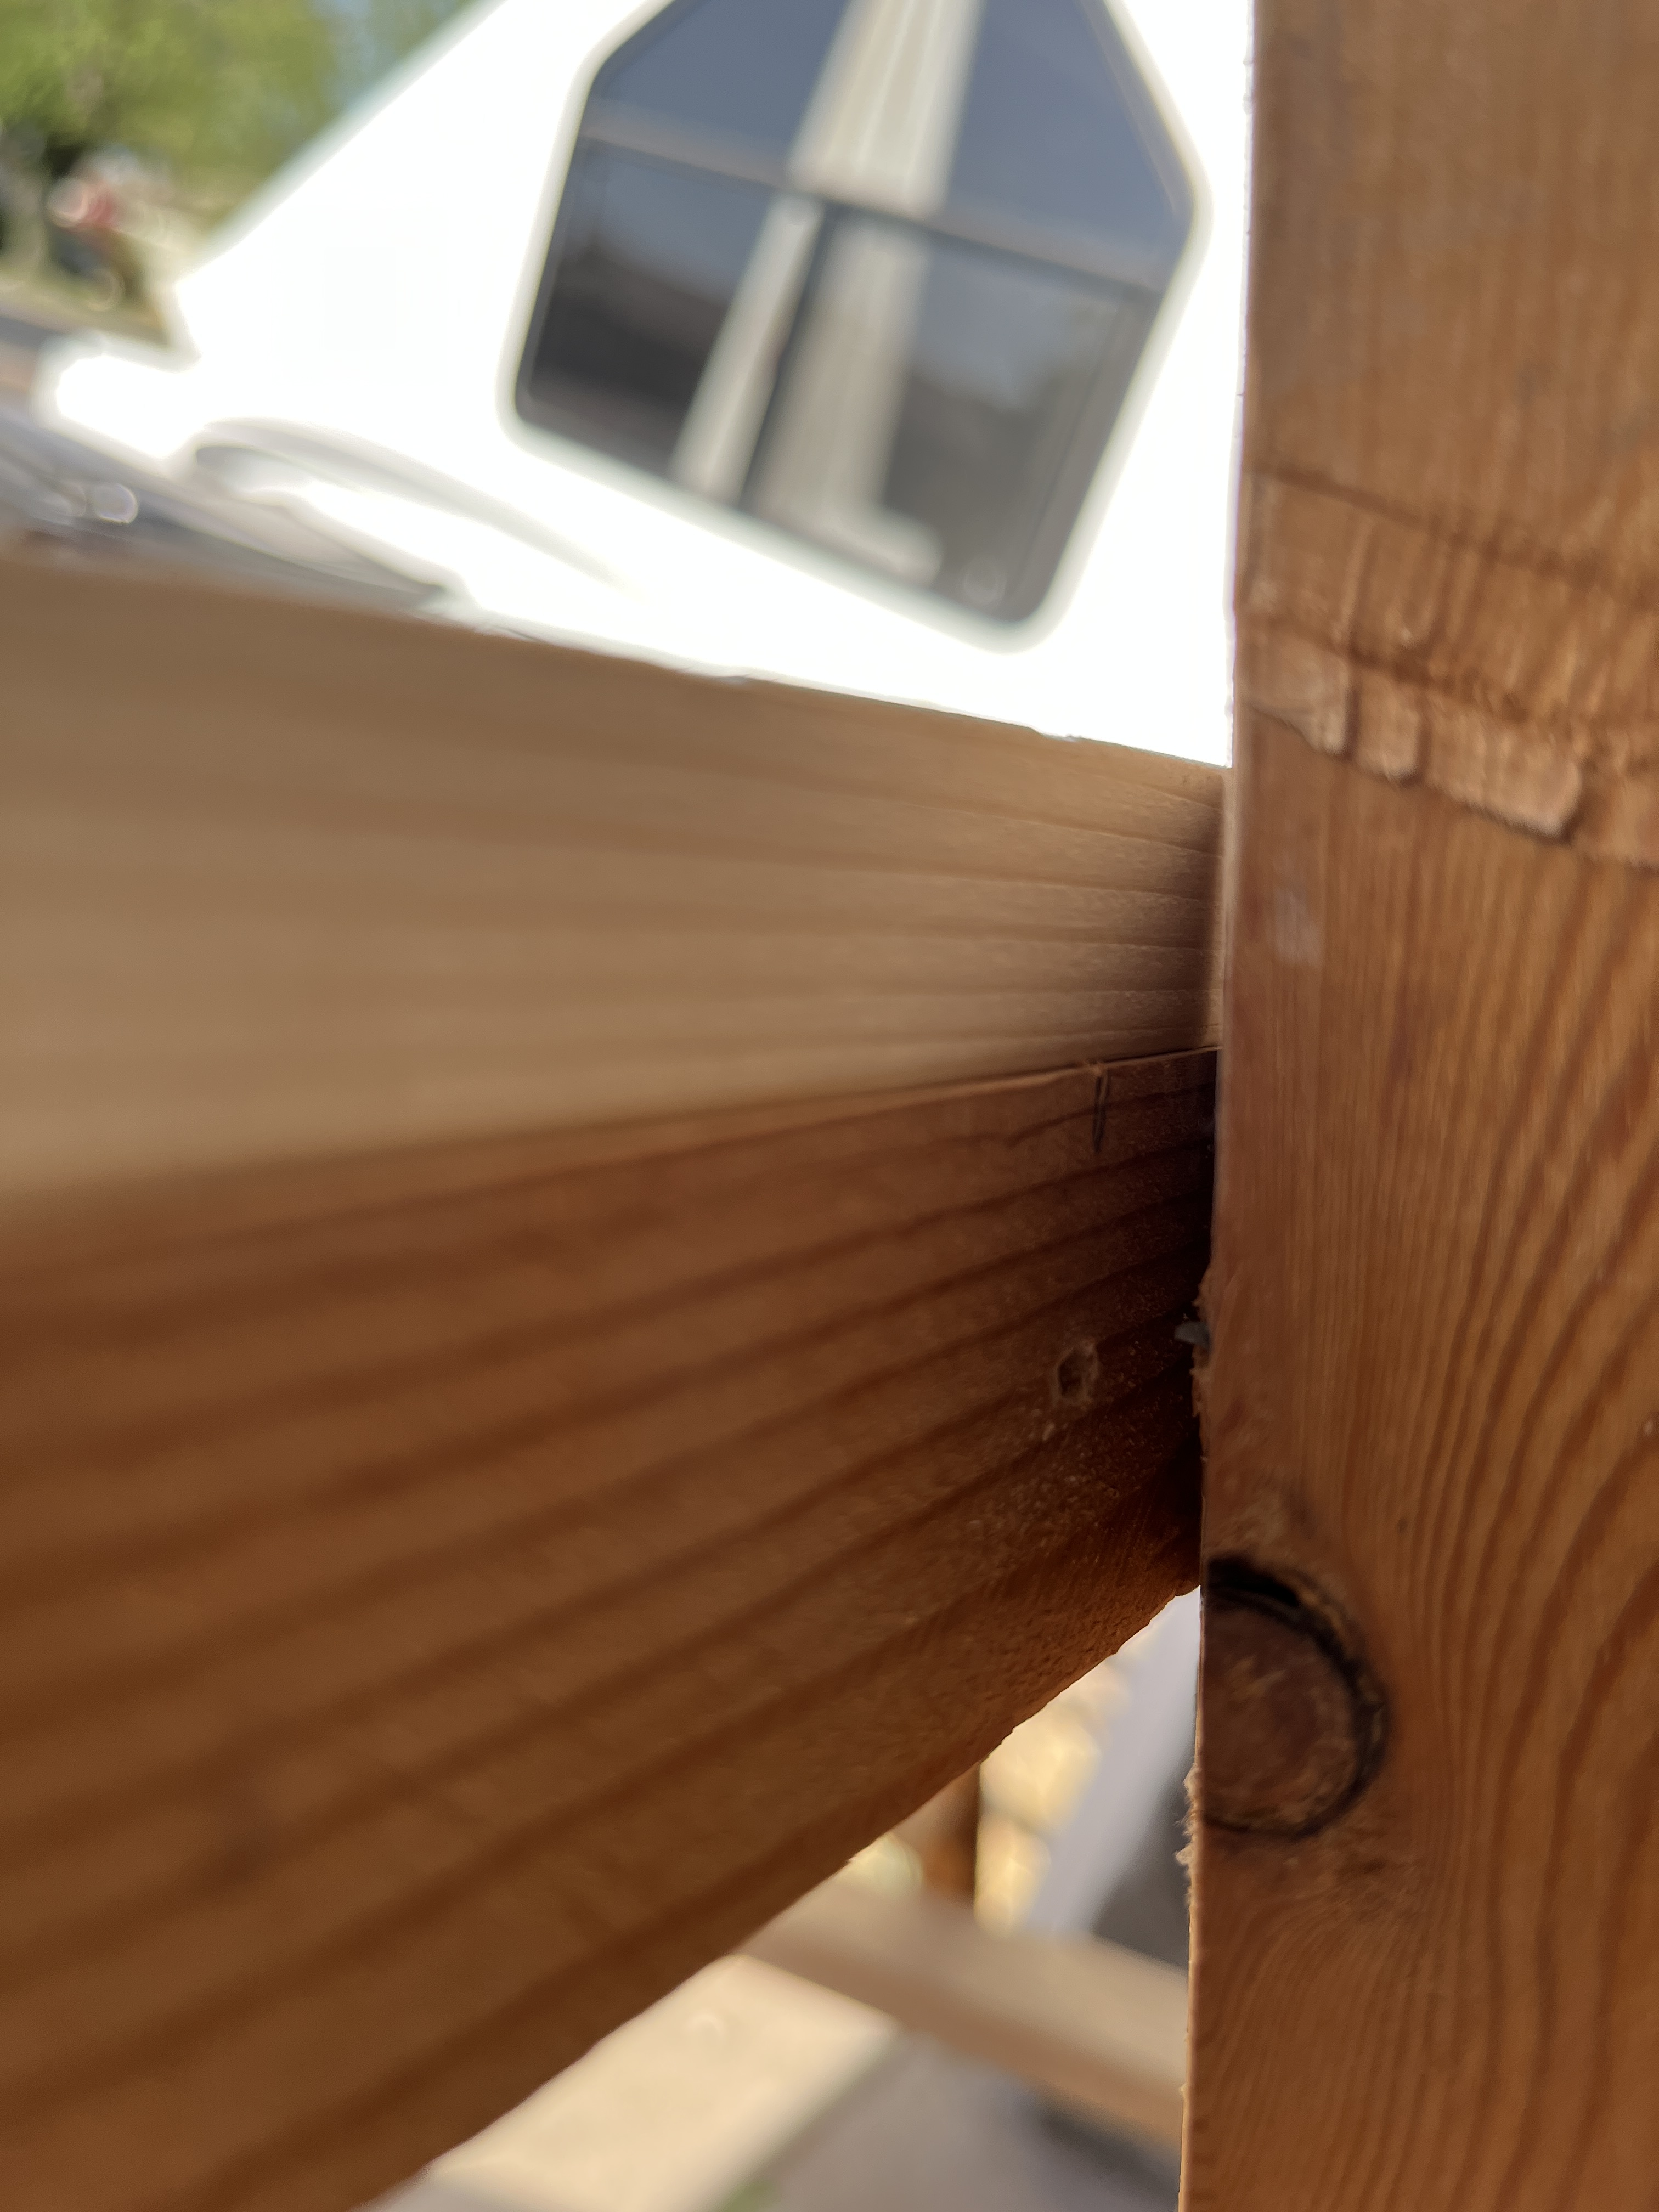
Now to screw everything together. You’ll want to drill pilot holes so you don’t split the wood. I didn’t do this when I made the 1st arbours. More bad words happened when I made them way back when. So drill, screw, drill, screw, repeat.
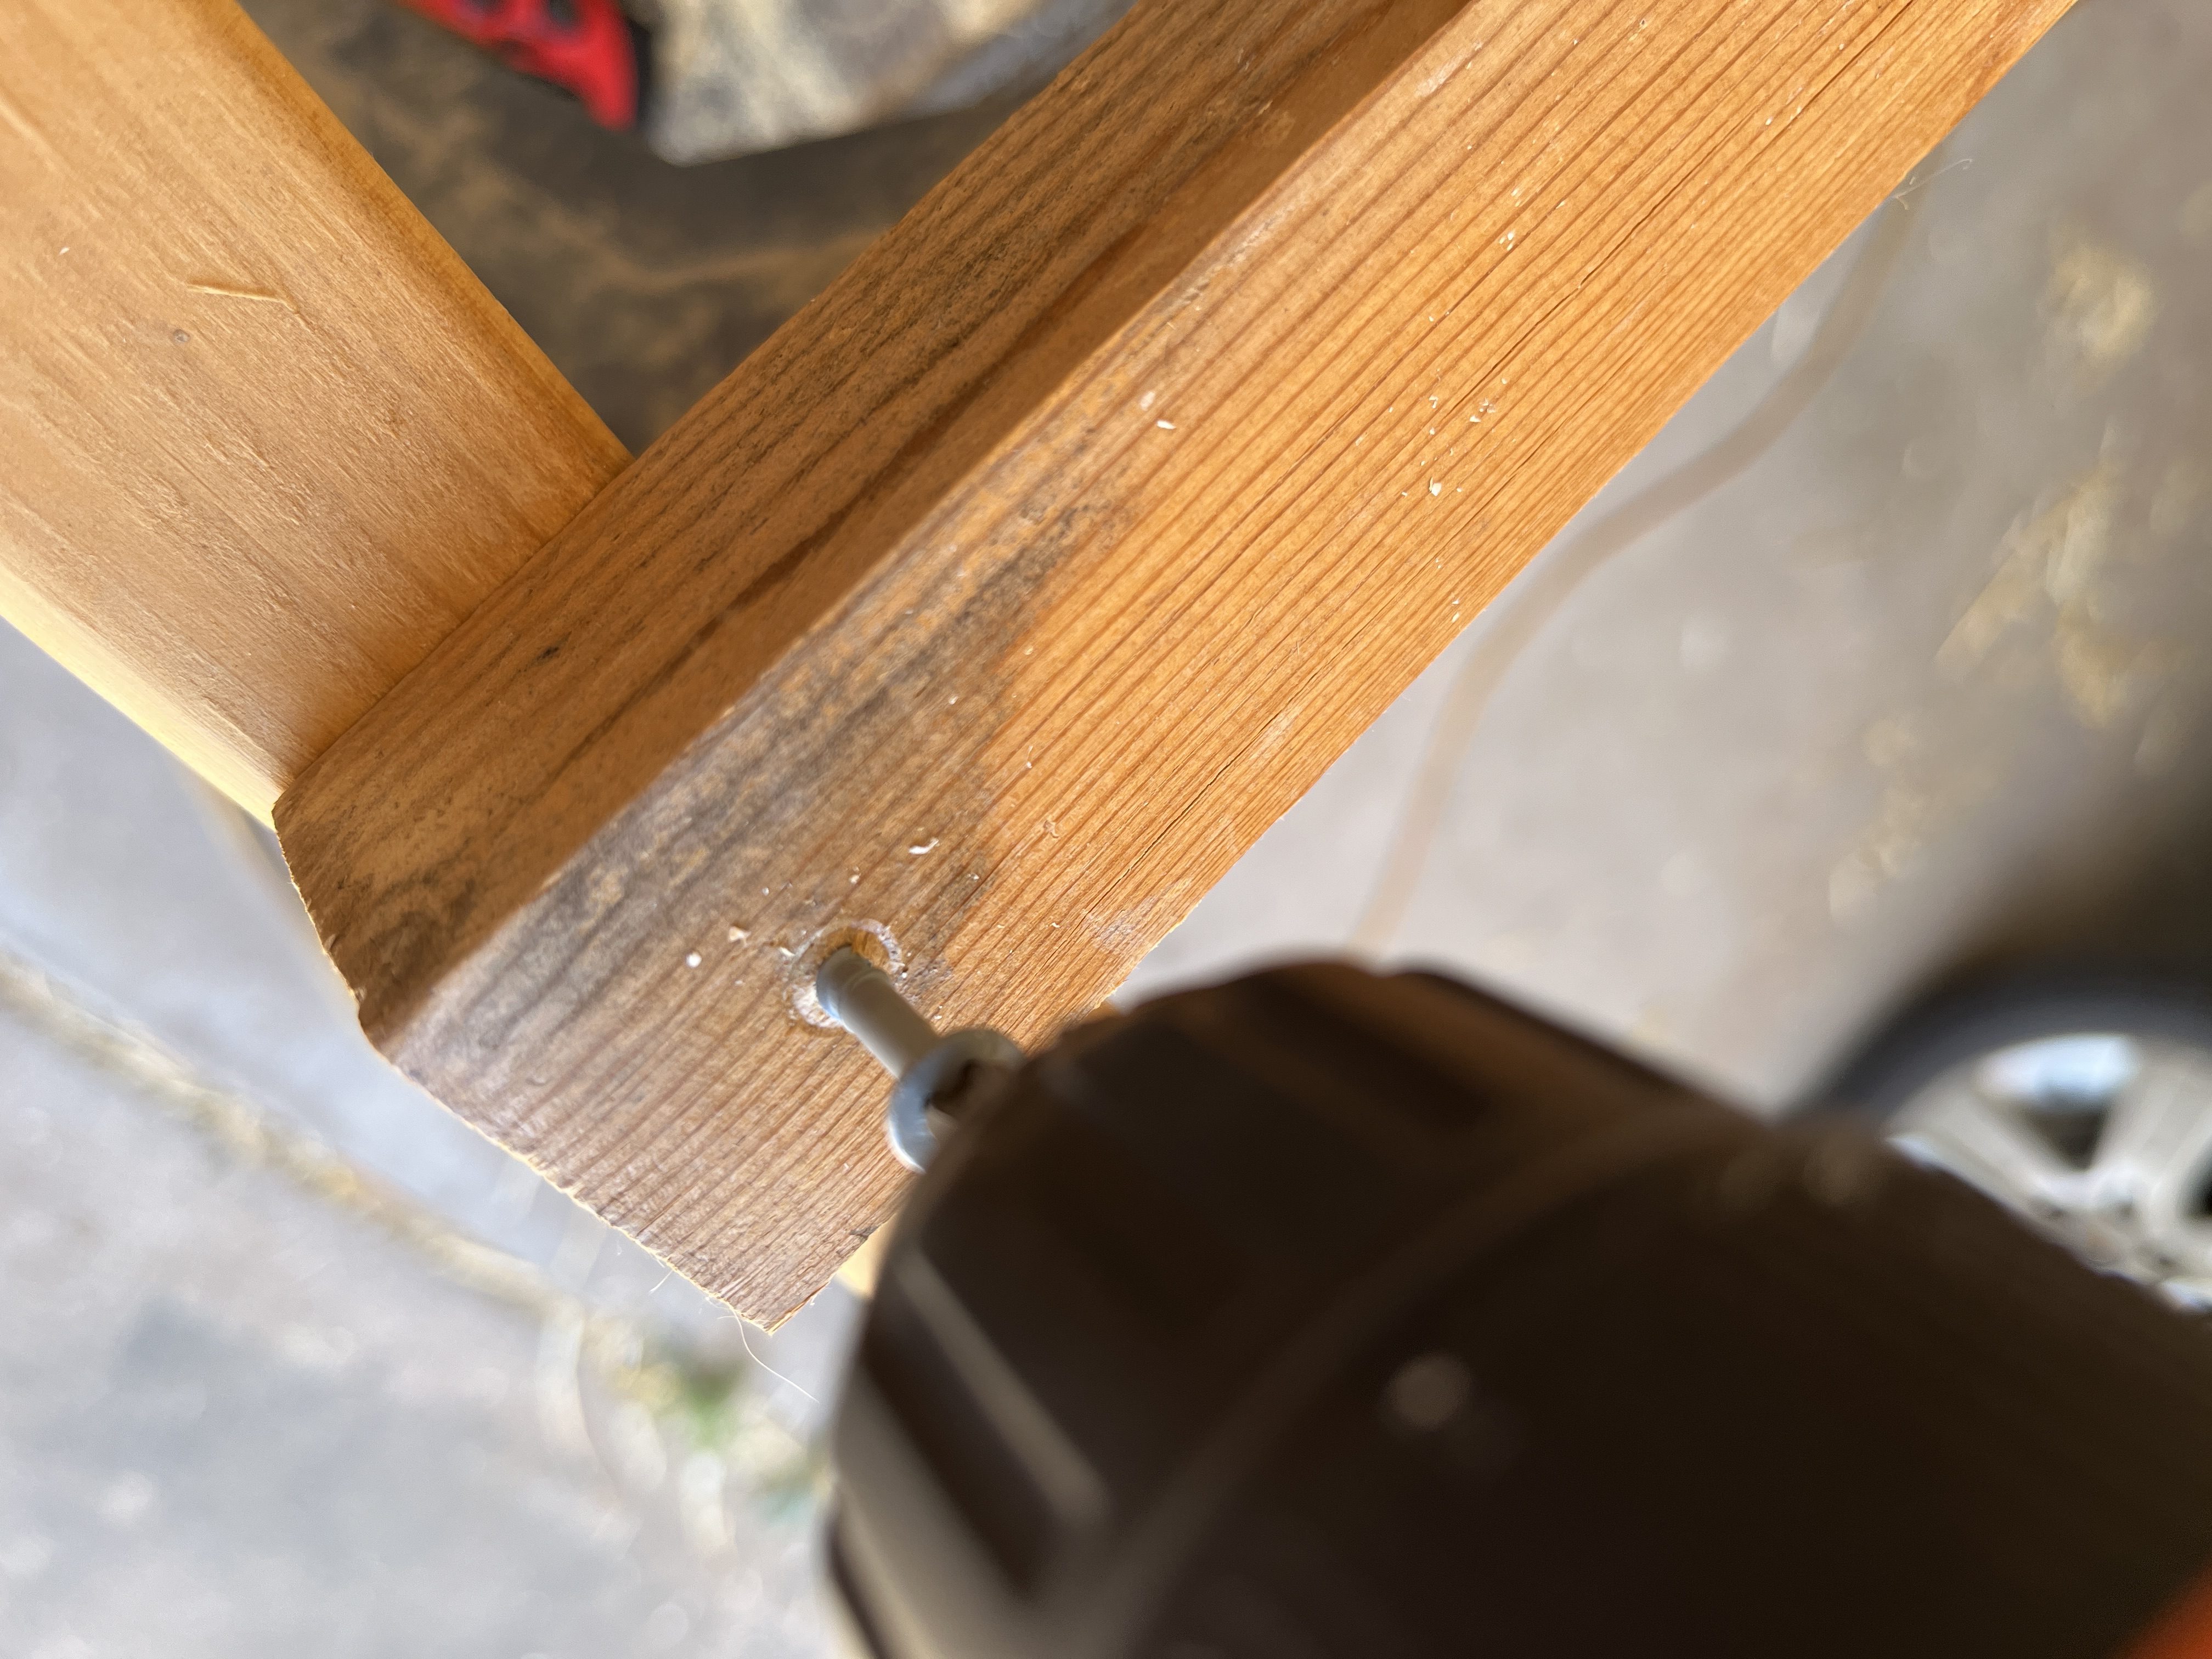
Yes, it’s kind of a pain to keep changing the bit from drill to driver but this way the woos moves less and the holes stay lined up, making for fewer bad words overall.

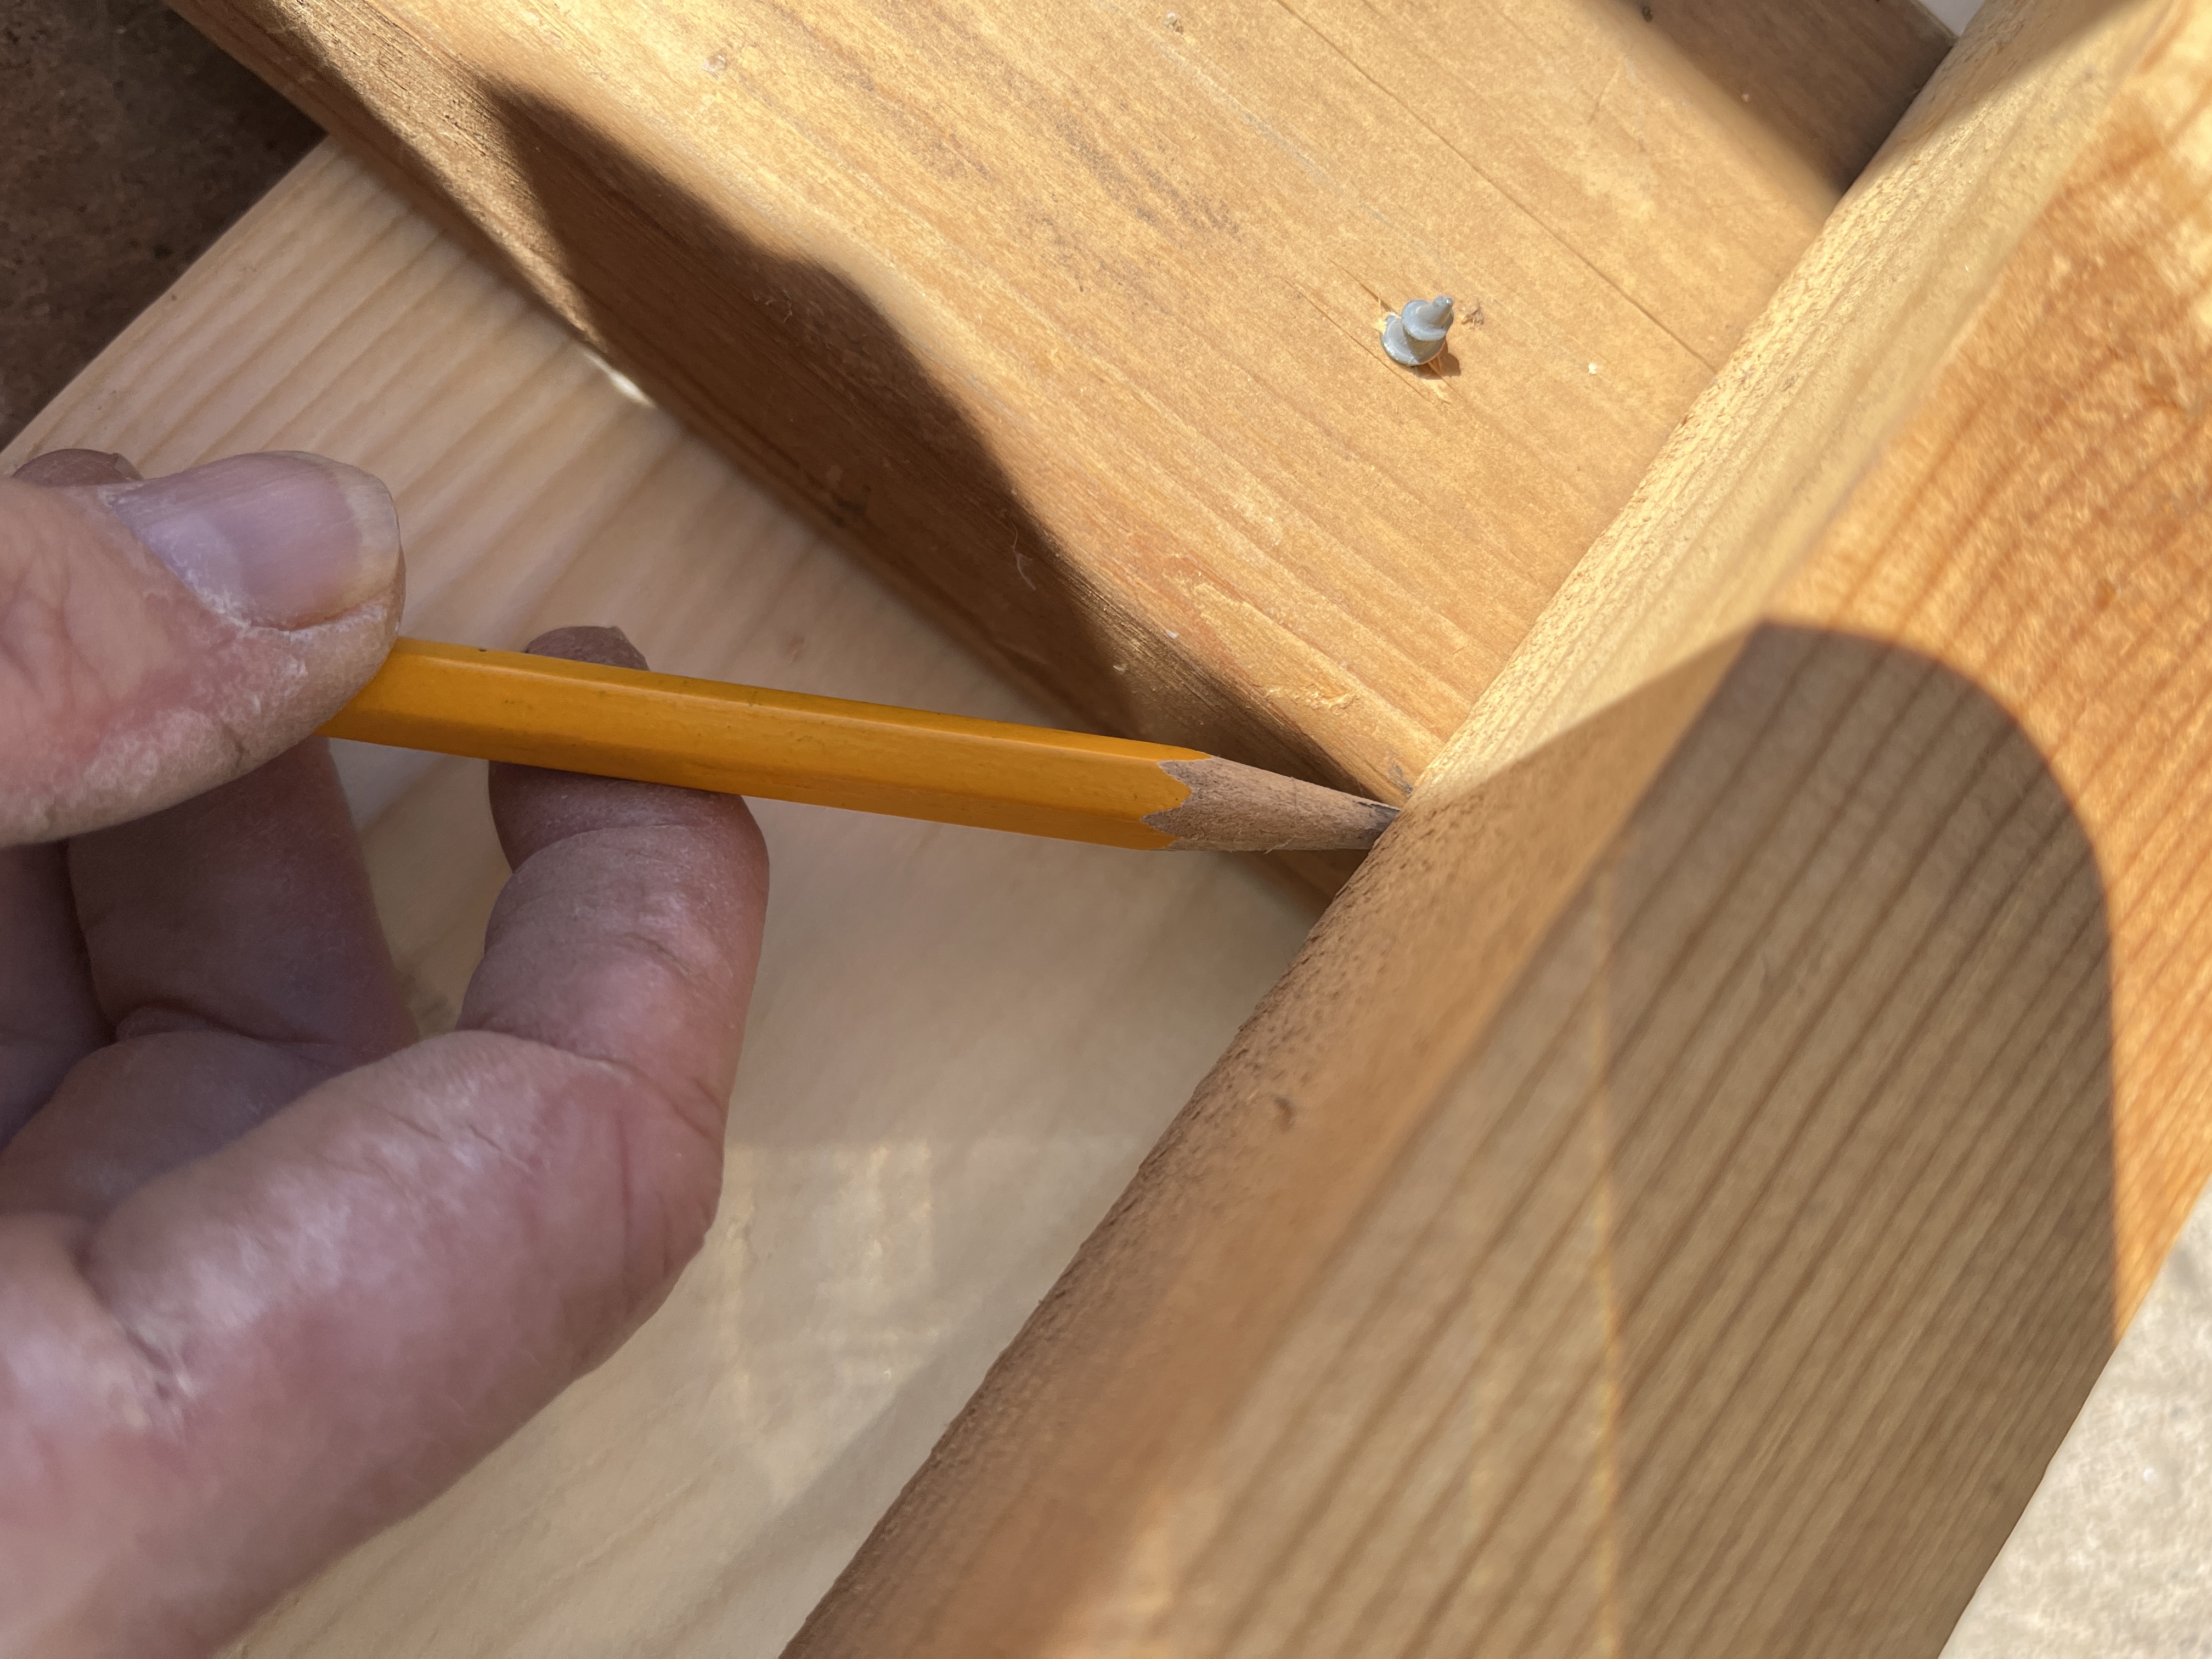
I used a tape measure to measure how far down to put the first cross-piece but used the the first side of the X to figure out where to put the second cross-piece.

One side done…now the other.
Then put the tops on. Attach the 1x6s to the top of the 2x4s. And oops, I forgot to count and cut the 5′ 2×2 supports for the tops! Oh, well, this is a bit different anyway.
Measure and mark the inside length on the 2x2s, then cut to length.
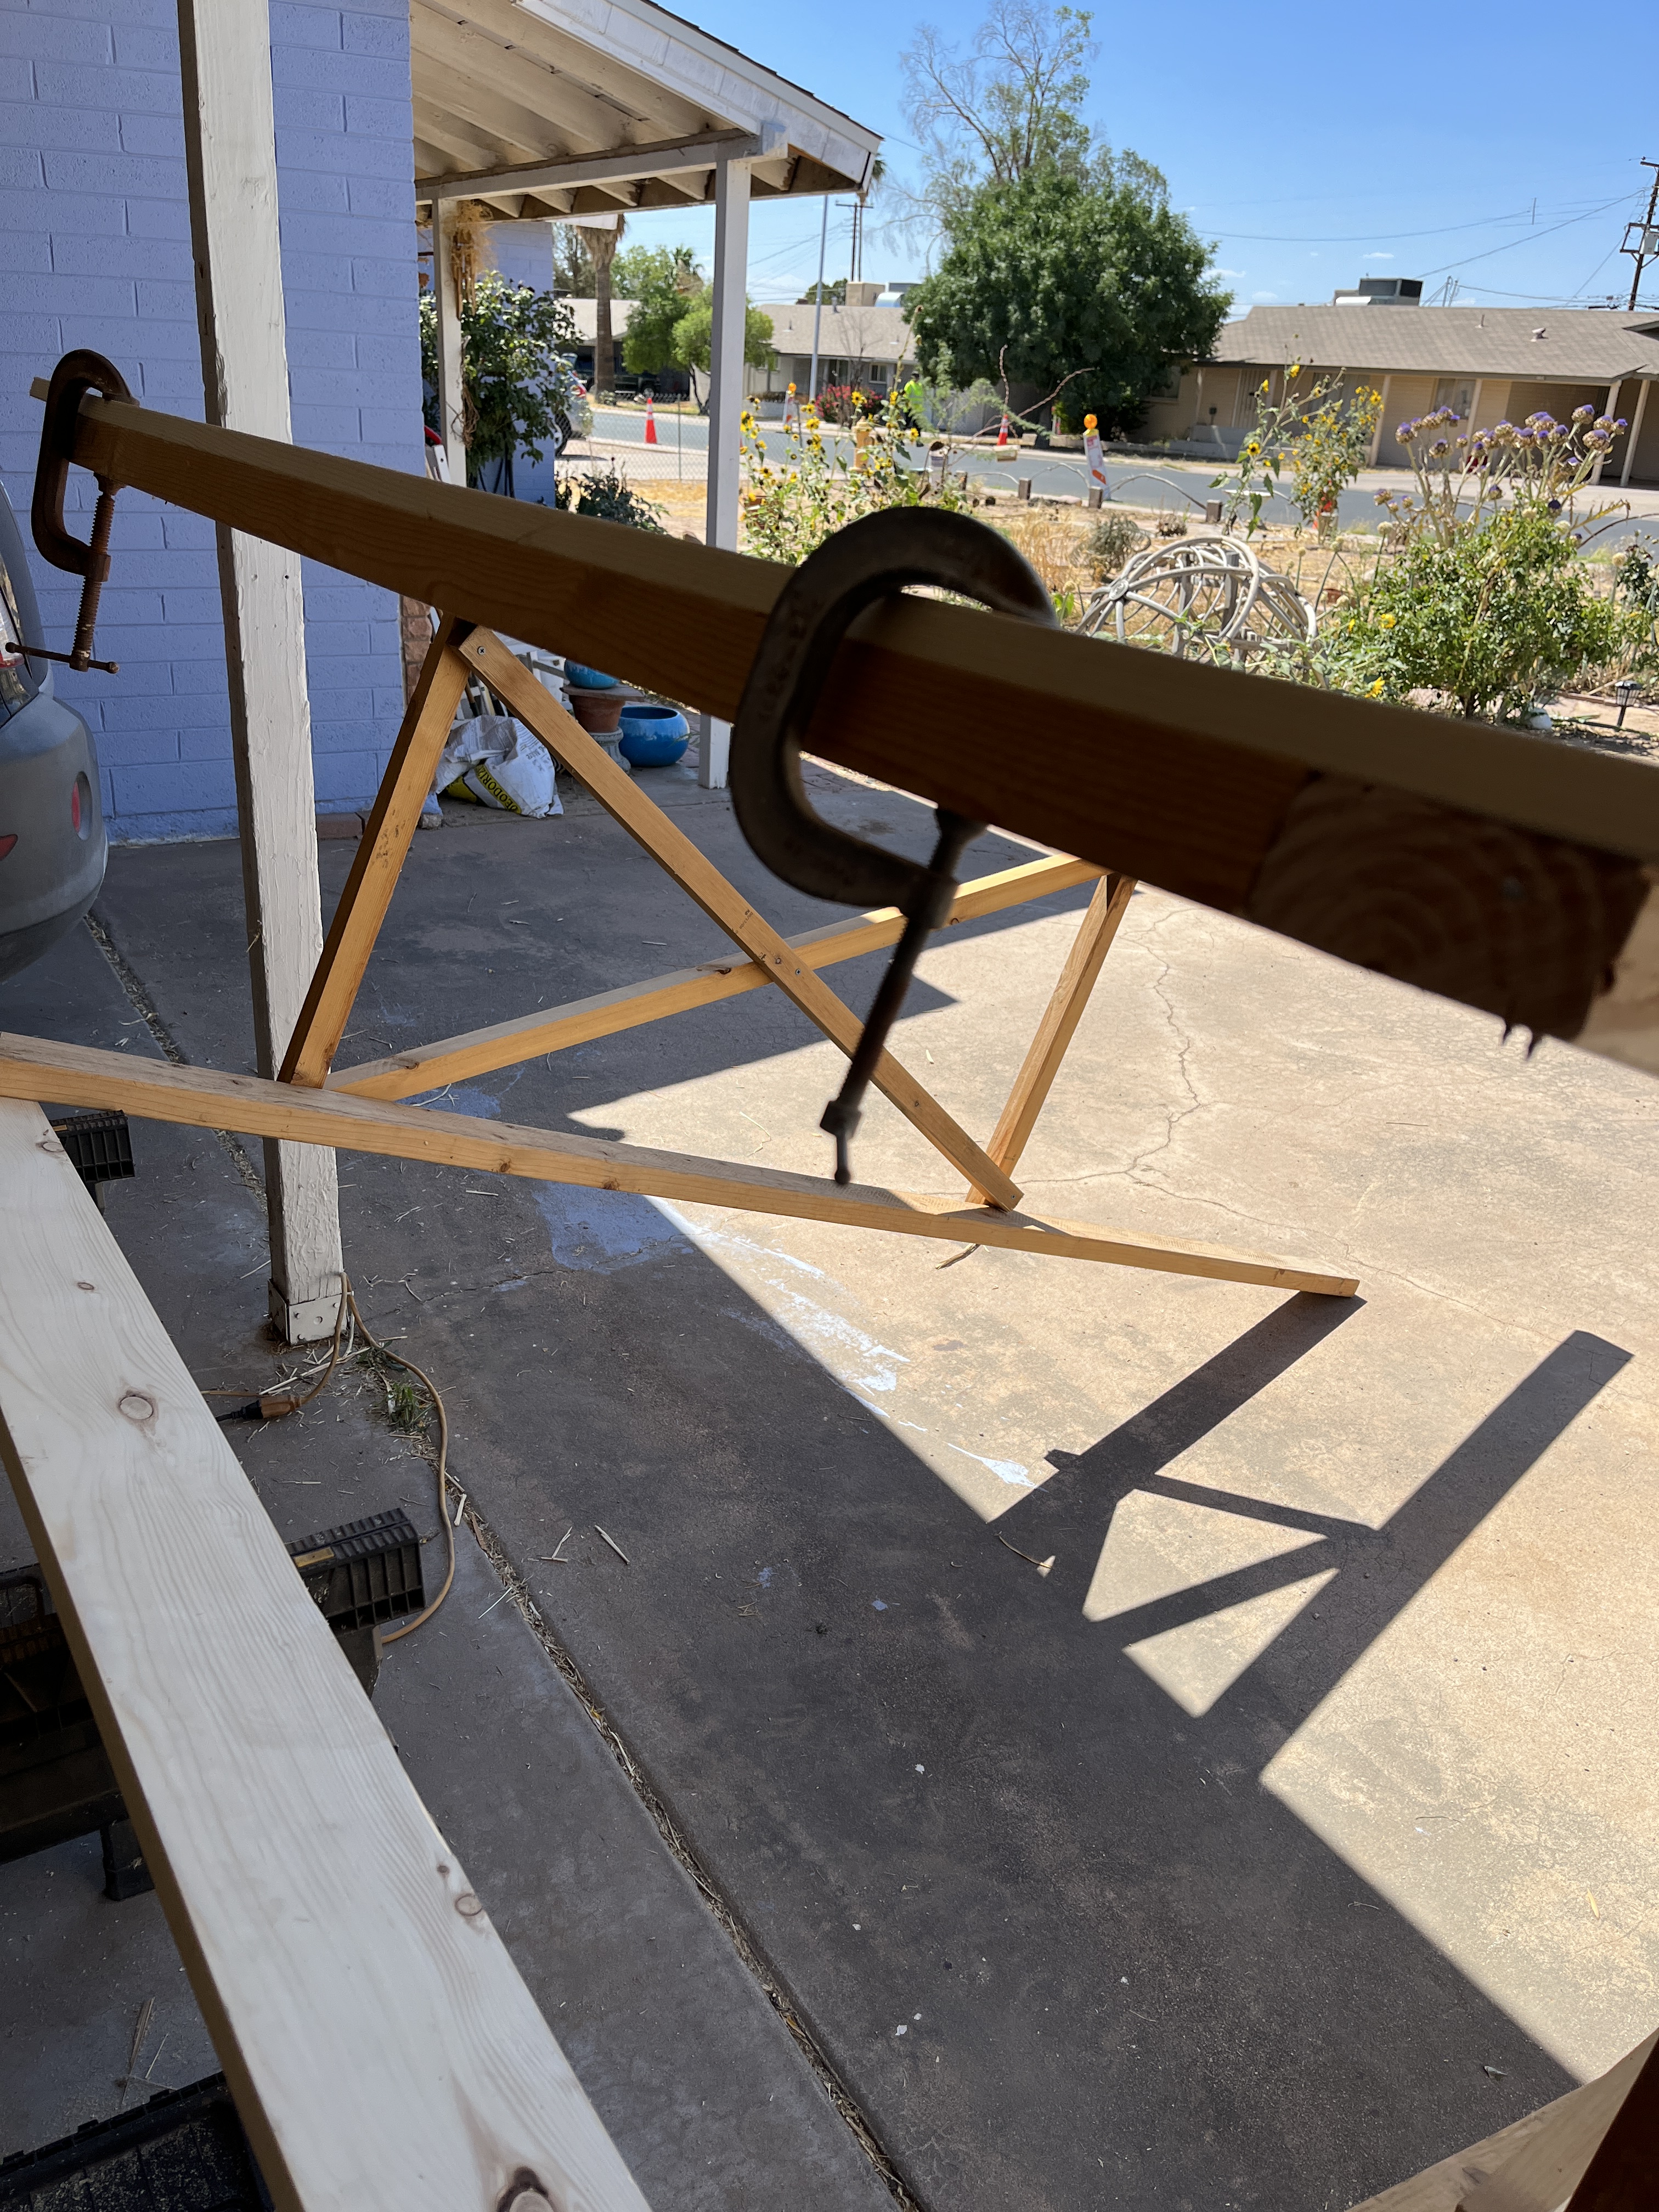
Now grab a couple clamps, drill and screw them on.
Whew! Almost done. Now for the top cross-pieces. But first, a break.
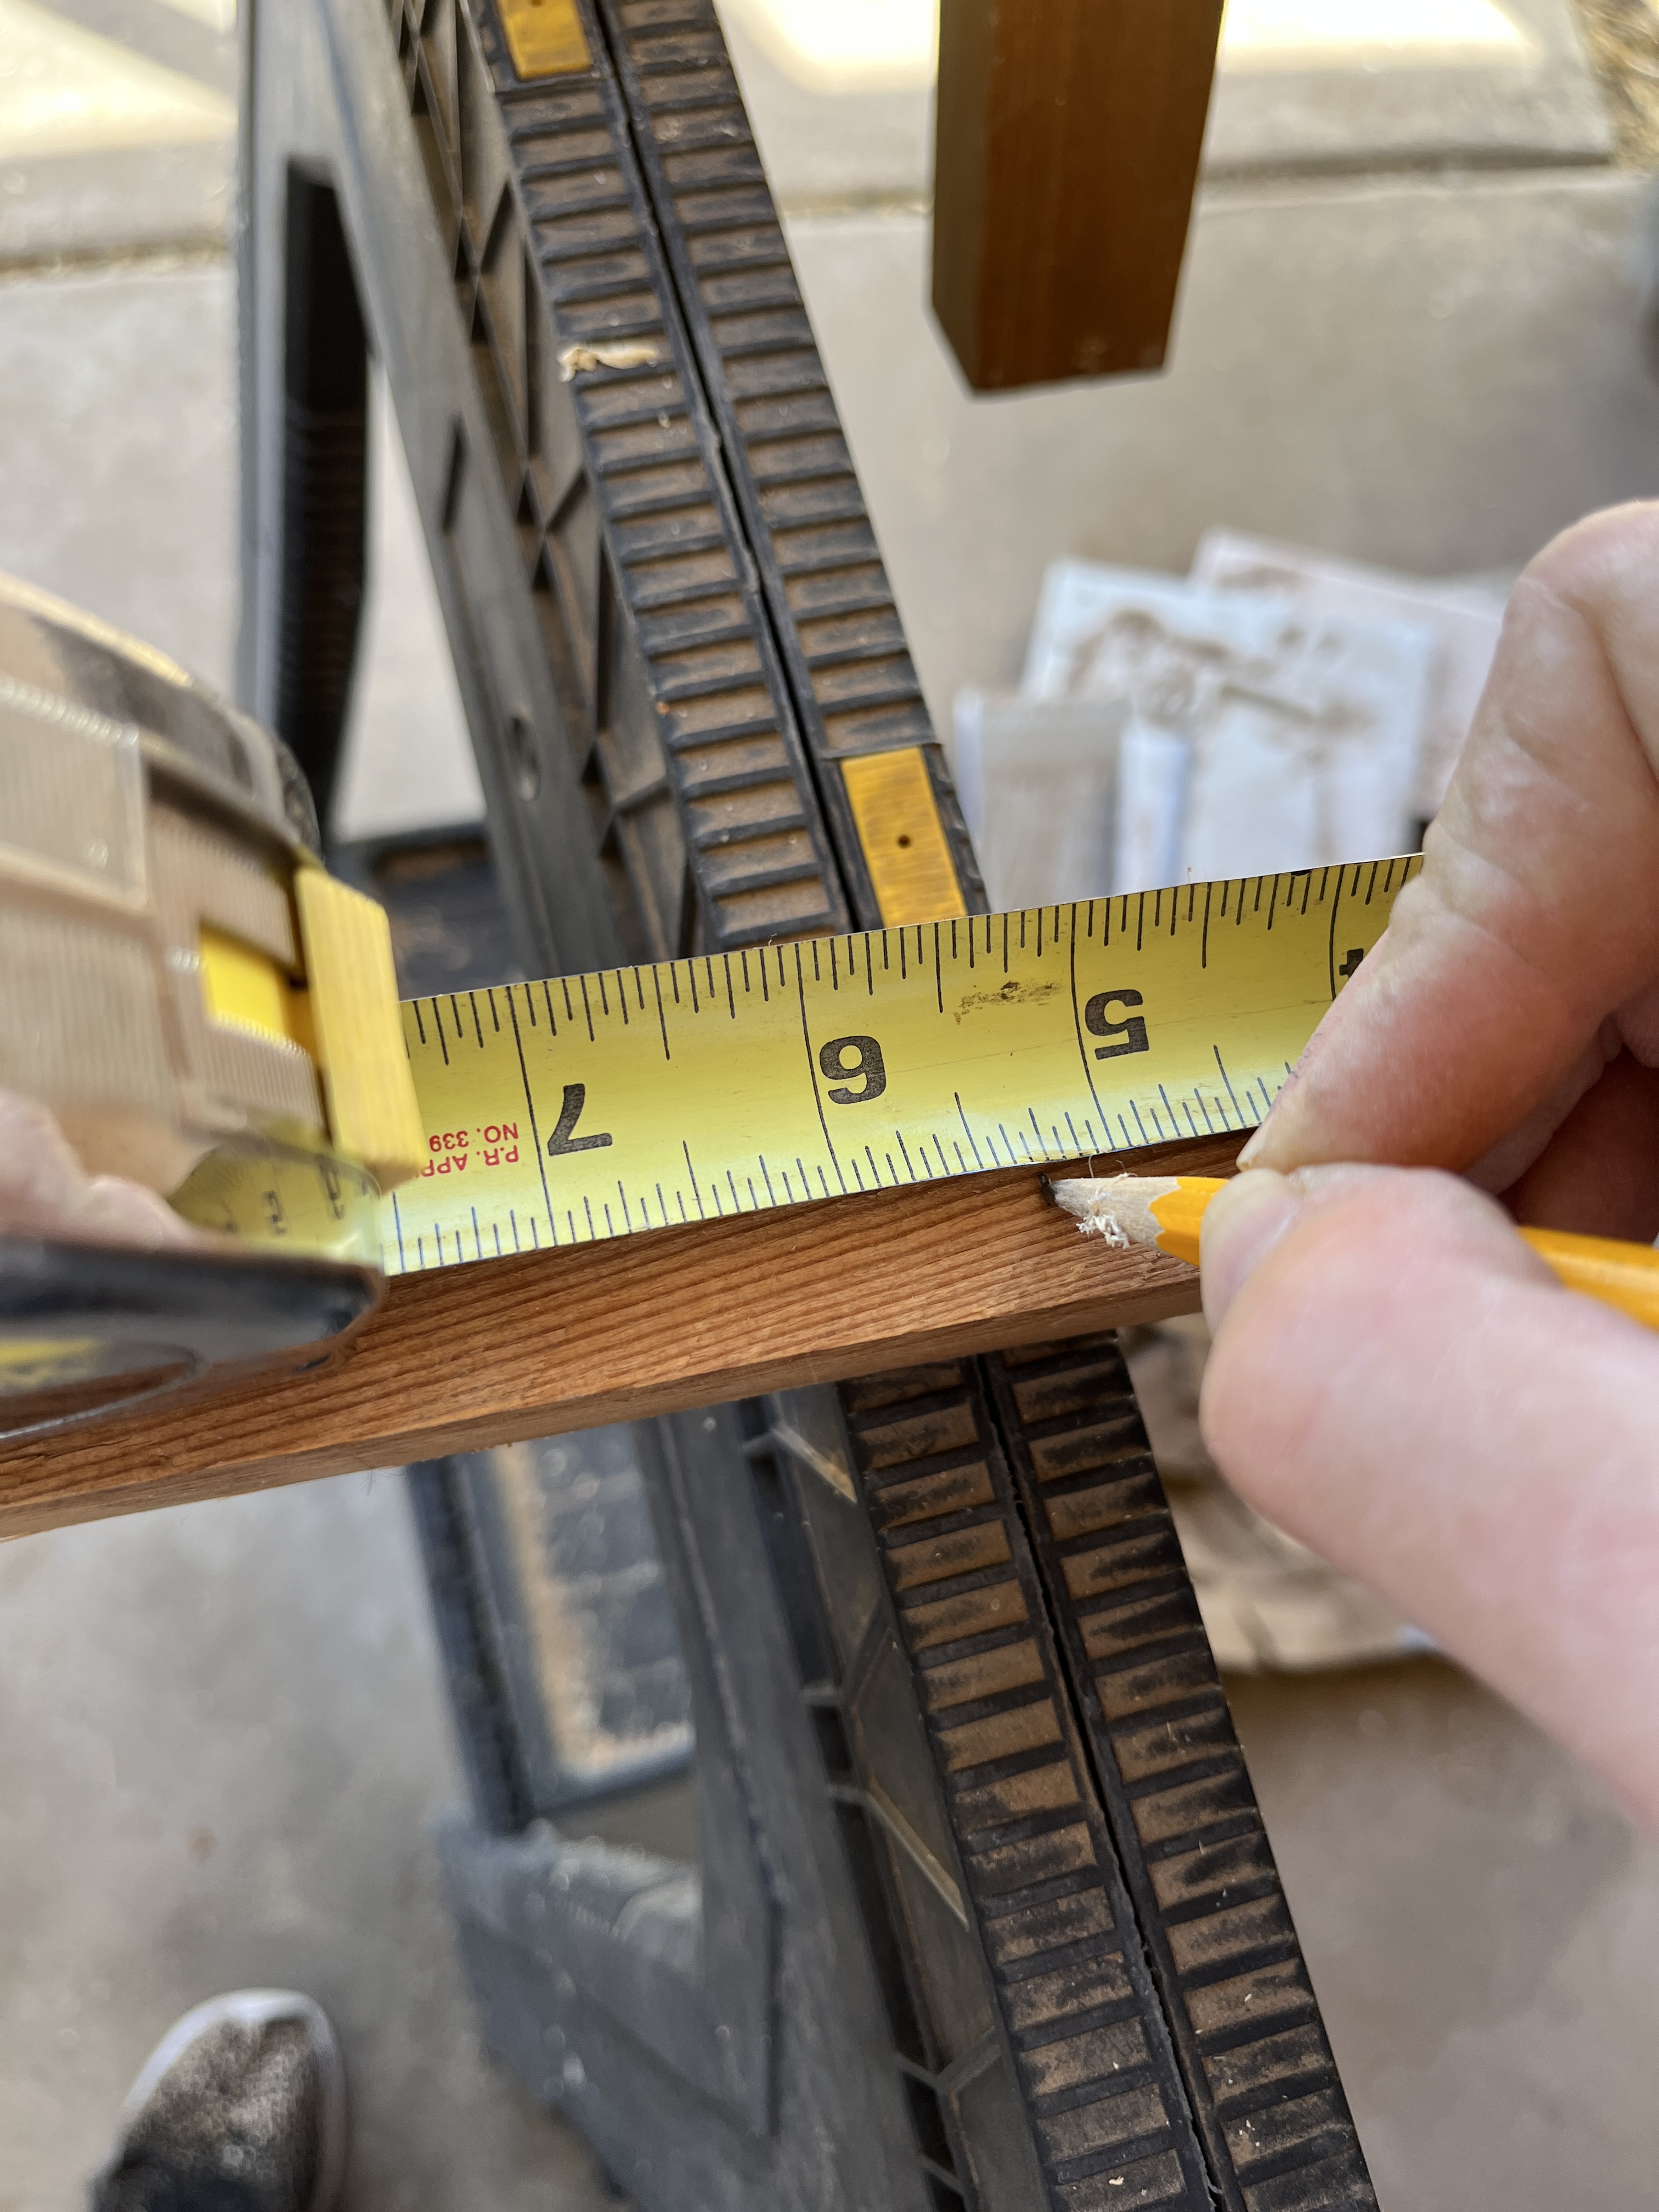
Measure the top span pieces so the over-hang is the same front and back.
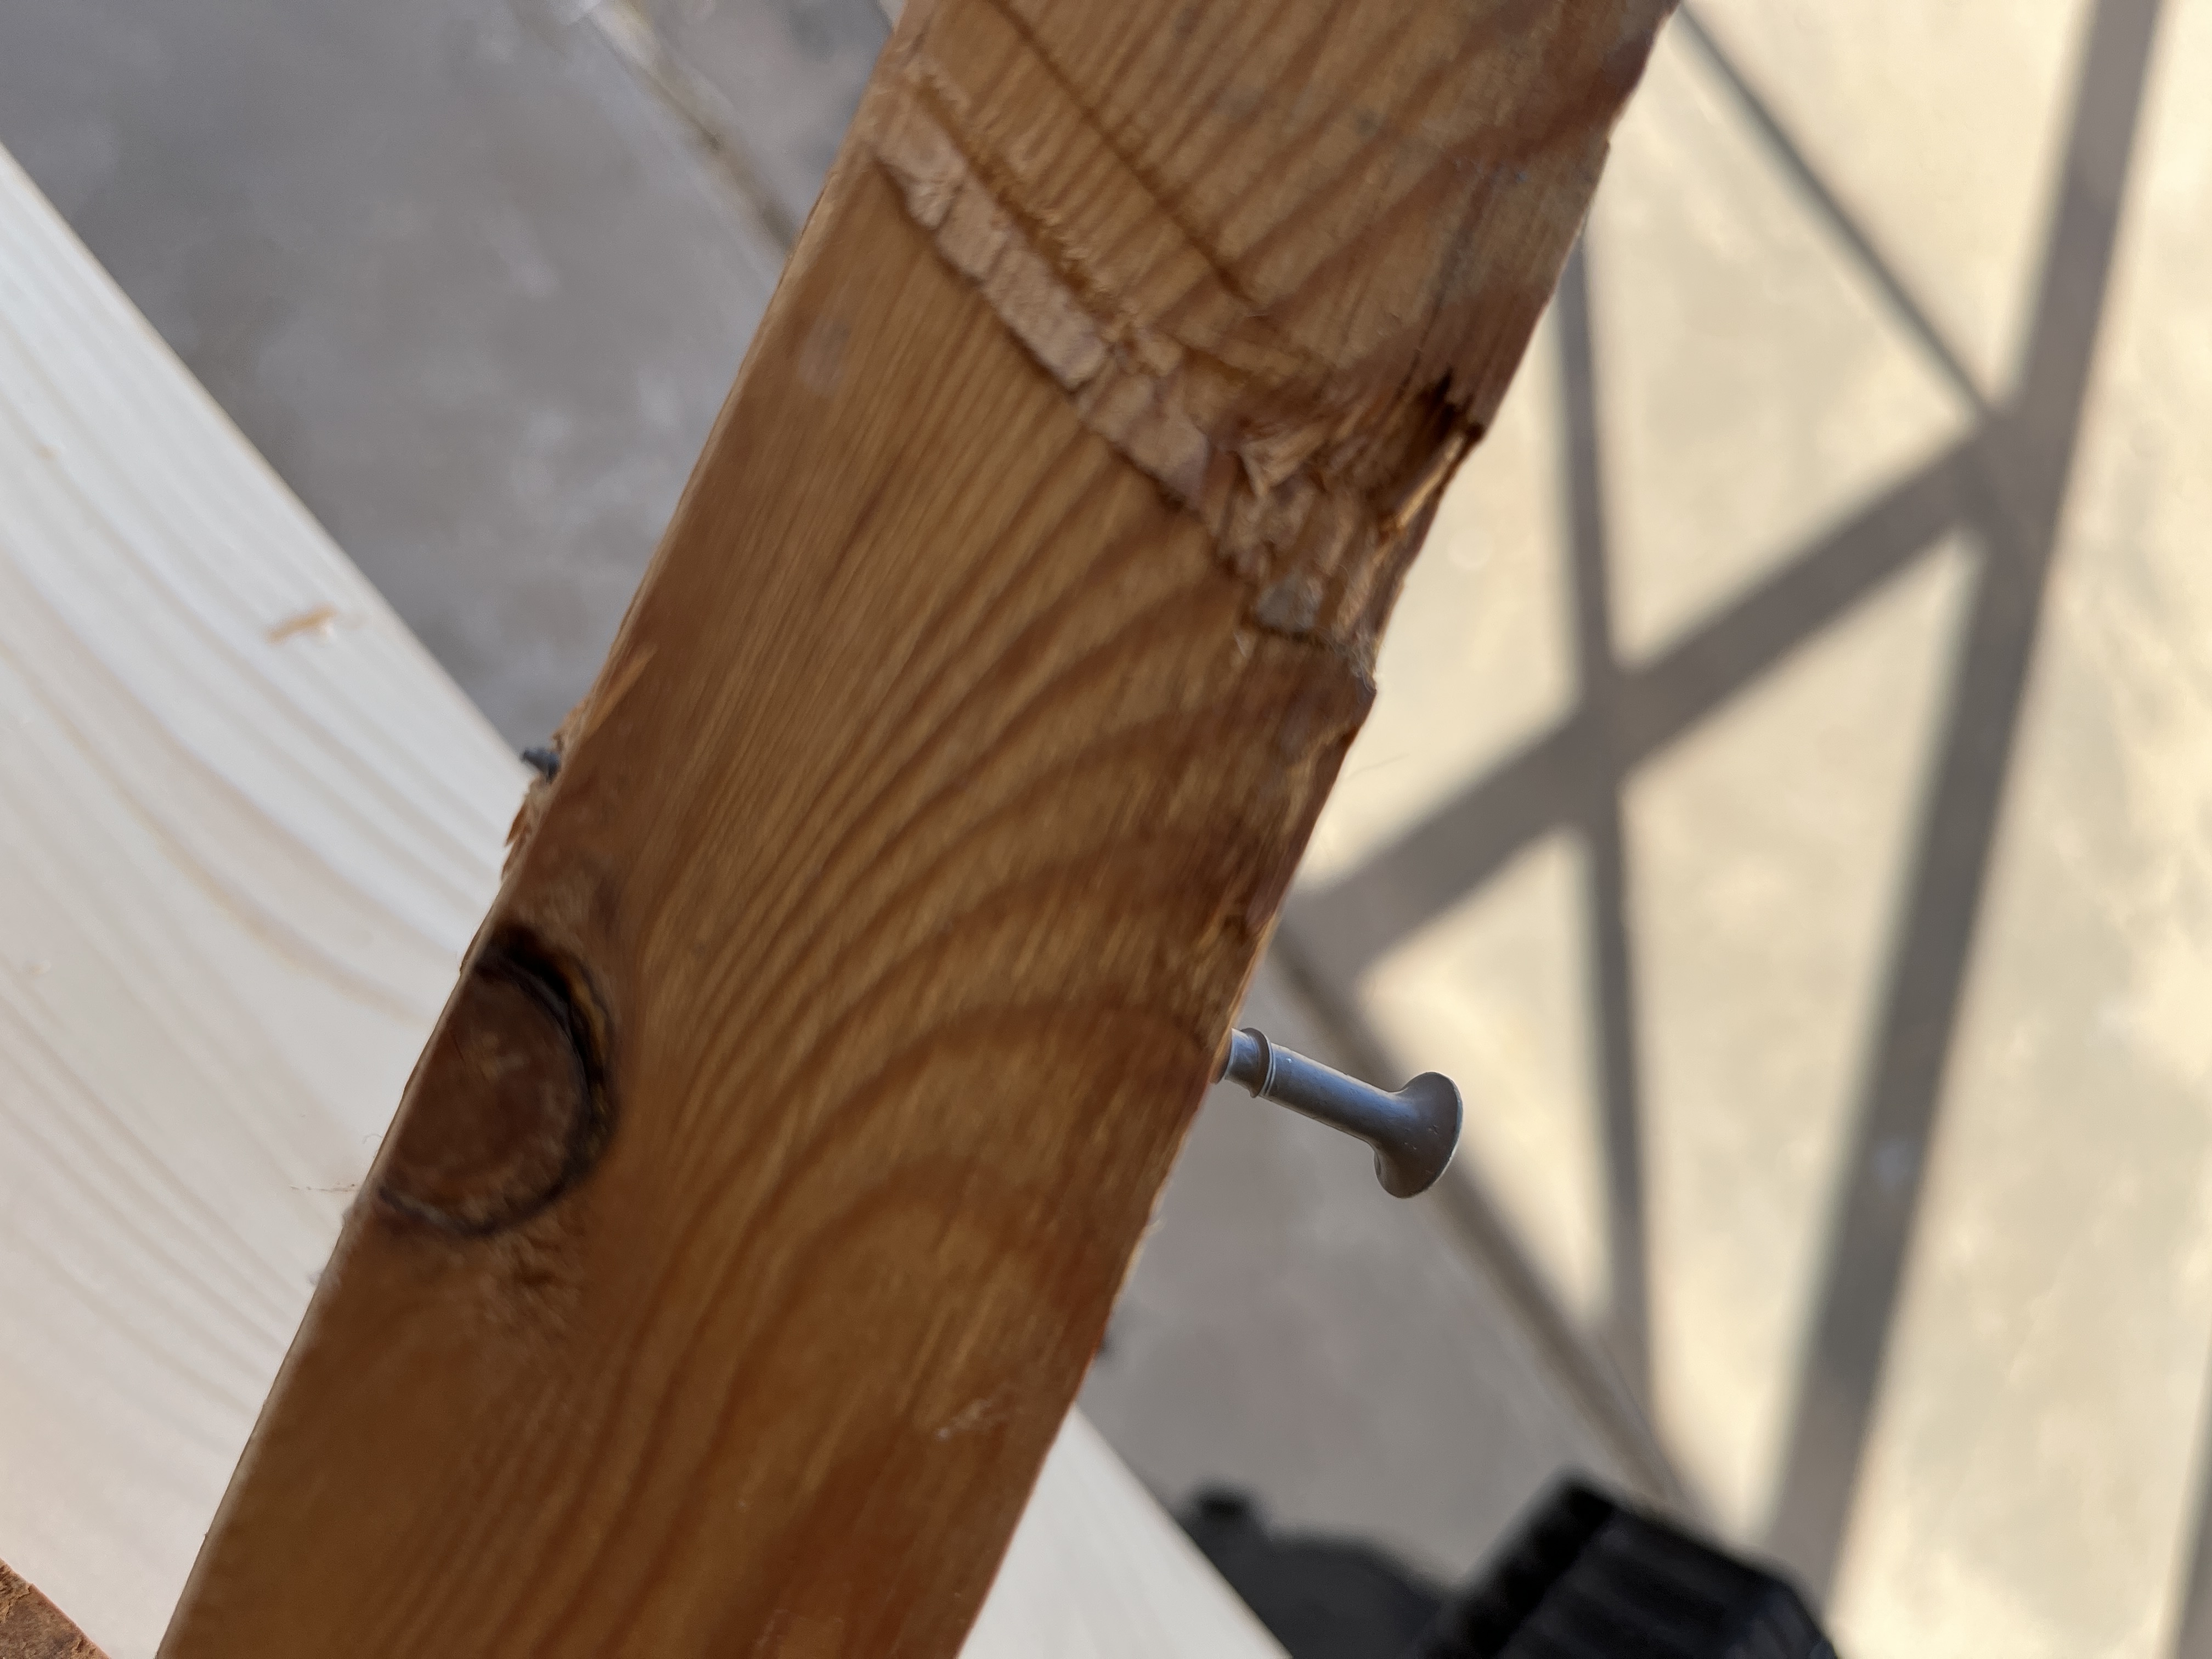
Hold the top carefully in place while you drill, then, since it won’t stay in place yet, drive the screw just barely through the crosspiece.
Line up the tip of the screw with the hole and finish driving it in.
You can measure or just eyeball getting the top spans centered. I measured. Once the tops are secure drill and finish the bottom/back of them.
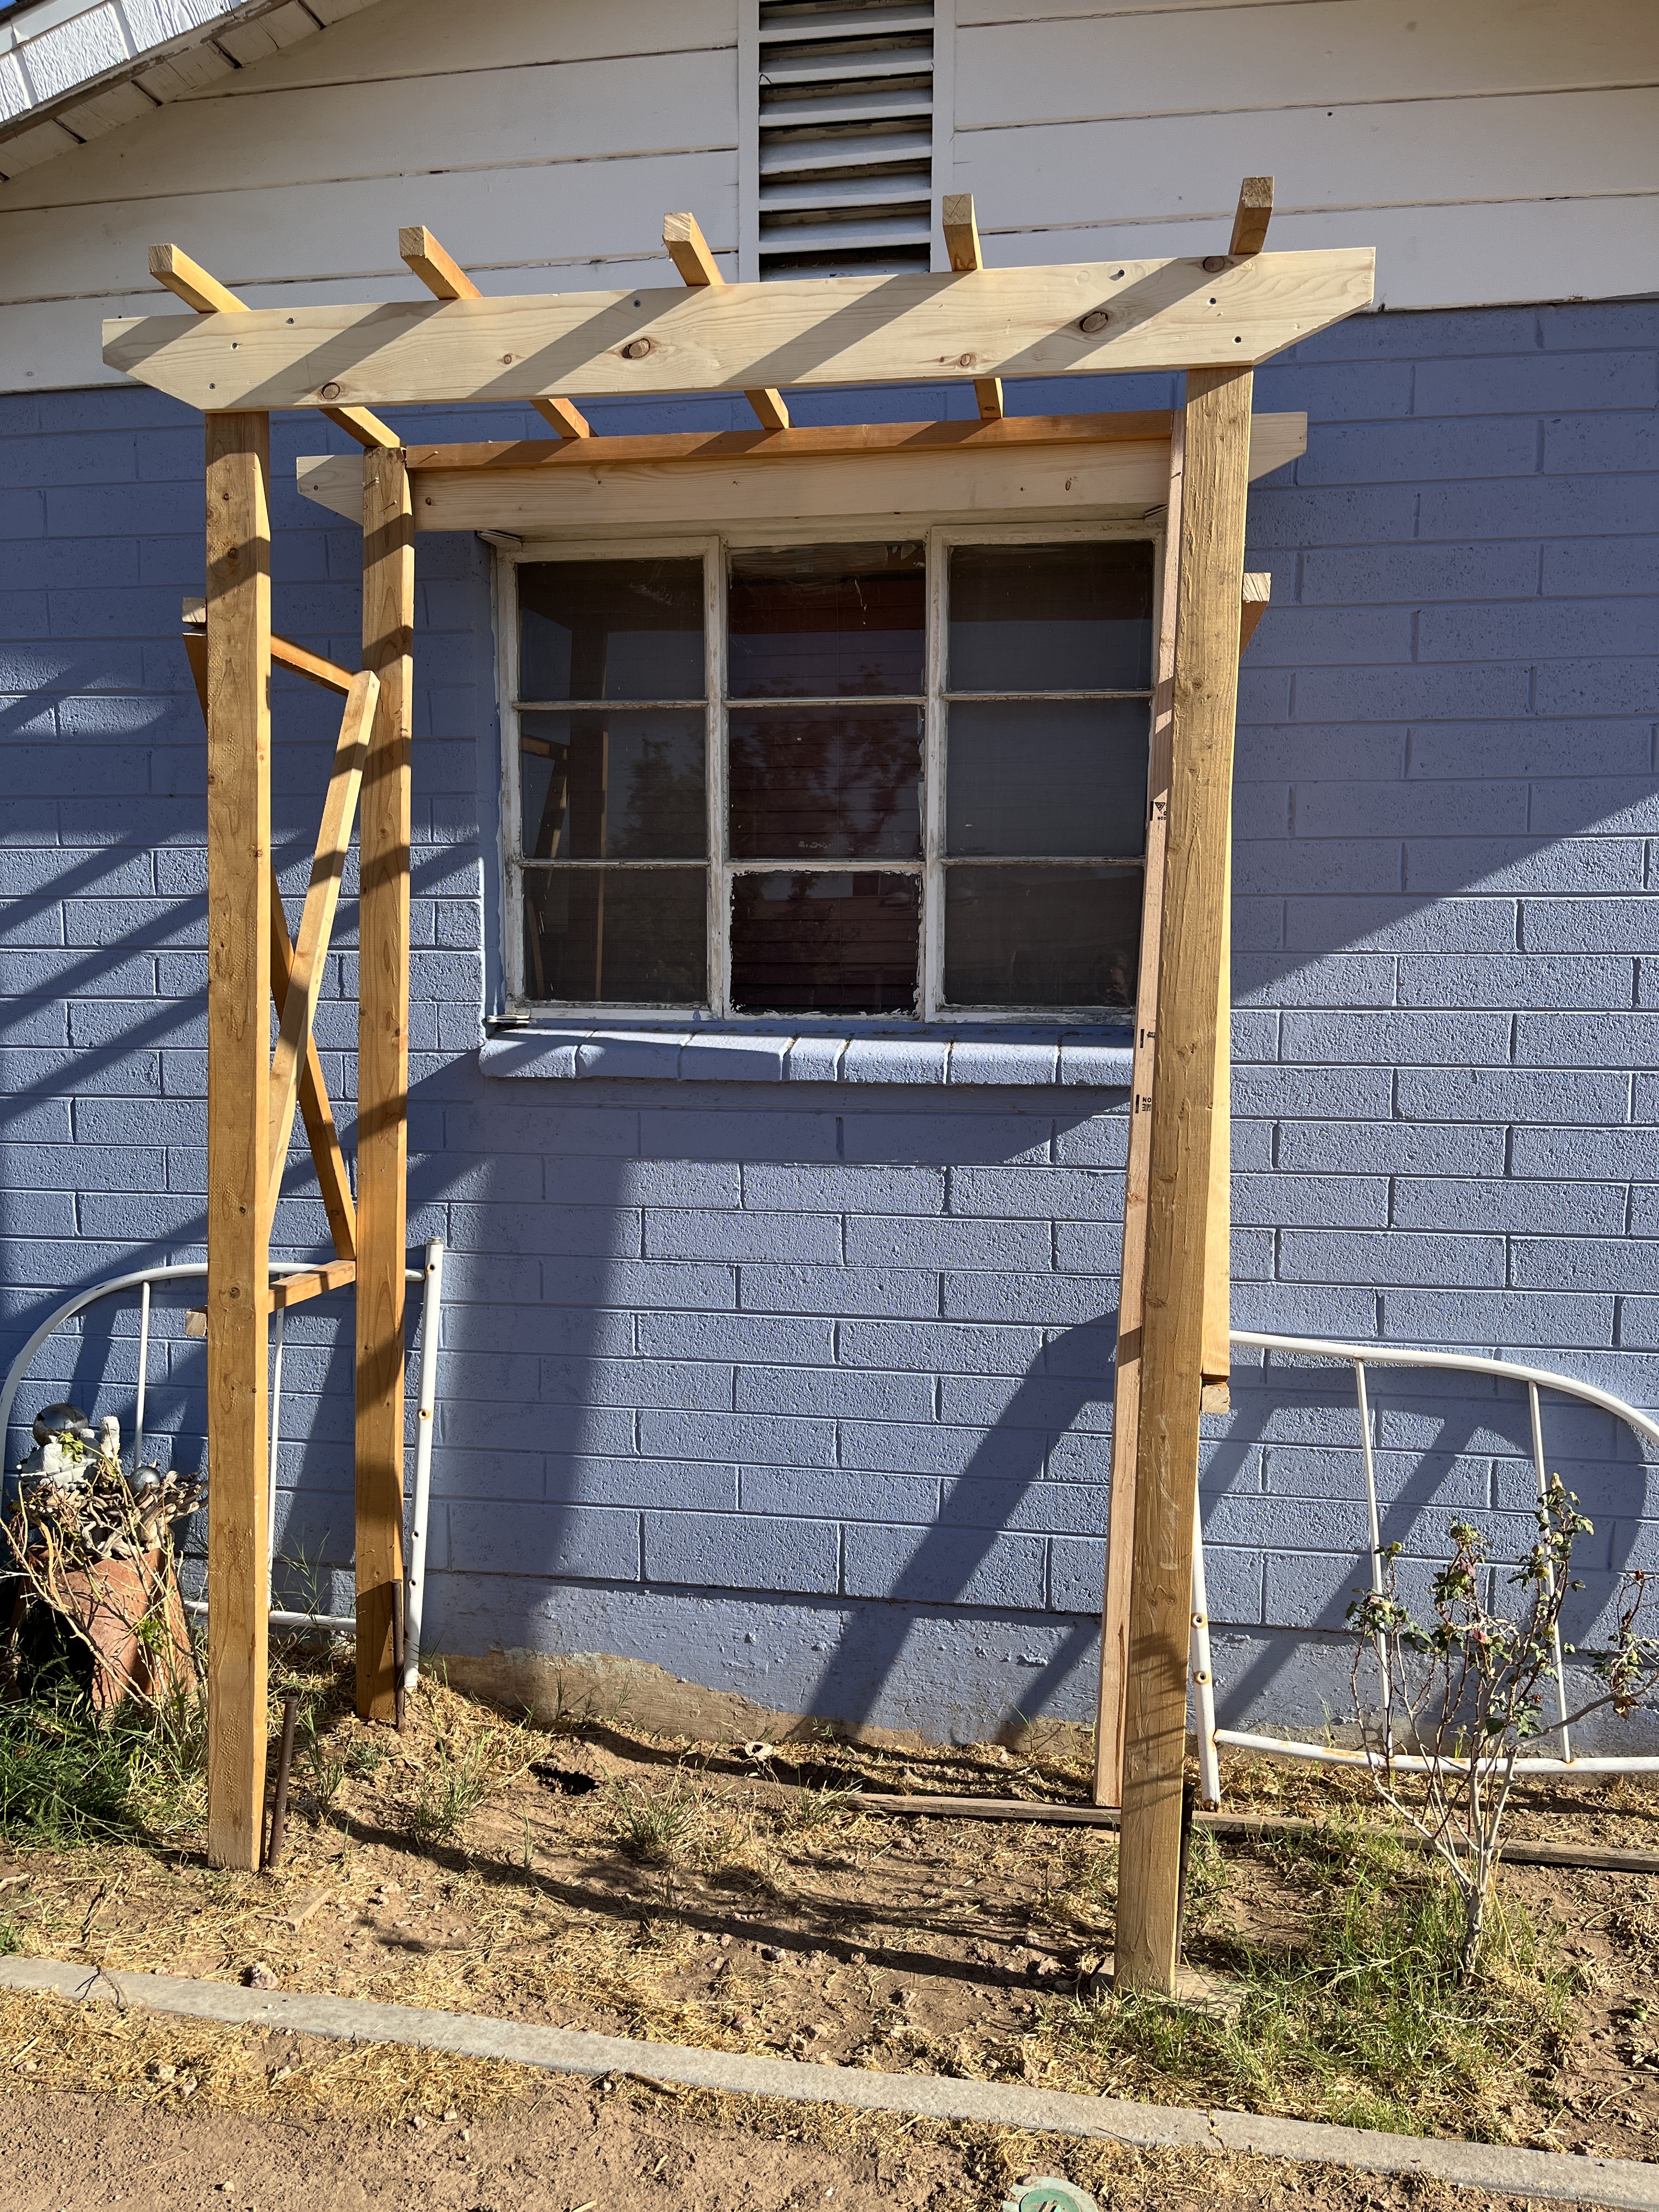
Drag or carry the finished arbour into position and put it up. I still have to do some digging and grading underneath before securing this one in place. That’ll be maybe next week. It’ll look a lot better after that, honest.
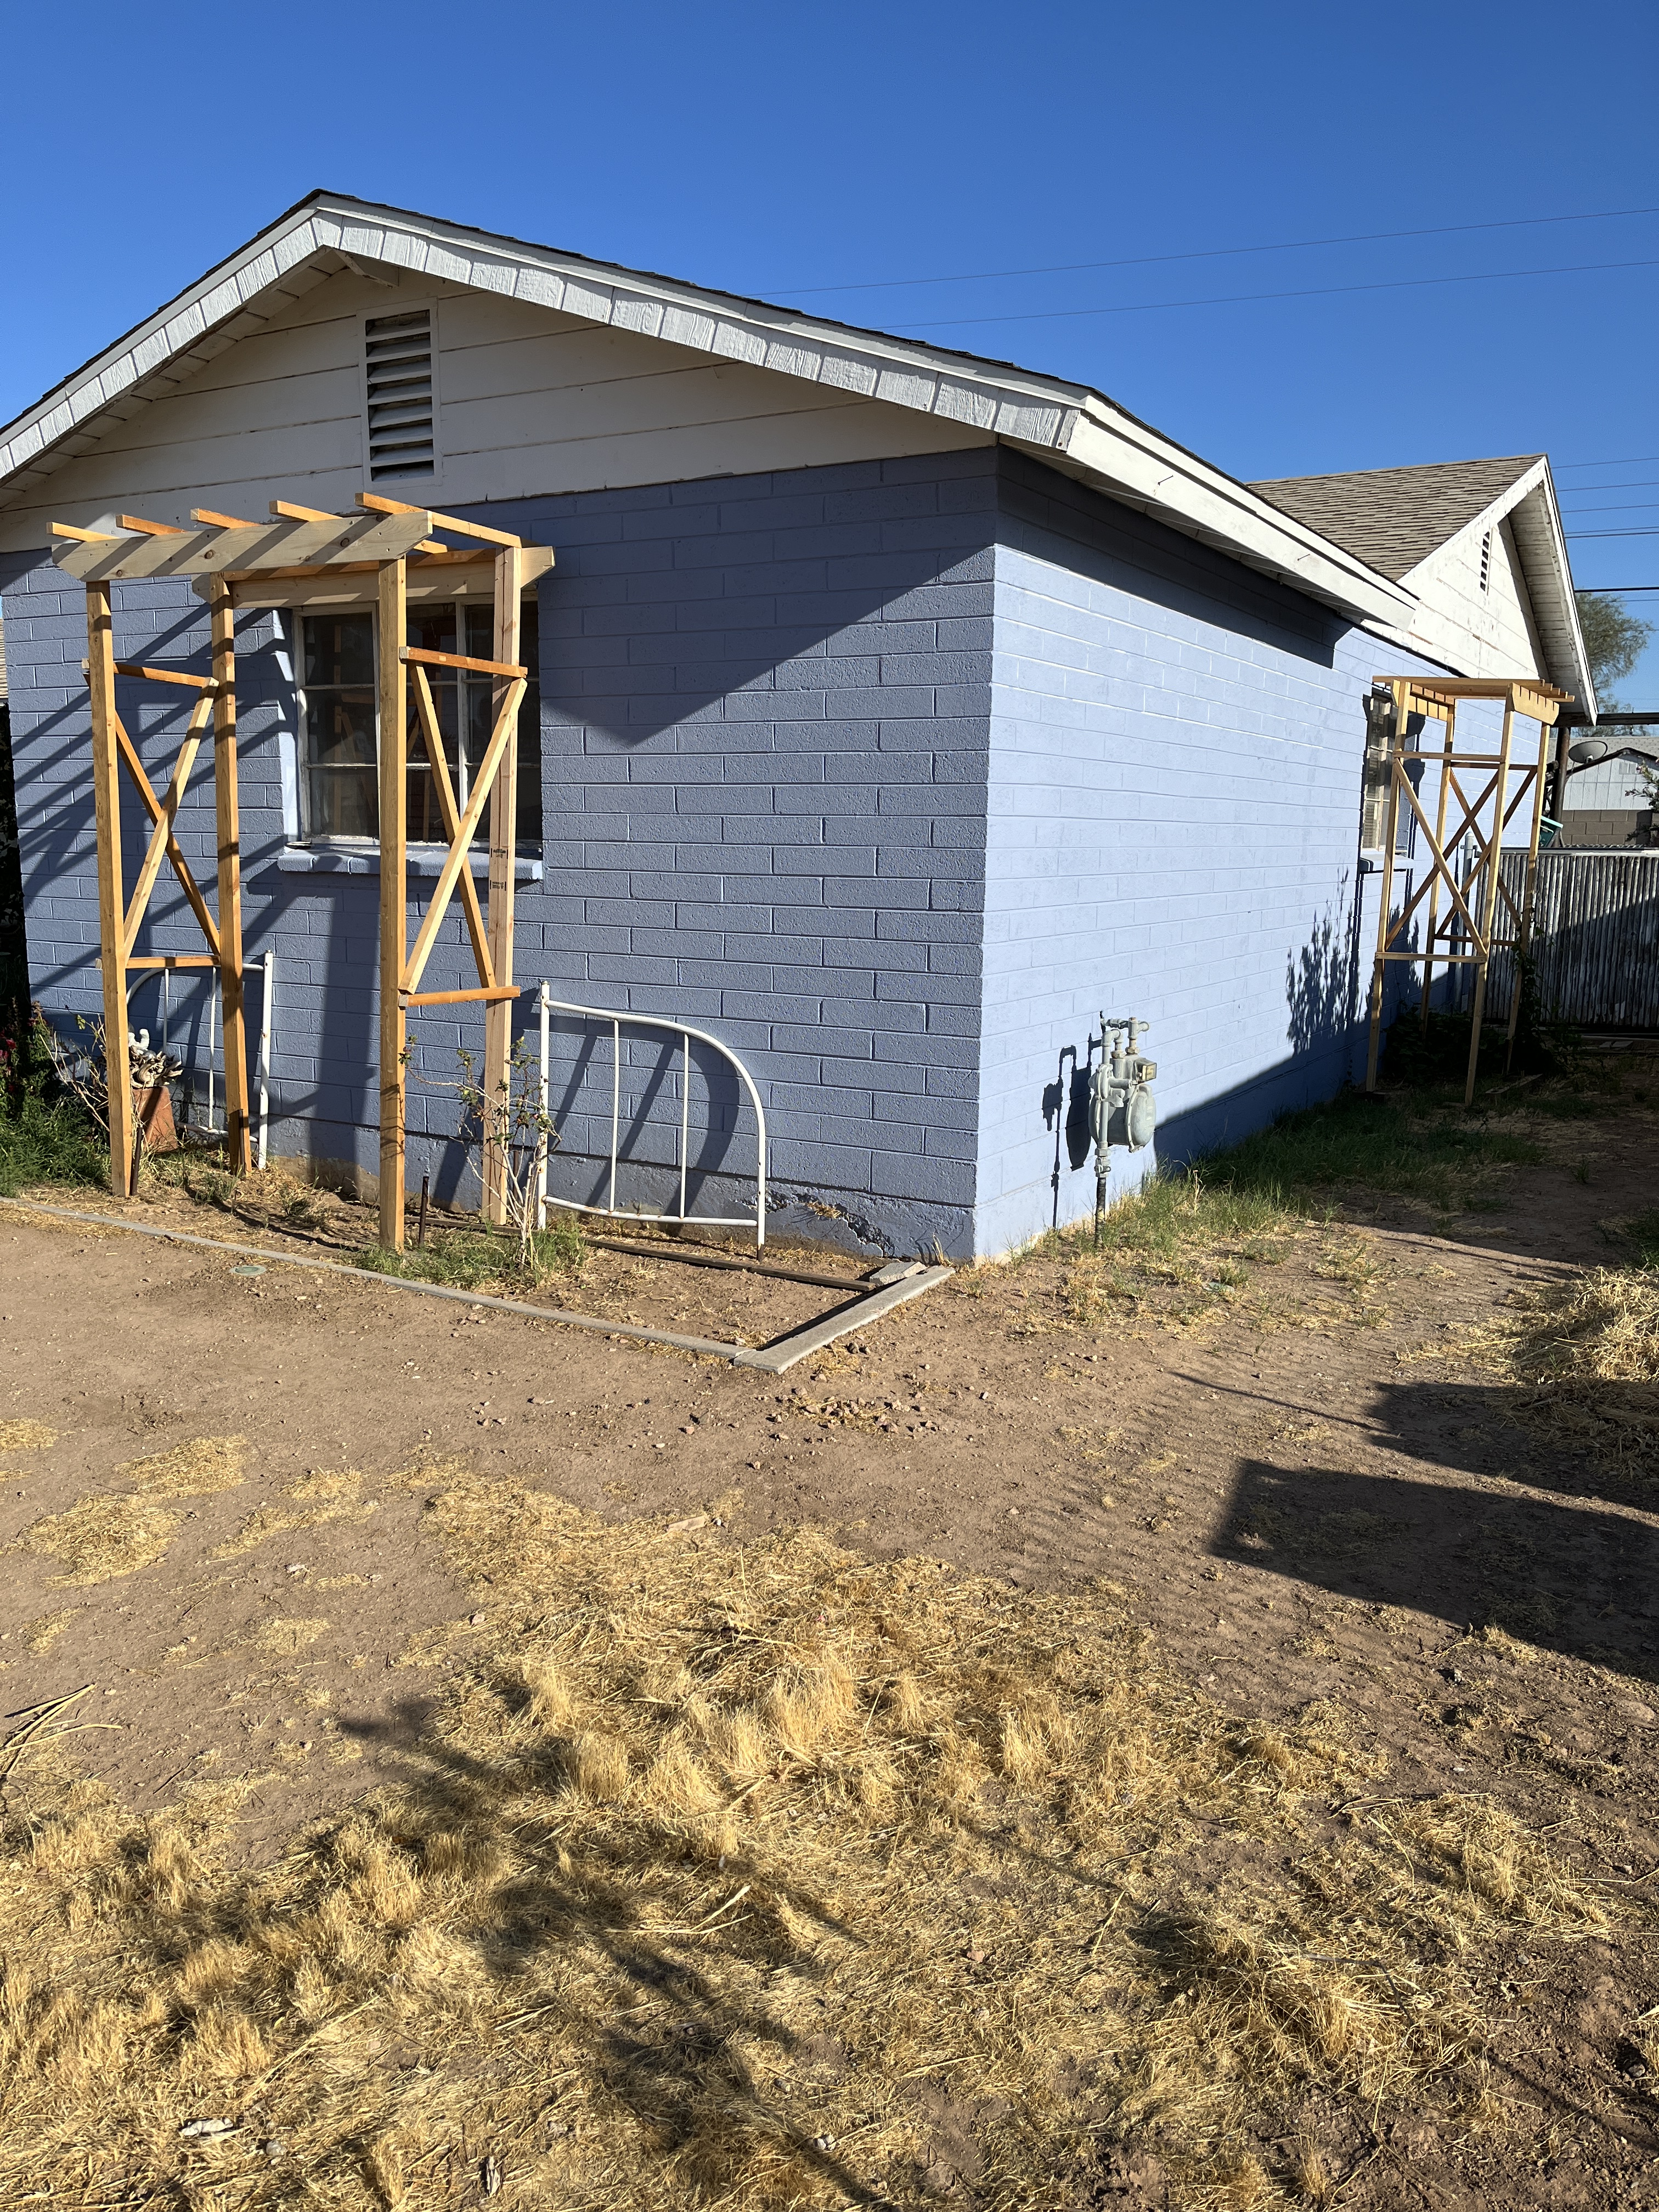
A view of both arbours (I made the one over the west window last week). I’m thinking of adding a long stabilizer a couple feet up from the ground in the back of both of the arbours and maybe another 2′ piece on each side a bit up from the bottom as well. We’ll see about that later, when I have some spare time.
After the window garden gets dug out and re-graded and the arbour is secured I’ll be putting a paved walk in front of the garden. Still have lots of work to do. At least I won’t be bored any time soon.

Leave a comment