I’ve been meaning to make a face mold for Bellarmine Jugs for a very long time. I just haven’t had the confidence. I finally decided it doesn’t matter, I’ll just do it. The clay I bought a while back is too hard for throwing but still workable enough to make molds from. I’ve made sprig molds before, so this is just another, maybe a bit more fussy in the carving. I’m a bit nervous about the nose and eyes. We’ll see how it turns out but after looking at pictures of many originals I’m a lot more confident that at least I won’t be worse than them. I also have a plaster cast of an original a friend made for us once upon a time (a couple decades ago). Yeah, life keeps getting in the way of me getting my want list done even when I get out of my own way. At least I have a window to work it this week.
I’ve made 2 blanks, one for normal size and one for smaller pieces. I had enough clay so I decided to make a large and small roundel for each one, too. I already have sprig molds for trims so I’ll see if I can use those for inspiration, too.

First I sketched the general outlines of a face in each one.

Then I hollowed out the body of the mold
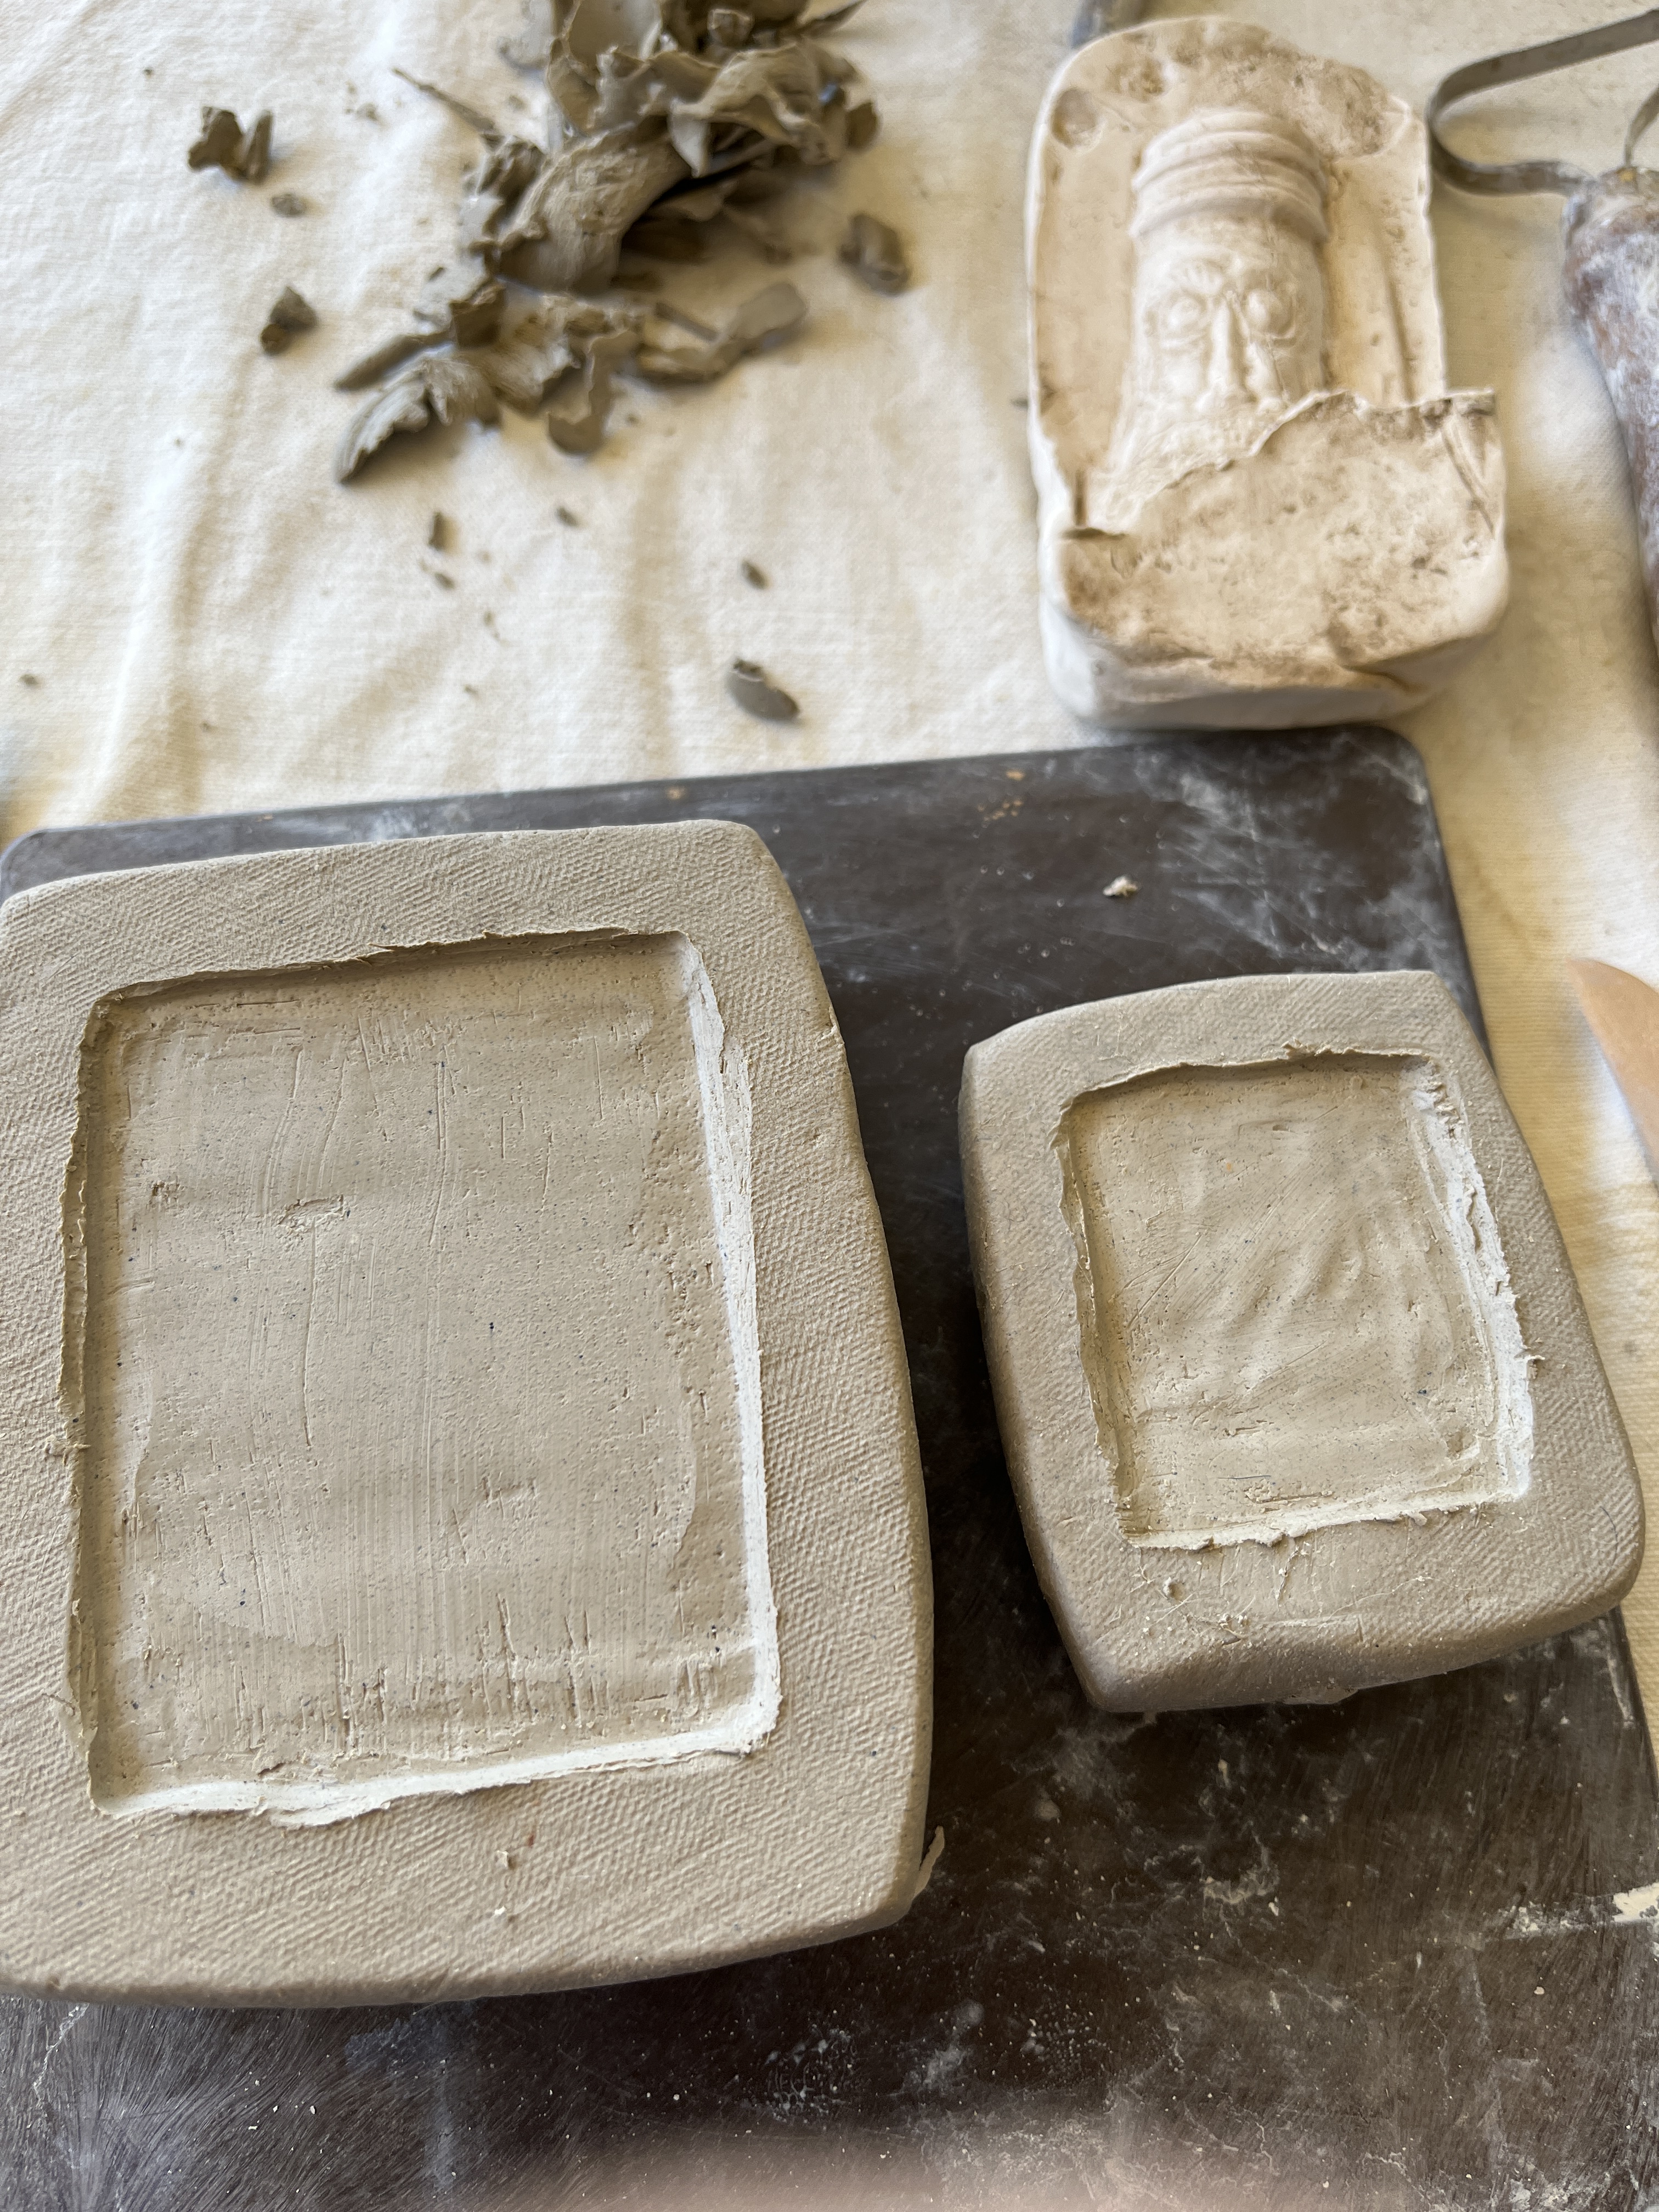
and more or less flattened the inside.
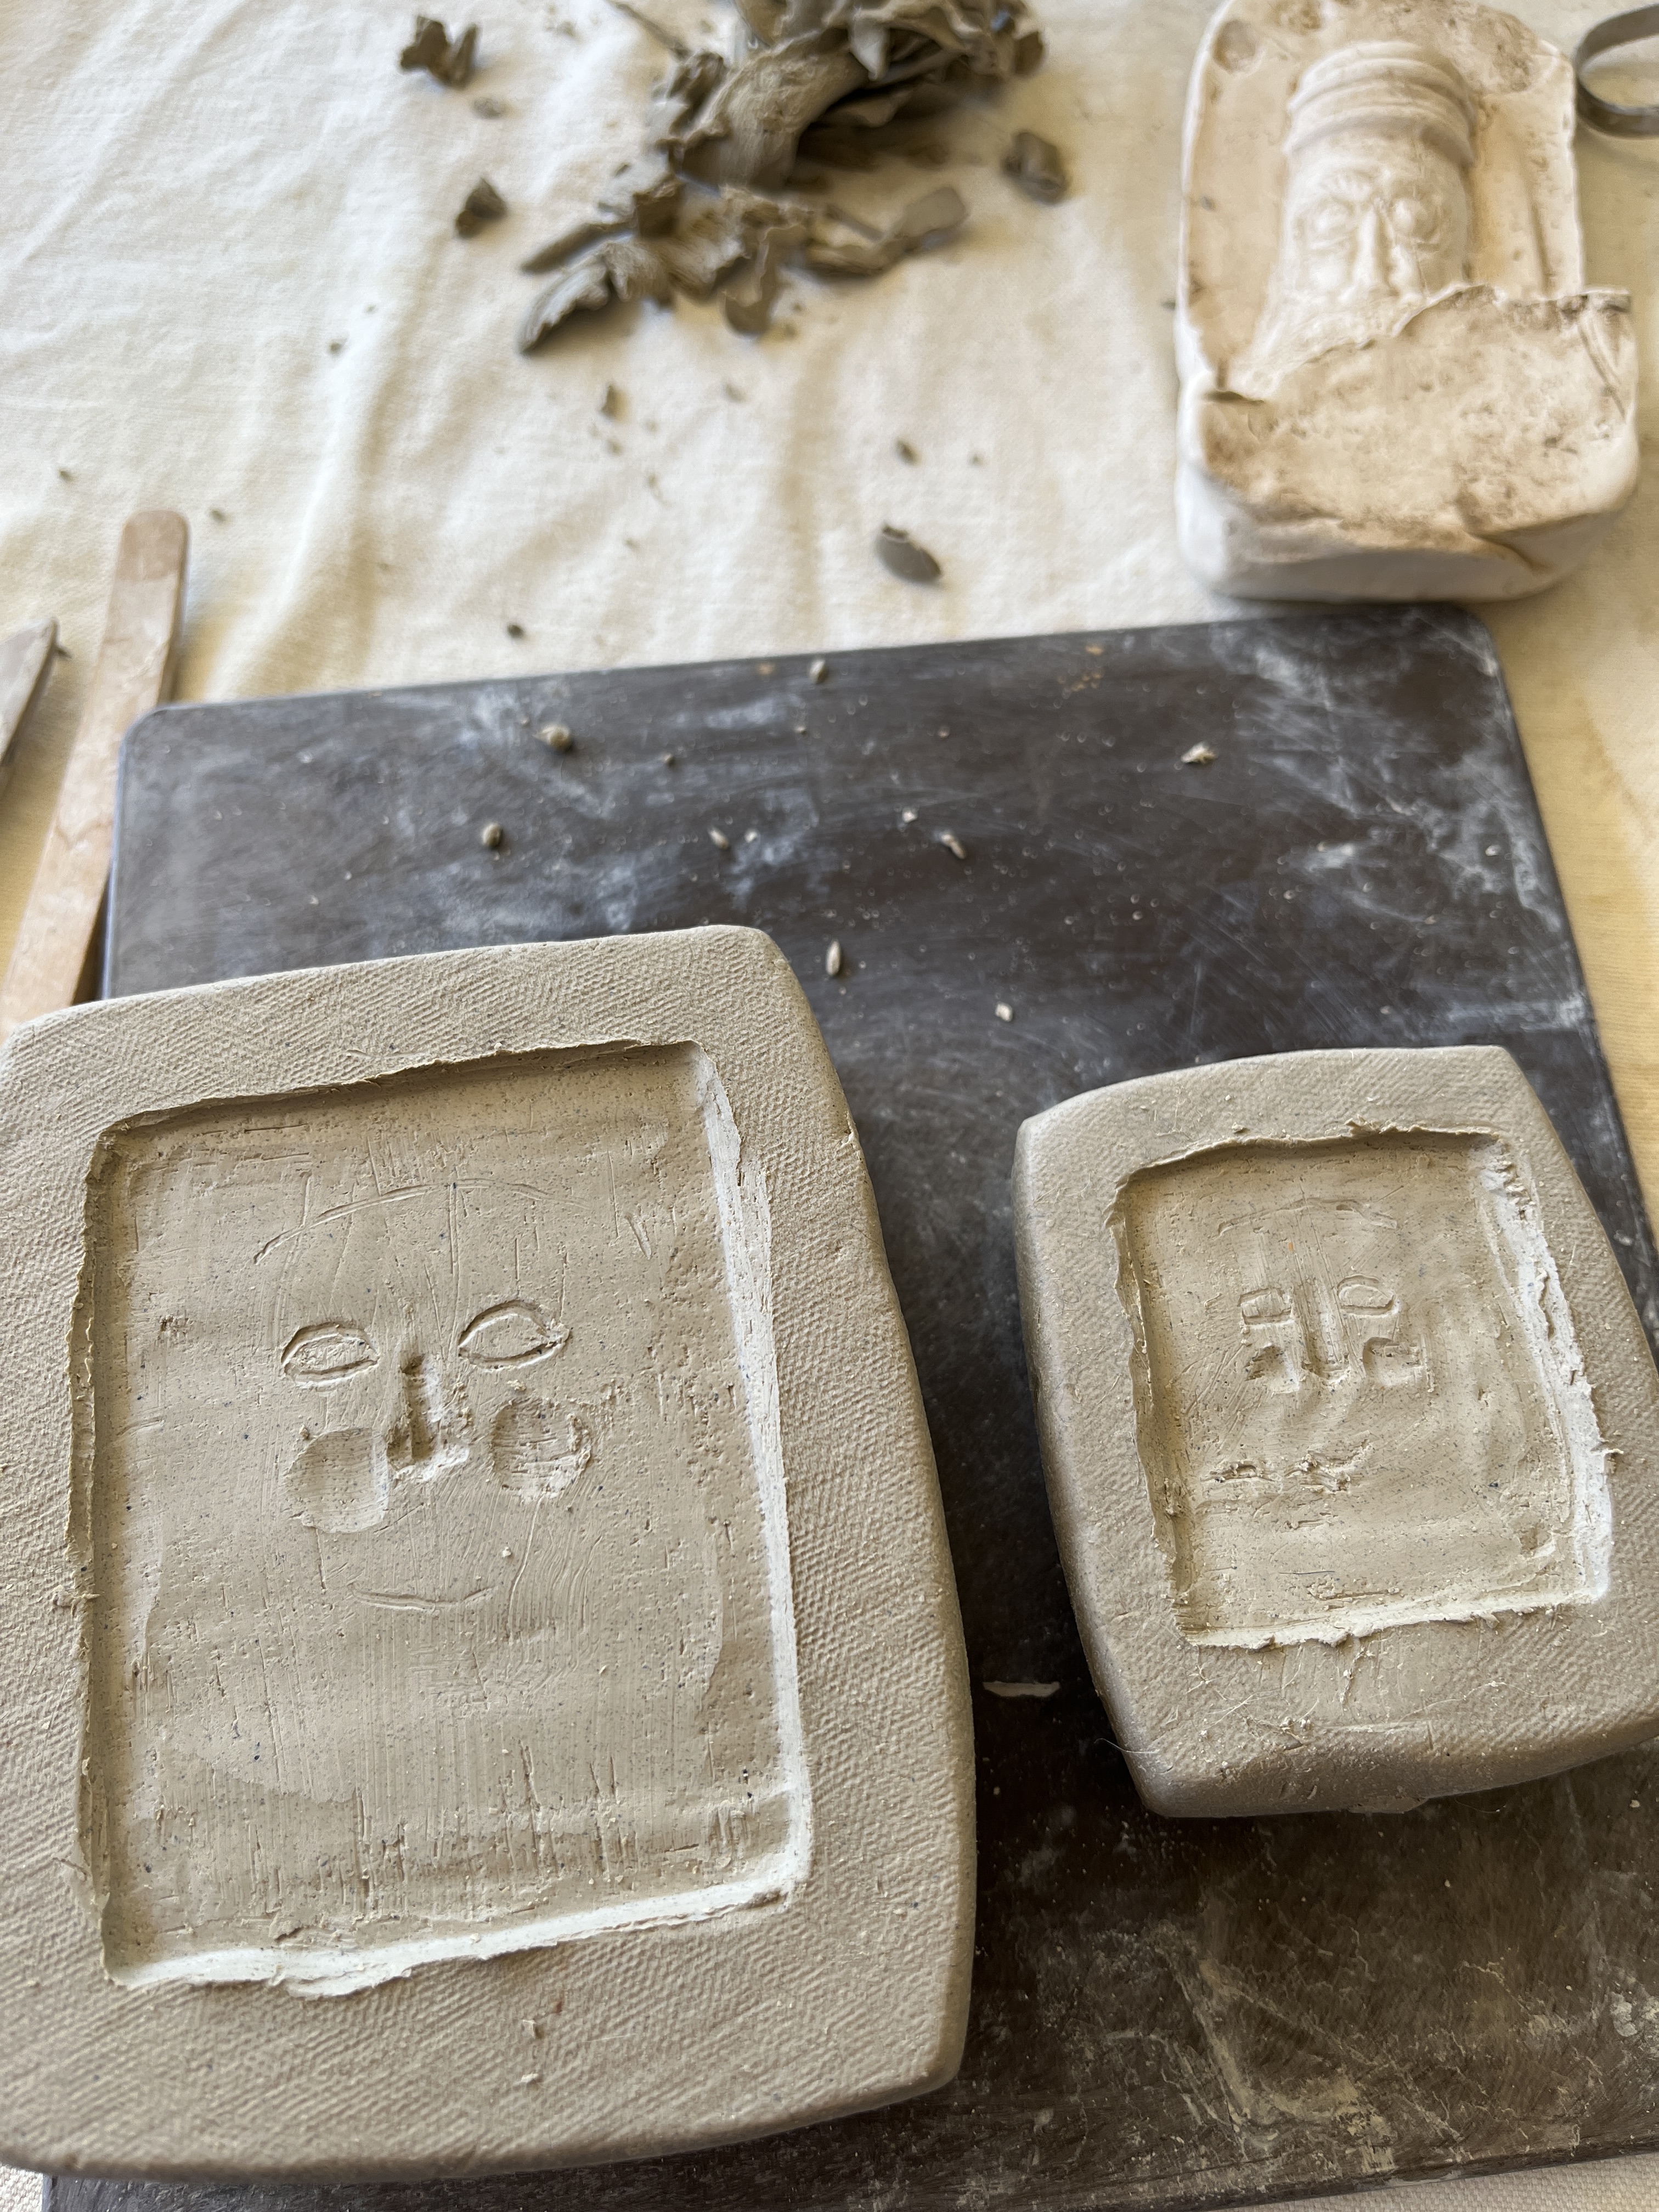
Then I sketched a bit again

The blanks were too thick so I cut them in half and used the backs for the roundel molds and carved the space out there, too.

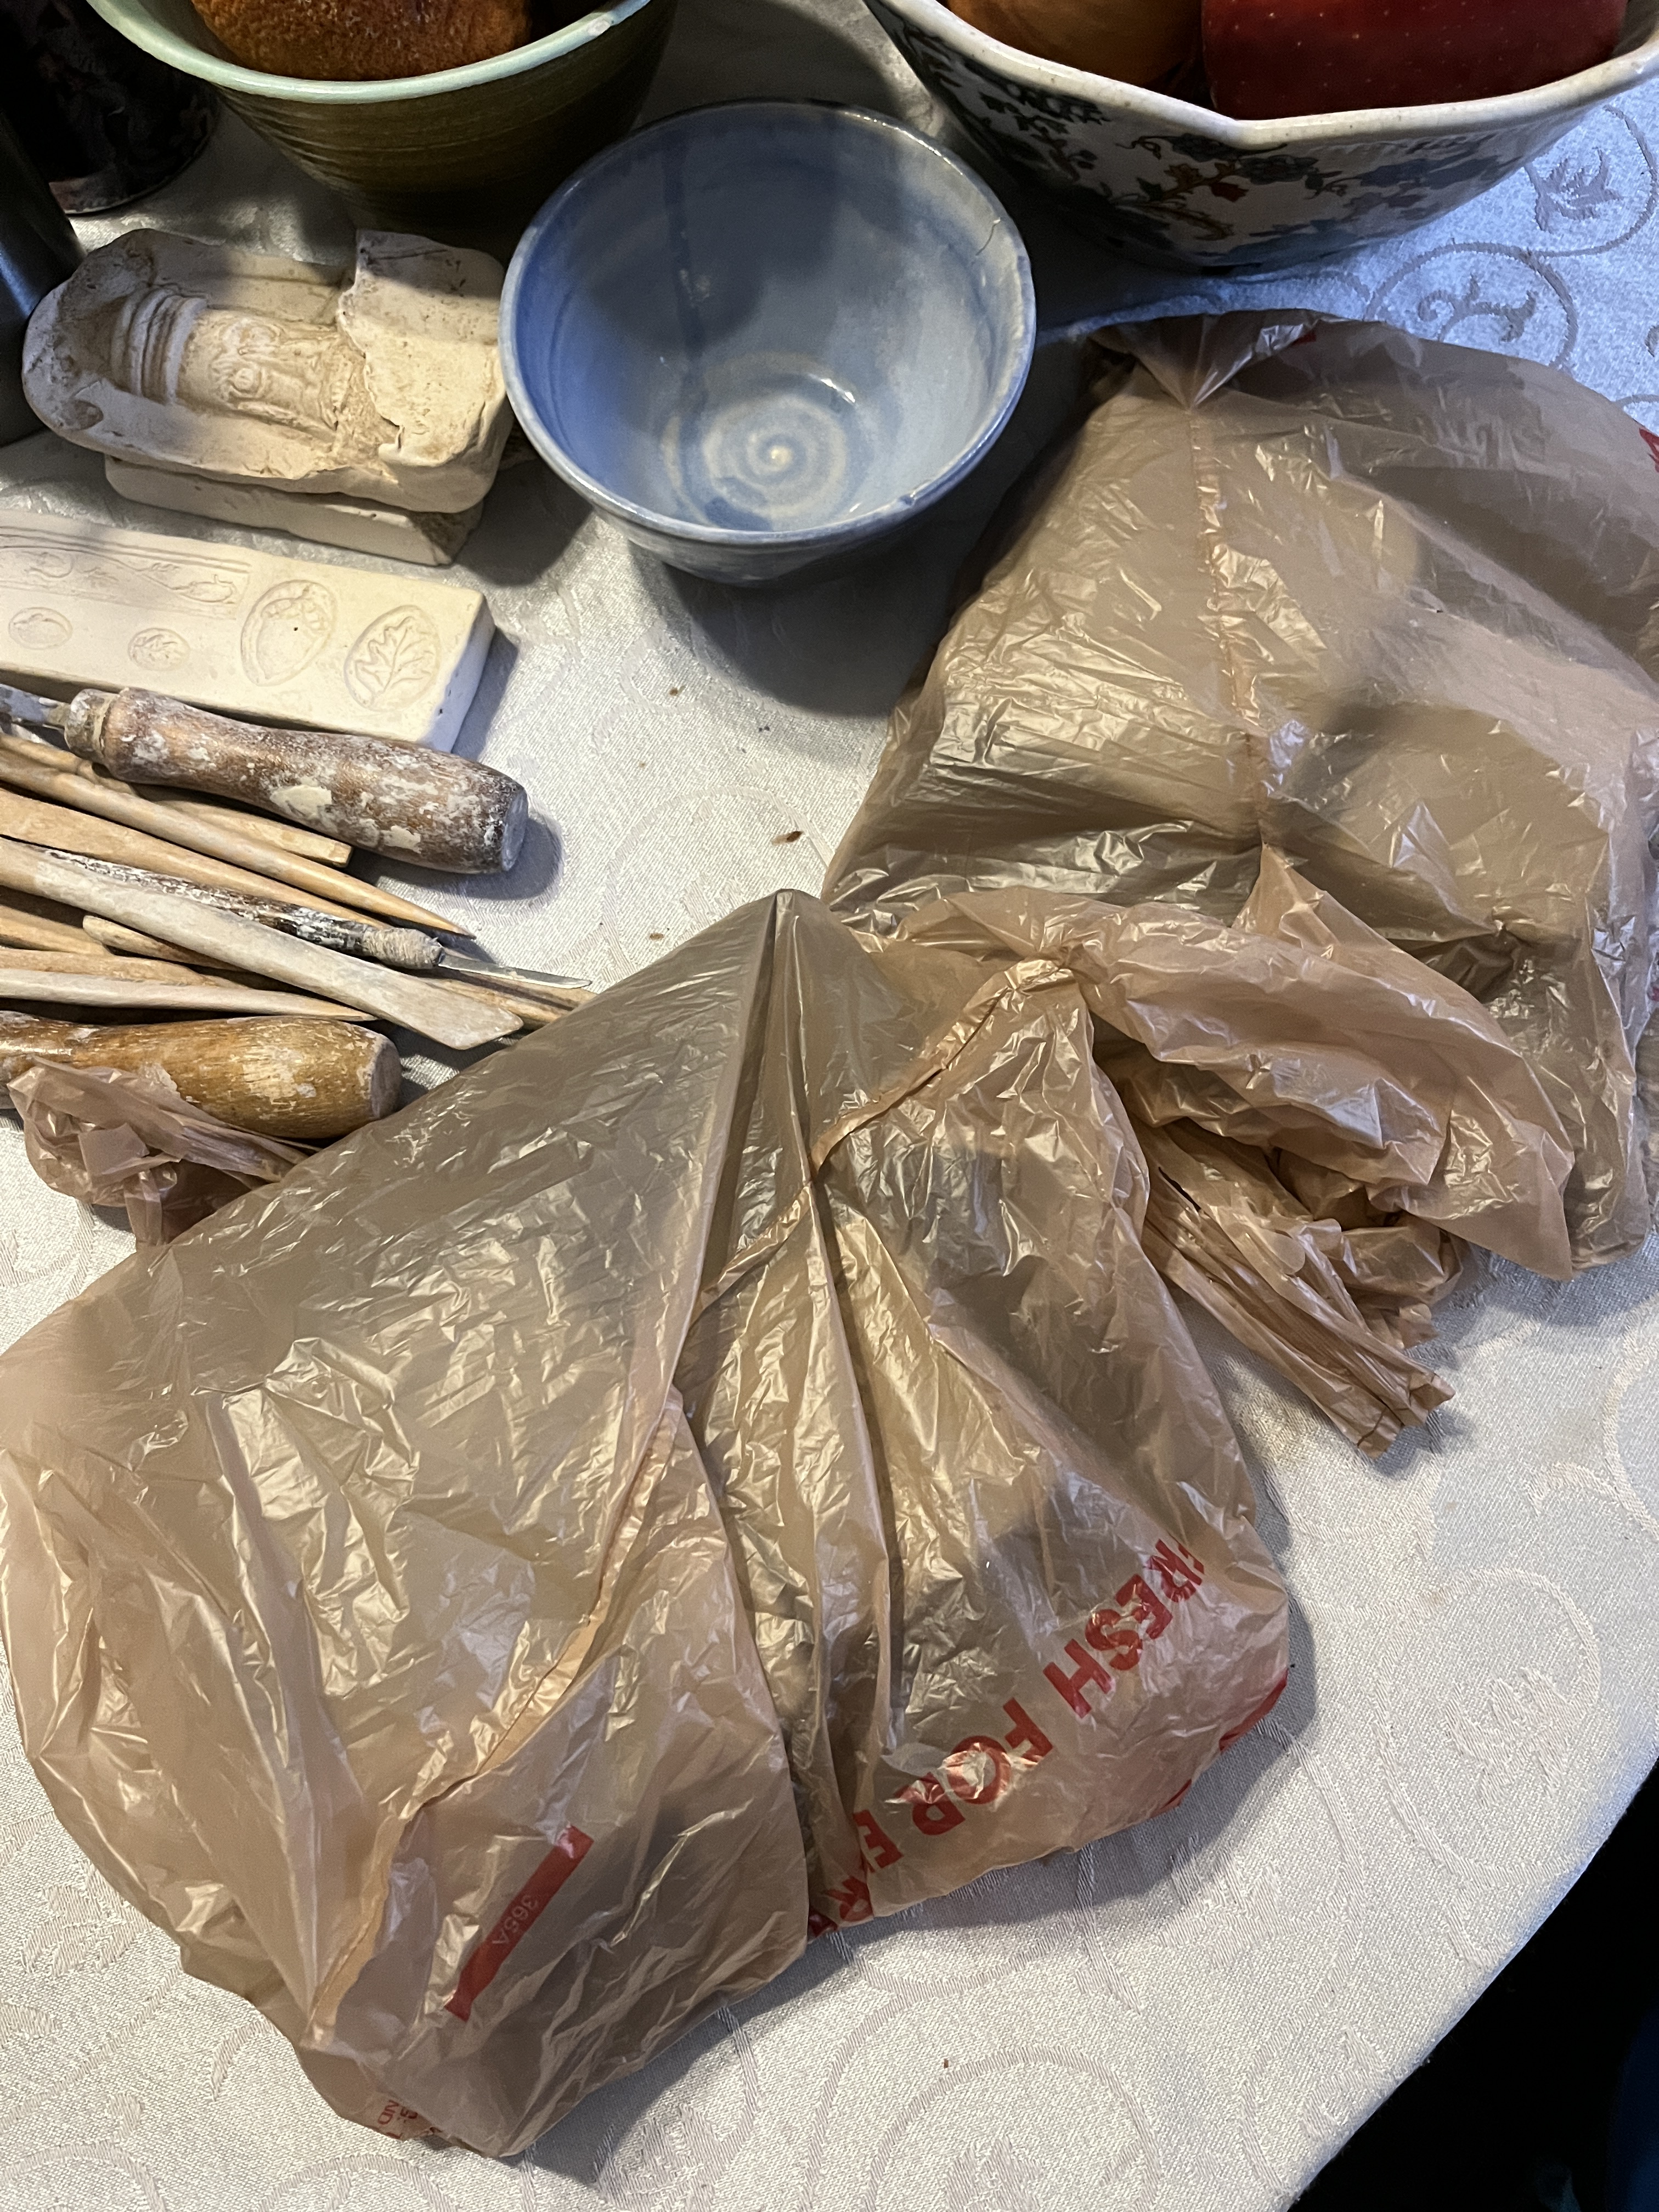
Then I waited for the blanks to get dryer/firmer so they’d be easier to carve. I also took them inside where it’s cooler, or at least not 100 degrees. While I wait I’m making pasties for work lunches for the next month. While you wait here’s a picture of the plaster face casts.
And a picture of sprig molds I made a few years back.

And the sprig molds on the back of the sprig molds. I don’t remember why I made a flying pig in this one.
Come to think of it, I could carve molds into the back of the new molds. Hmm…
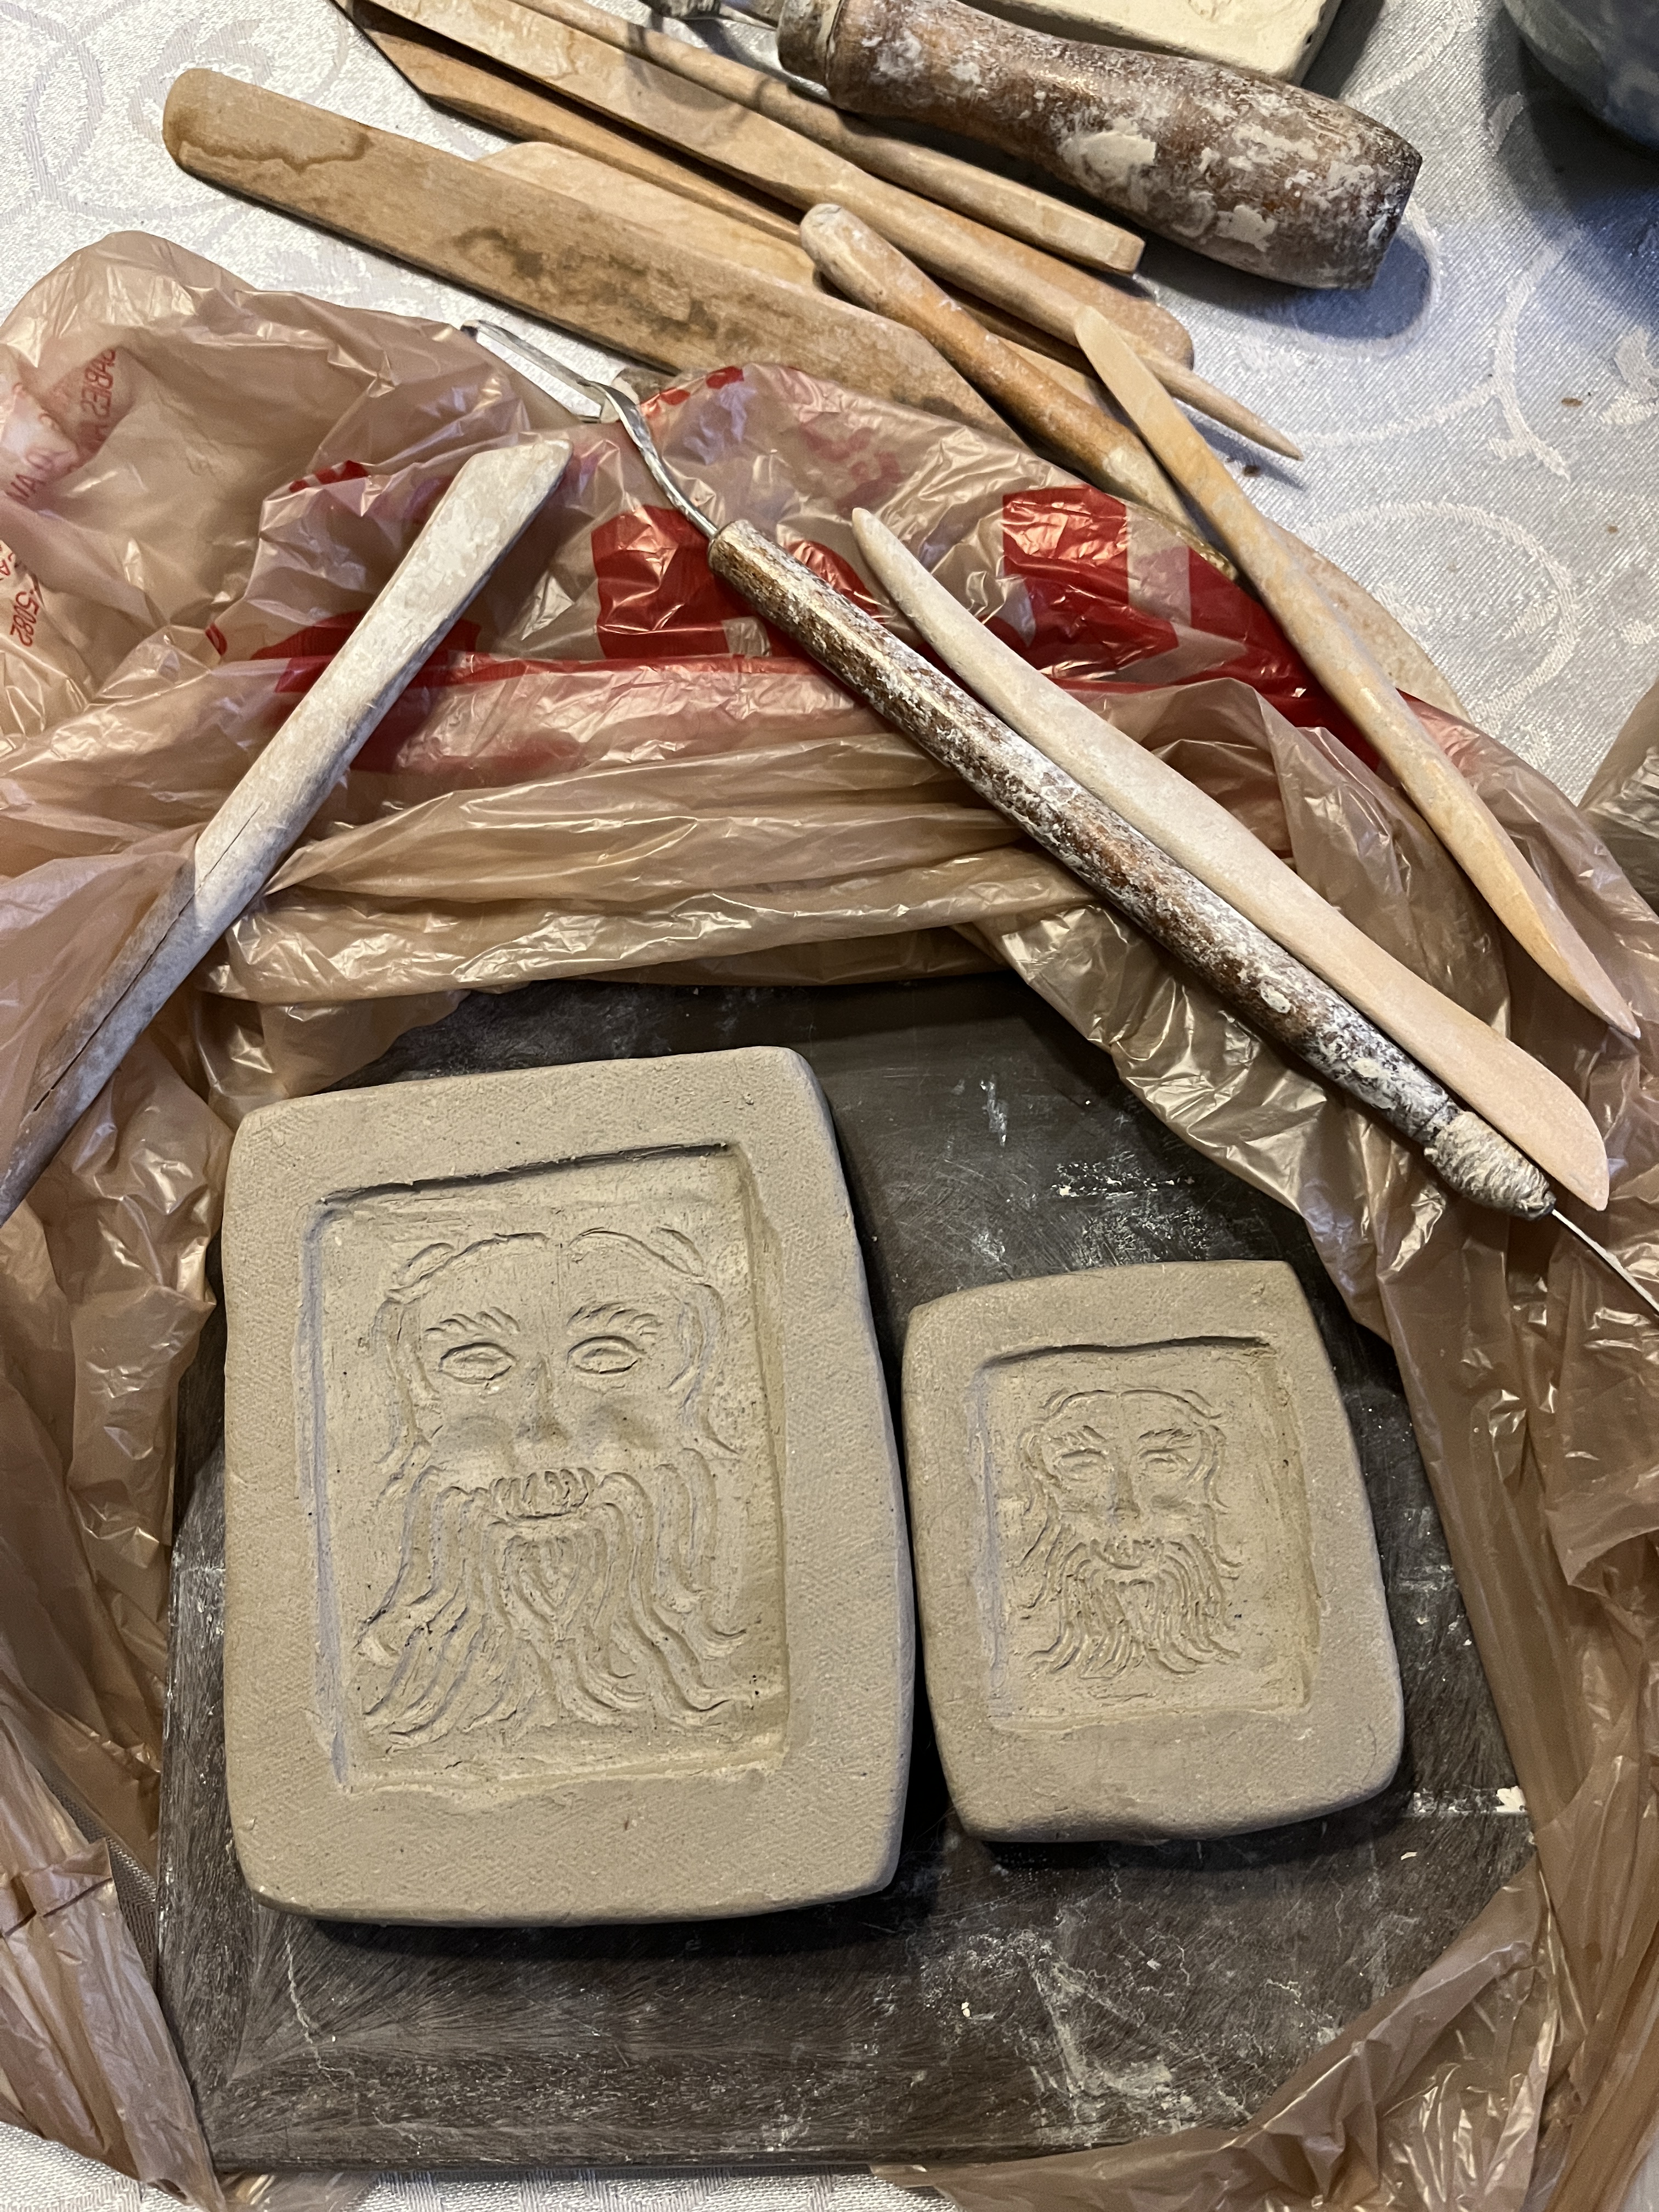
Then I started carving in earnest.
That’s a good start, now tuck them in to rest while I rest and get some housework done. Doing it in a few sessions is a good thing. When you get tired and try to push it is when you make mistakes and mess things up. Take it slow, refine it little by little and it’ll turn out better. Now’s also a good time to design a couple roundels.

Also, if you cover them with damp paper towels while they wait in plastic they dry more slowly. This is important if you live in a desert with humidity in single digits.
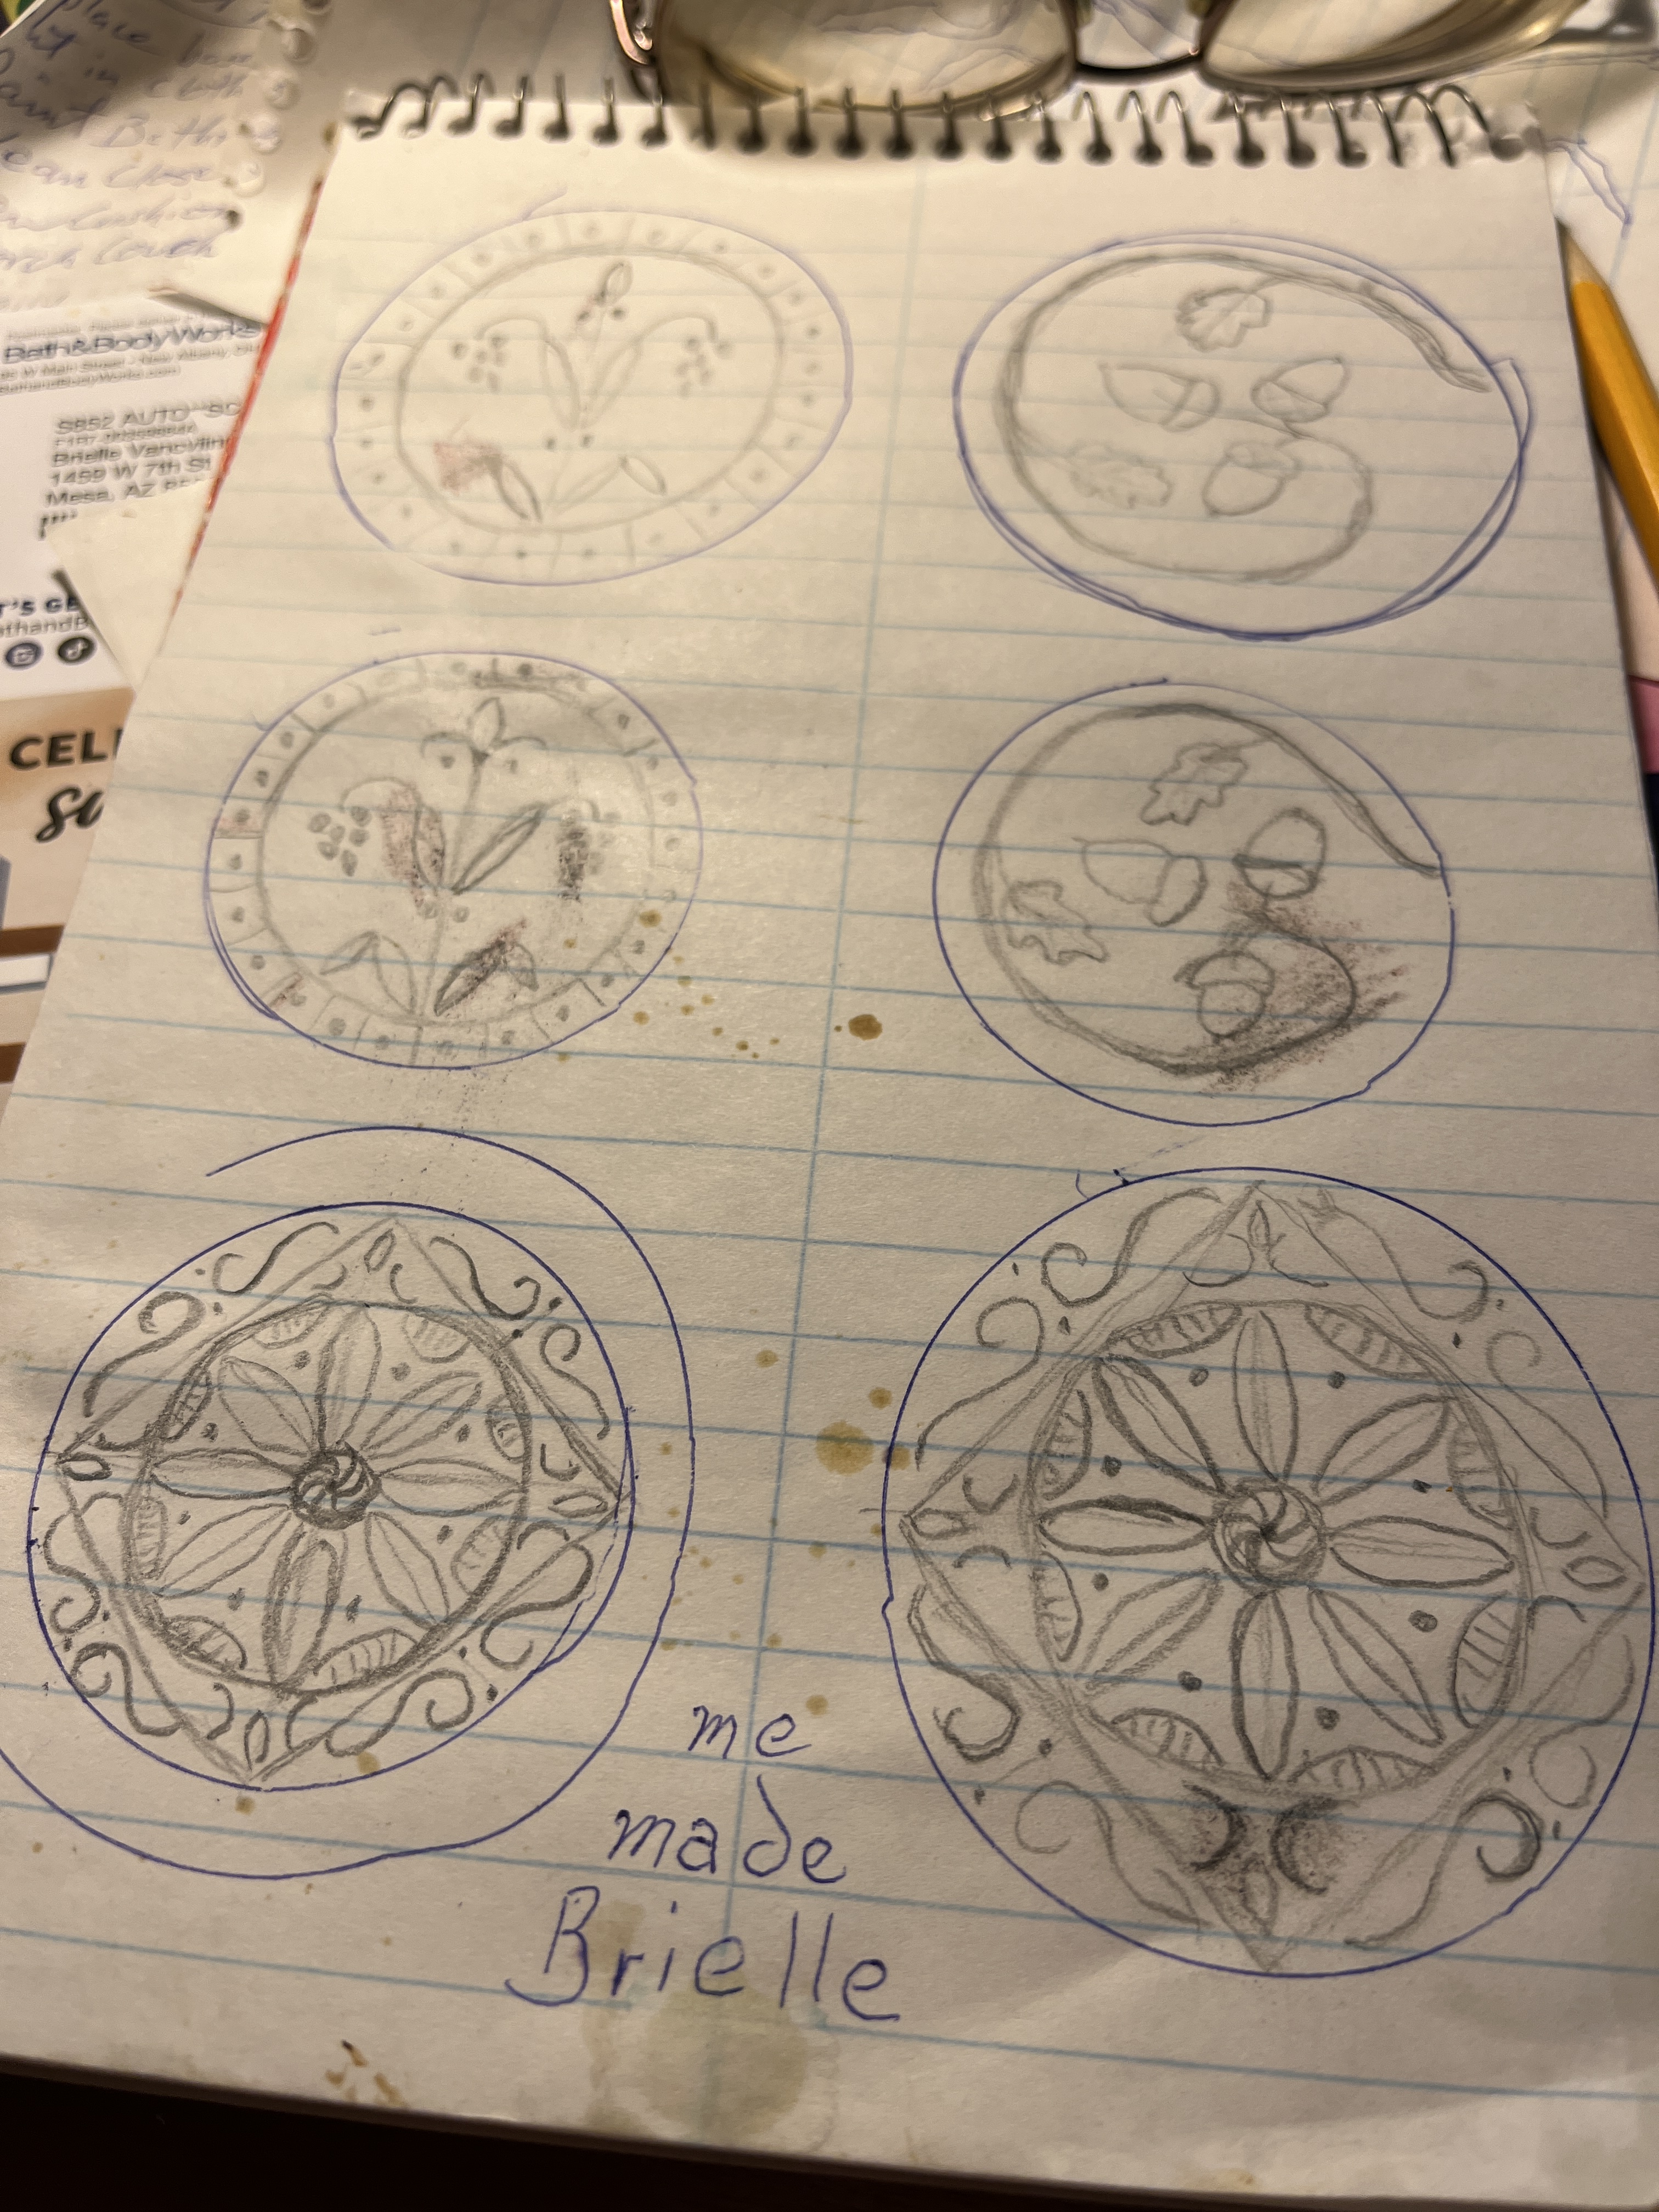
Do some research and design some roundels.

When you get out of the hospital or done with overtime at work or whatever pulled you away from the project for the better part of a week, be glad you covered the molds well and start carving. Finish up the face first. No, it’s not compleatly finished, there’s still a few days of cleaning up and perfecting as I consider it while it dries, but it’s mostly there.
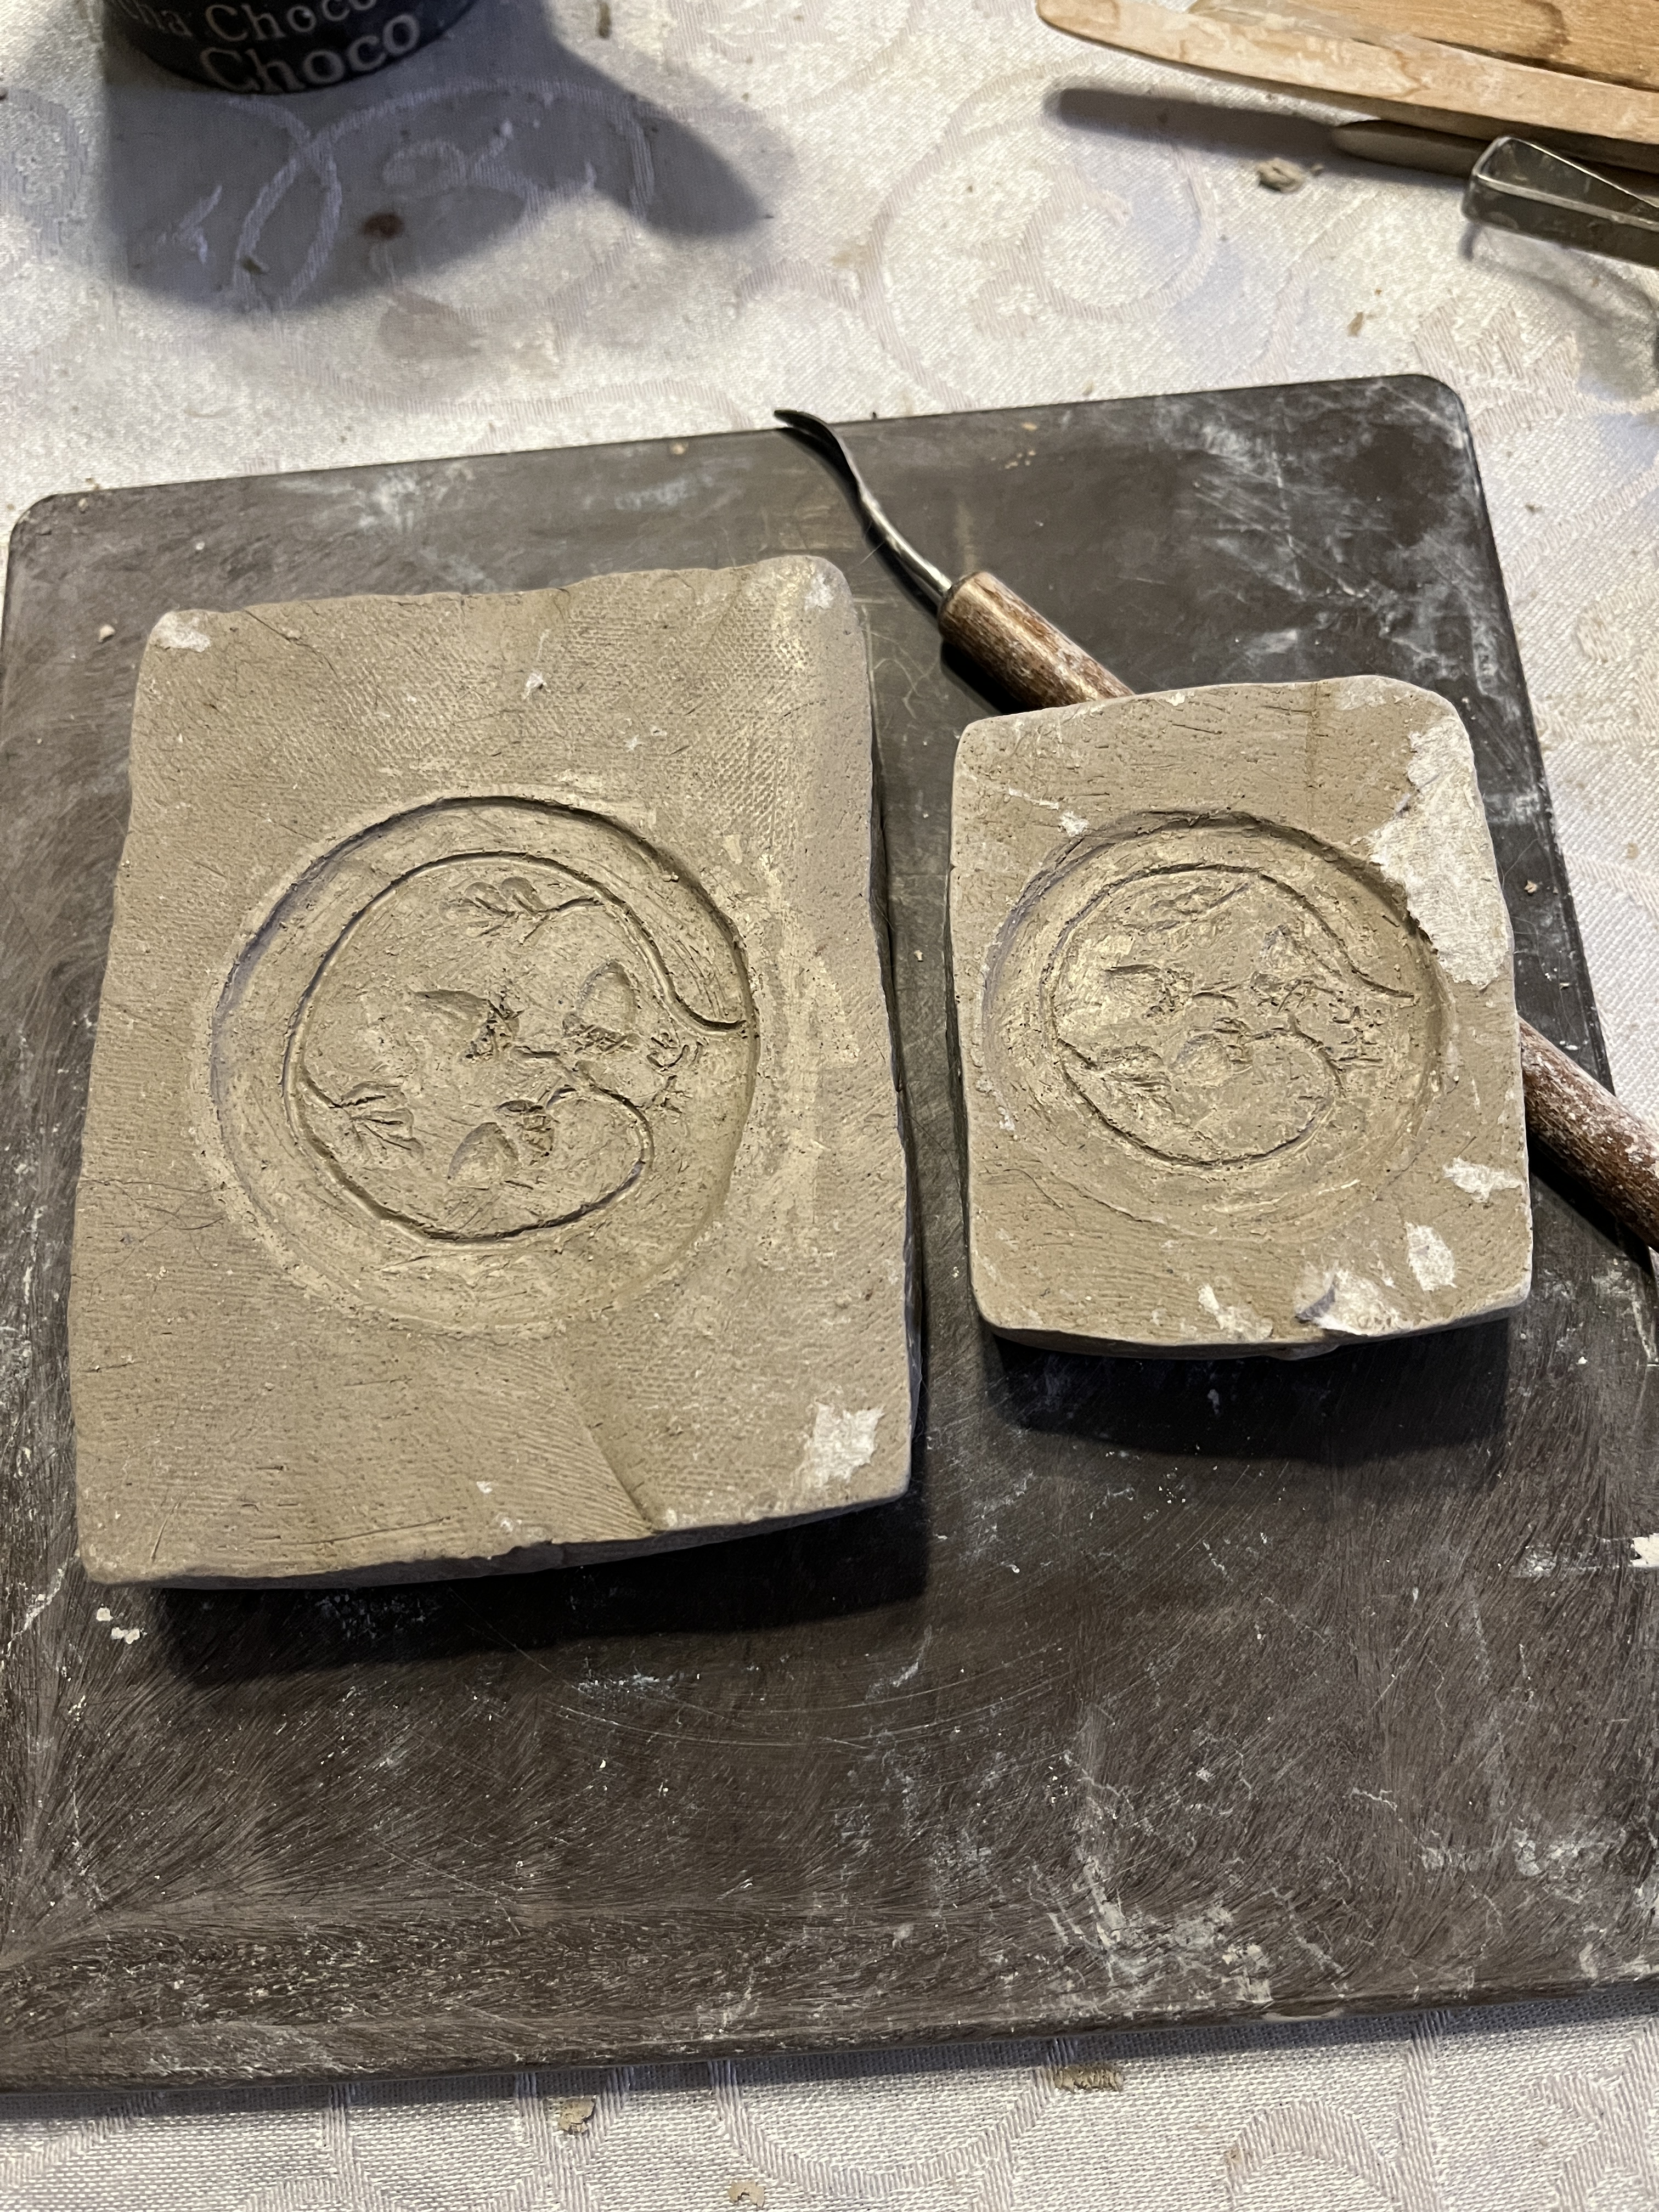
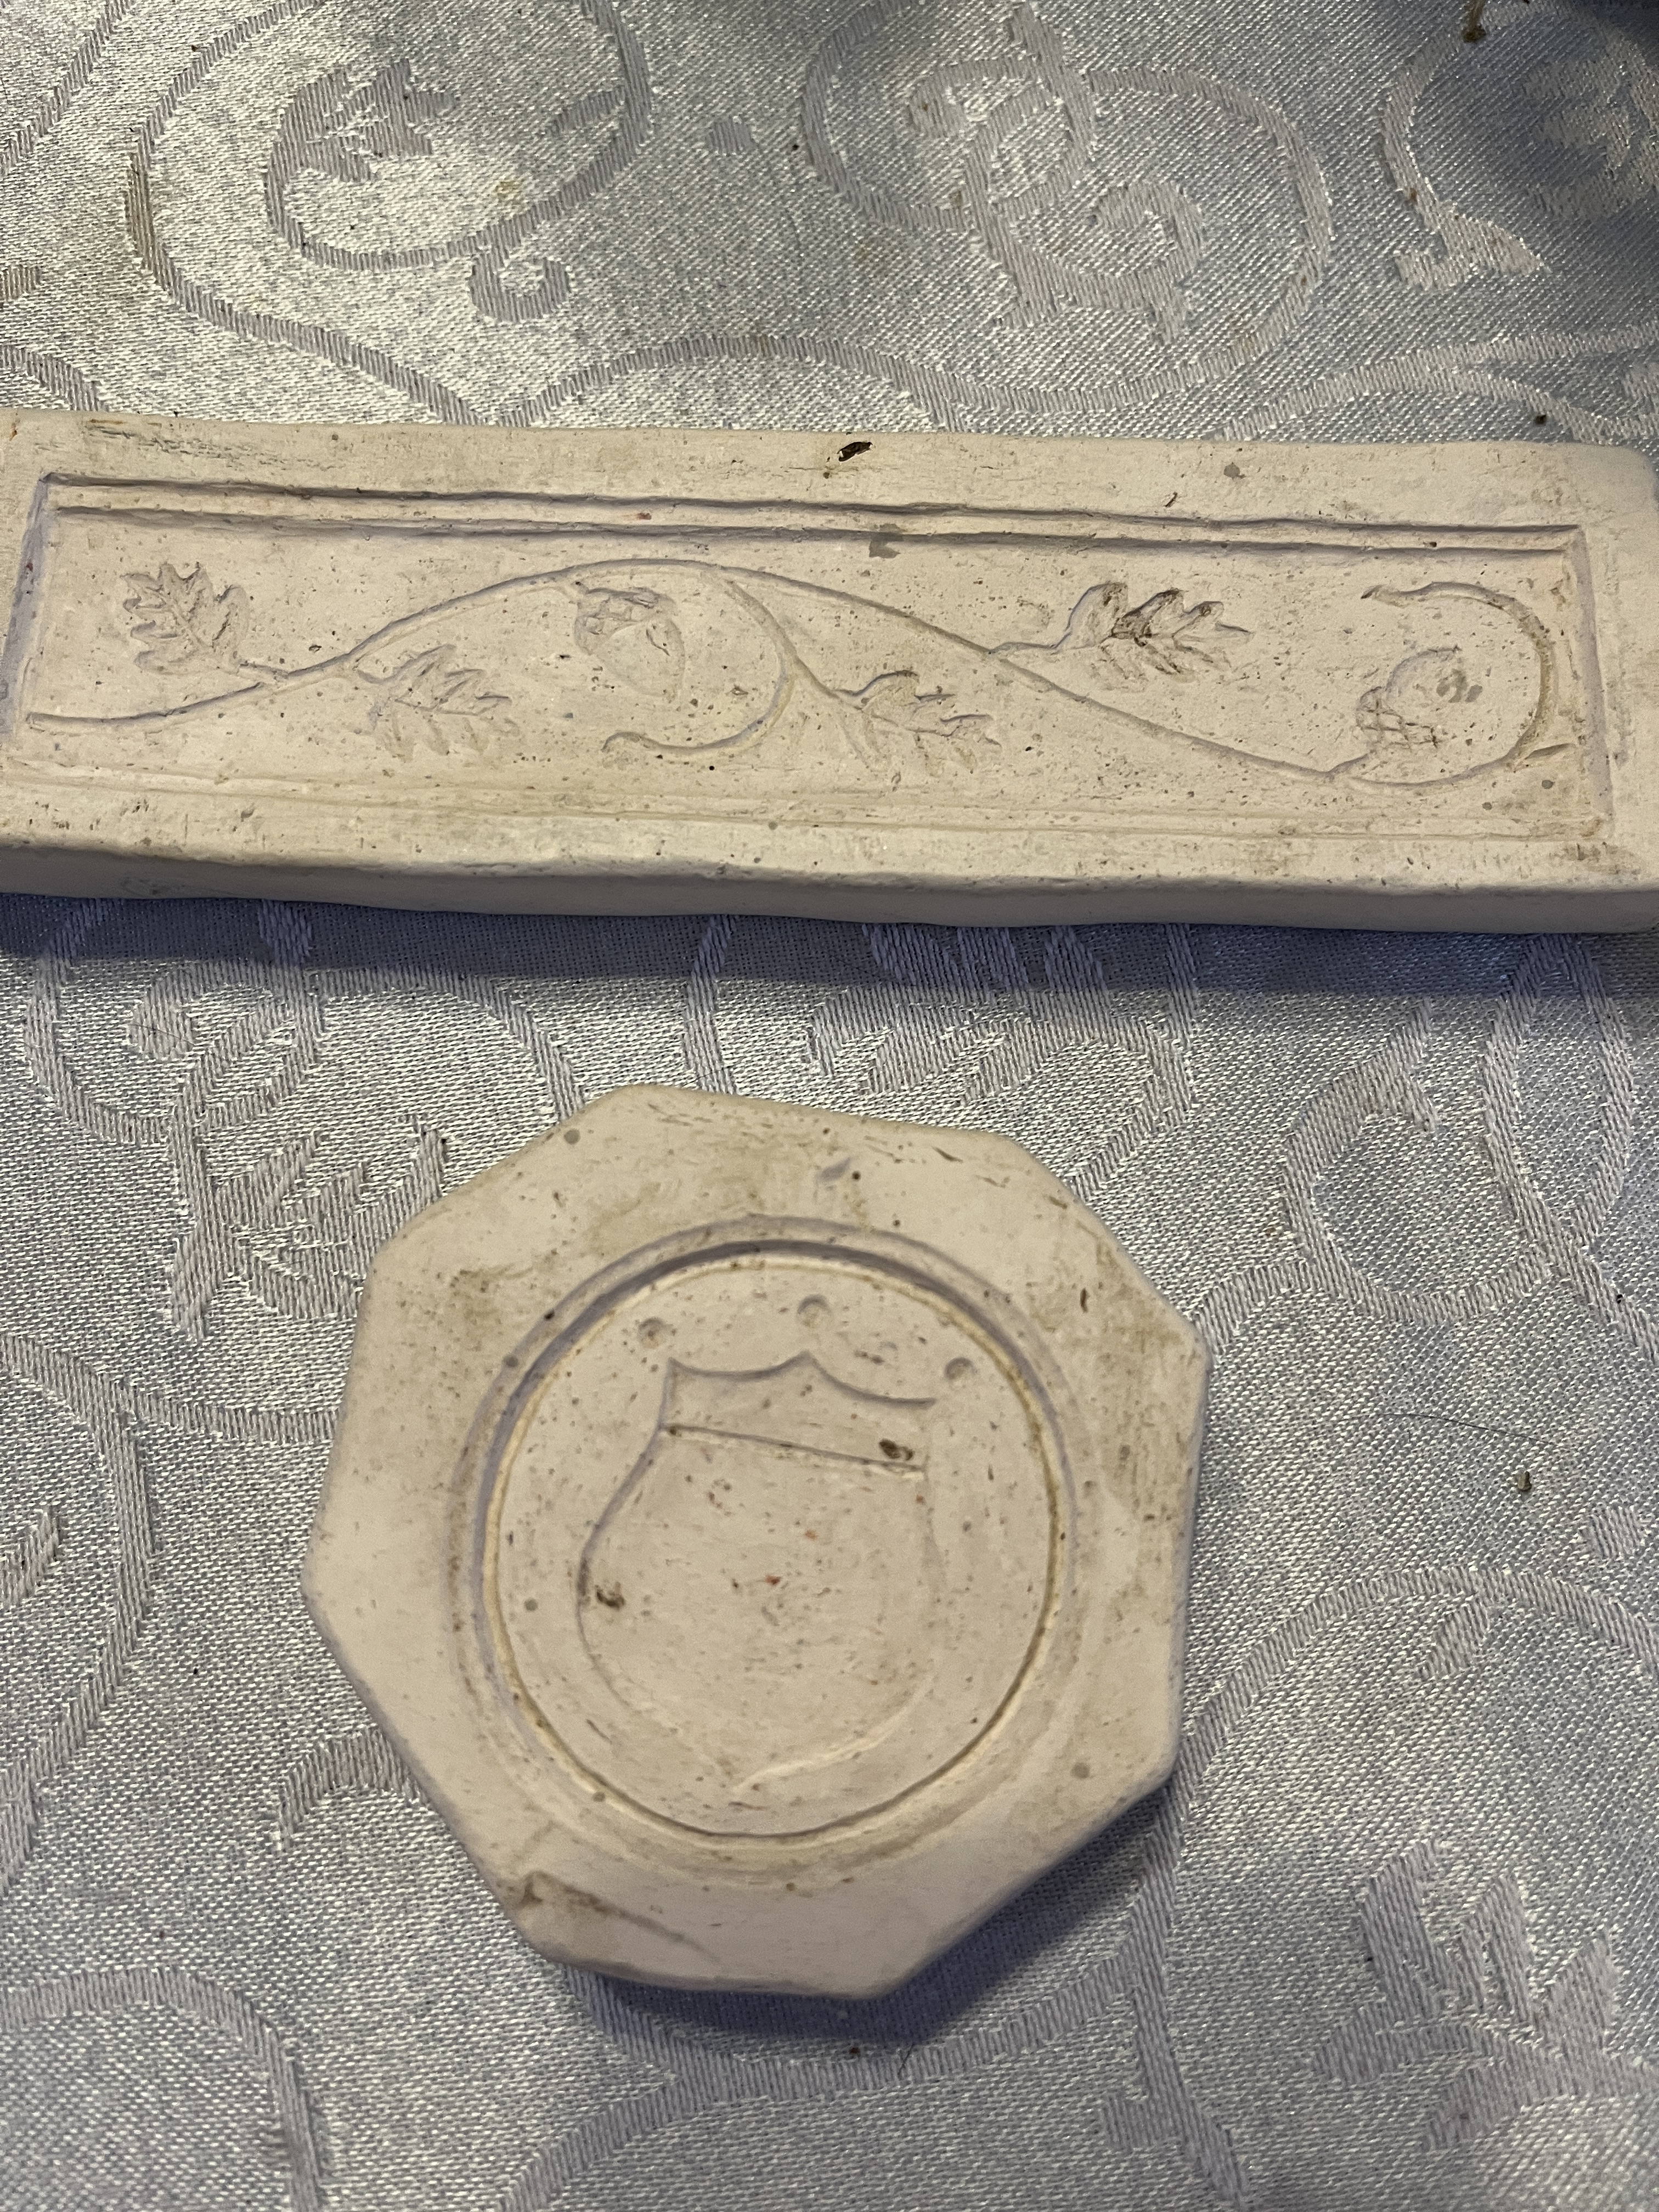
I know I titled this post for a Bellarmine face mold but other things can go on those jugs as well, so, in the spirit of anything worth doing is worth over-doing AND waste not want not, use the back to make a roundel for the belly of the vessel and another blank for stuff on both sides. Suddenly 1 project turns into 8 molds. So the first is a roundel to match the oak and acorn molds I made years ago.
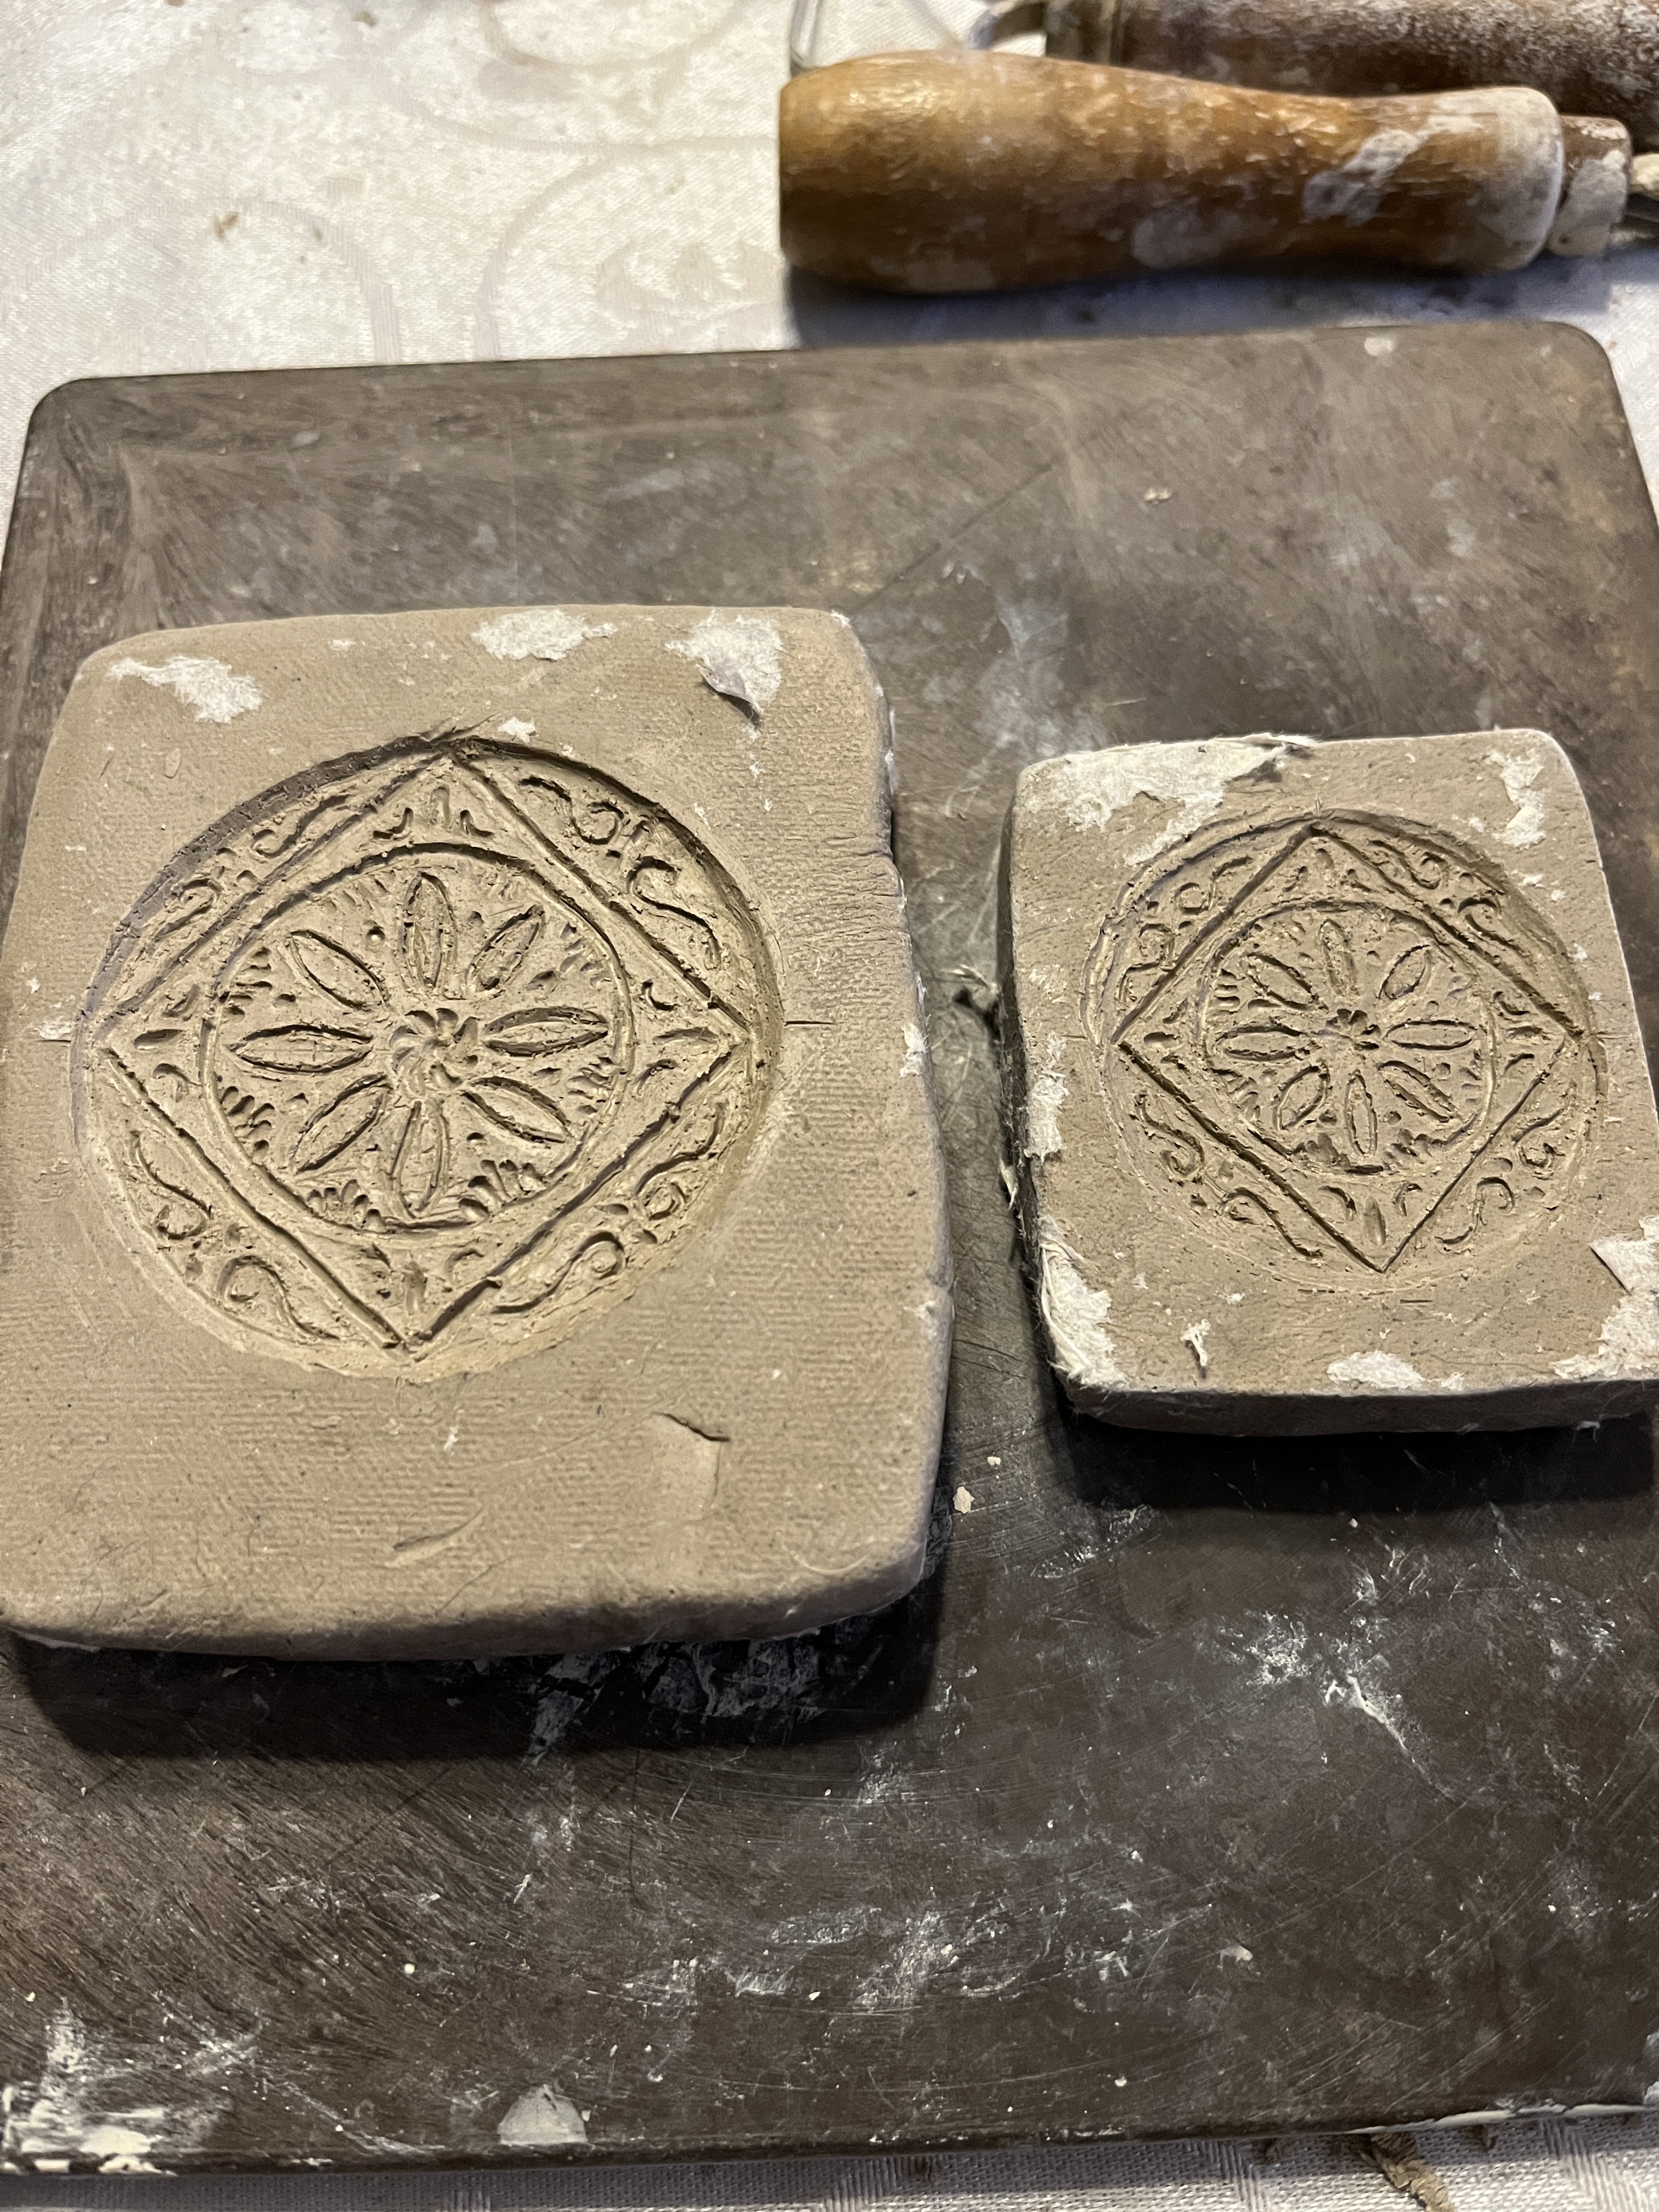
Then I did a geometric set.

Then I realized that I have the design all the way to the edge, so I added a sacrificial edge for a bit of clay to blend in without losing any of the design.

Now for the last mold with a Fruity/floral design. This time the sacrificial edge wasn’t an afterthought.
Now to cover, dry slowly and clean them up just a bit over the next few days. Less poking at any one time is better than ruining the mold with an over-eager stroke. Don’t worry about the paper towel sticking to it, that’ll burn off in the fire. You’ll want to dry these slowly for a couple weeks and maybe even finish them off in a really low over at about 175 before firing them. It’s be a real shame if they exploded in bisque because there was residual moisture in there.
When I get these fired I’ll show how to use them.

Leave a comment