I can do basic cut-it, nail-it, screw-it carpentry but I’m not so comfortable with my skills to make a nice wooden top for a Torii Gate. An old form has rope across the top, and tassel-things, hence the swag in the middle and details. Rope. I can do that. And tassels. Yup, I’ll have a front for my Zen-ish garden soon!
A while back (when I can a bit of extra cash) I bought some rope for this project and set it aside for when I had a bit of extra time. I bought 2 types of rope, 1 really long length for twining or braiding (I decided to braid it) and 1 shorter length to make tassels out of. The original length was about 52 feet.

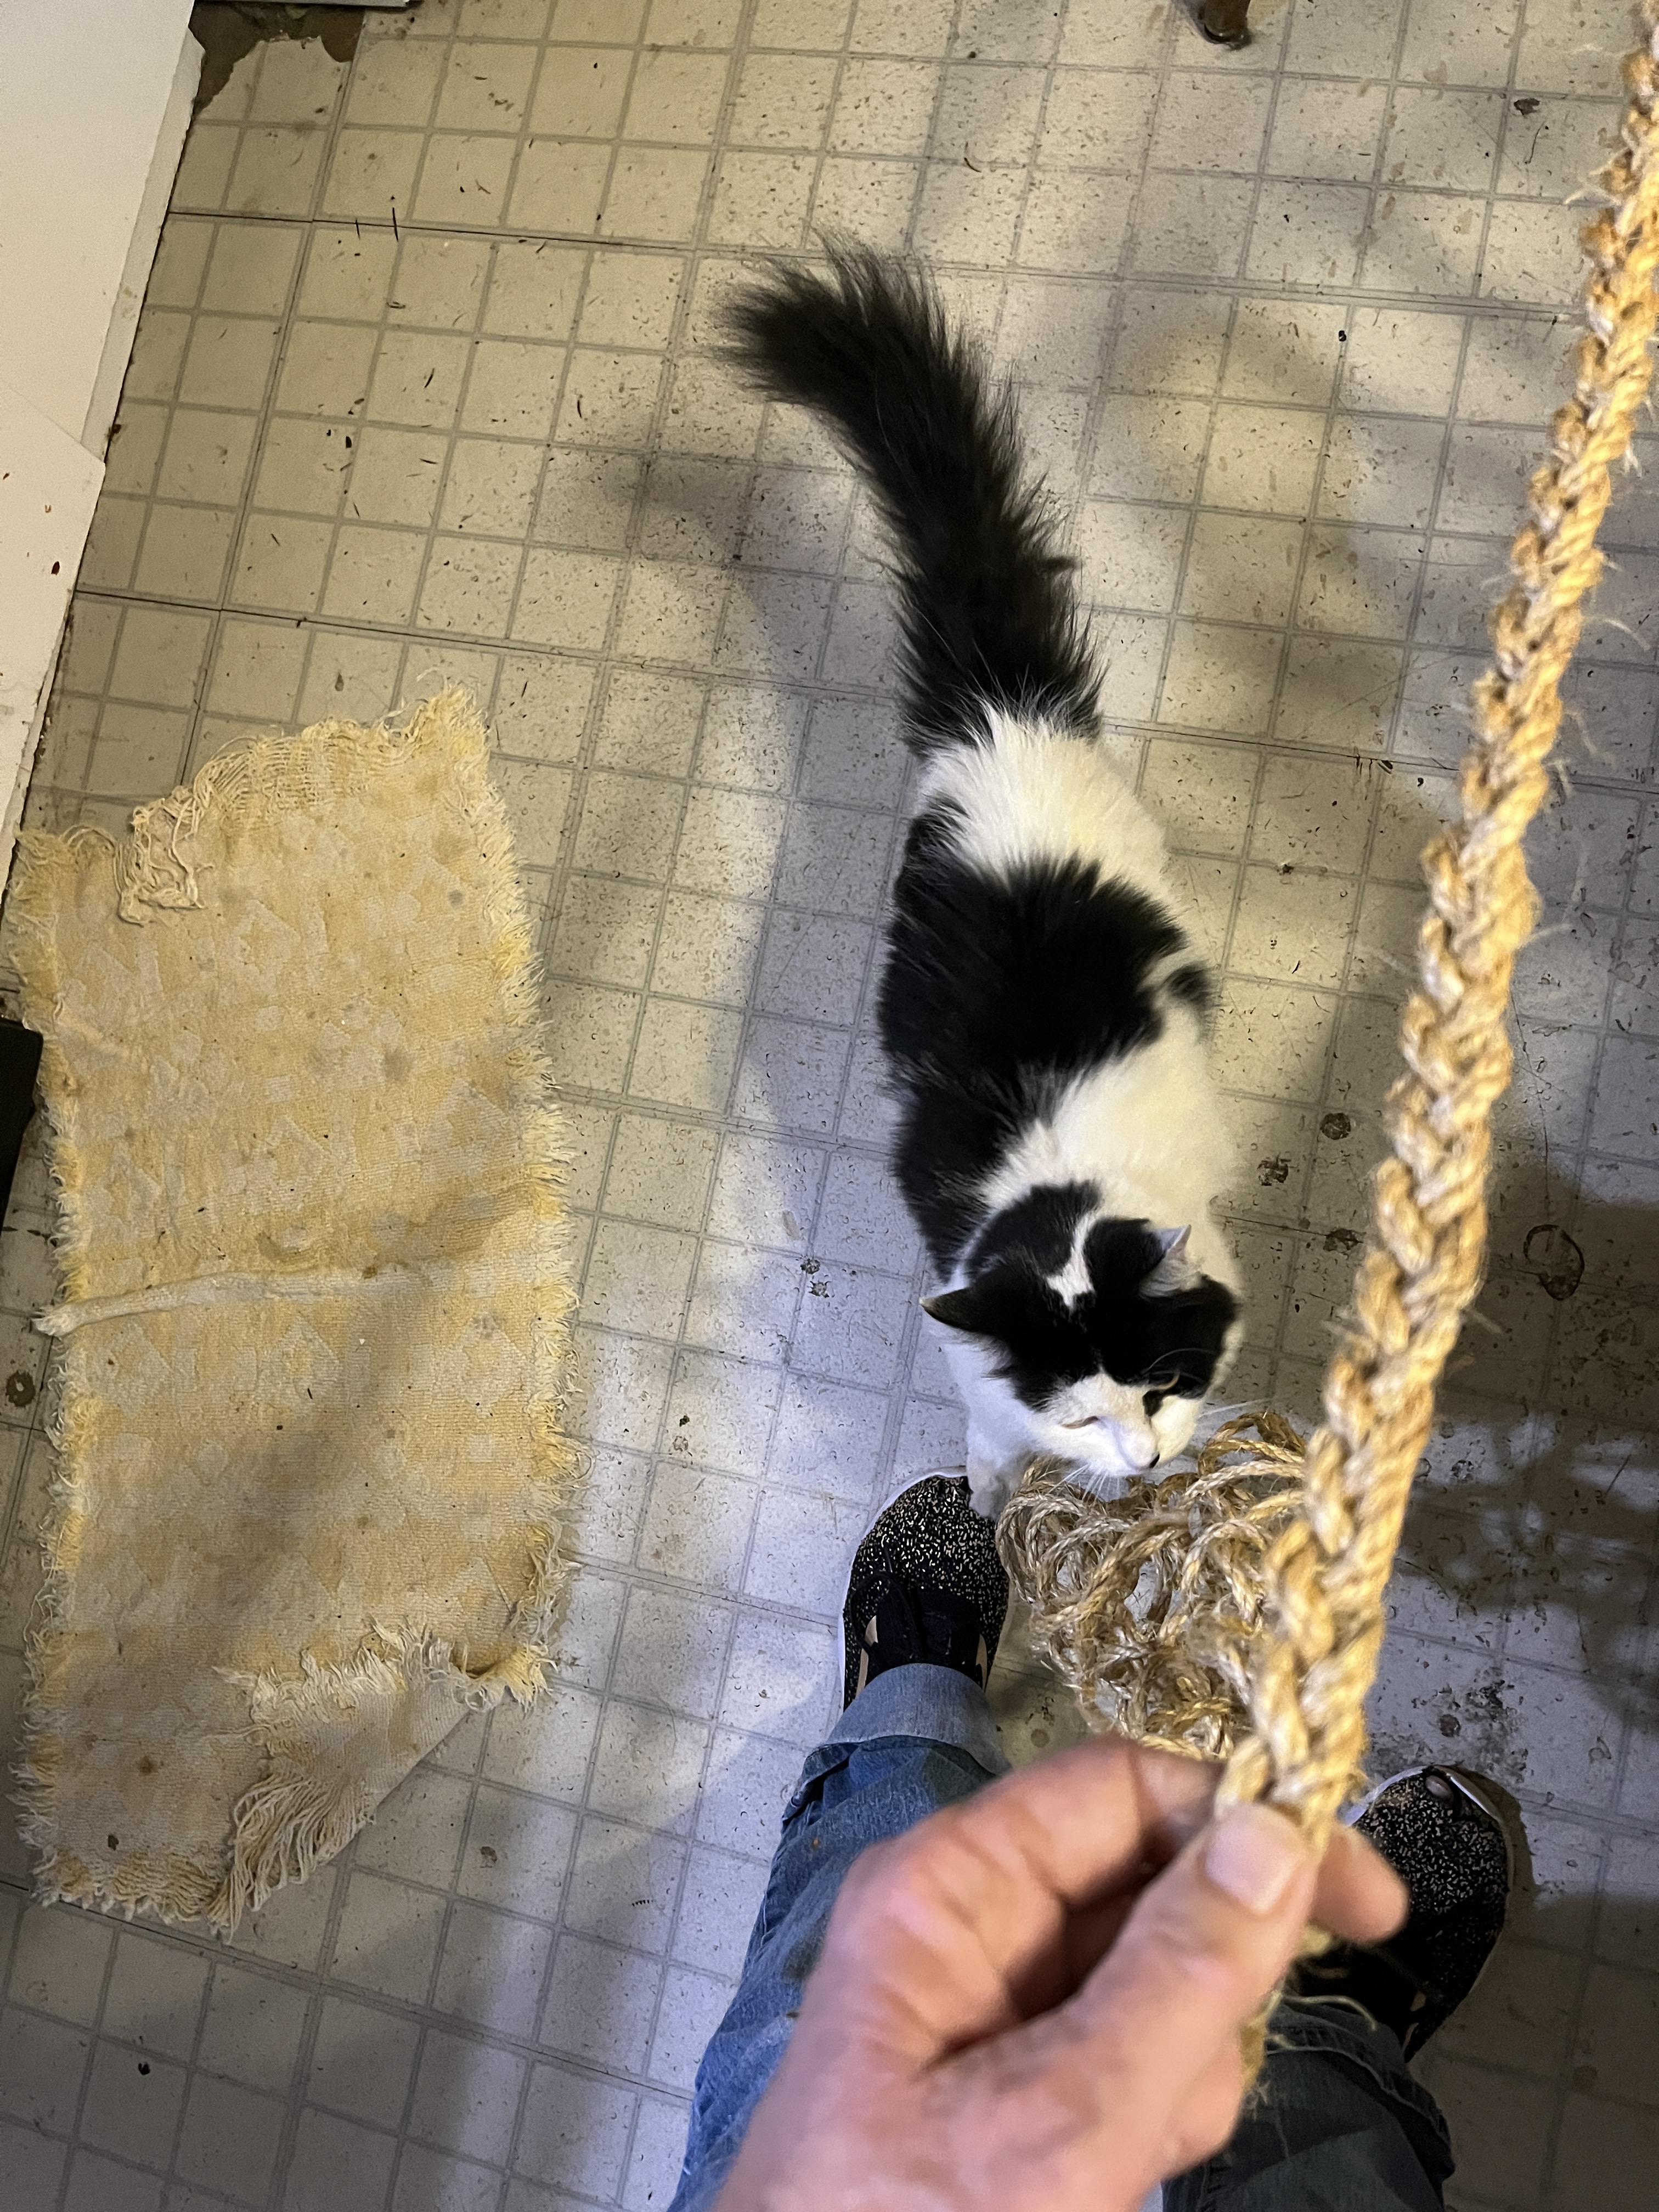
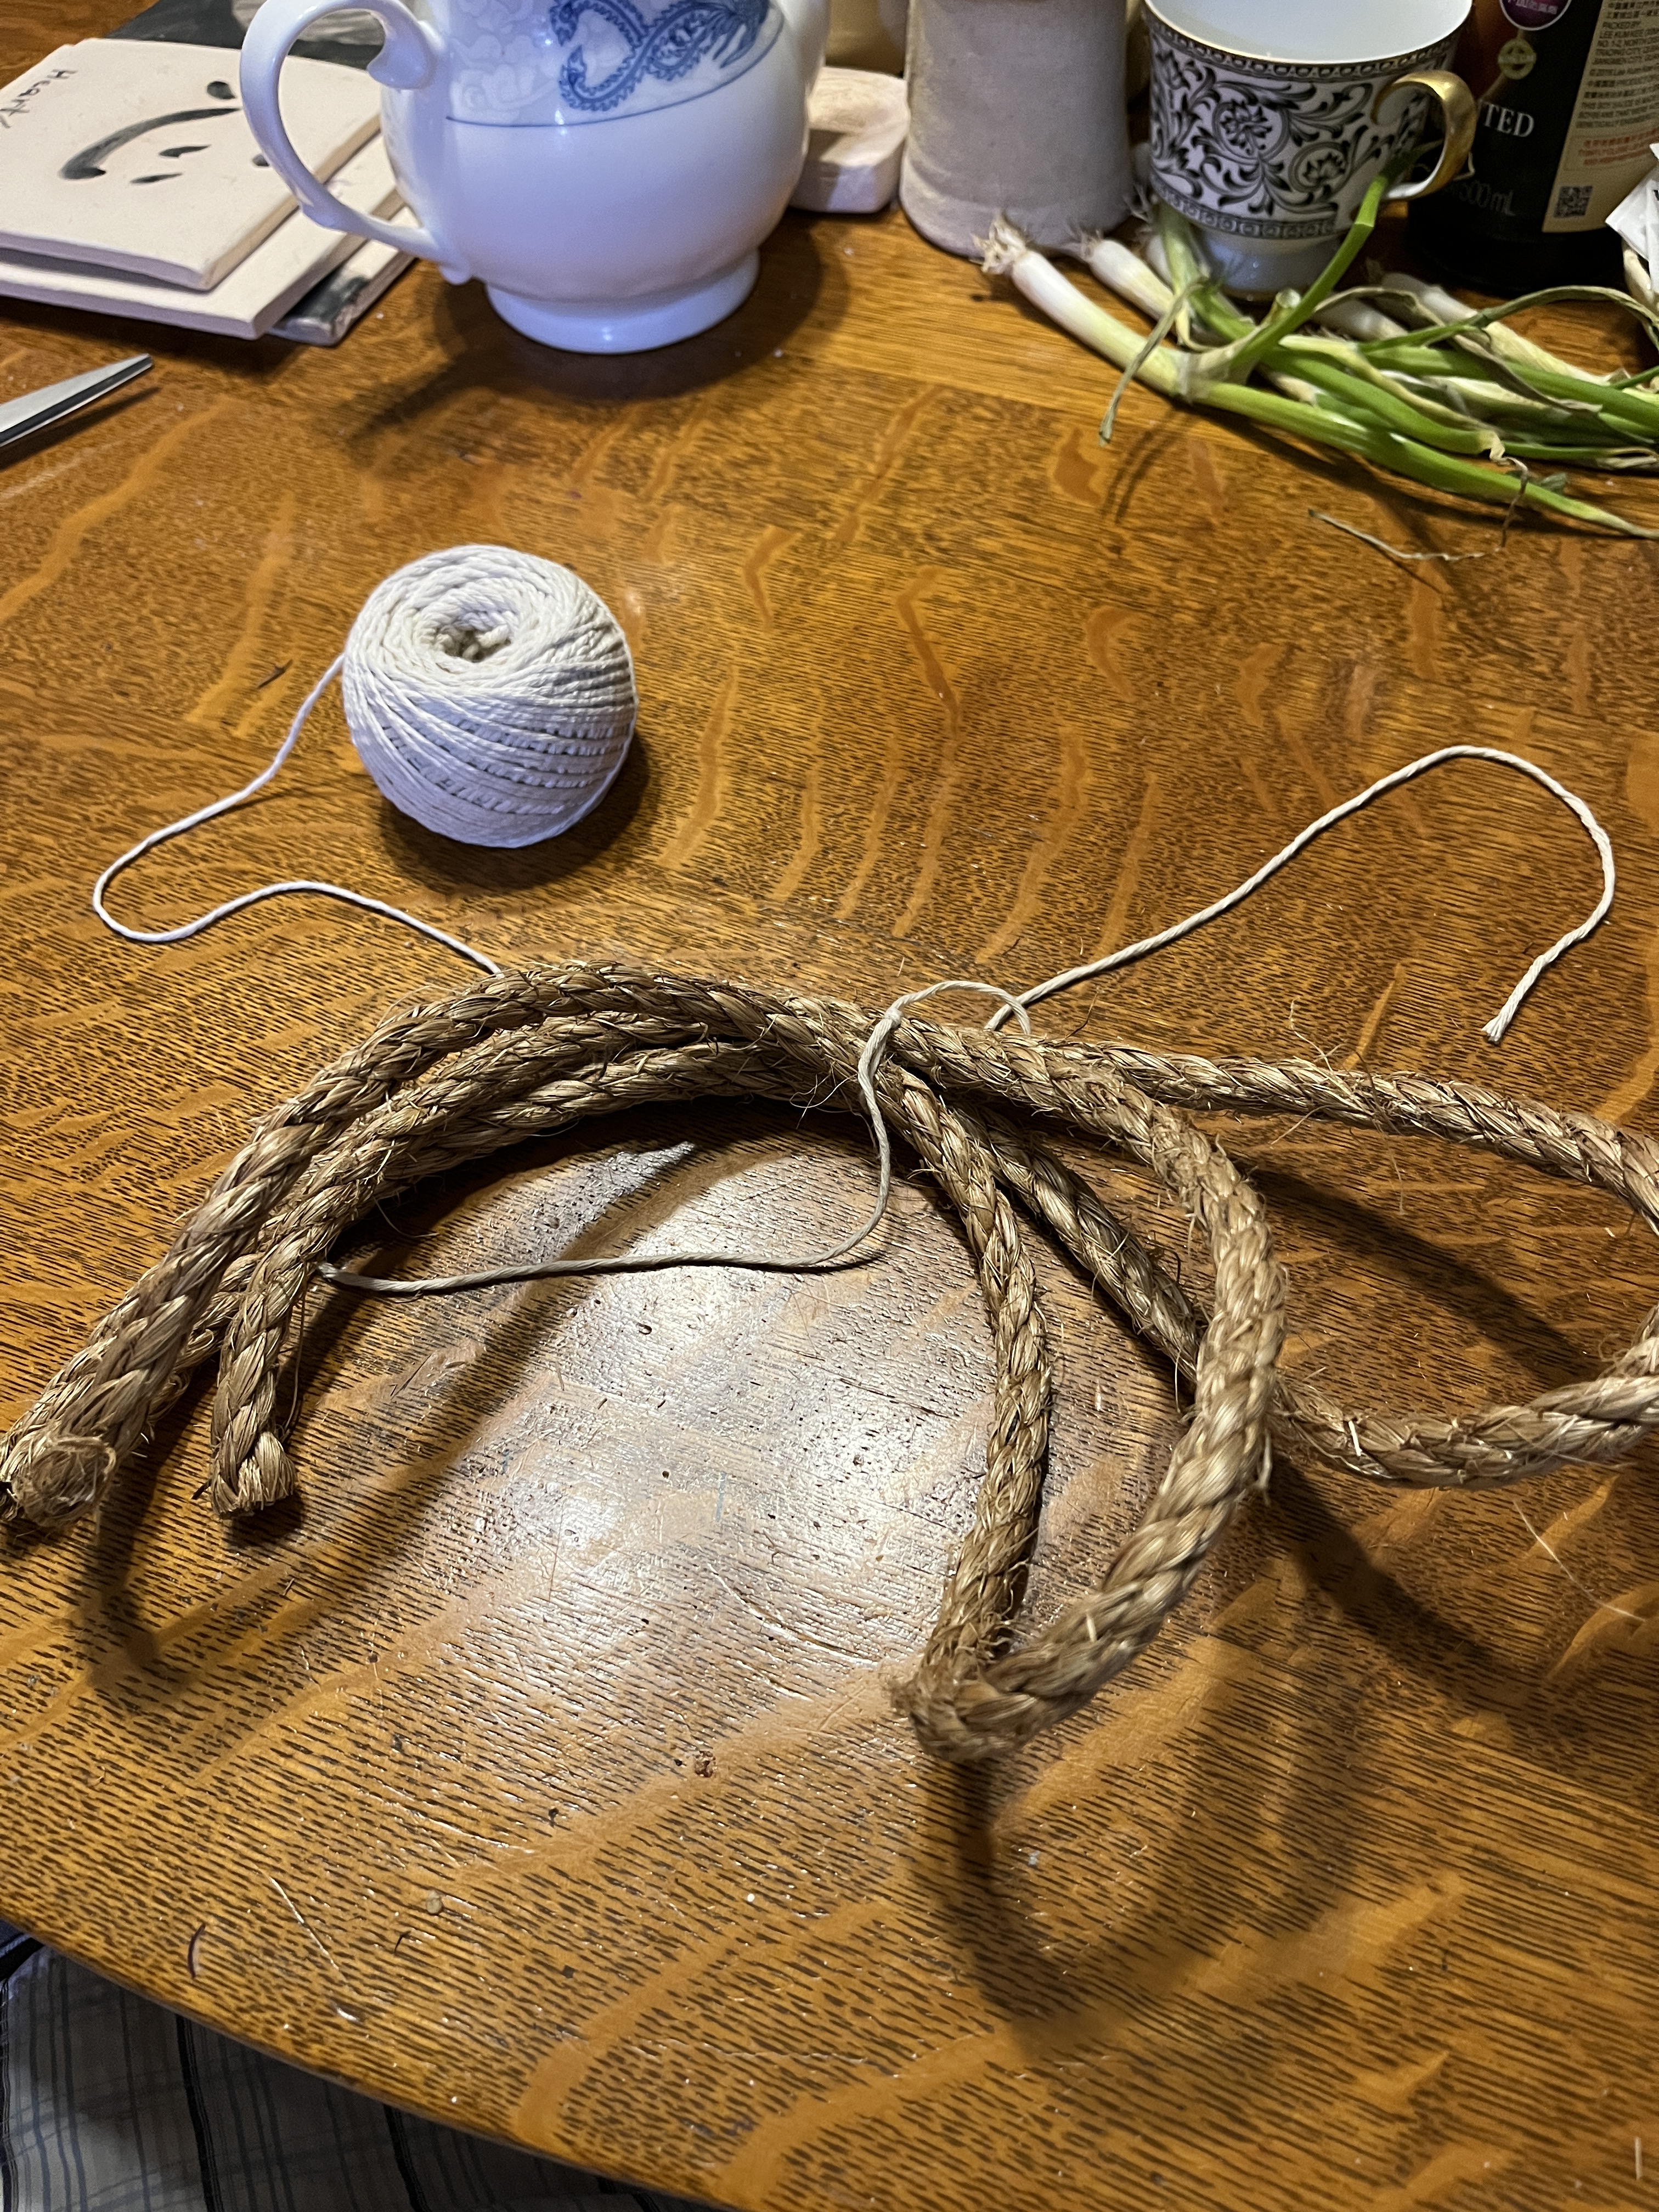
Today I planned to just hang out and listen to Radio Electra out of Burning Man and watch the live feed. Y’all know how well me just sitting around works. By midday I had to turn everything up and do something. I measured the area where the gate is going. I measured the rope. I figured it into 3 more-or-less equal lengths, affixed it to a chair so I could braid it and began to braid. When it got too tangled (very quickly) I untangled it, hand-crocheted it to manageable blobs and began again. Freyja wasn’t sure if she approved. The pattern was take one side over to center, kick the middle under to one side, take the other side over to center, kick the center to the other side, repeat. A lot. Please ignore what the Parrot has done to my floor. I’ll clean things up when the messy projects are done and Monsoon is over.
When it got longer and I realized that Escape to the Country was on I turned the chair around, moved it across the room and continued braiding. Sophie minded the tails as I finished the first braiding session. The lengths were about 17 feet and resulted in a braid about 13 feet.

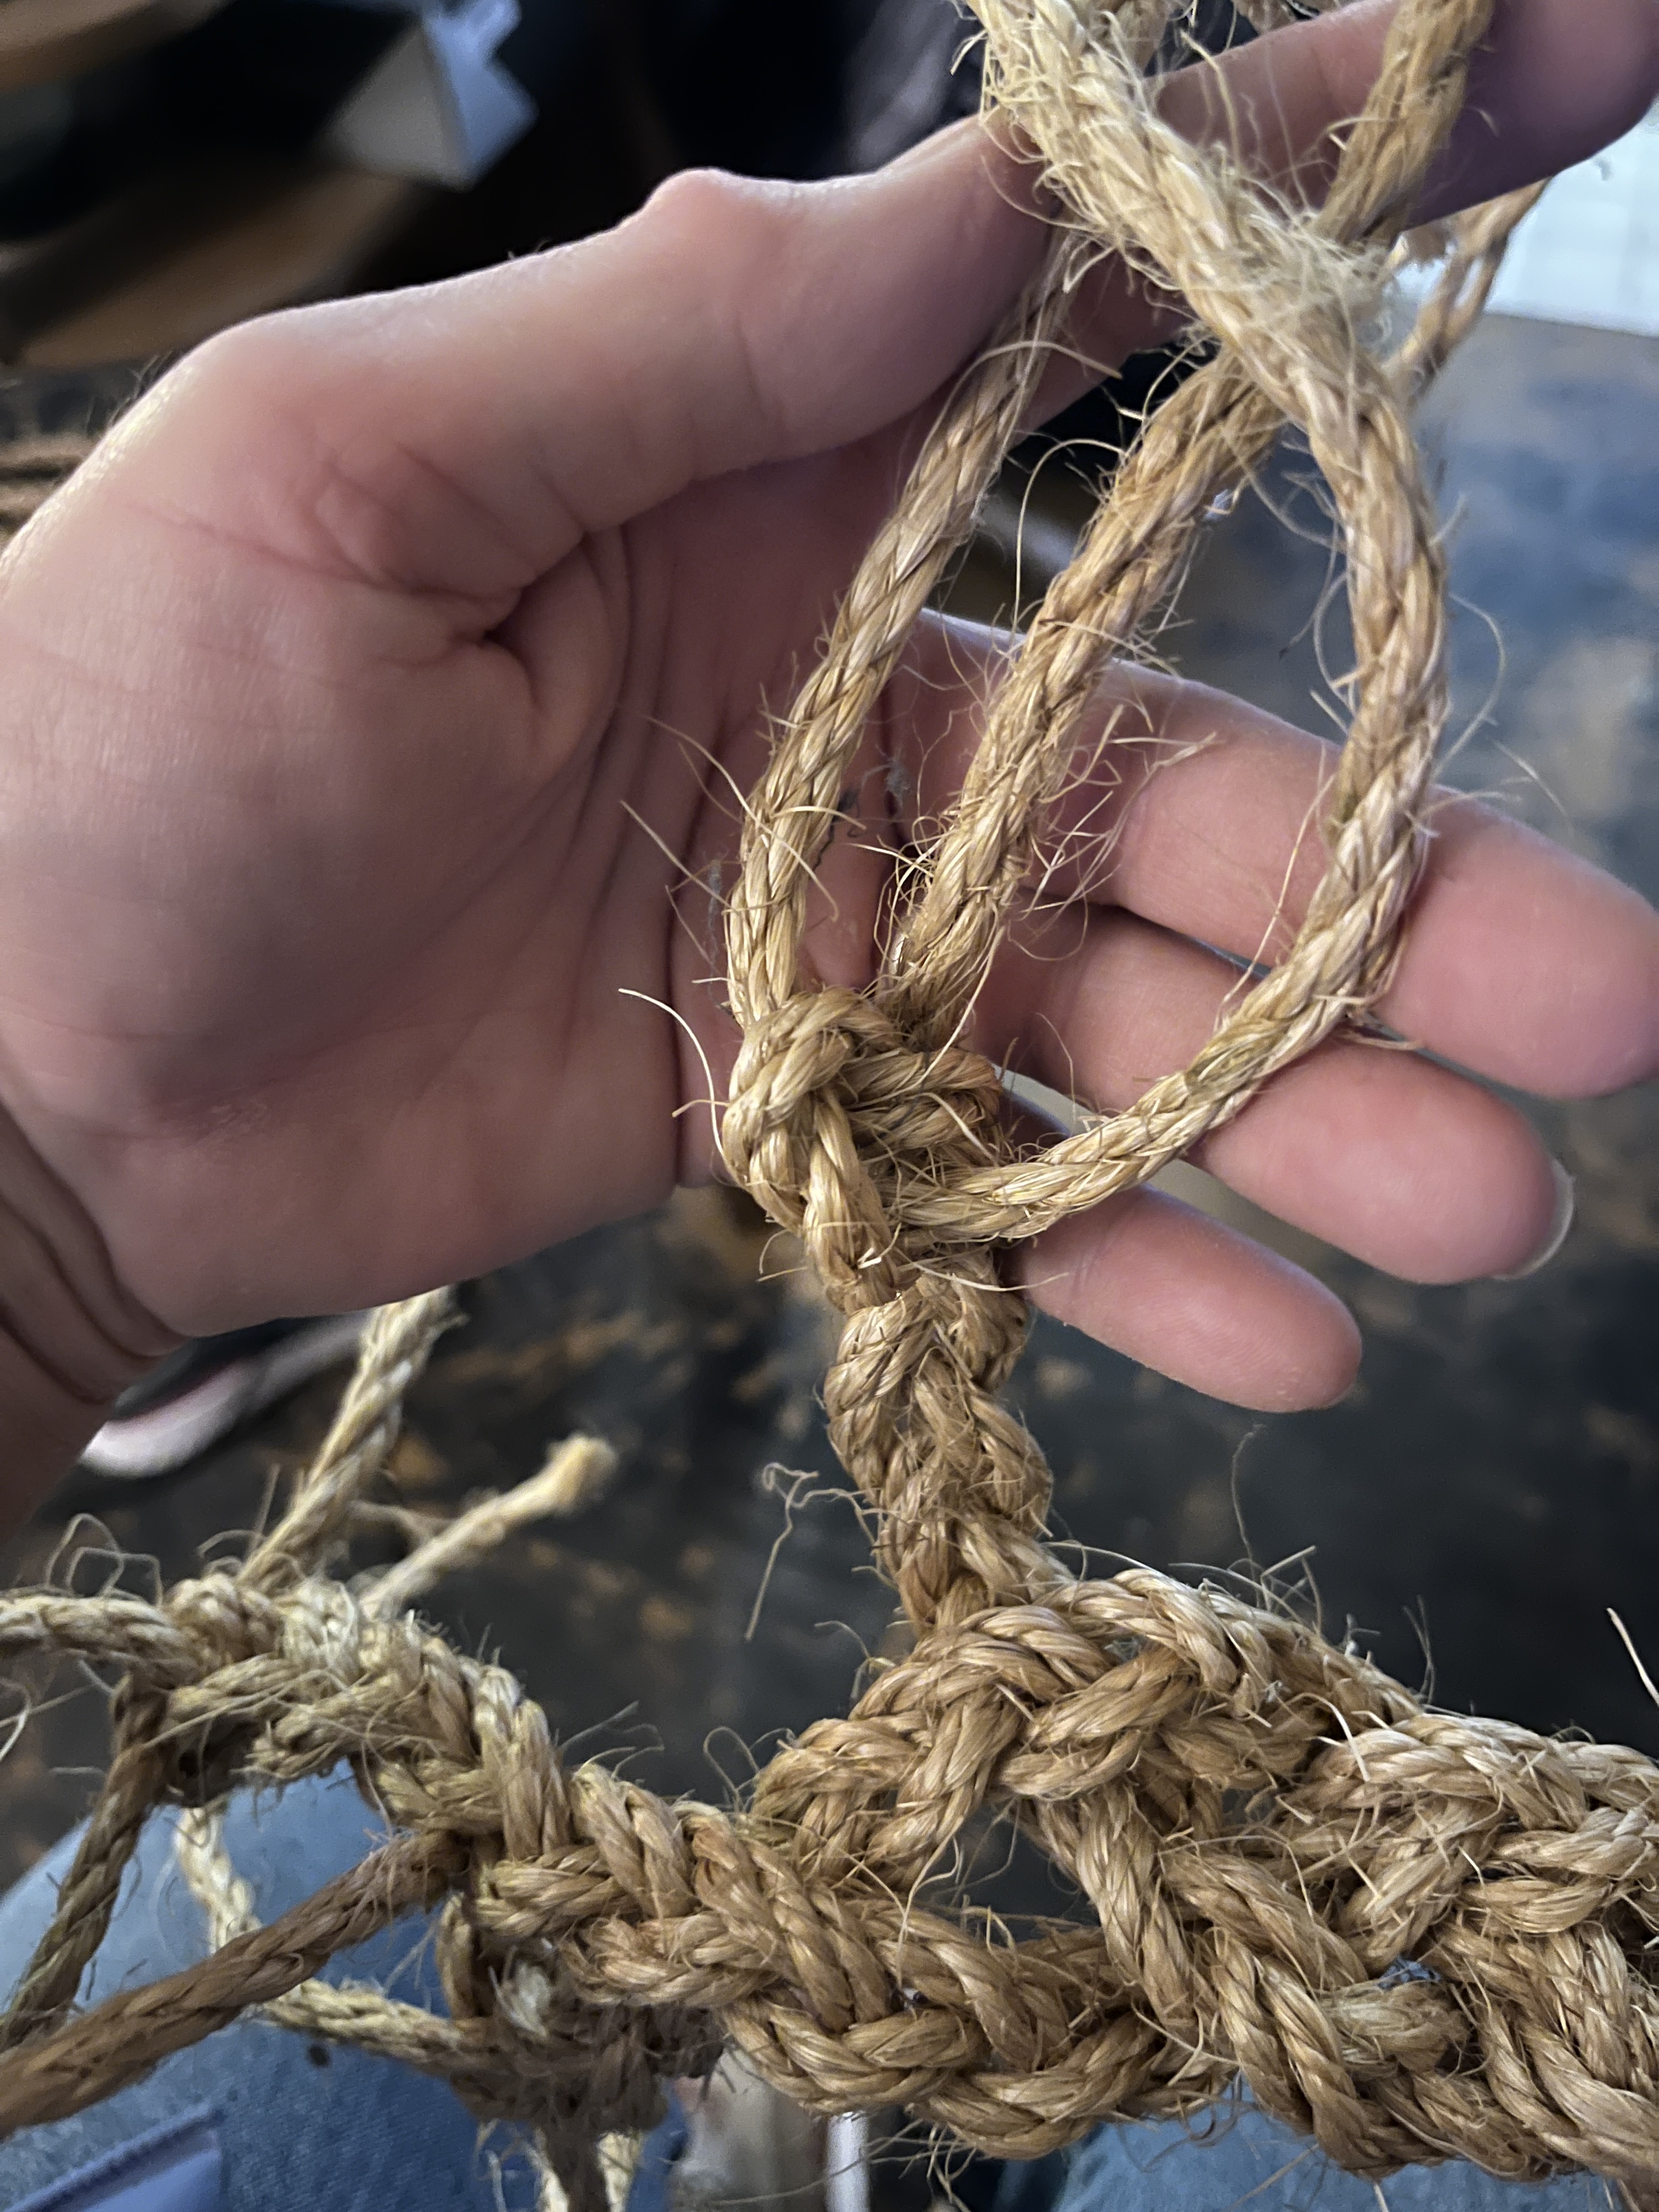
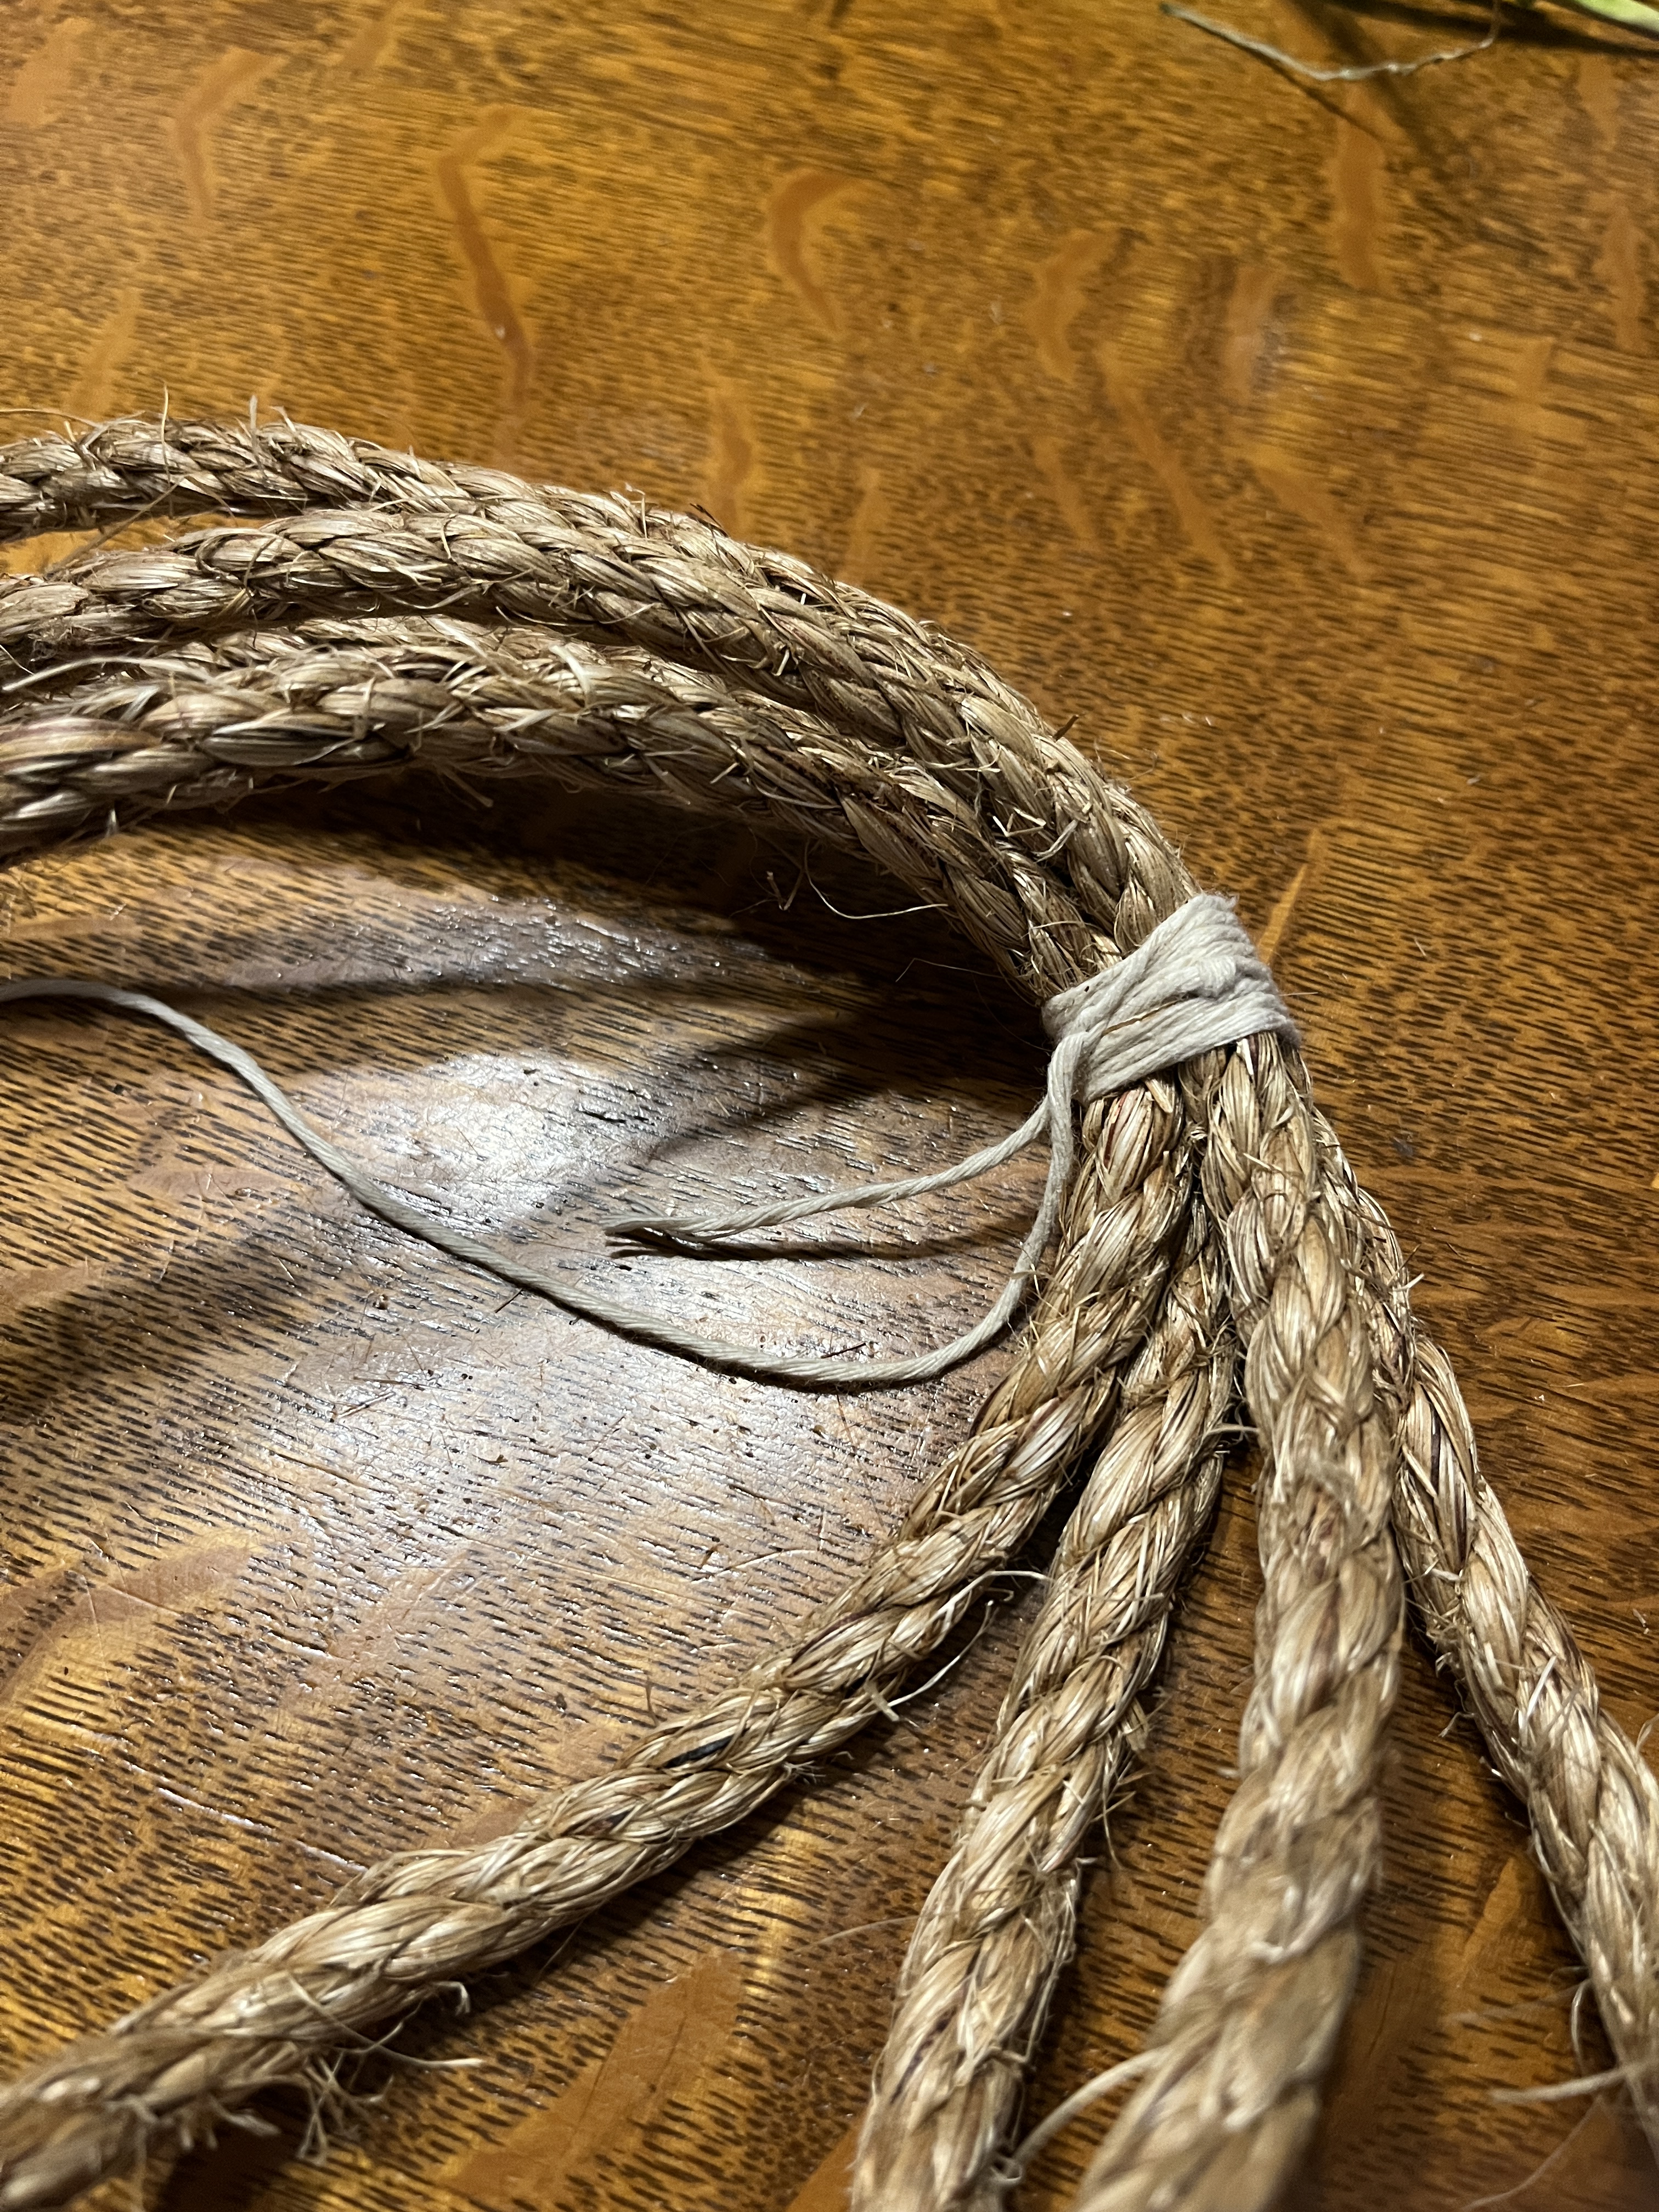
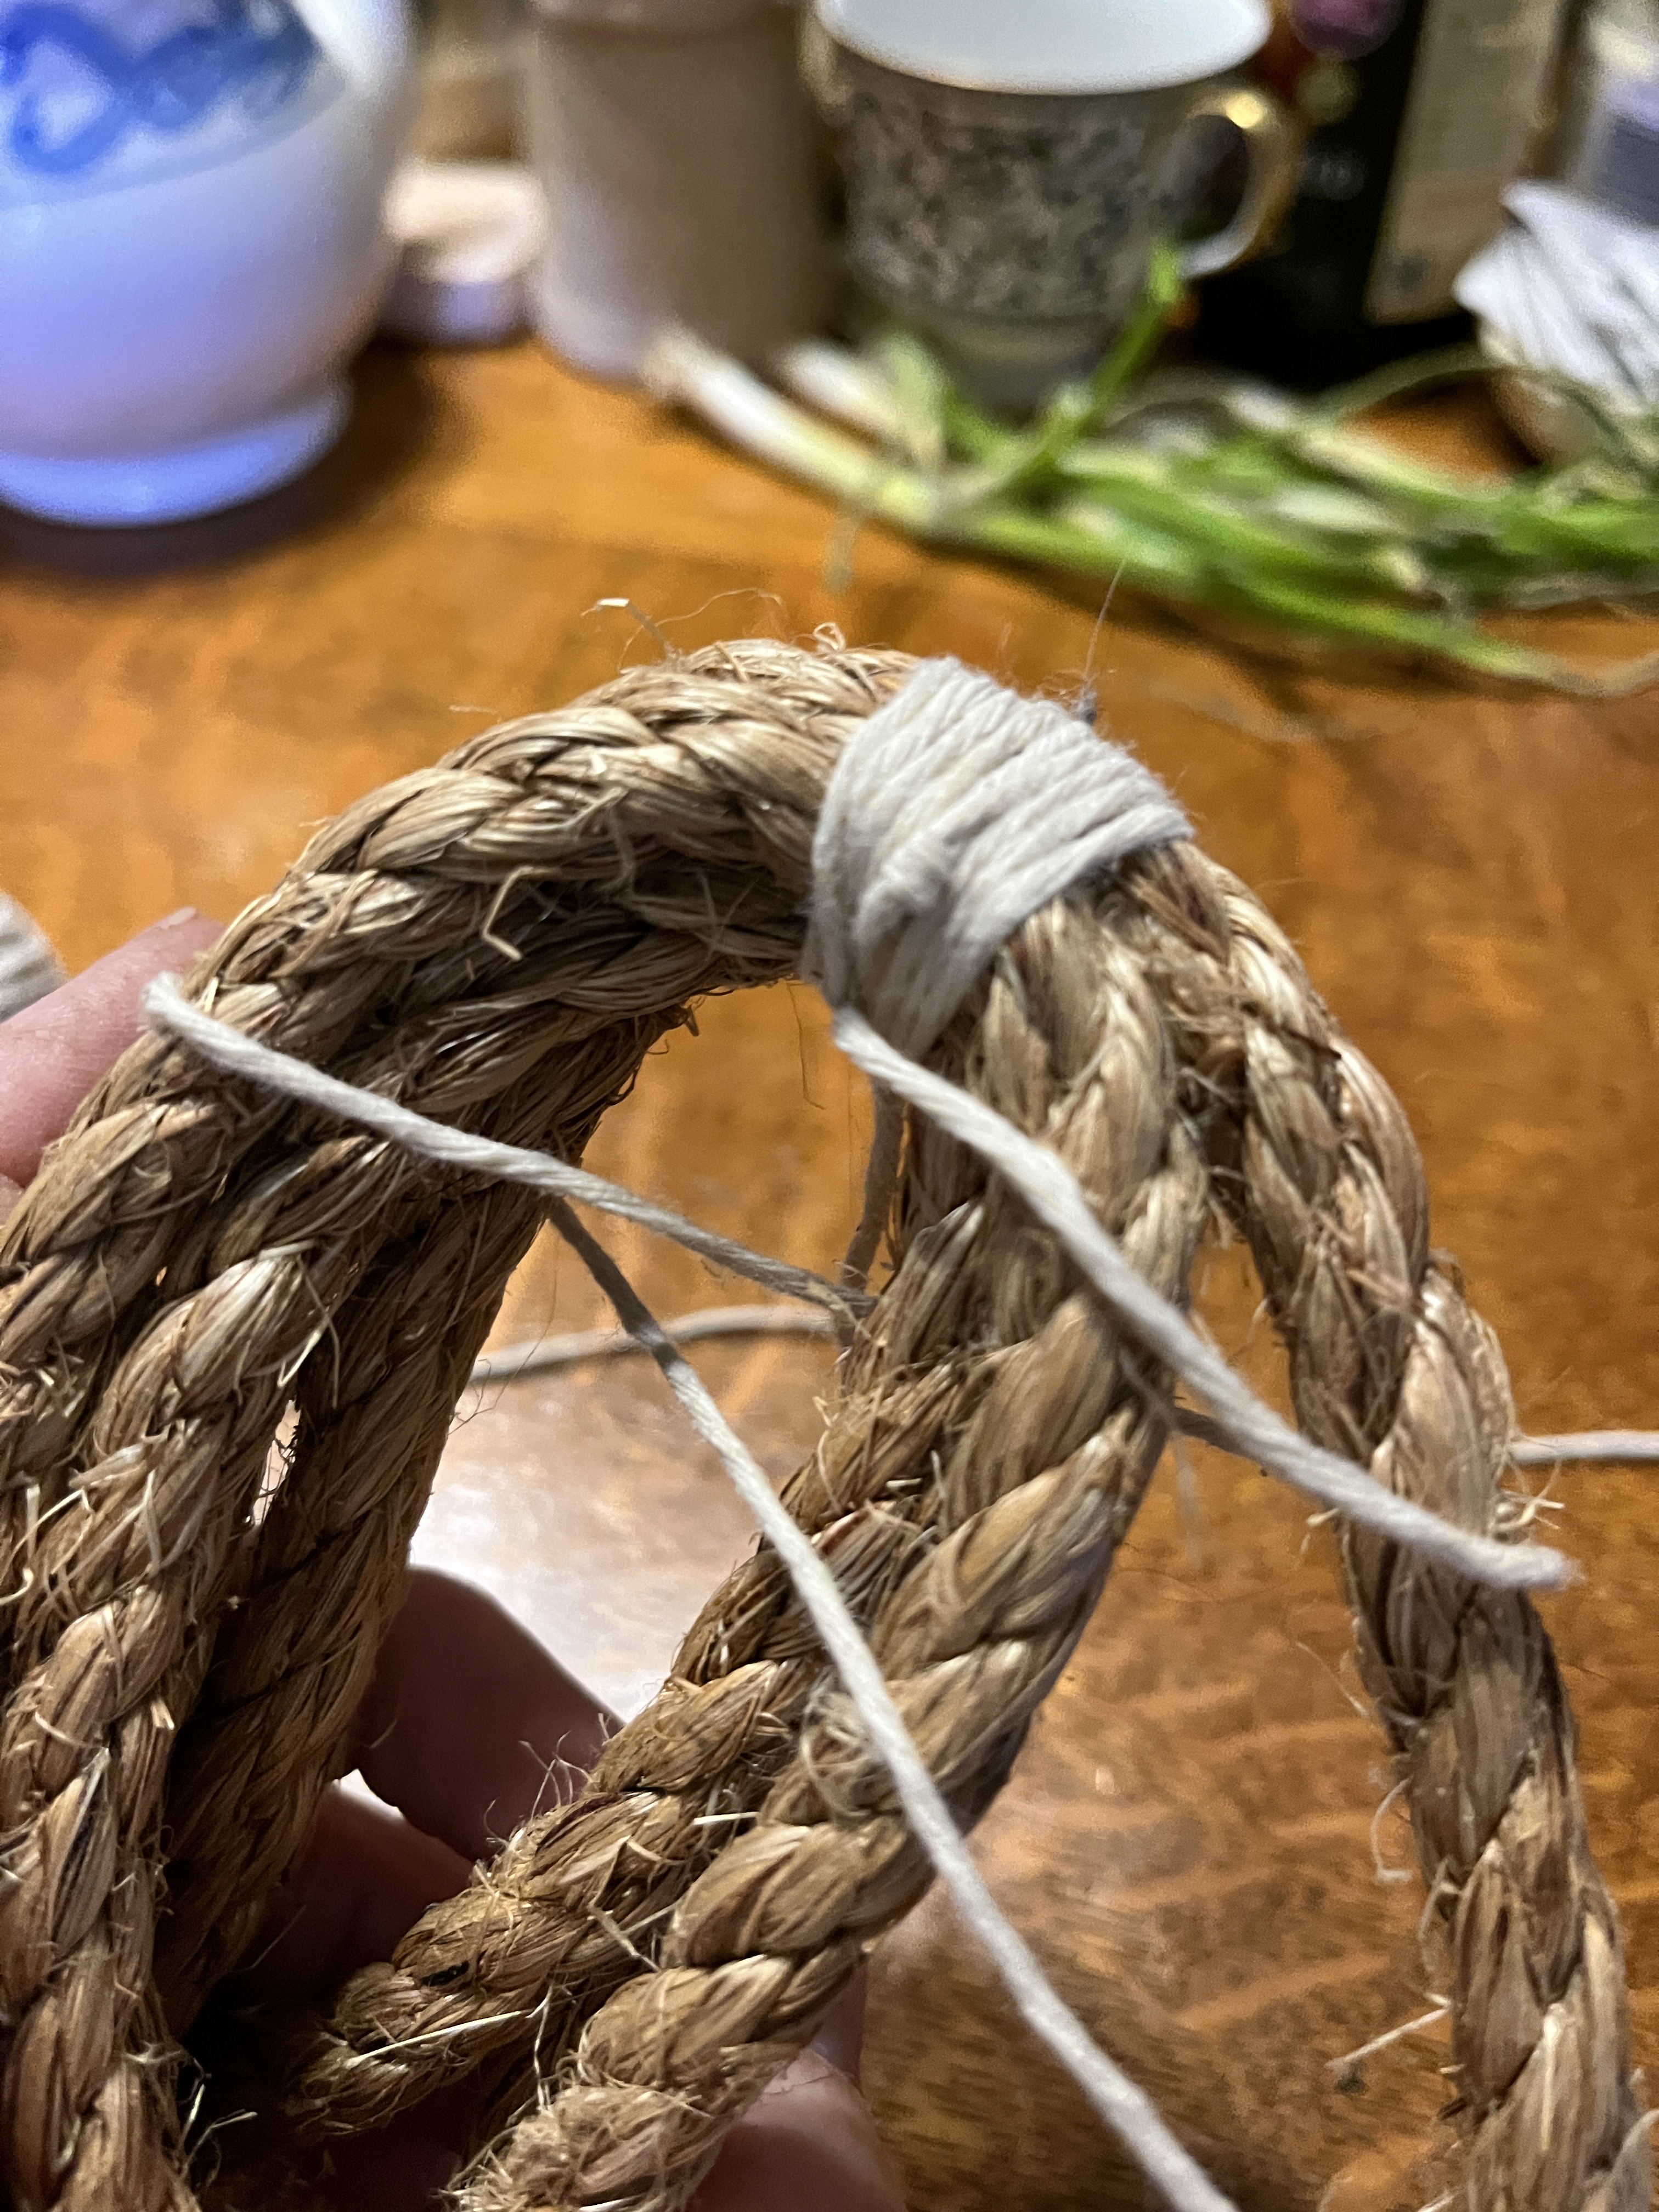
When I got to the end I tied a square know in the 2 outside lines to keep it together, cut the end off the chair and measured the rope braid into 3 mostly equal lengths. I tied the one with the long strand from the original tie on the chair back onto the chair, cut 2/3 off, tied the ends in square knots, wrapped that bit in half around the top end of the new braid (tying it in place with the other 2 ends of the original braid) and started braiding again. Yes, my floor is in desperate need of vacuuming. I figure I’ll do that when the messy projects are done.
When I got to the end I untied and unbraided them enough to tie them together while leaving a central line long enough (I hope) to tie to an upright on the Gate.
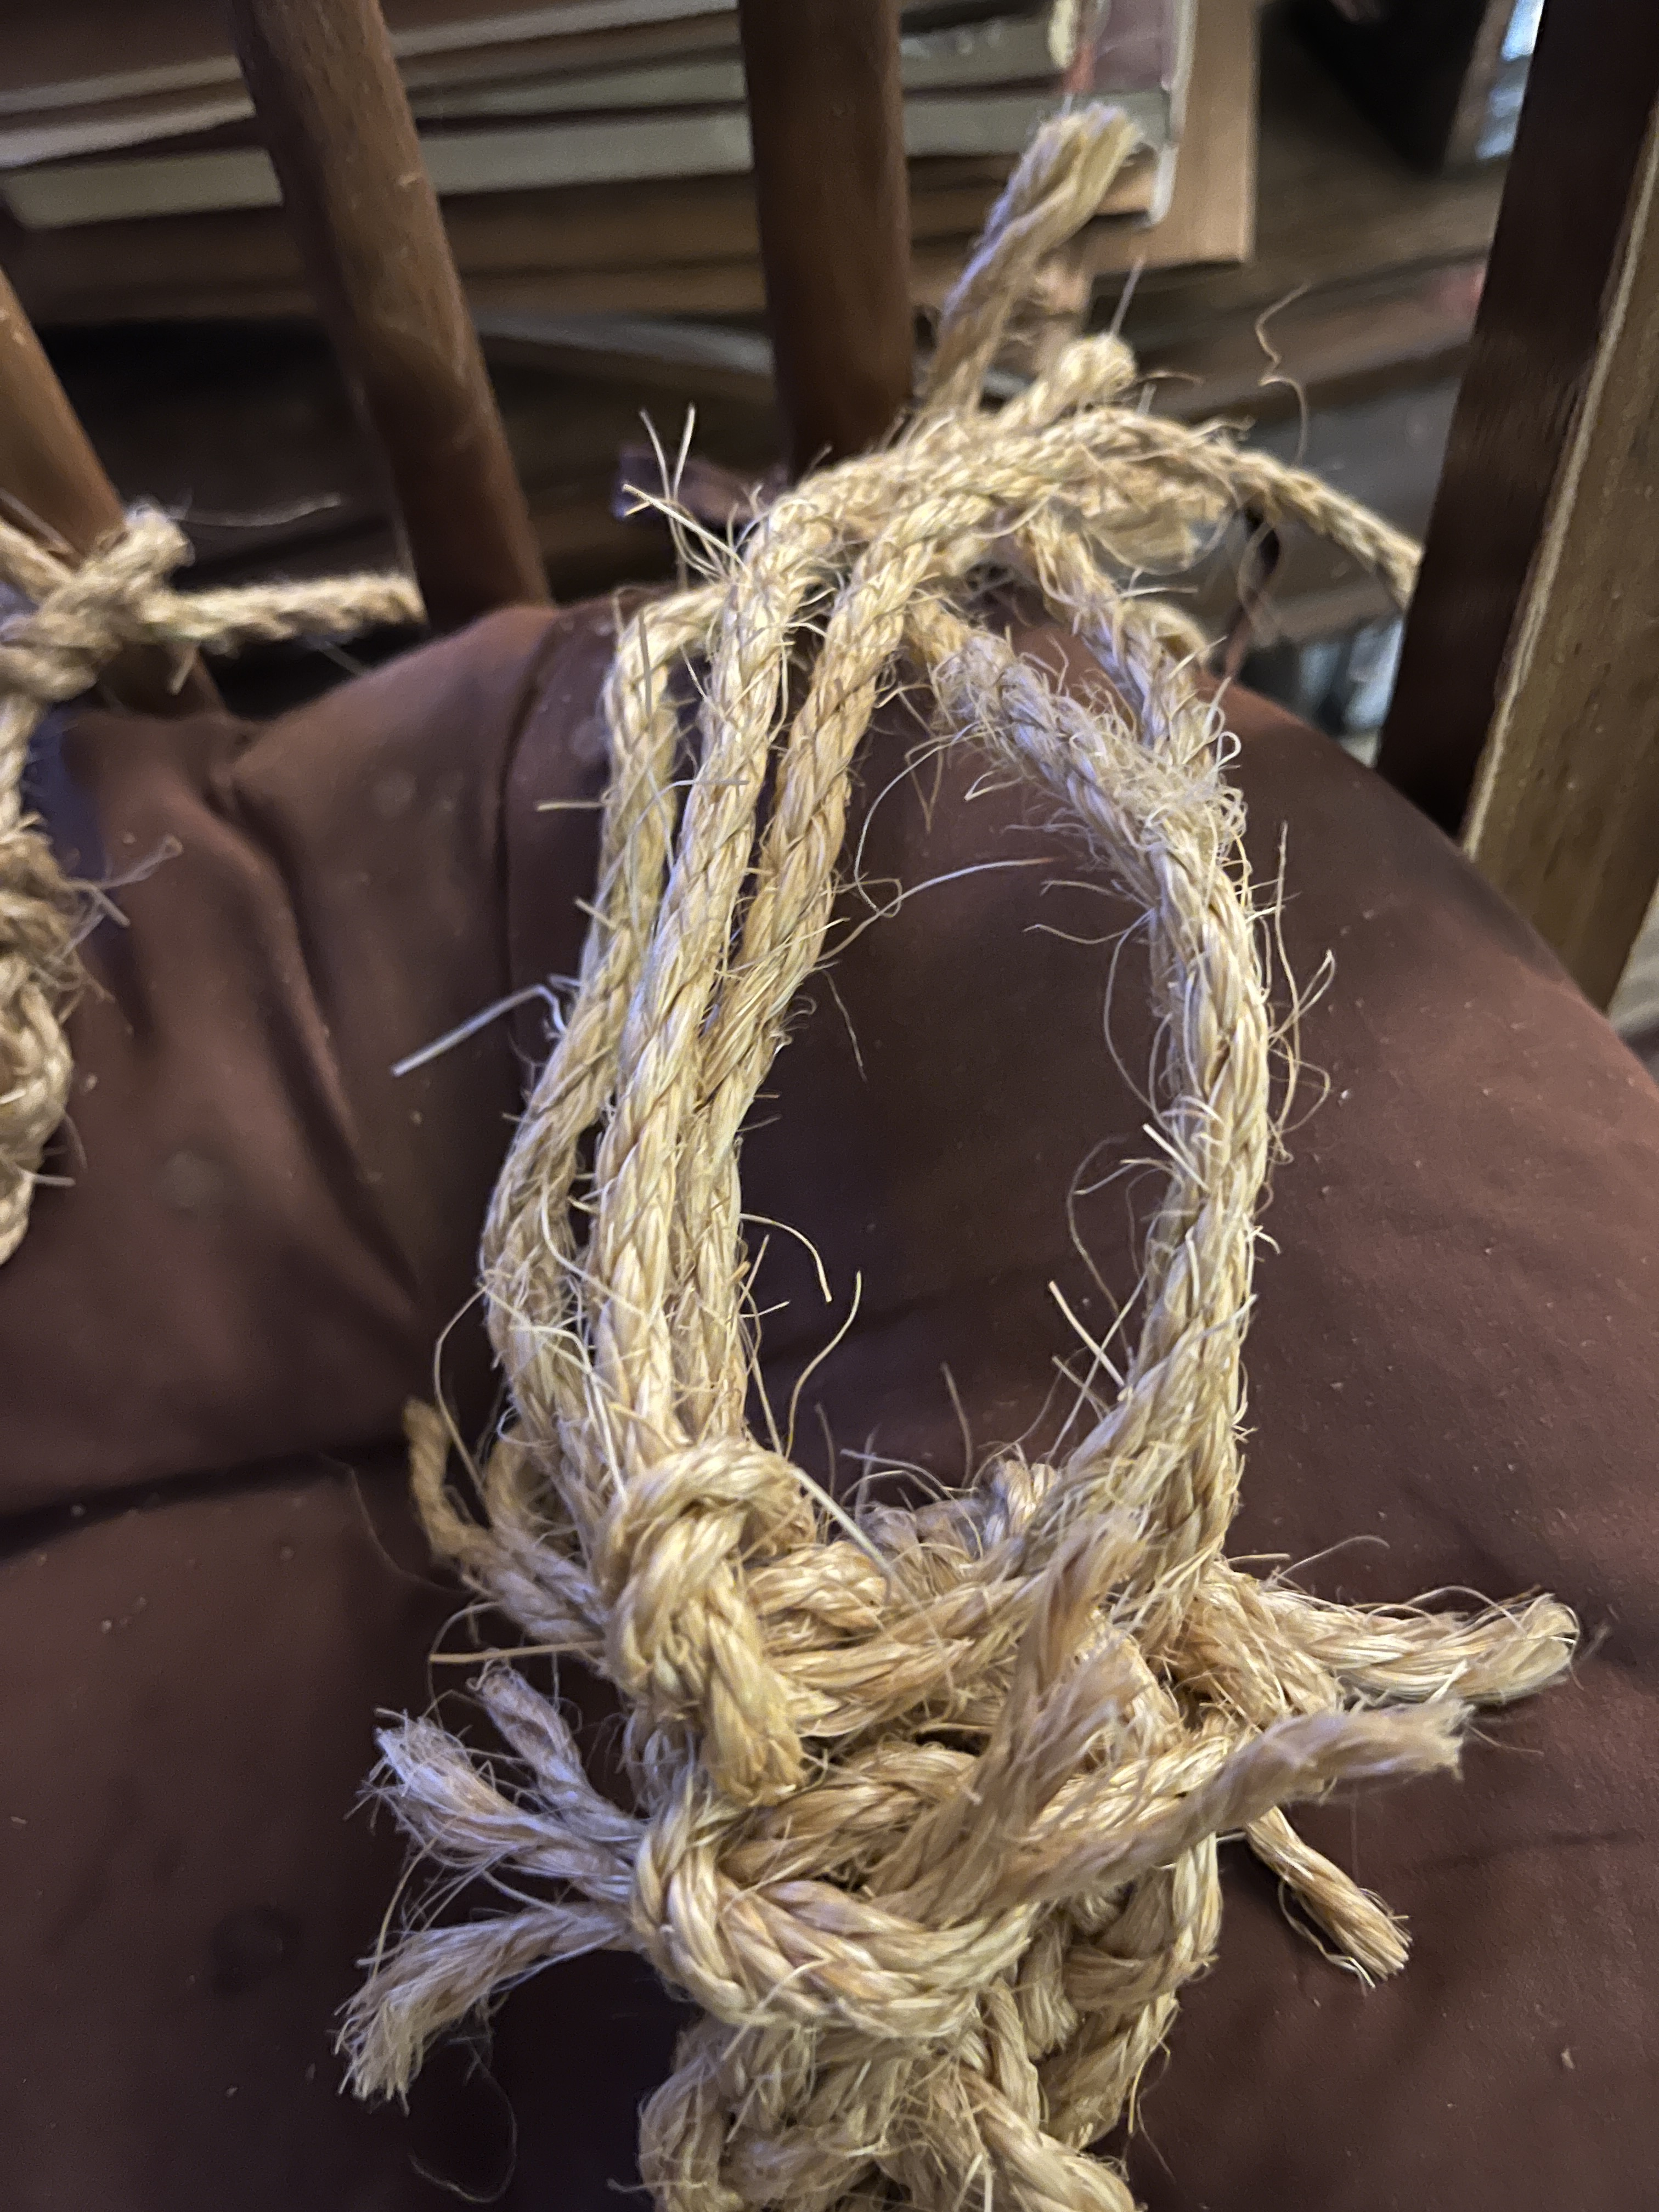
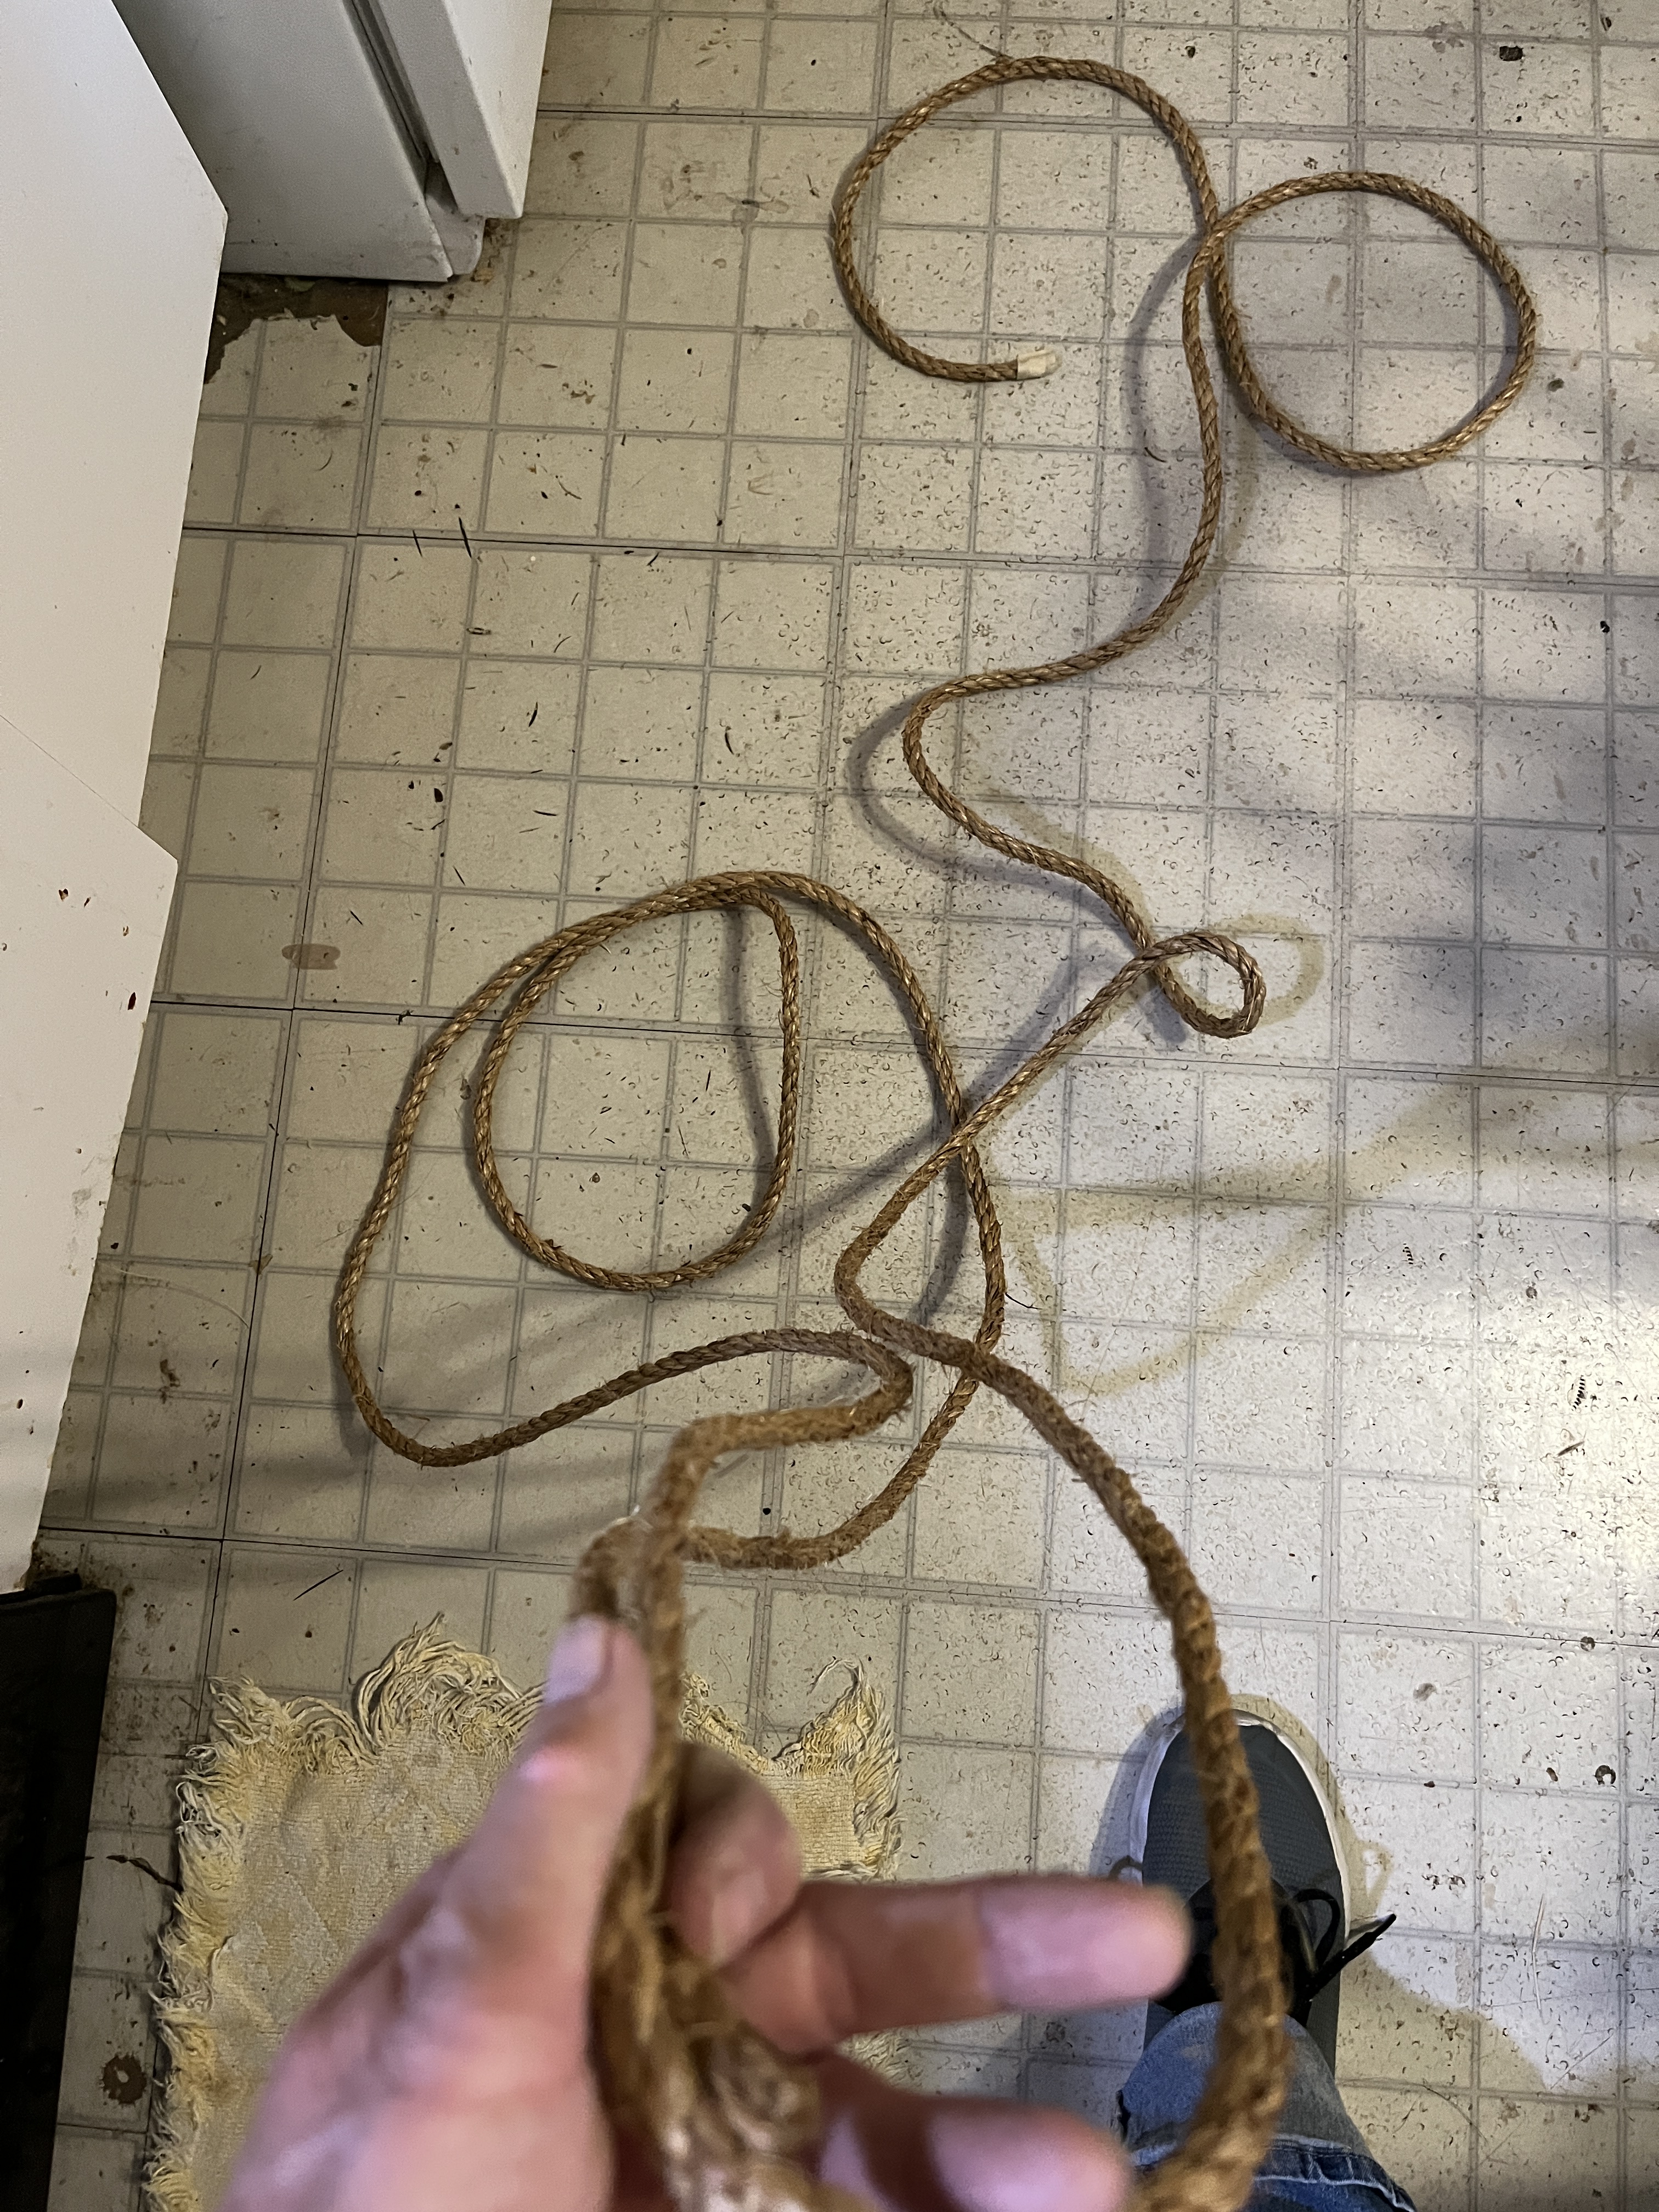
Then I braided the three to the end and tied the loose ends together in square knots. Yes, it’s kind of a mess, but it’s together.
Now that I’ve watched The Man burn (this year was the year of the rain and muckyness that cancelled the burn on Saturday for the 1st time ever, delaying the burn til tonight, Monday), I can now get to bed and figure out how to make and attach the tassels tomorrow. It was a fun night listening to friends on Radio Electra commentate on the burn. And fireworks. And art cars. Looks like The Monaco’s heading off to cruise the Playa so good night for now.
It’s tomorrow and I was too busy with other things to do the tassels, but I did get a new clothes washer delivered and installed and got to watch the Temple burn before I went to bed, so it was a productive day with a philosophical finale for the evening.
It’s been all week, (it’s Saturday now) and I now know that making the tassels after work is not going to happen. All kinds of things fill the time between getting home and dream time. Feeding the critters, feeding me, paying bills, communicating with friends, finding cool stuff on the internet that gives me new ideas for the pottery or other projects (chess, writing, leatherwork, garden, cooking…) and suddenly there’s no time to measure, bind, fray etc… so the tassels aren’t done yet but I did cut the lengths ao they’re ready to do tomorrow after work (when I can stay up late and sleep in) or Monday.
The darker, thicker rope was a bit over 19 feet. I figure divide it into 3 sections, 2 equal and 1 longer so the middle tassel will be bigger. That ended up being 2 at 5 feet and the other was whatever was left over at about 9 feet.
Whoops. It’s Sunday and I didn’t make the tassels. I did slake some clay, though, and did a load of laundry. The best laid plans…well, there’s always tomorrow…
Finally! Monday and I have time to make the tassels! After dinner, but I’m going to get these done!
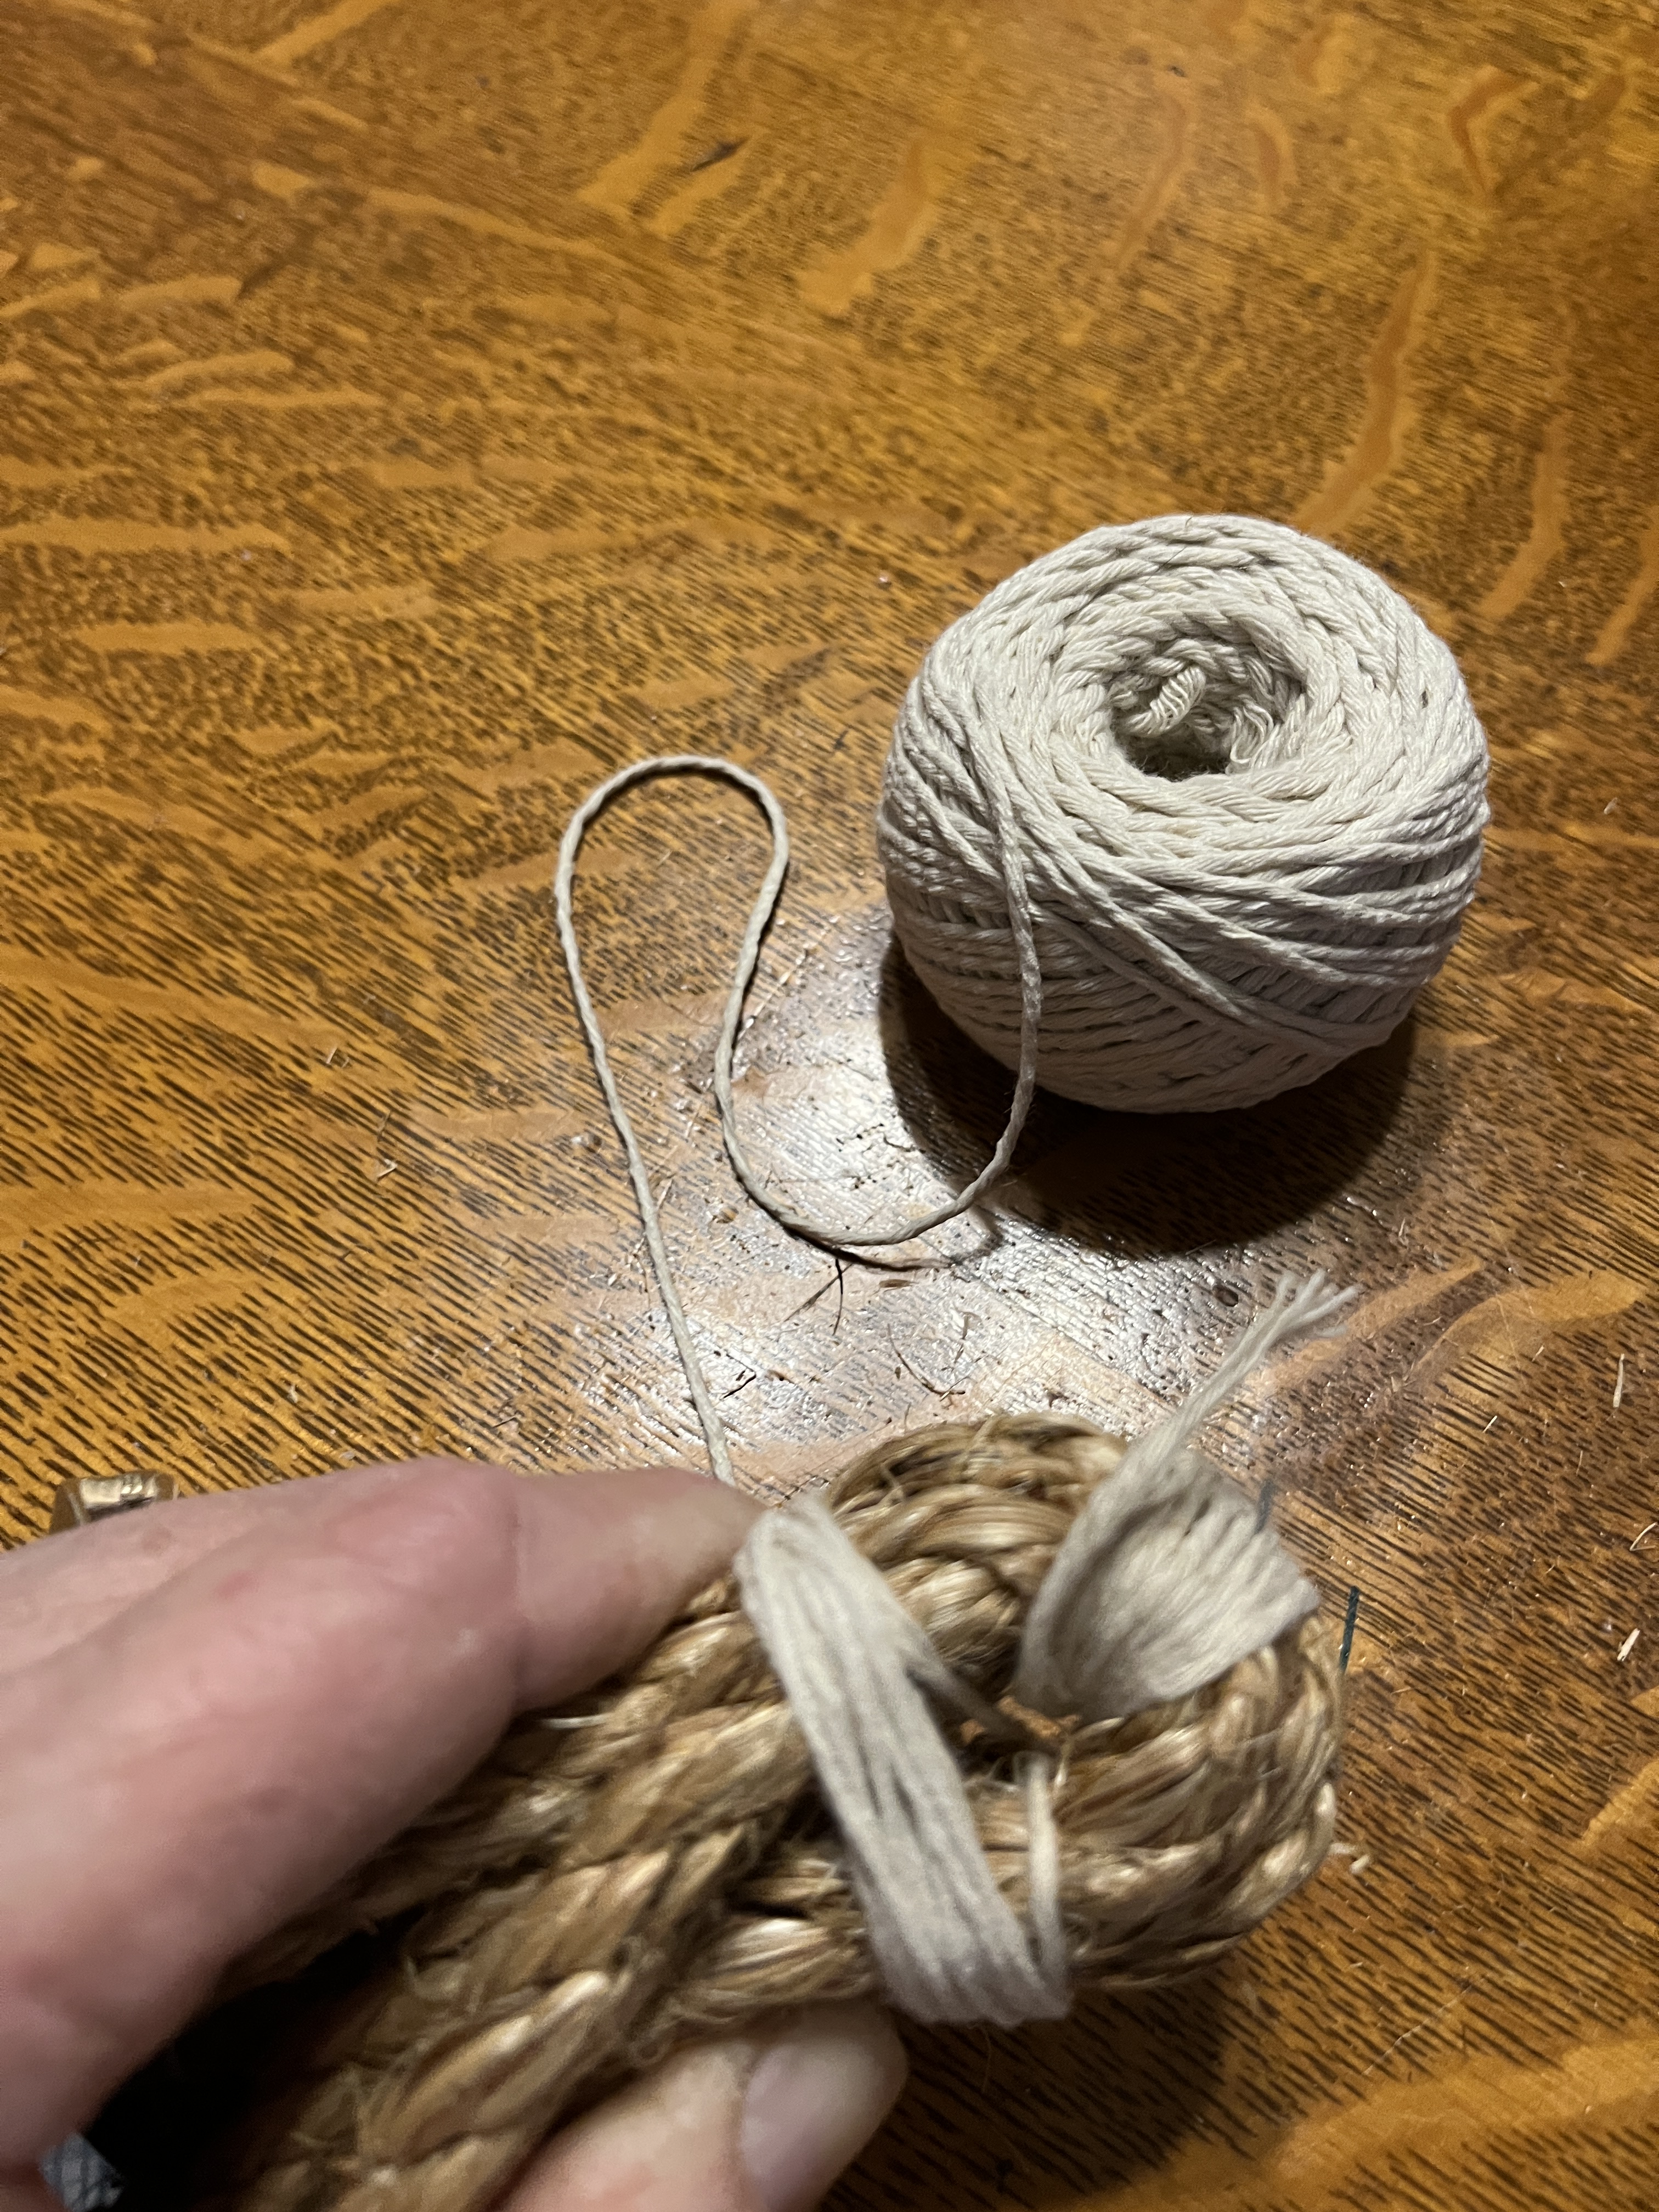
I started with one of the 2 shorter lengths, divided it in half then half again. I found the center point of that and tied it tight with cotton twine, leaving enough tail to wrap the center of the head tightly.
Then I wrapped the tail around one side as tightly as I could front to back about 4 or 6 winds and then the other end back to front 4 to 6 very tight winds and tied them securely with a square knot.
Next I ran the string (the side connected to the ball of twine) around the bend in a figure-8 to help me get it bent and held tightly so I could wrap the tassel form together.
From there I kept holding it tightly while I wrapped the tassel closed. Keep it tight as you go and make sure you don’t wrap the tail into the winding. Wind about a dozen times or so.
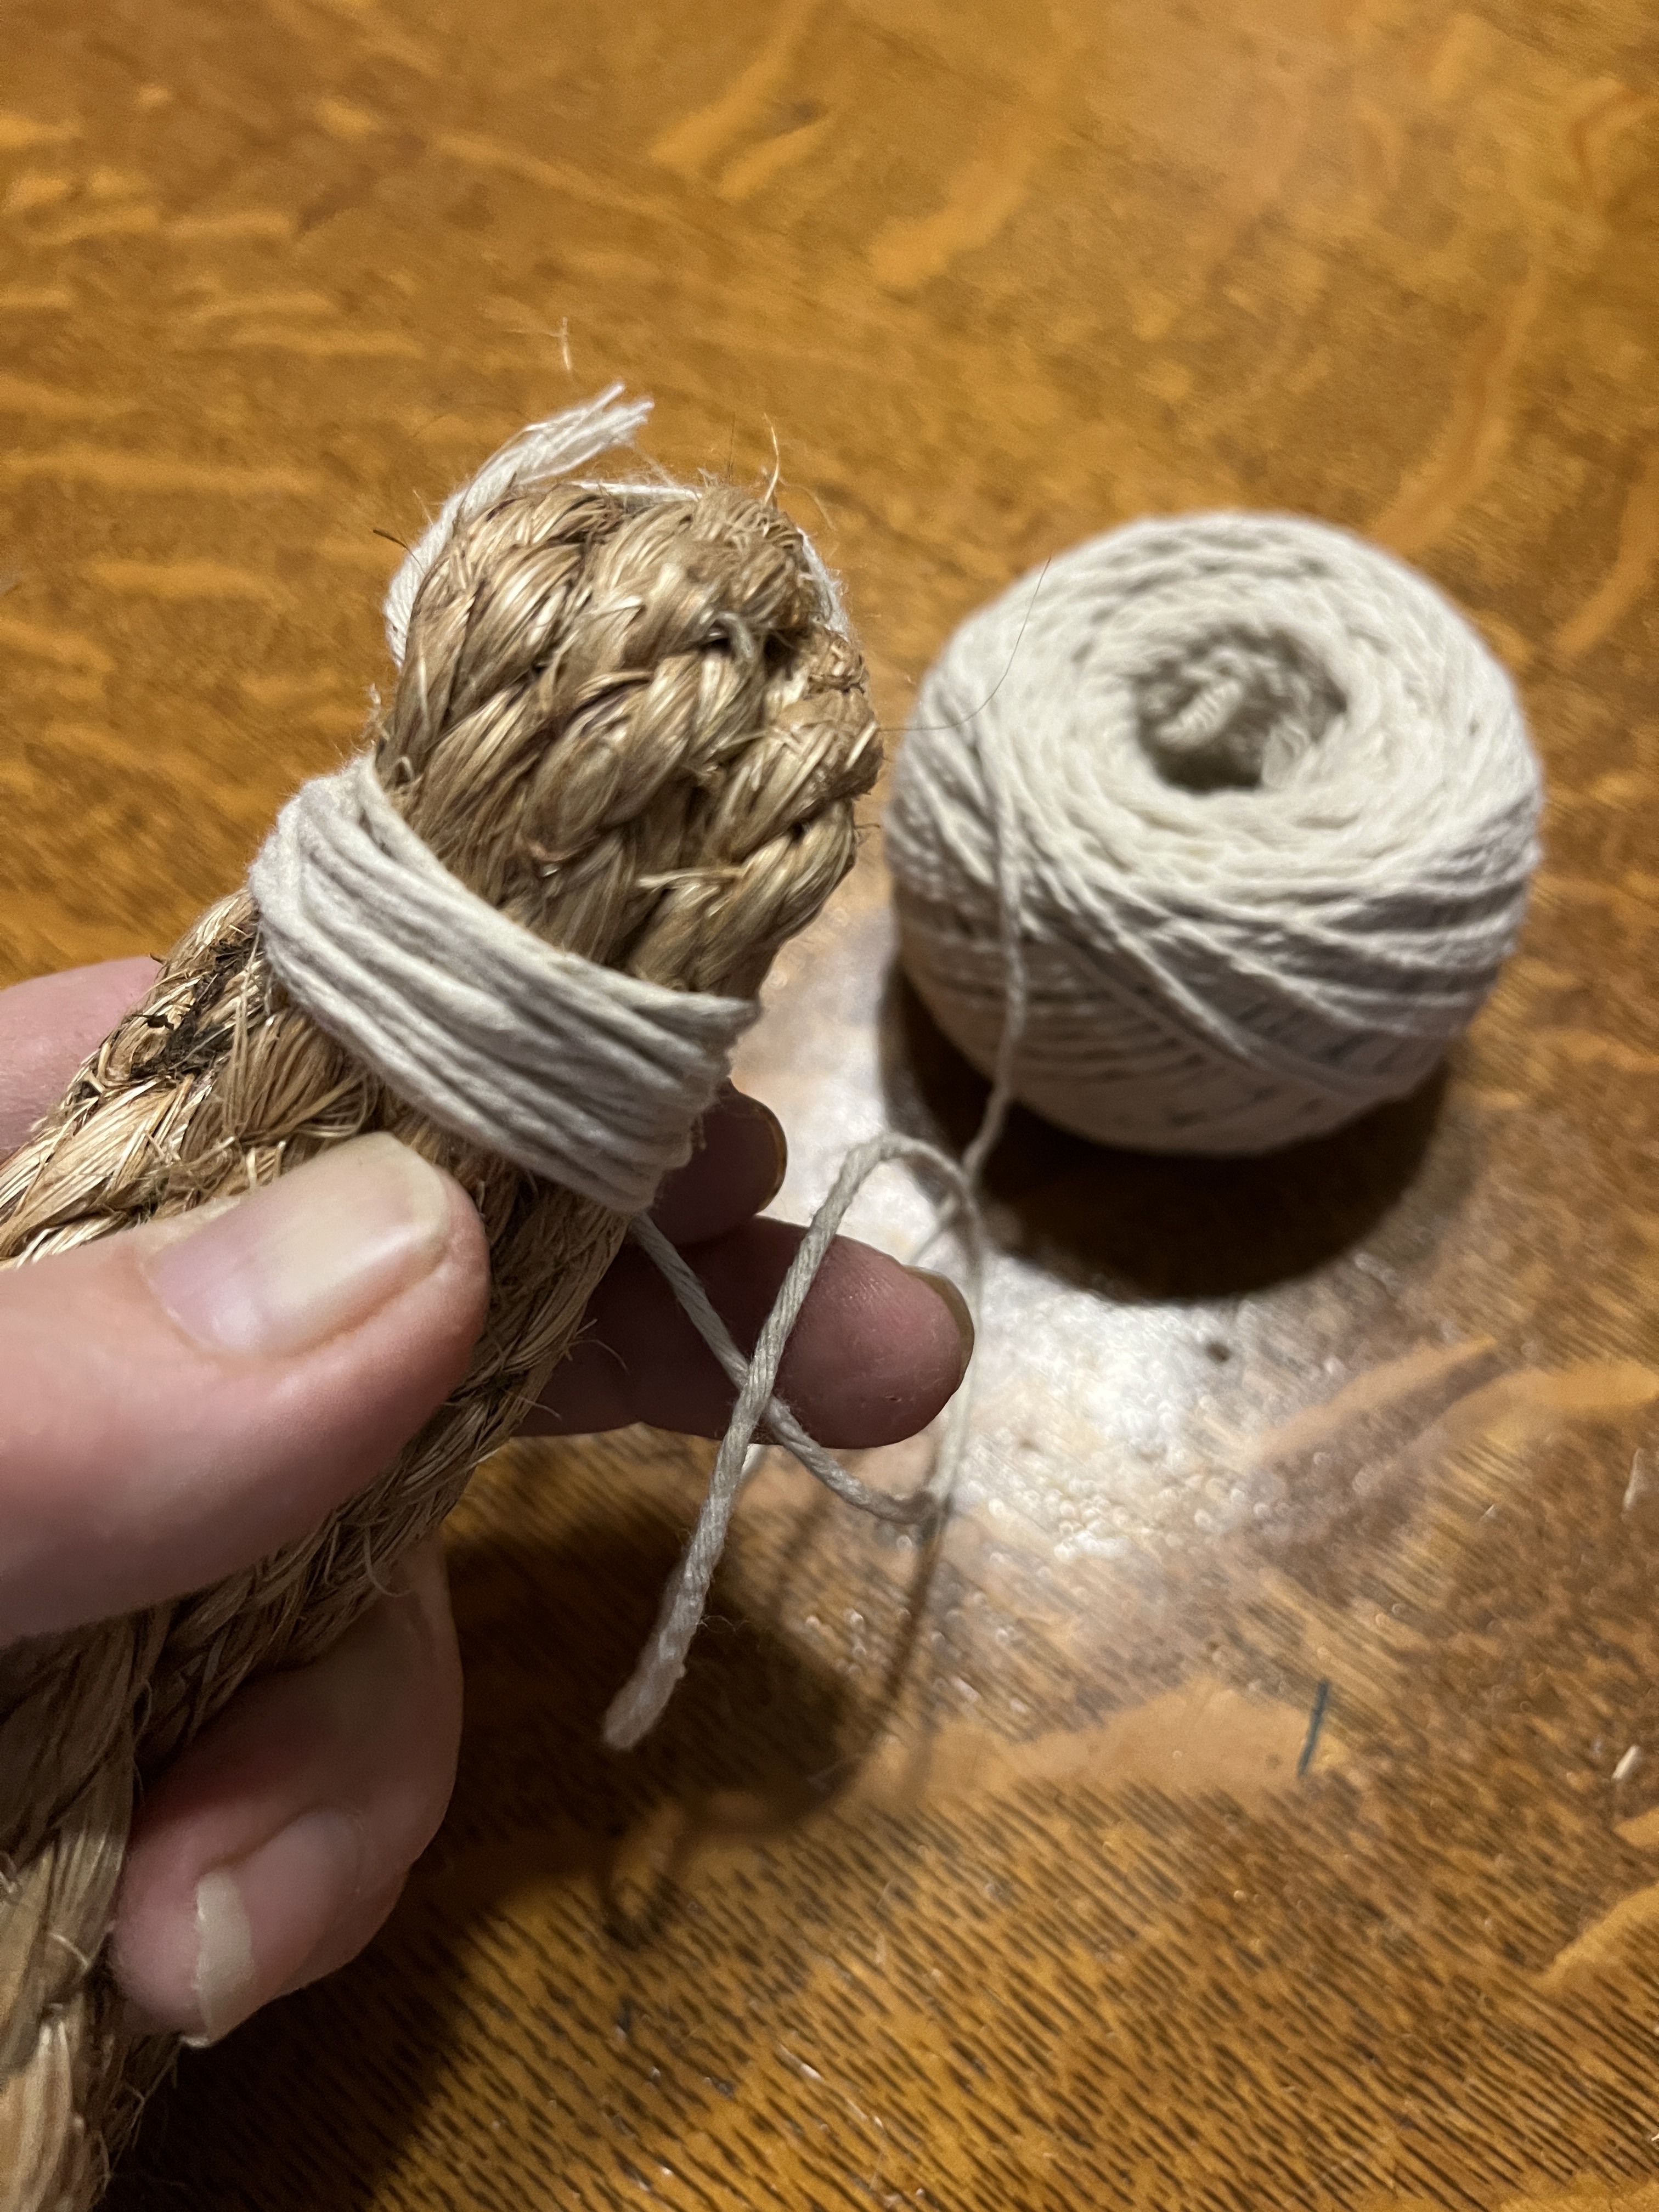
The last 2 winds put a twist in the string so the windings hold the string tight while you tie it off with the tail in another square knot.
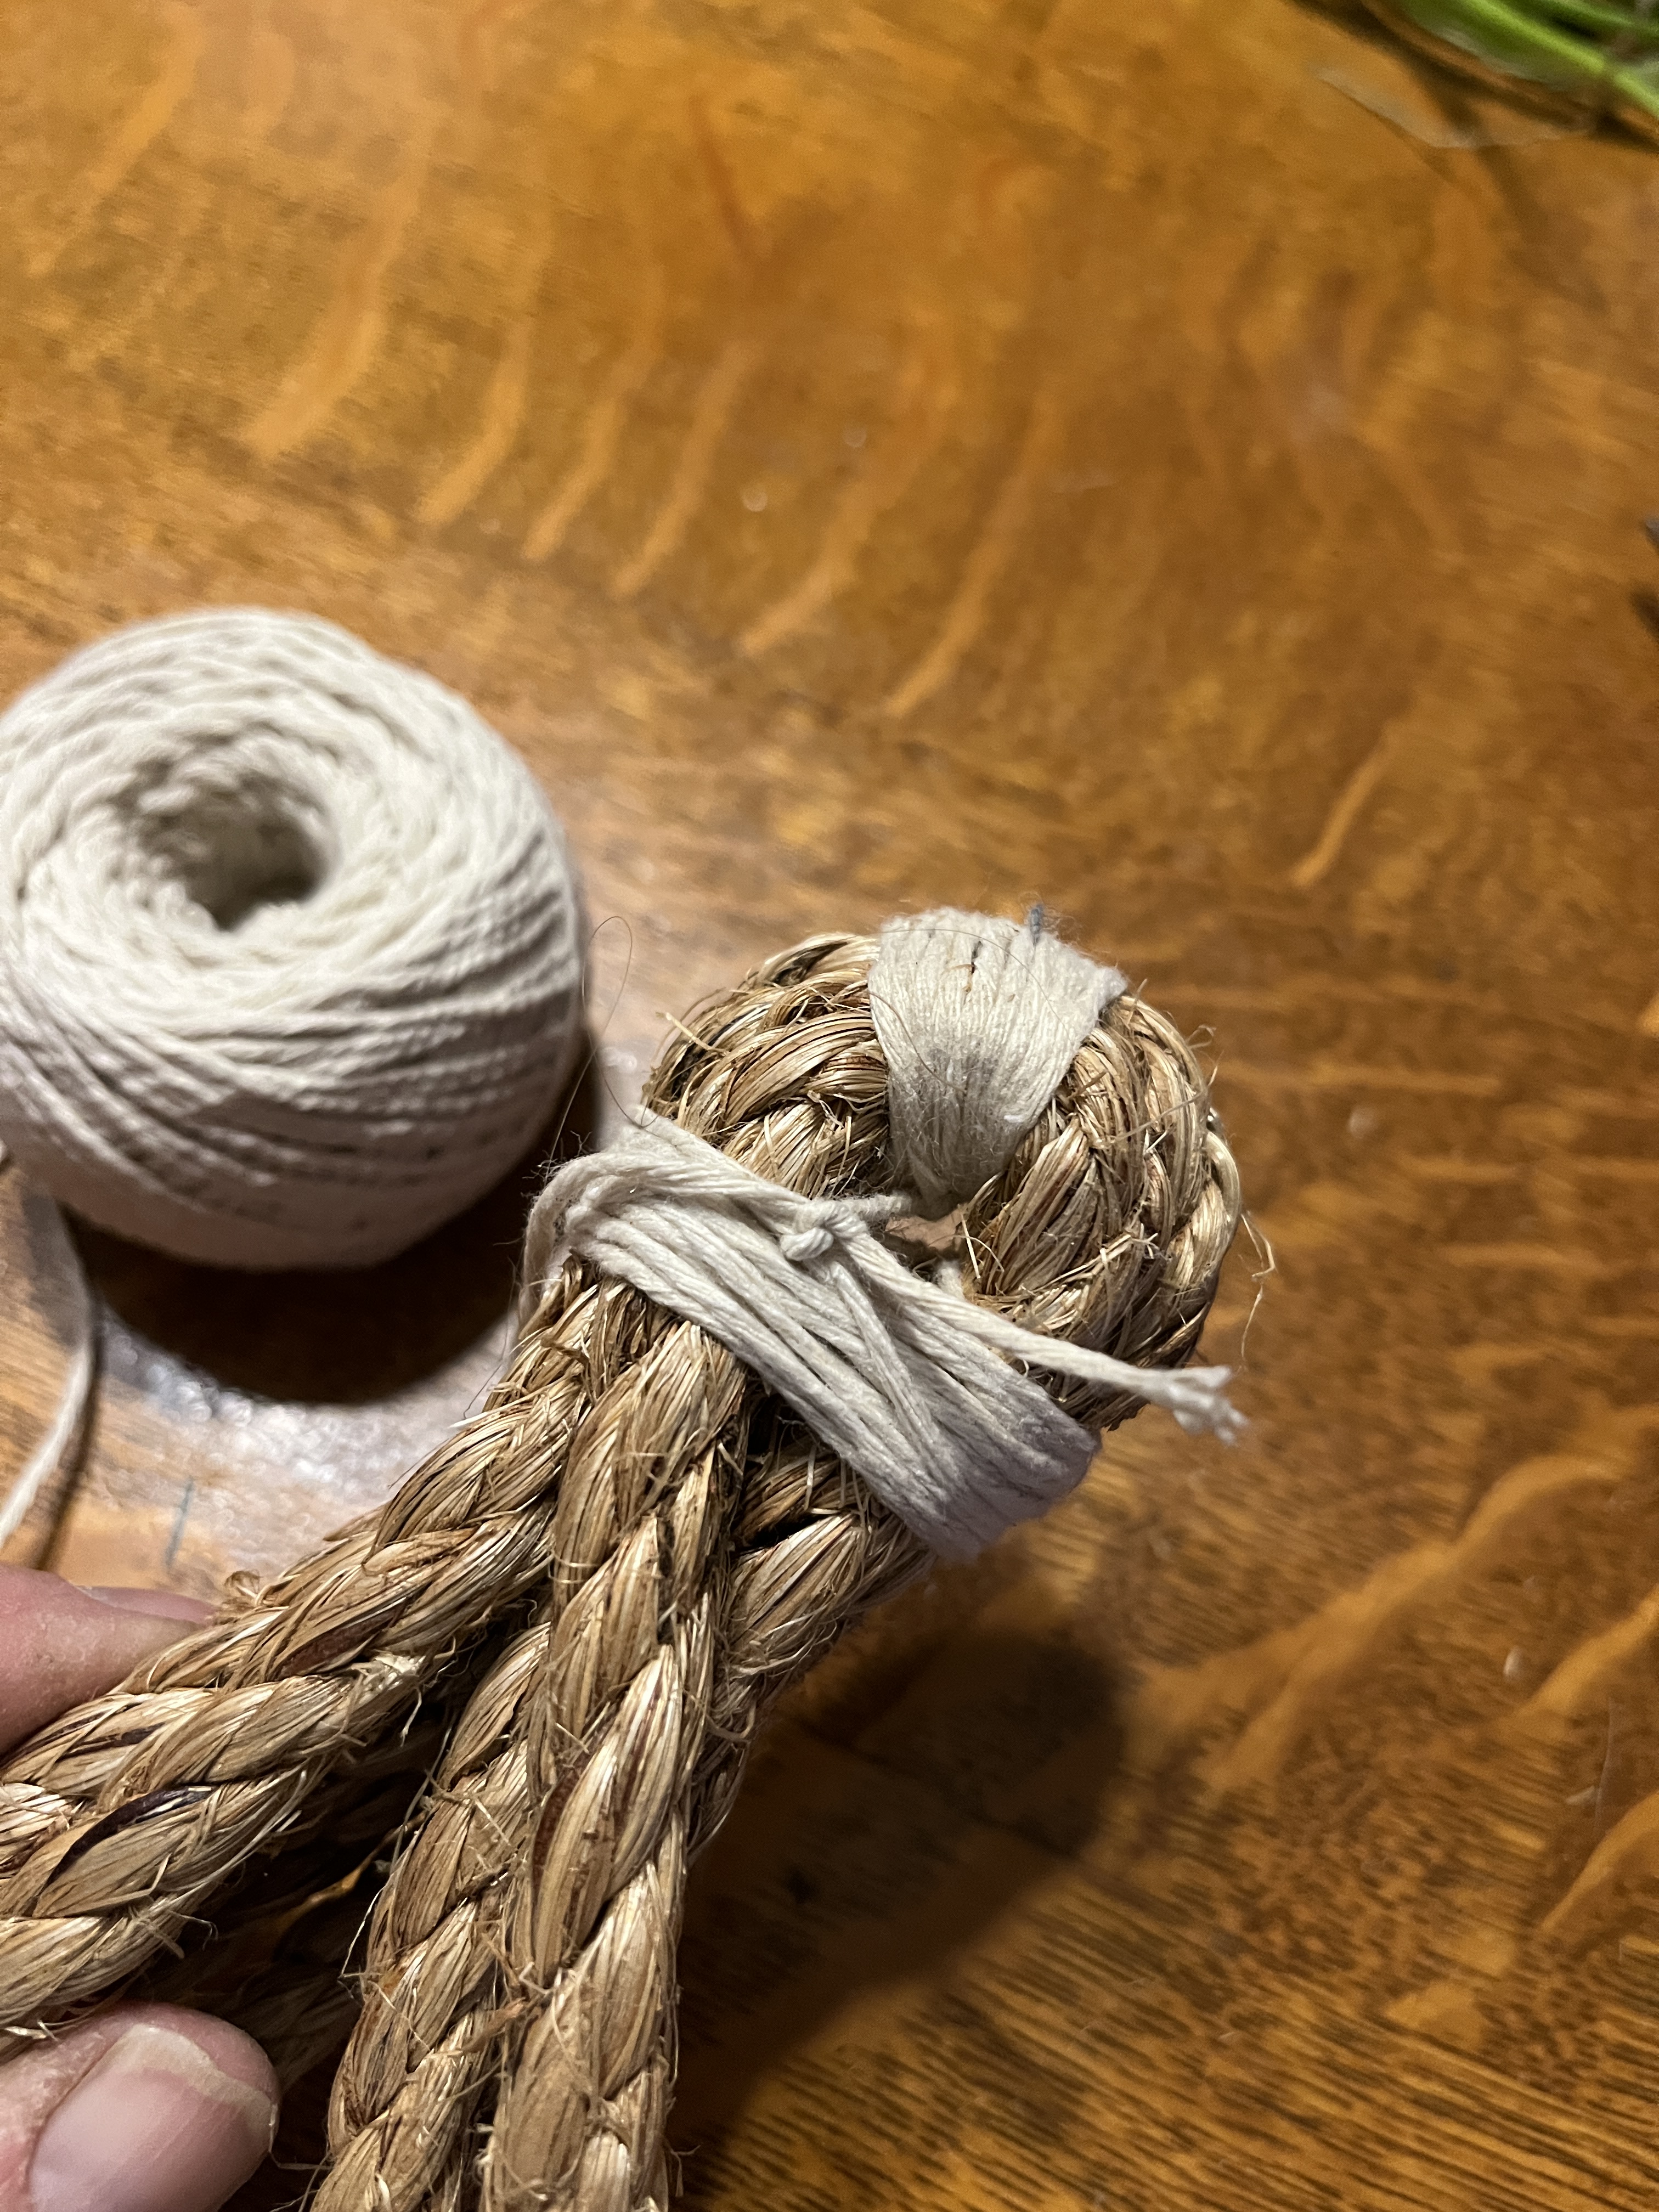
Cut off the ends.

Then cut the bends in the end of the tassel
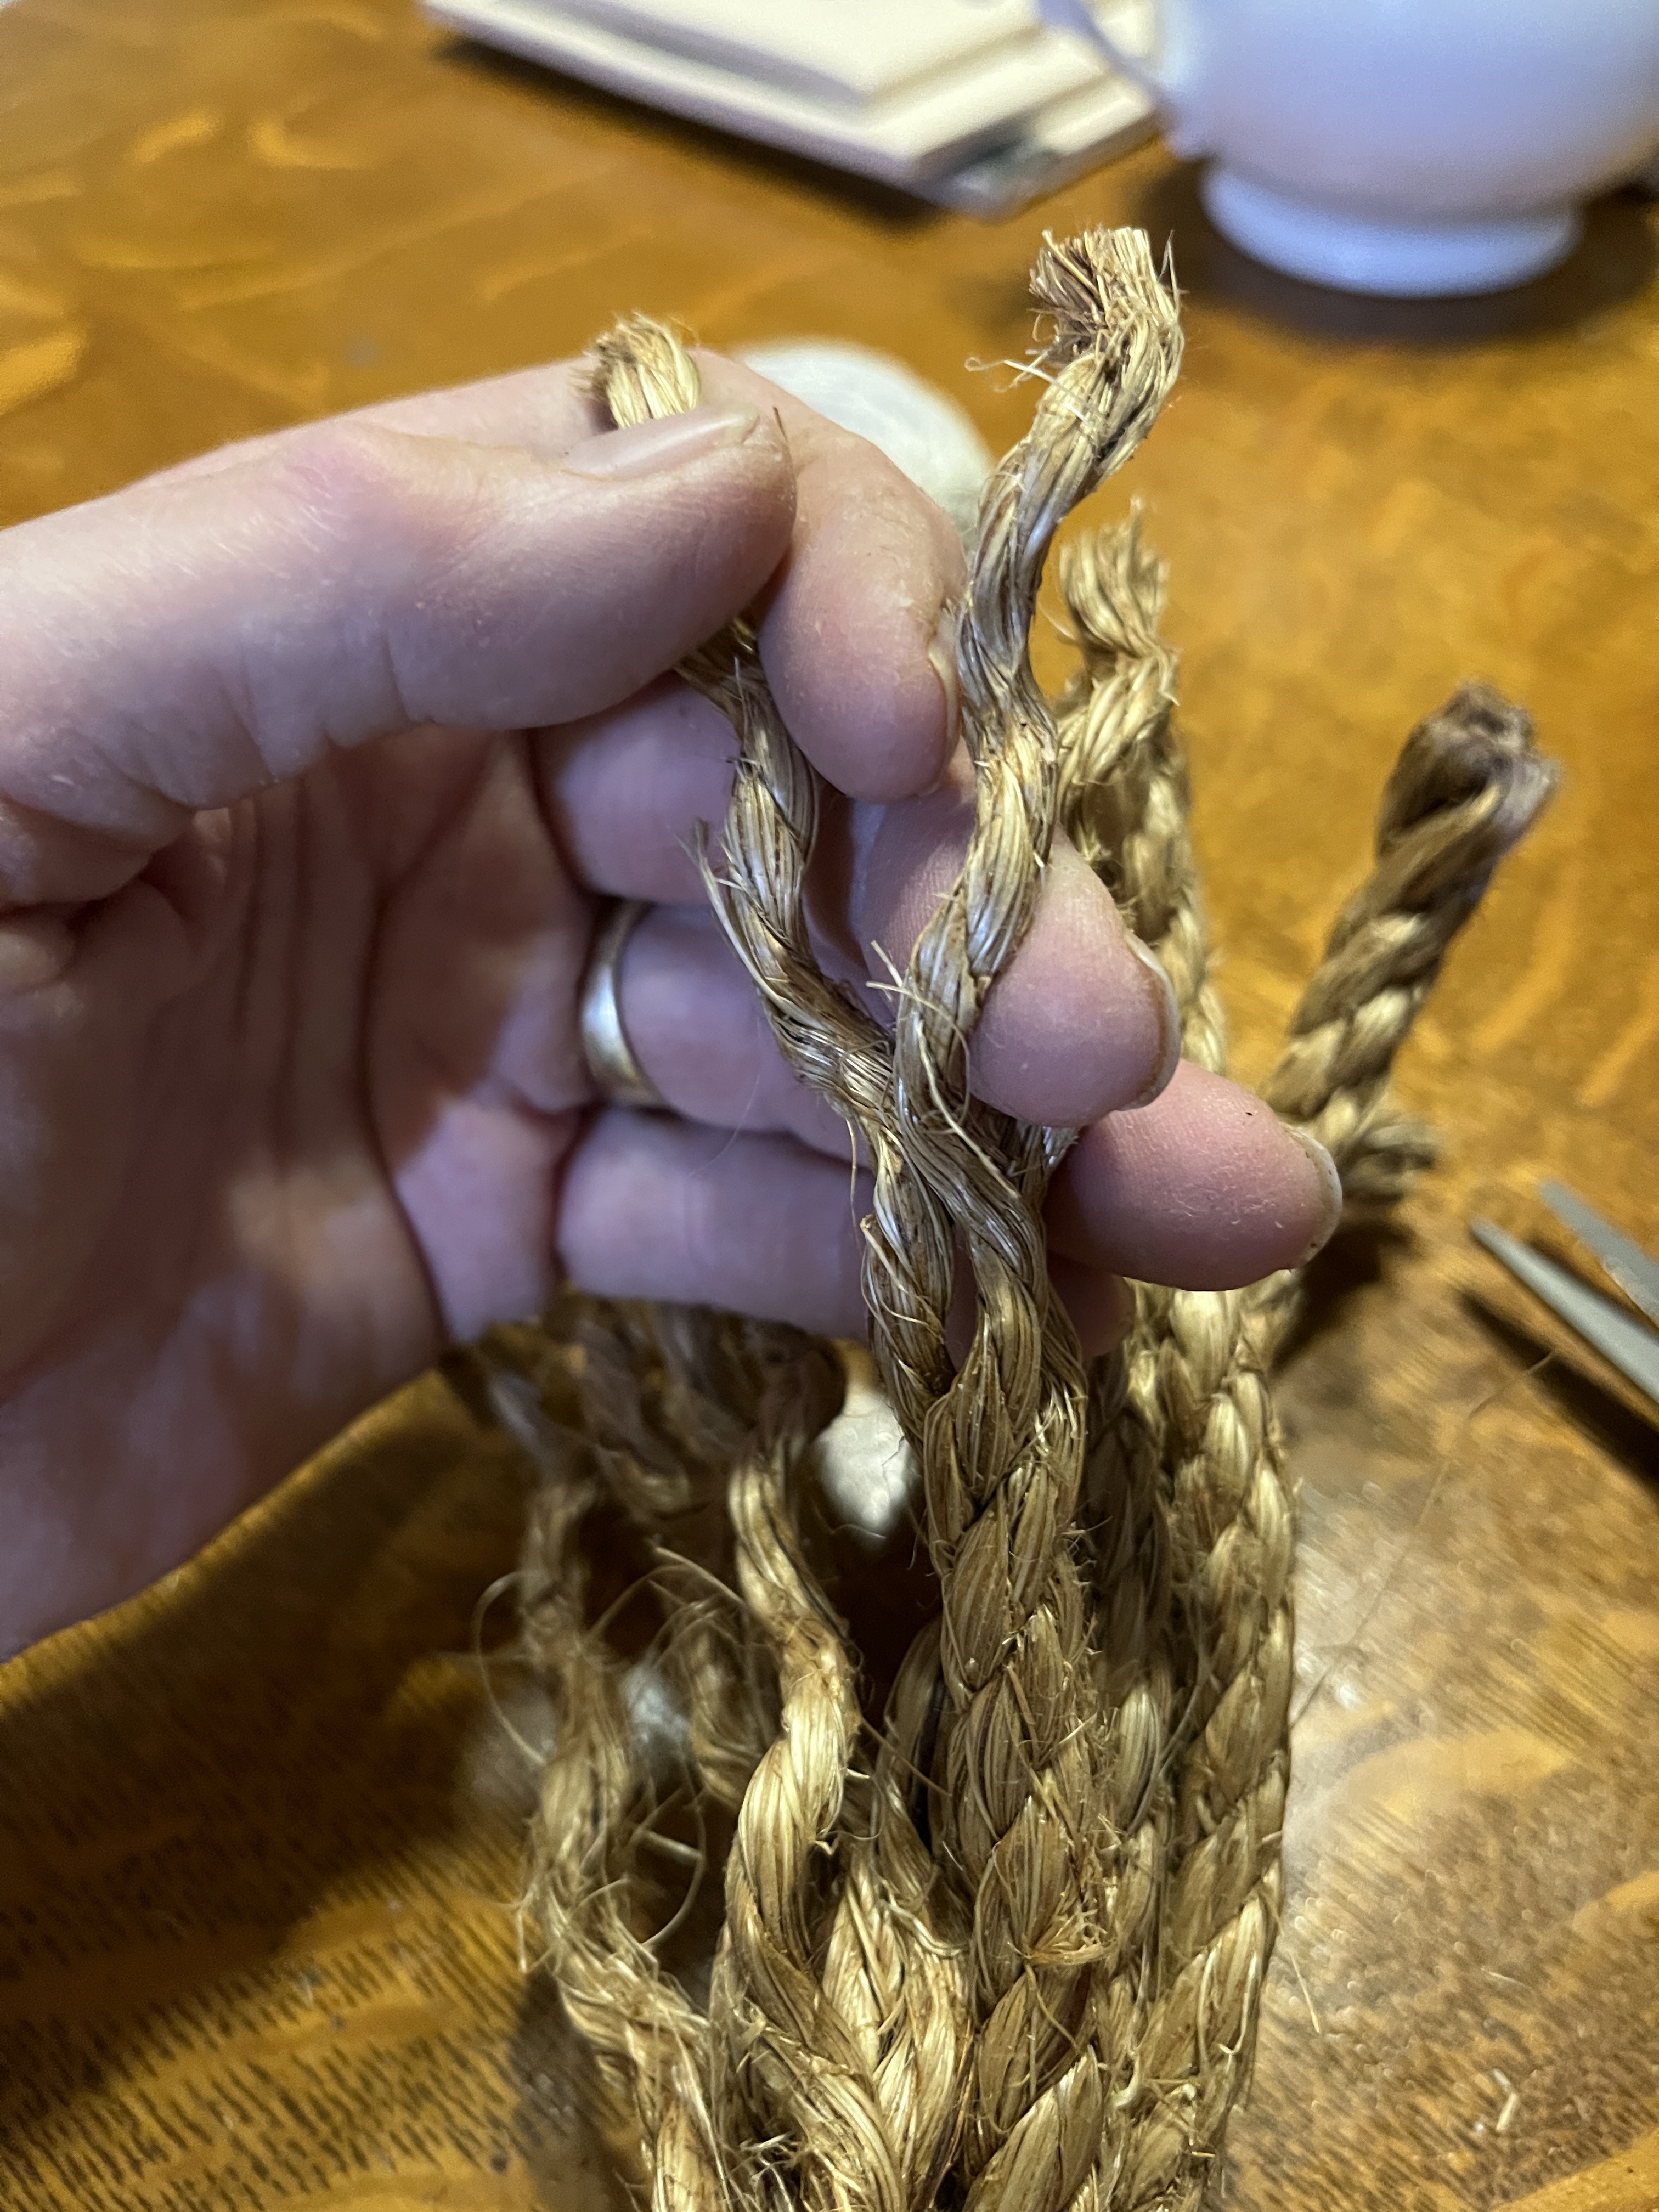
And unravel the ropes to the binding.

A finished tassel

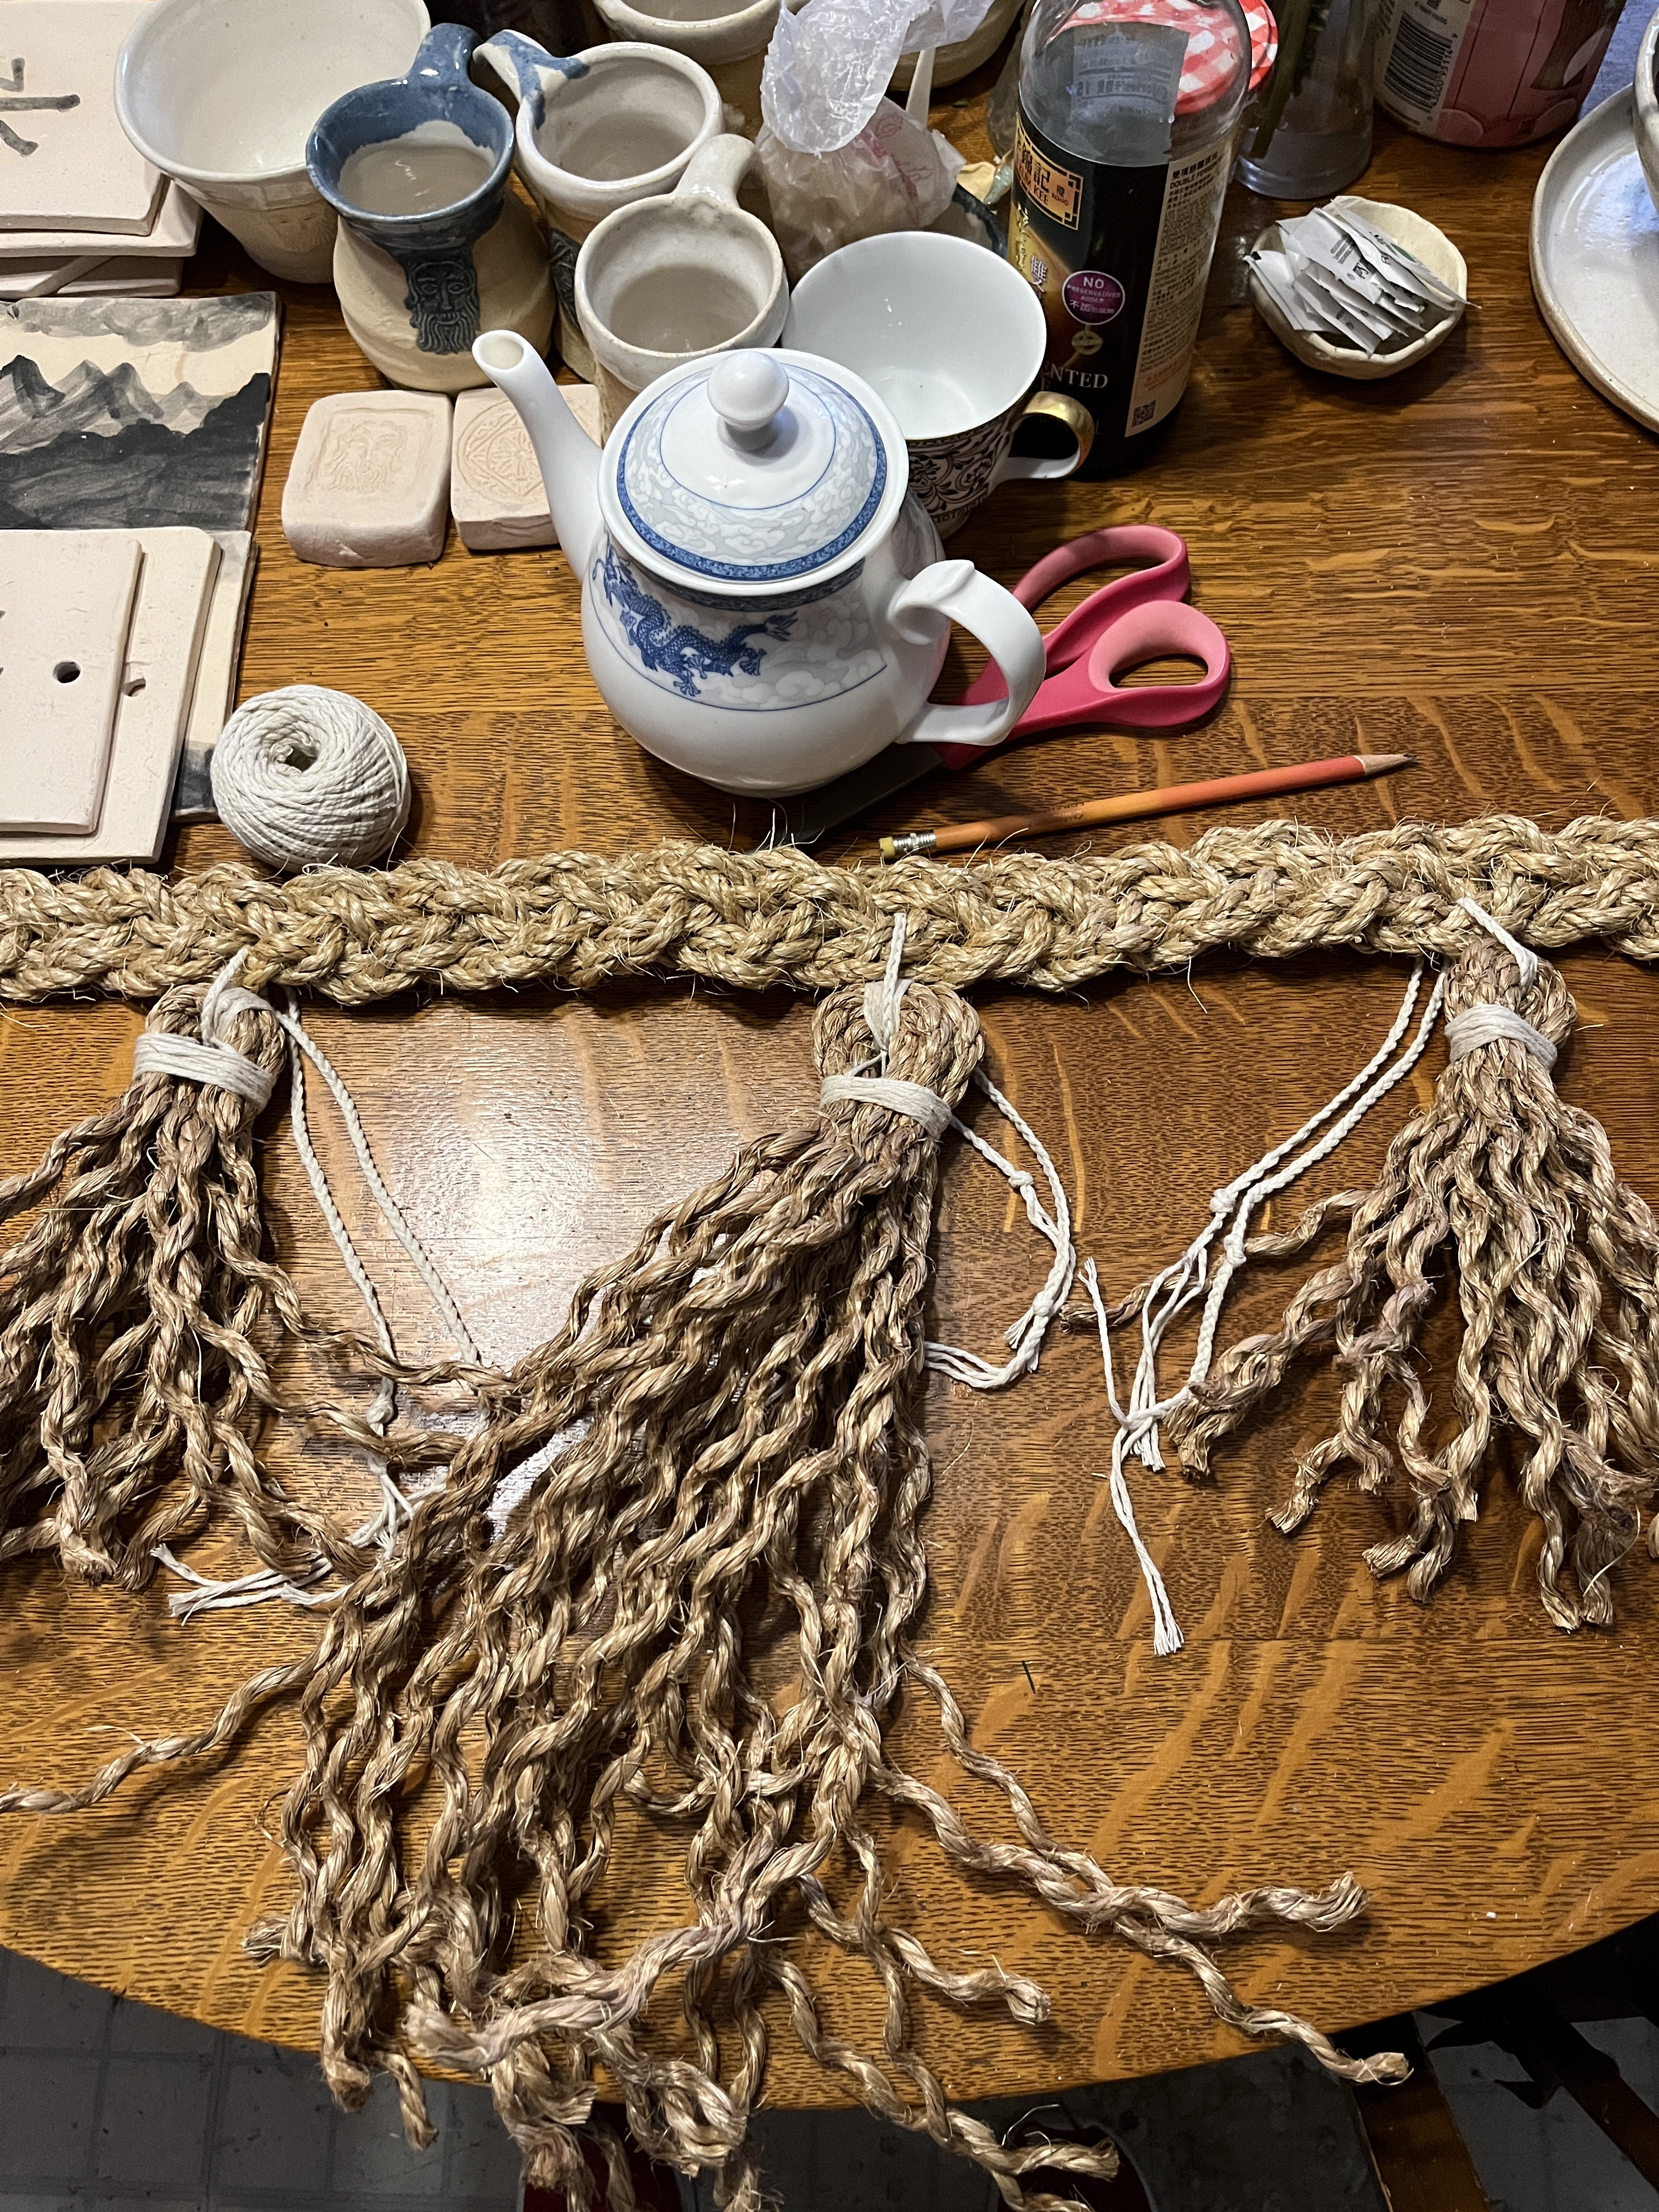
All 3 tassels done! They should relax and fluff as they weather and age. This will be interesting to observe. I’m hoping they last a good few years. So 90 minutes, a shower and an antihistamine later and I’m ready for bed. The rest tomorrow, unless it rains.
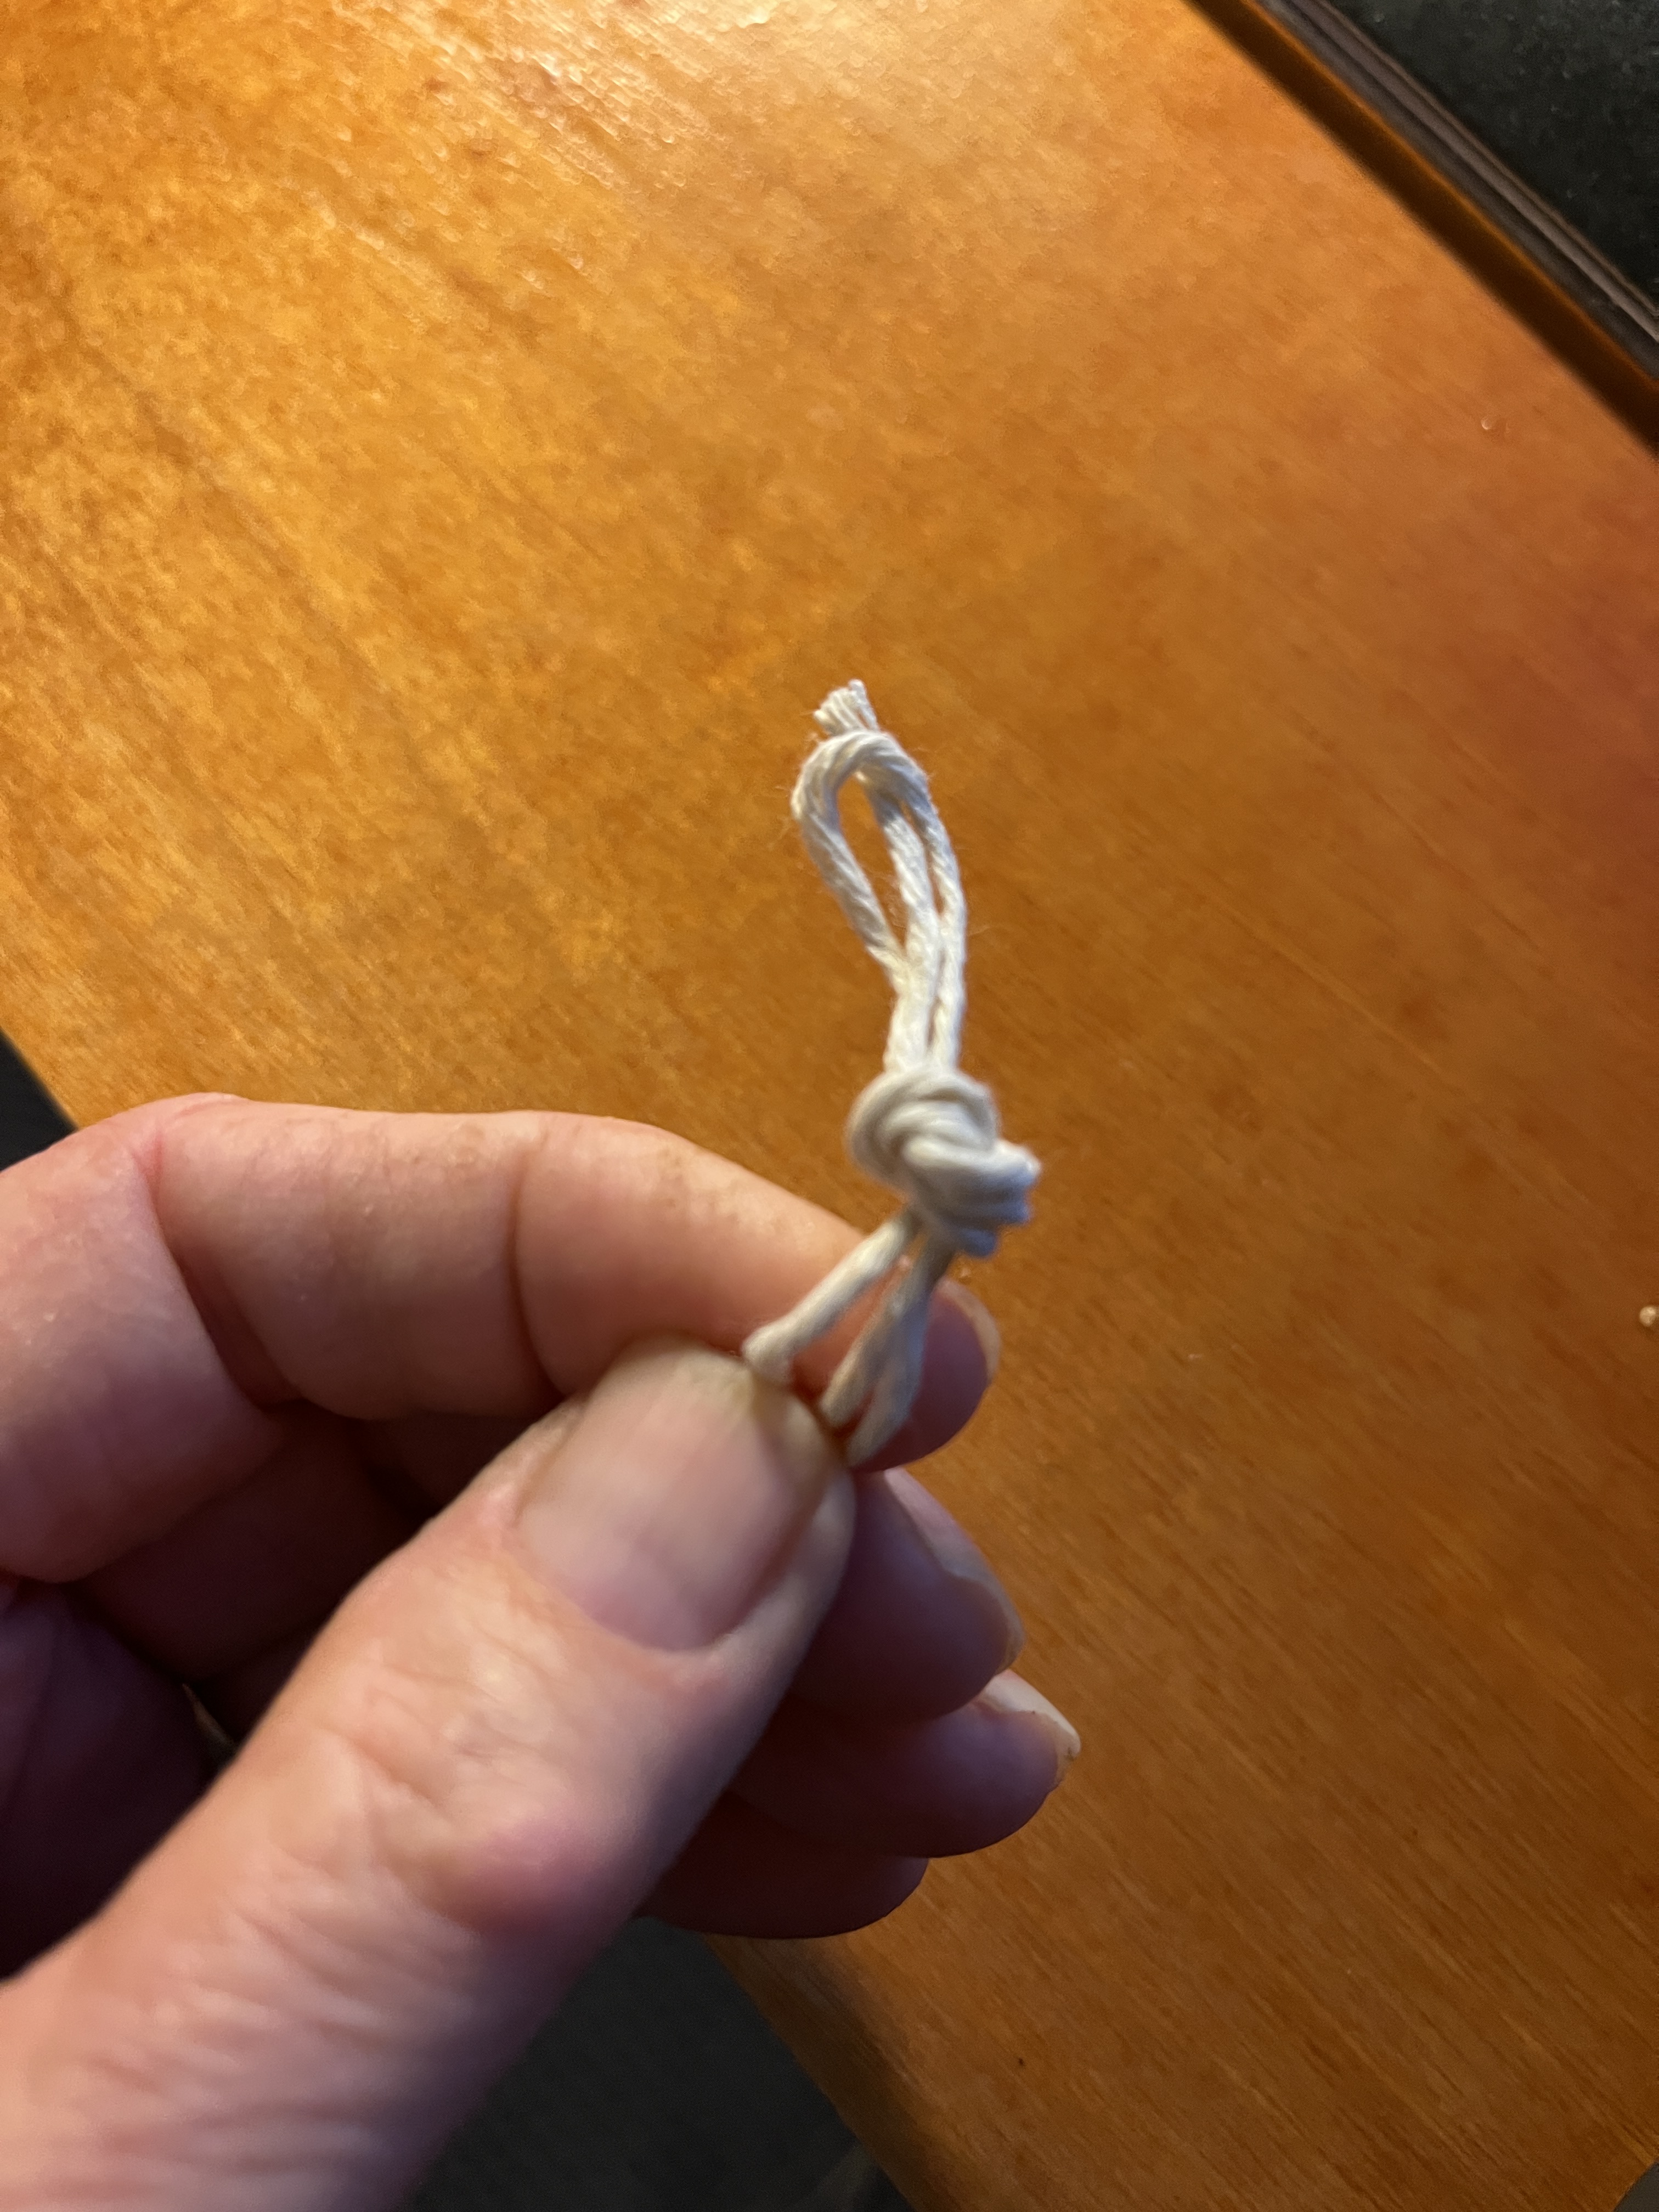
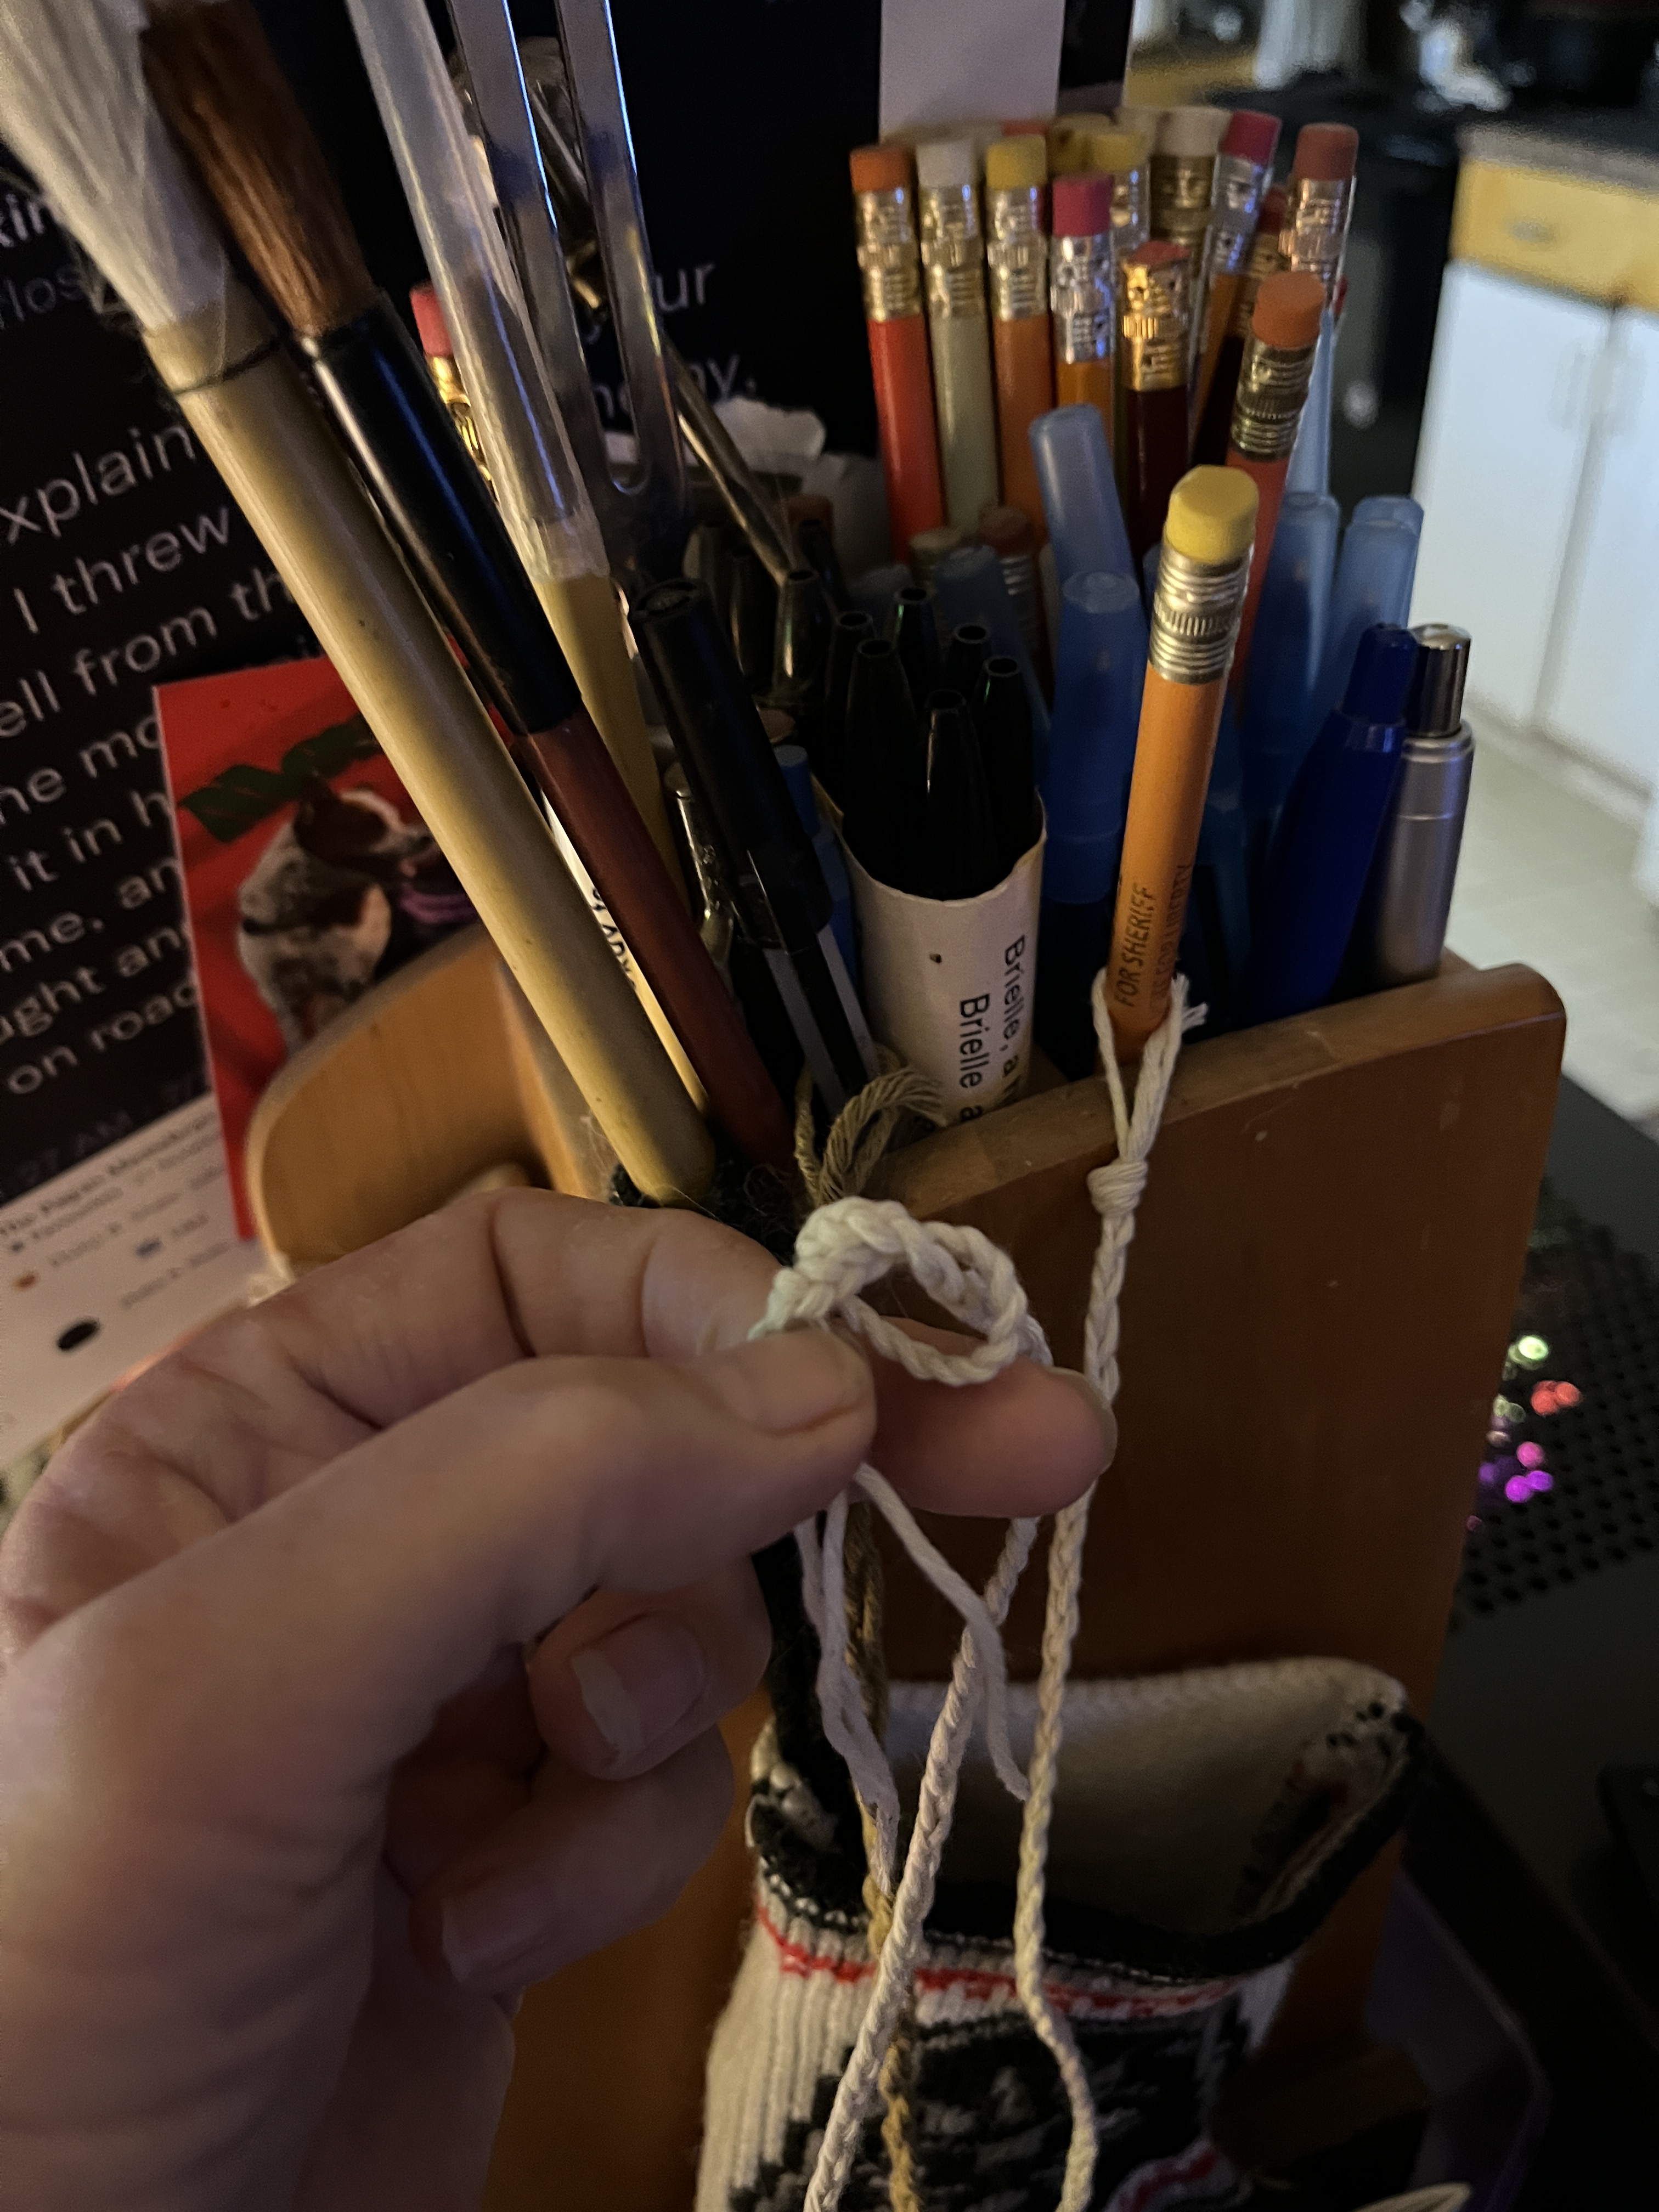
Now to attach the tassels to the Torii top. I figure I’d tie mine on but the cotton twine is a bit thin so I’d braid it. I measured an arm-length if twine, then held the end while measuring another arms length and yet another. Then I tied an overhand know to one end,
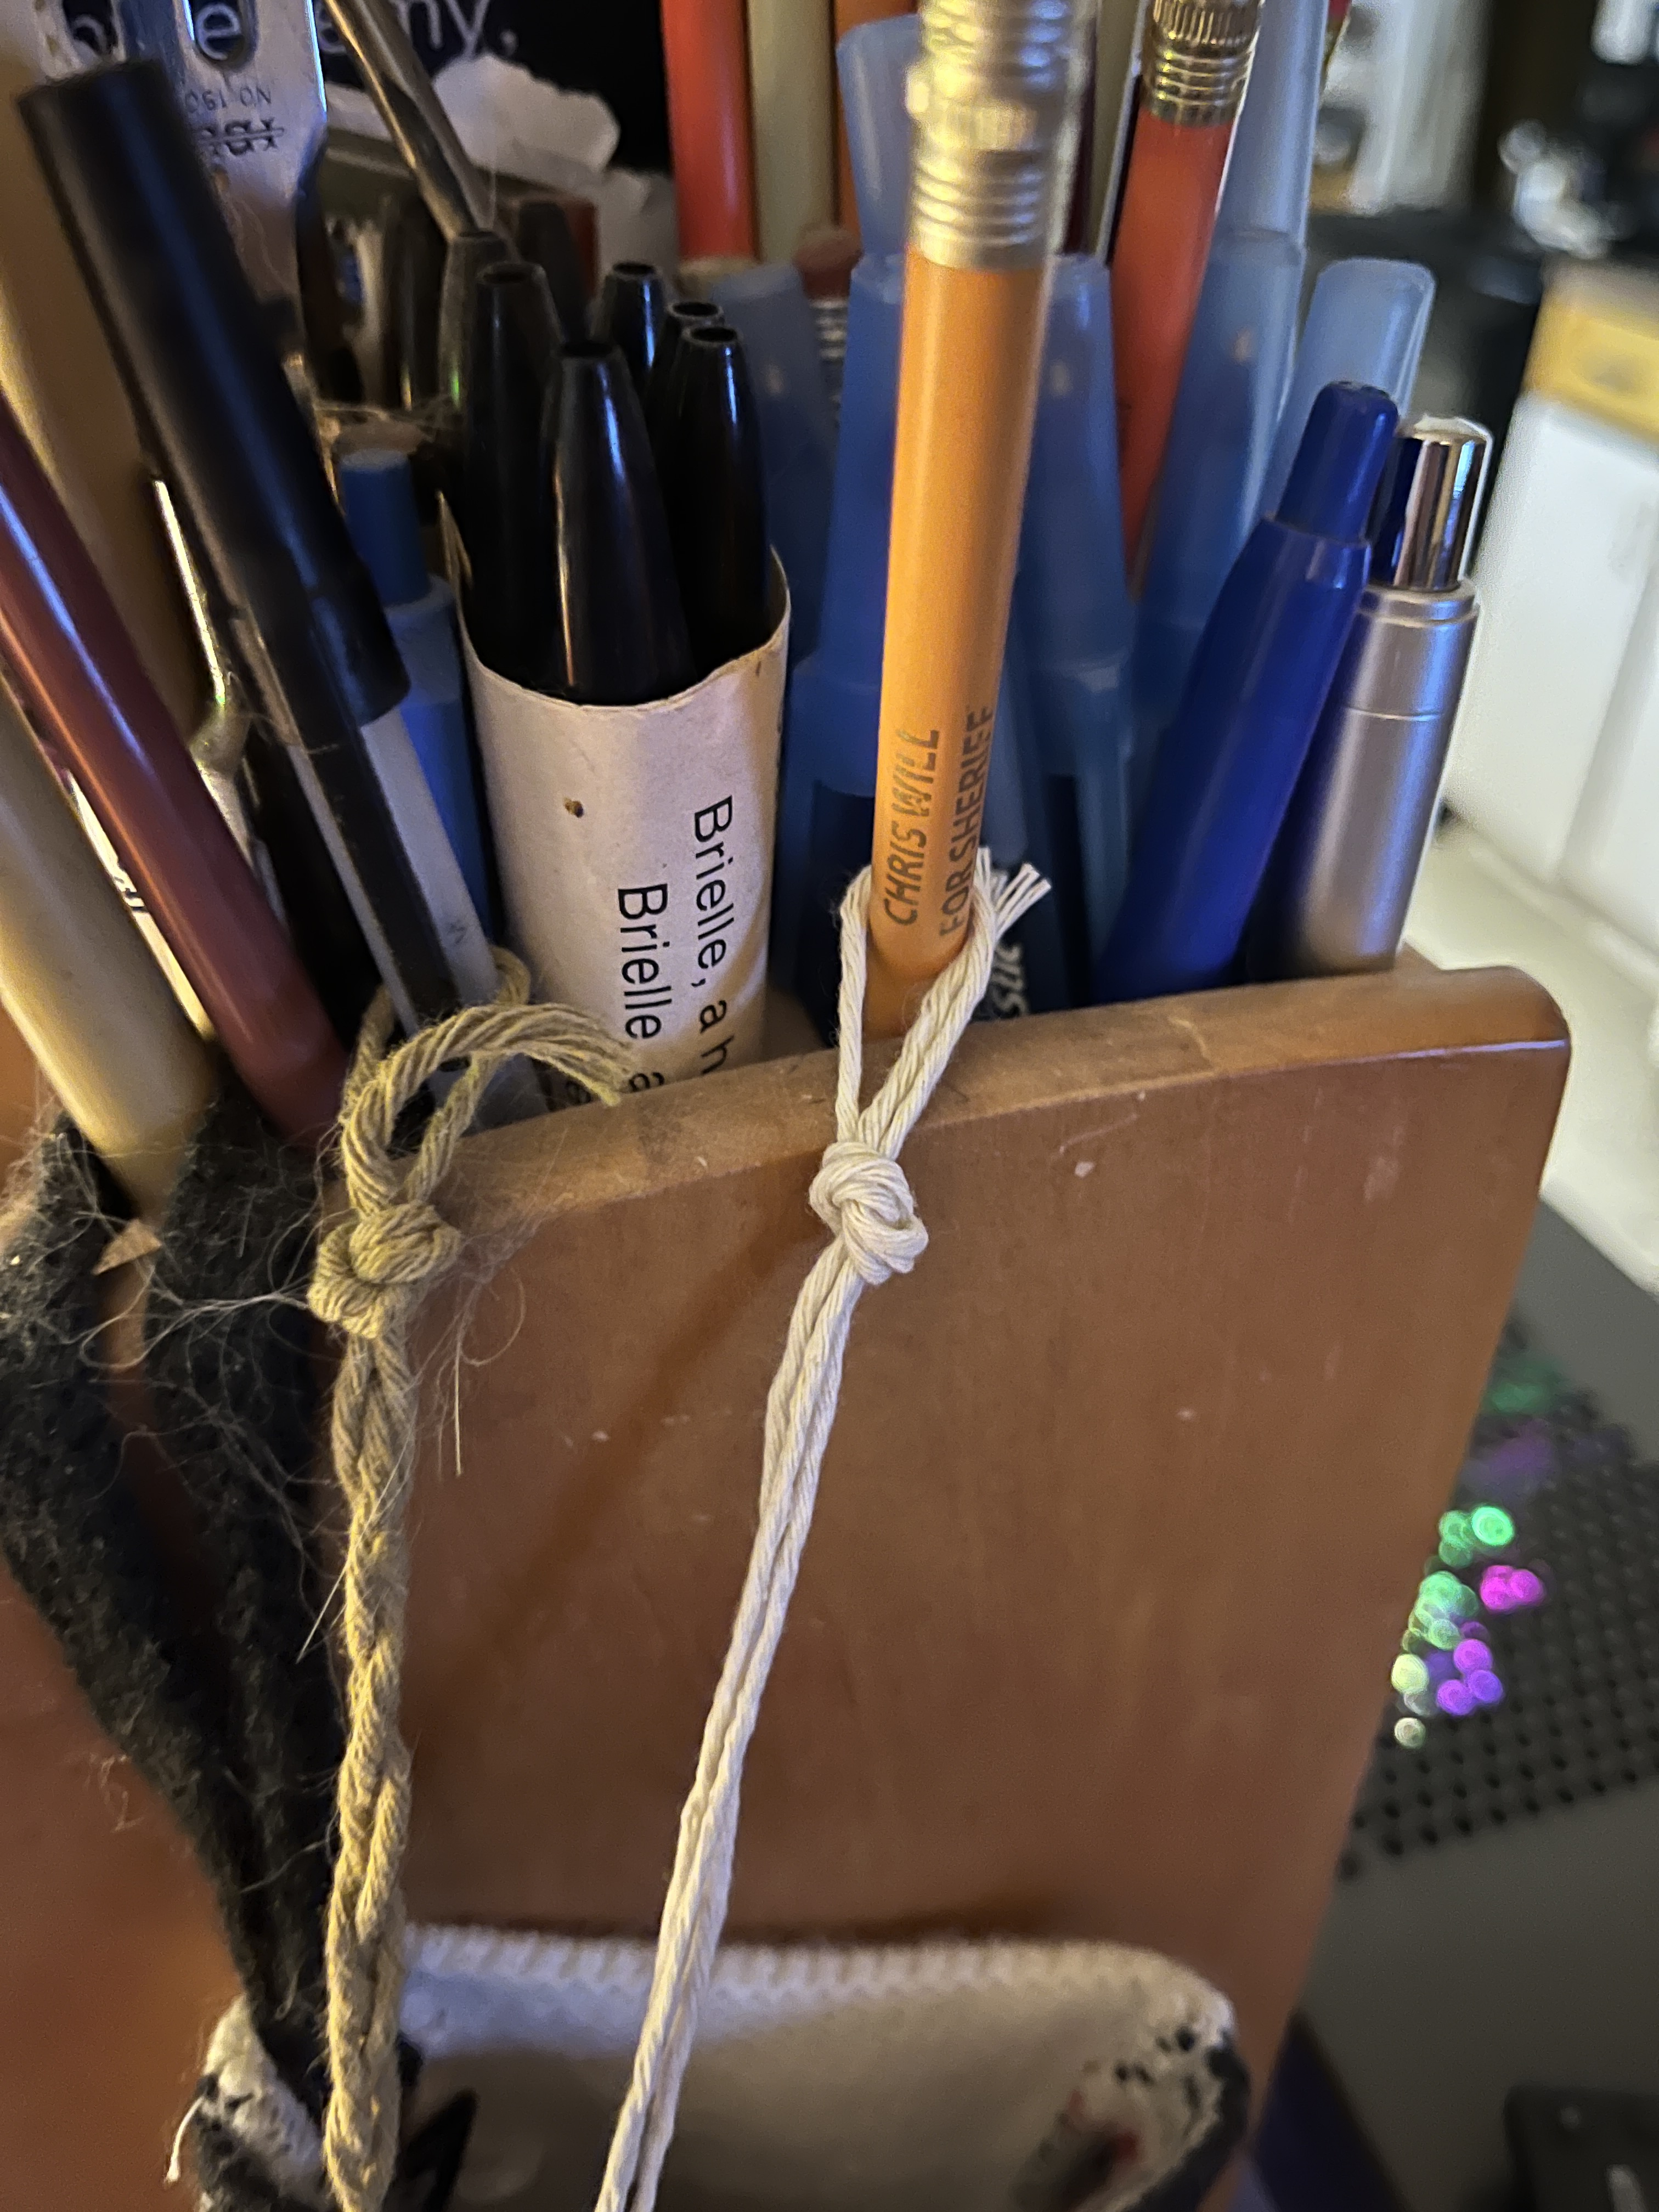
leaving a loop big enough to slide over a pencil to hold the end while I braided it. Yes, there’s a lot of braiding in this project.

Then I cut the other end loose so it wouldn’t loop and tangle while I braided and proceeded to braid until I got almost to the end. Yes, that’s a promotional pencil from when I ran for Sheriff once upon a time.
At the end, even though there’s still more left, I tied another overhand knot. I figure natural tassels at the ends won’t hurt and can continue the theme.
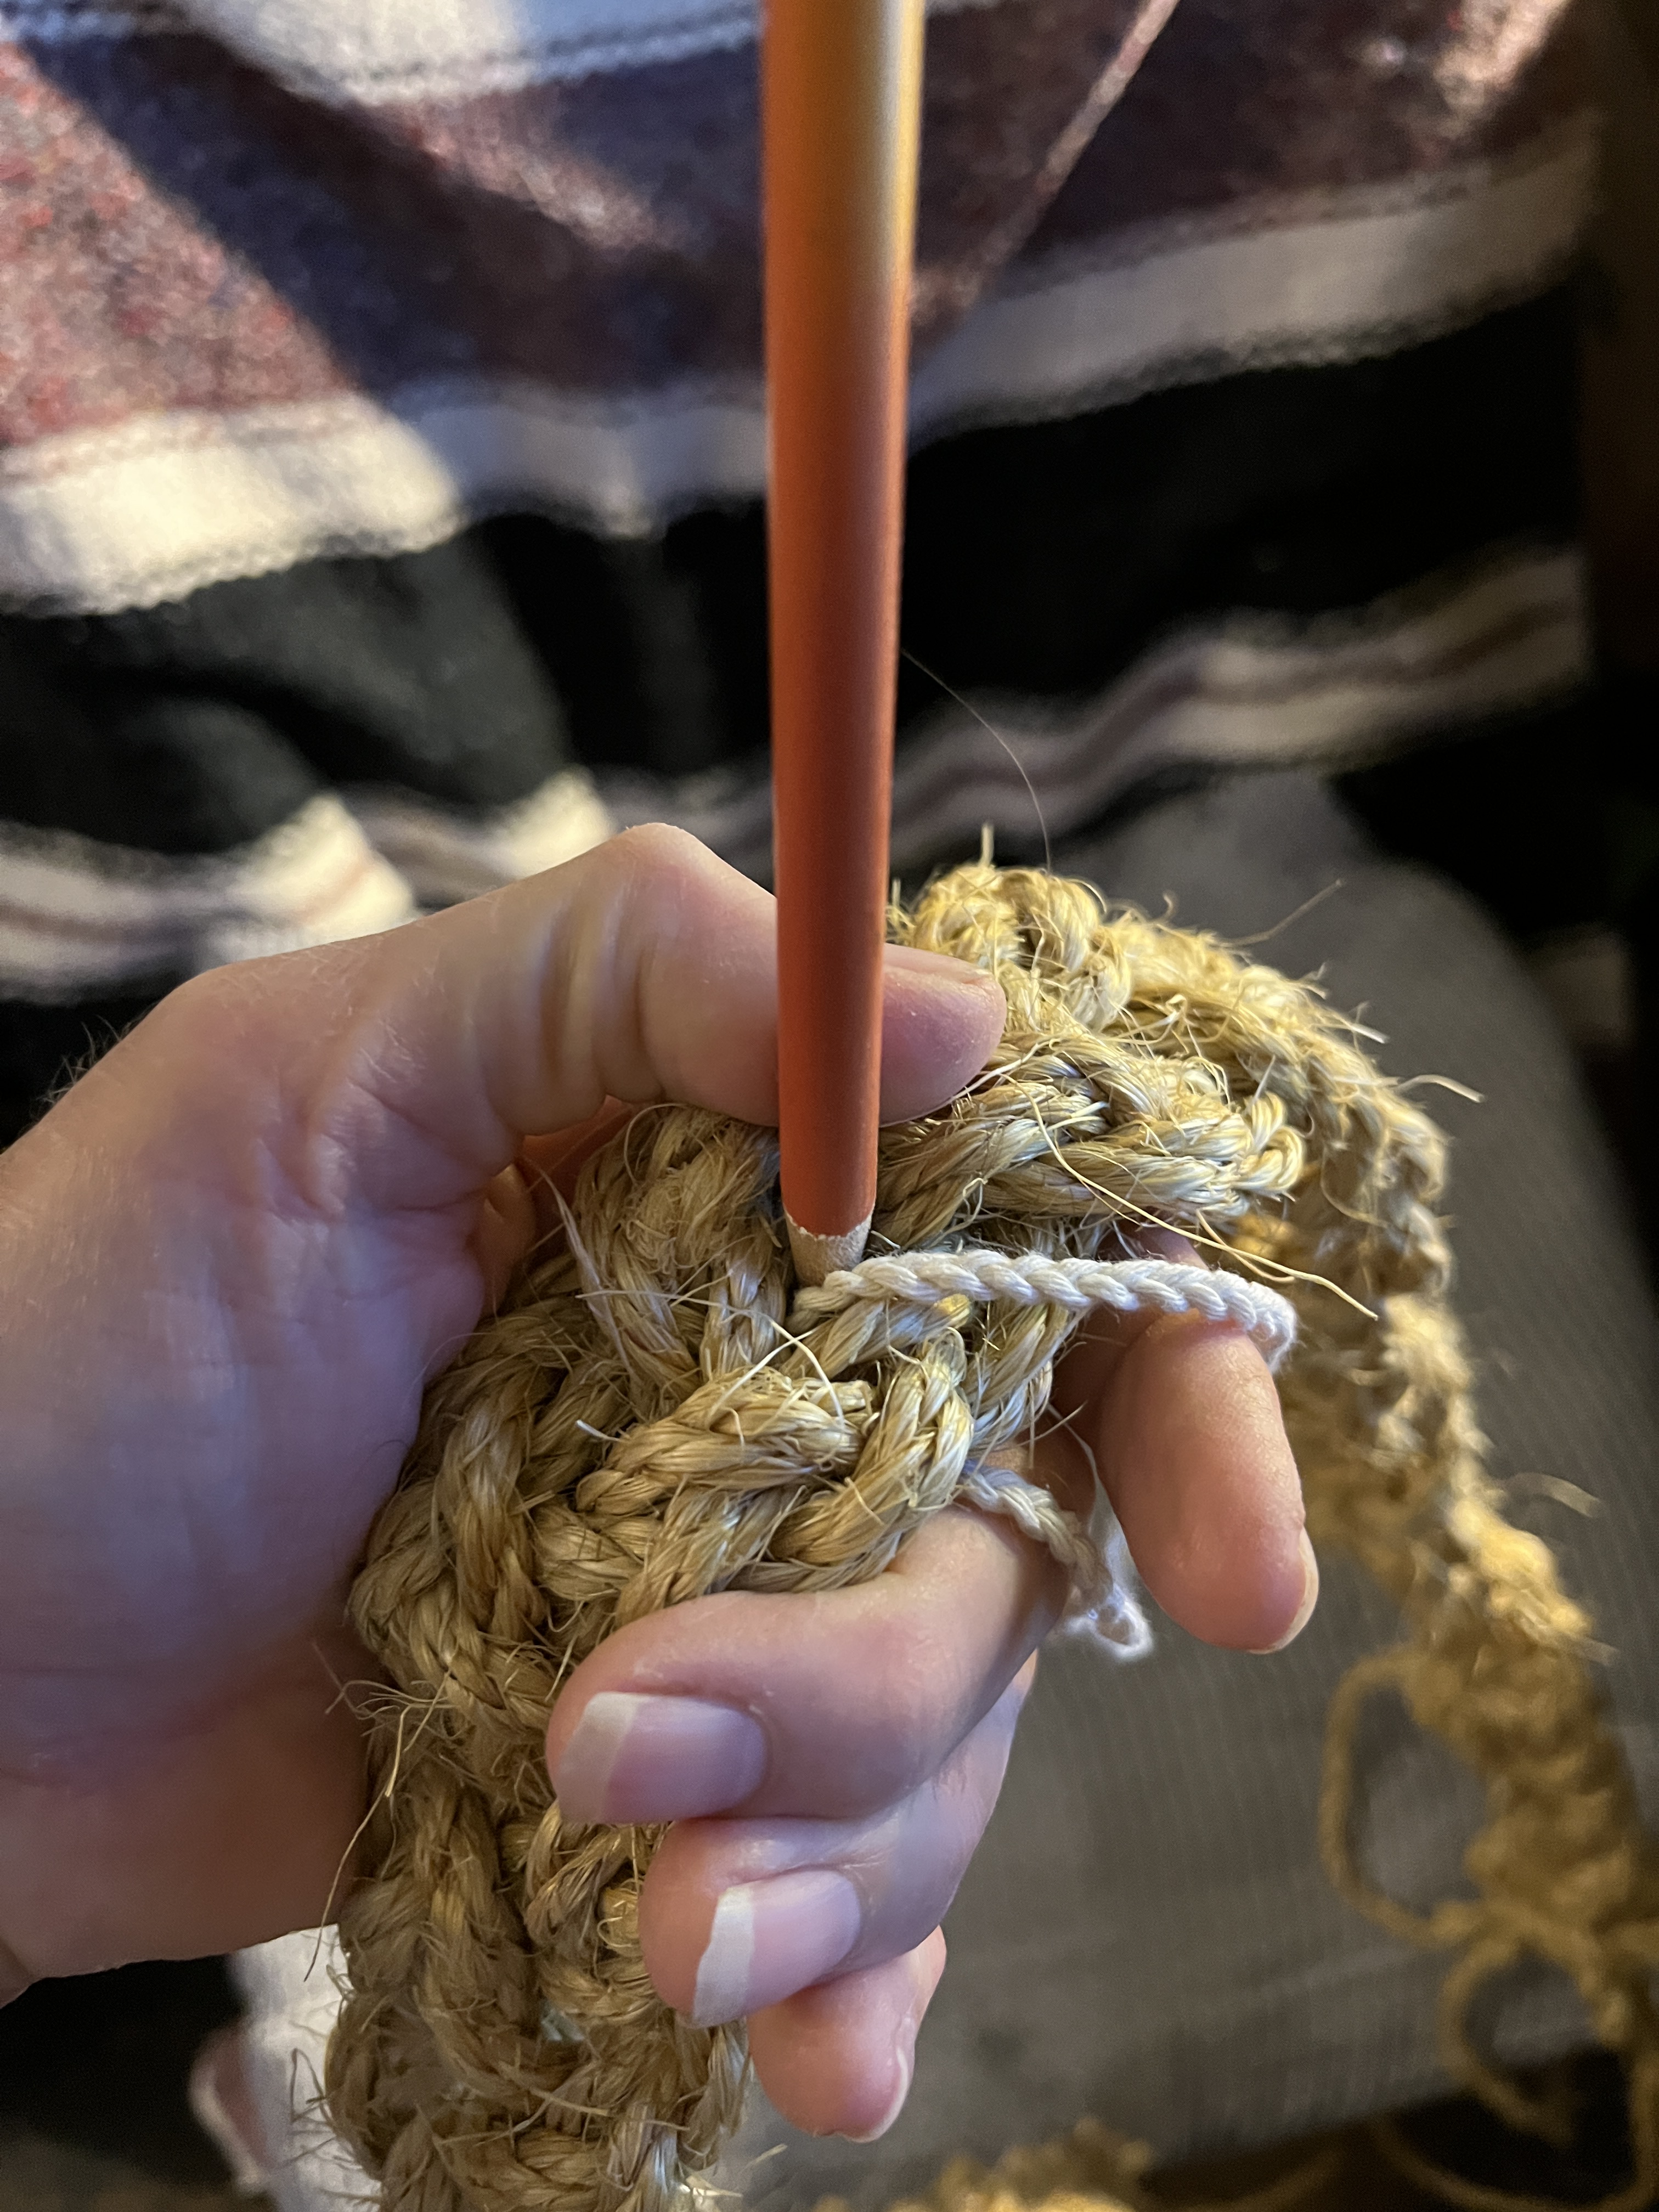
Now to attach the big tassel. I determined which side was the front an which was the back of the Torii top, then found the middle of the Torii top and pushed one end of this braid through the braid with a pencil. Pencils are delightful multi-use tools.
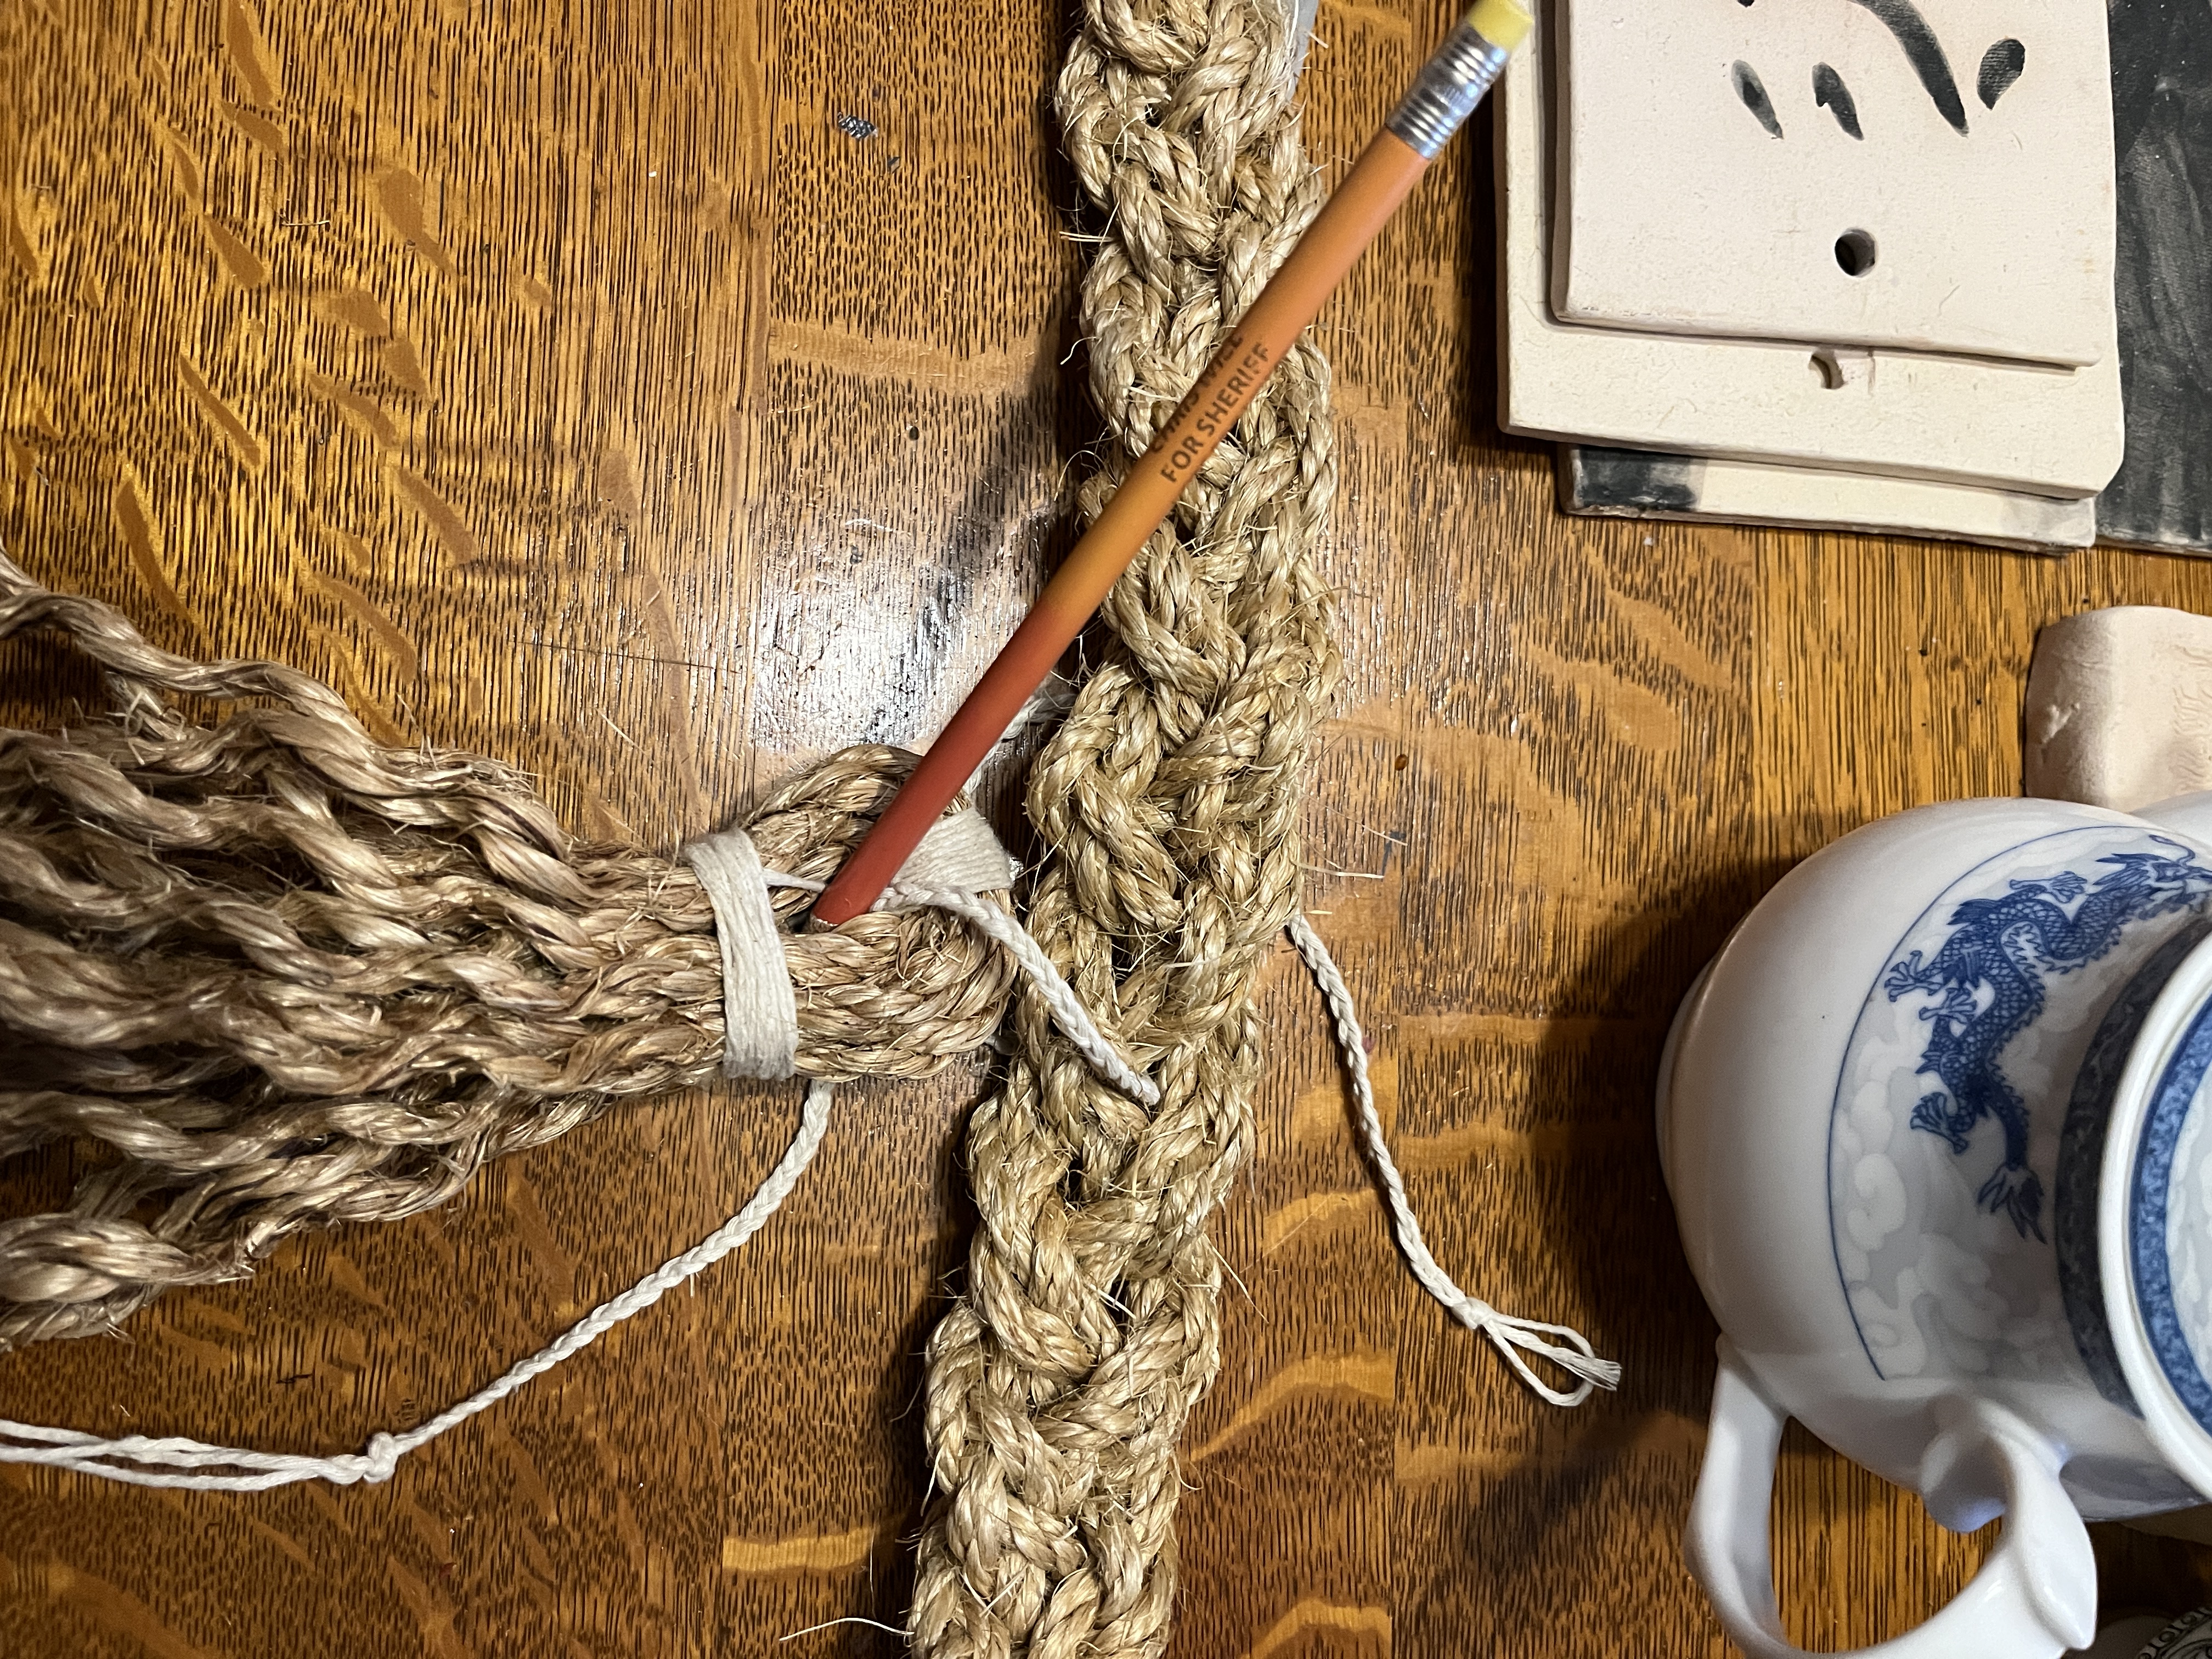
Next I decided which side was the front of the large tassel and poked the braid through that.

Turning the whole thing over I tied it on in the back of the top with a square knot. Yes, I tightened the knot, but this shows it’s a proper square knot.

Then made nice tassels in the ends of the small tie-braid by re-tying and unbraiding part of the braid that hangs down. If you’re tired of fussing you can just let the wind and weather unbraid it.
Now repeat for the 2 smaller tassels. Eventually it’ll be ready to put up…as soon as the uprights are in.
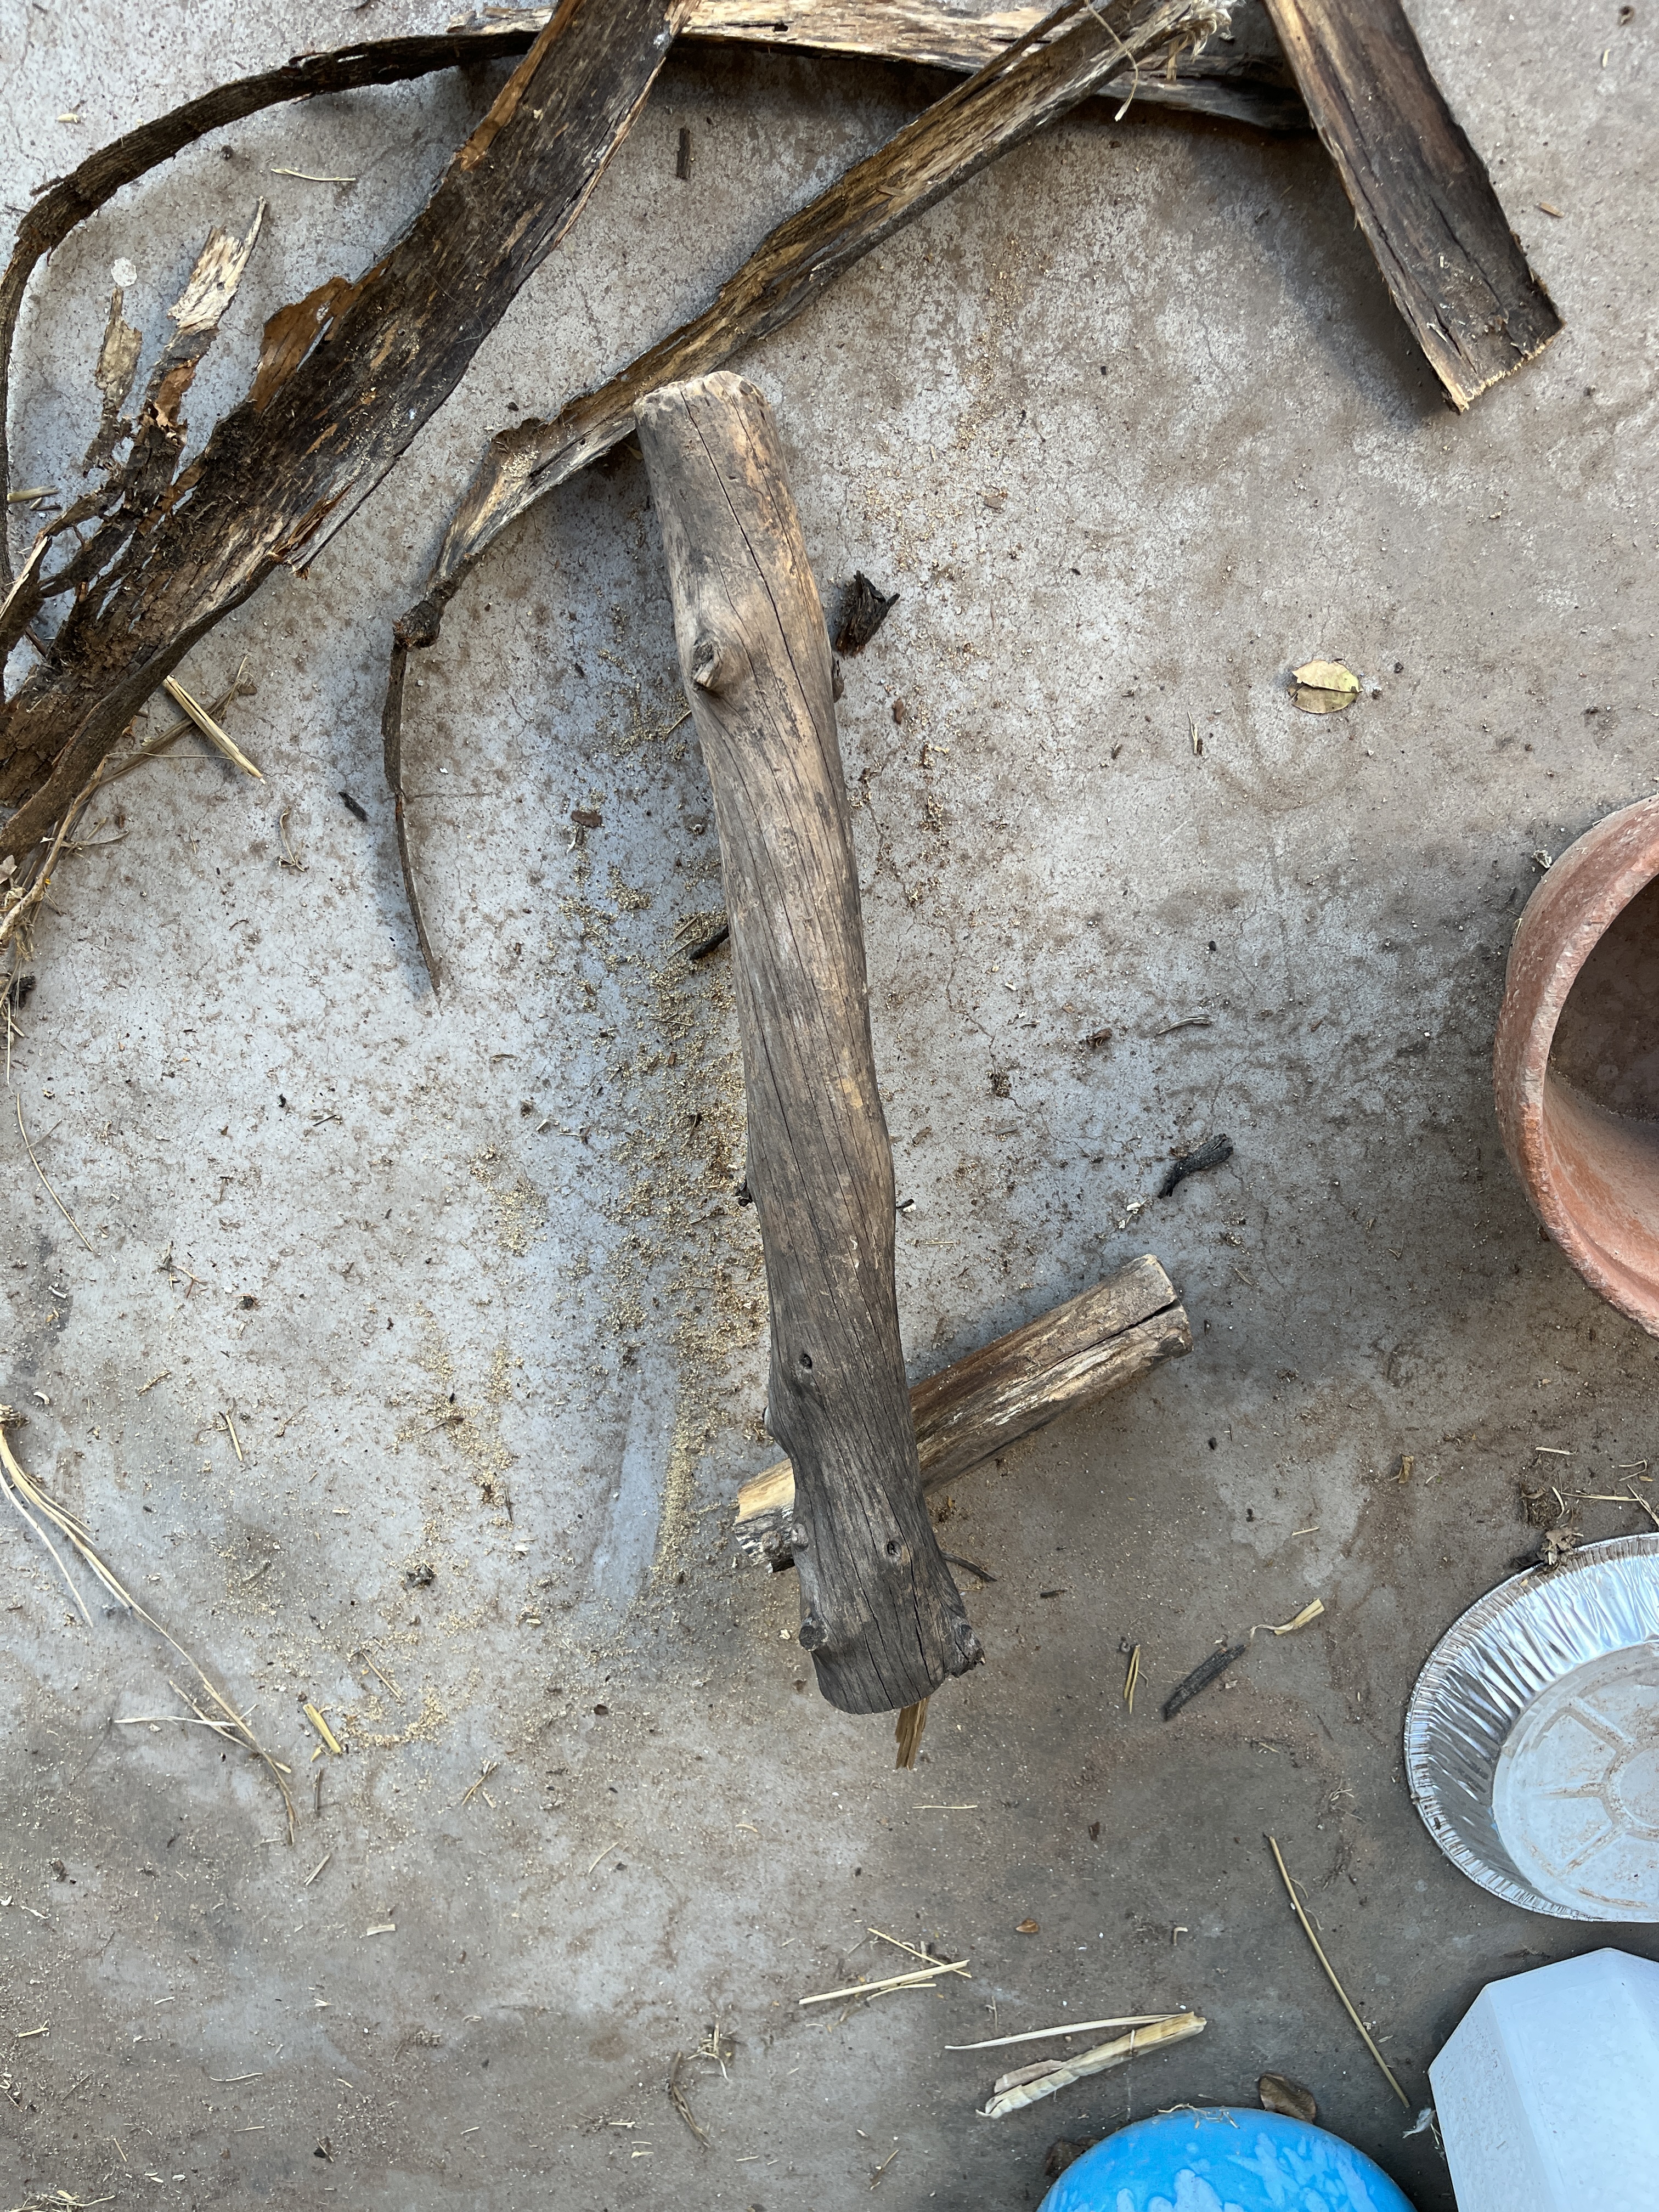
I finally had time to measure and cut the poles for the Torii gate. I pulled off some bark that was still clinging on, too.

For the post by the house I found some wide-headed screws to wrap the copper wire ties around, top…
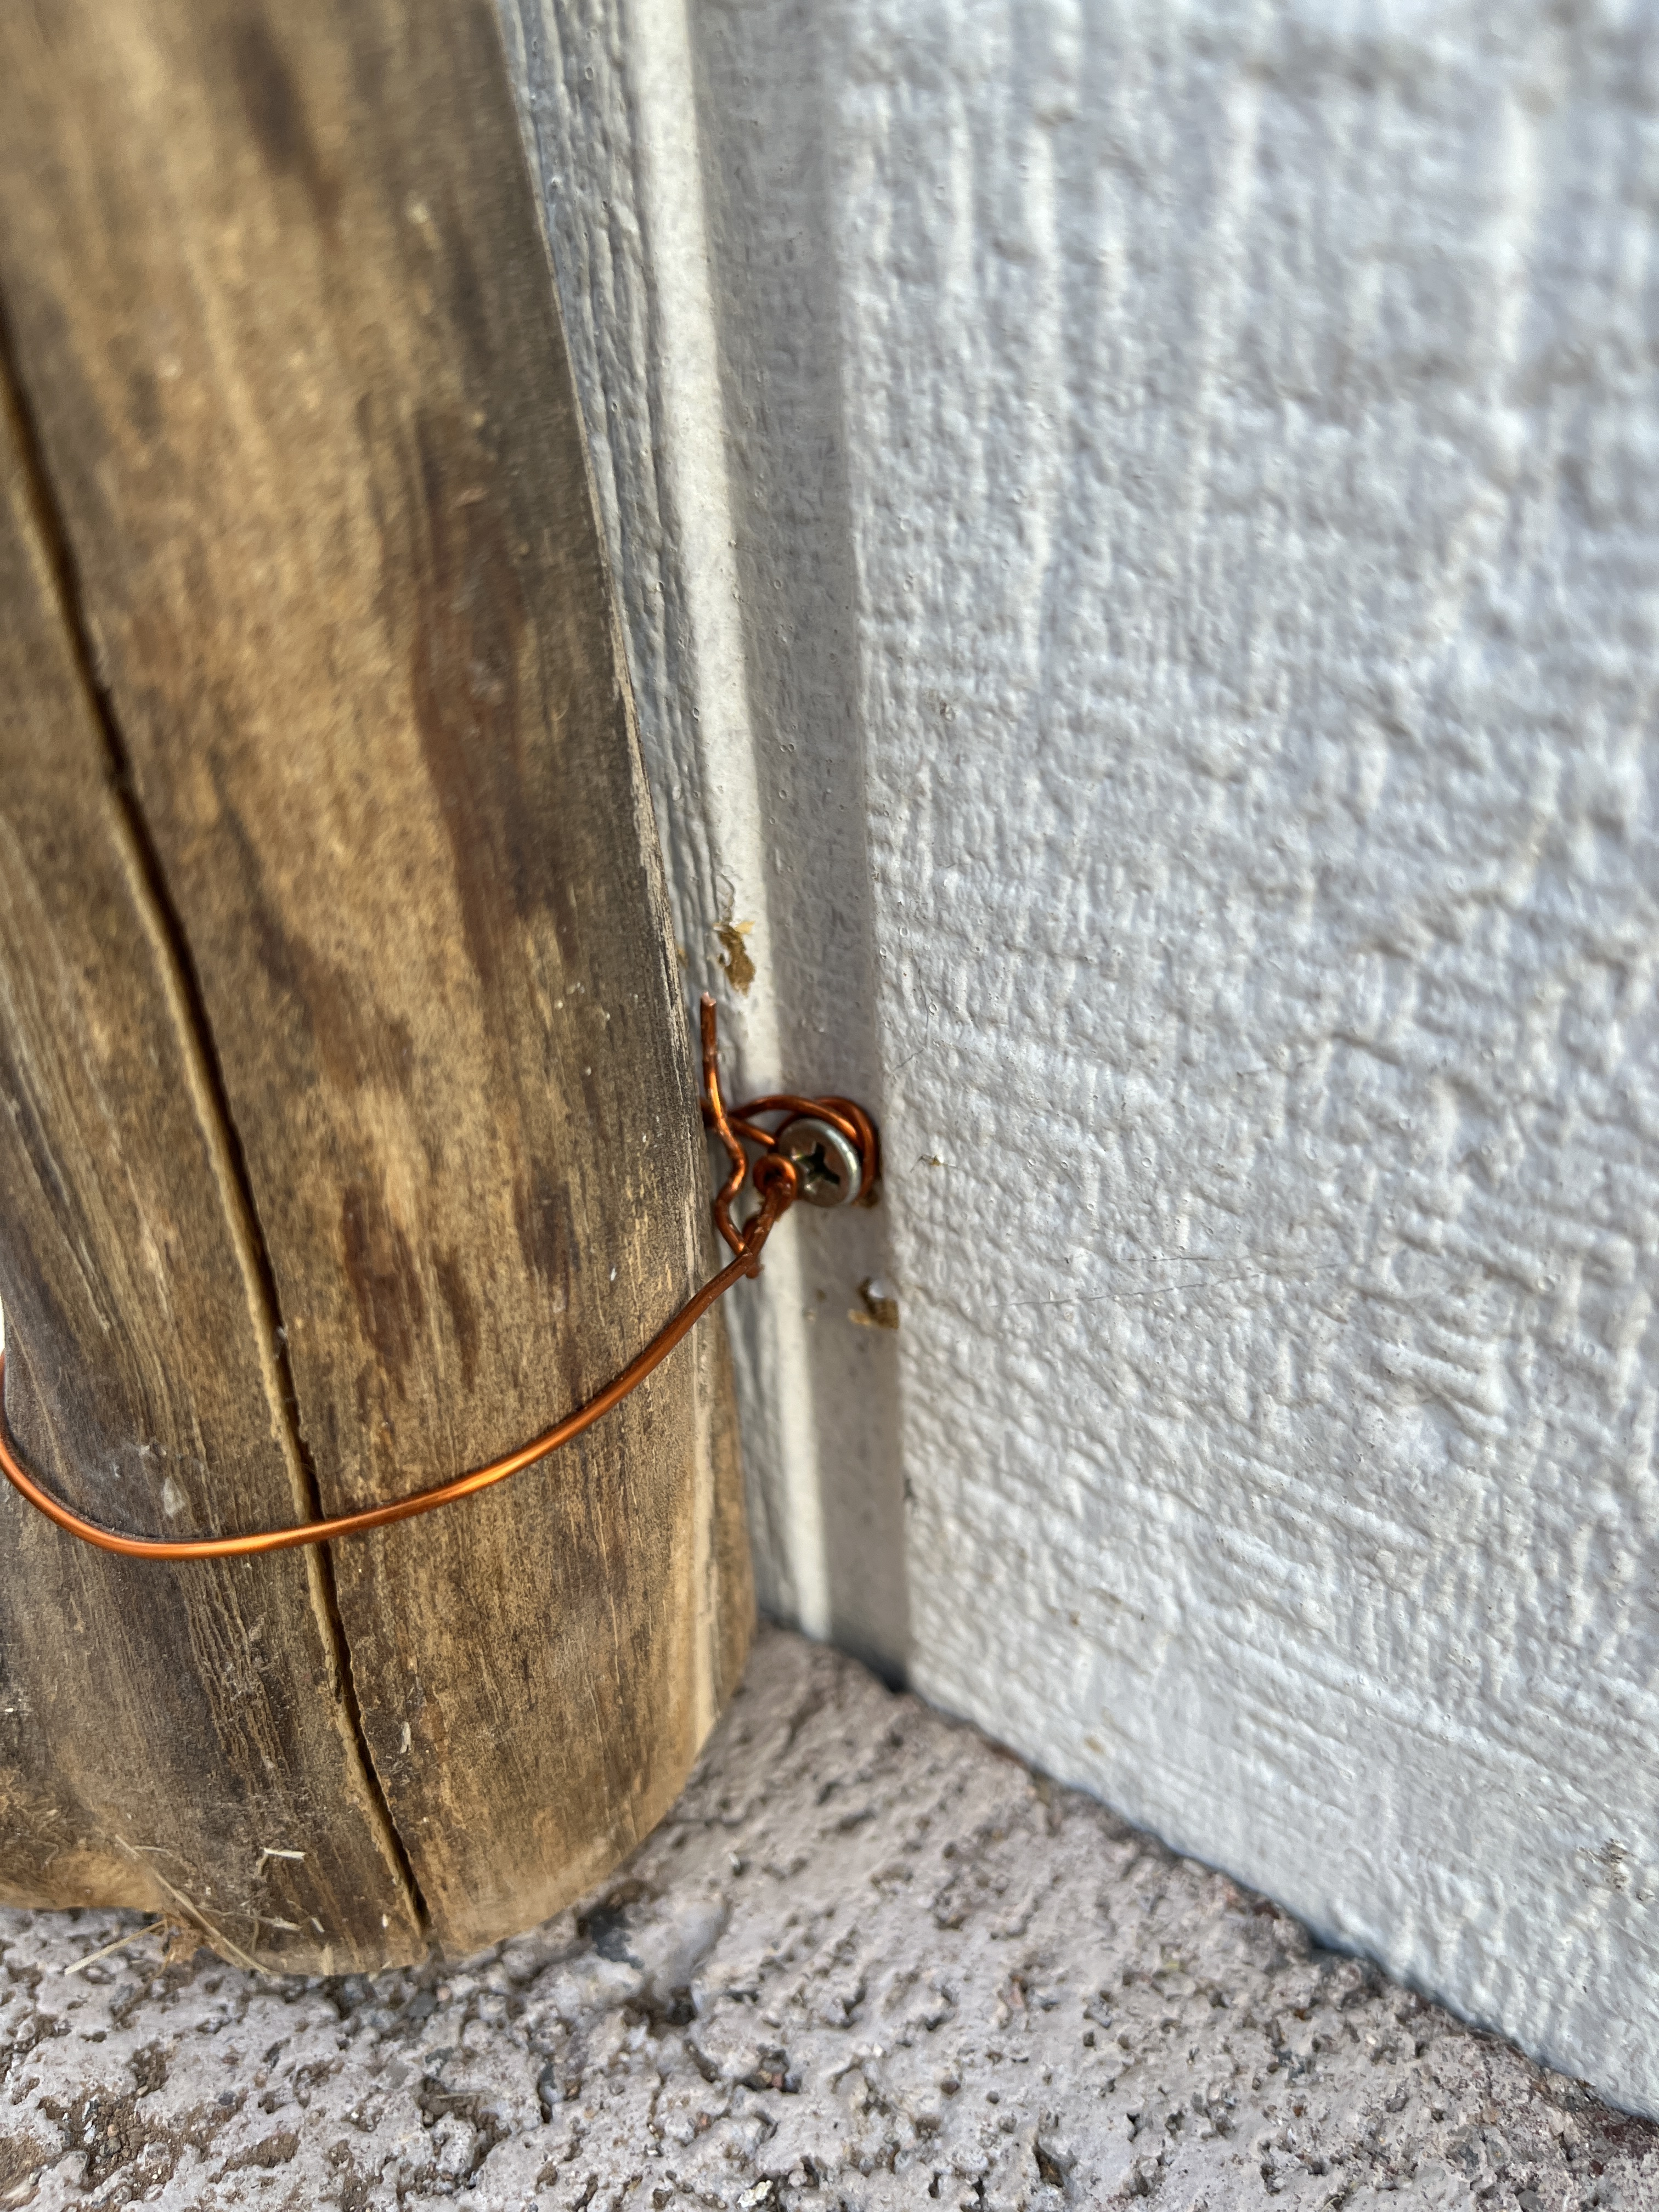
And Bottom
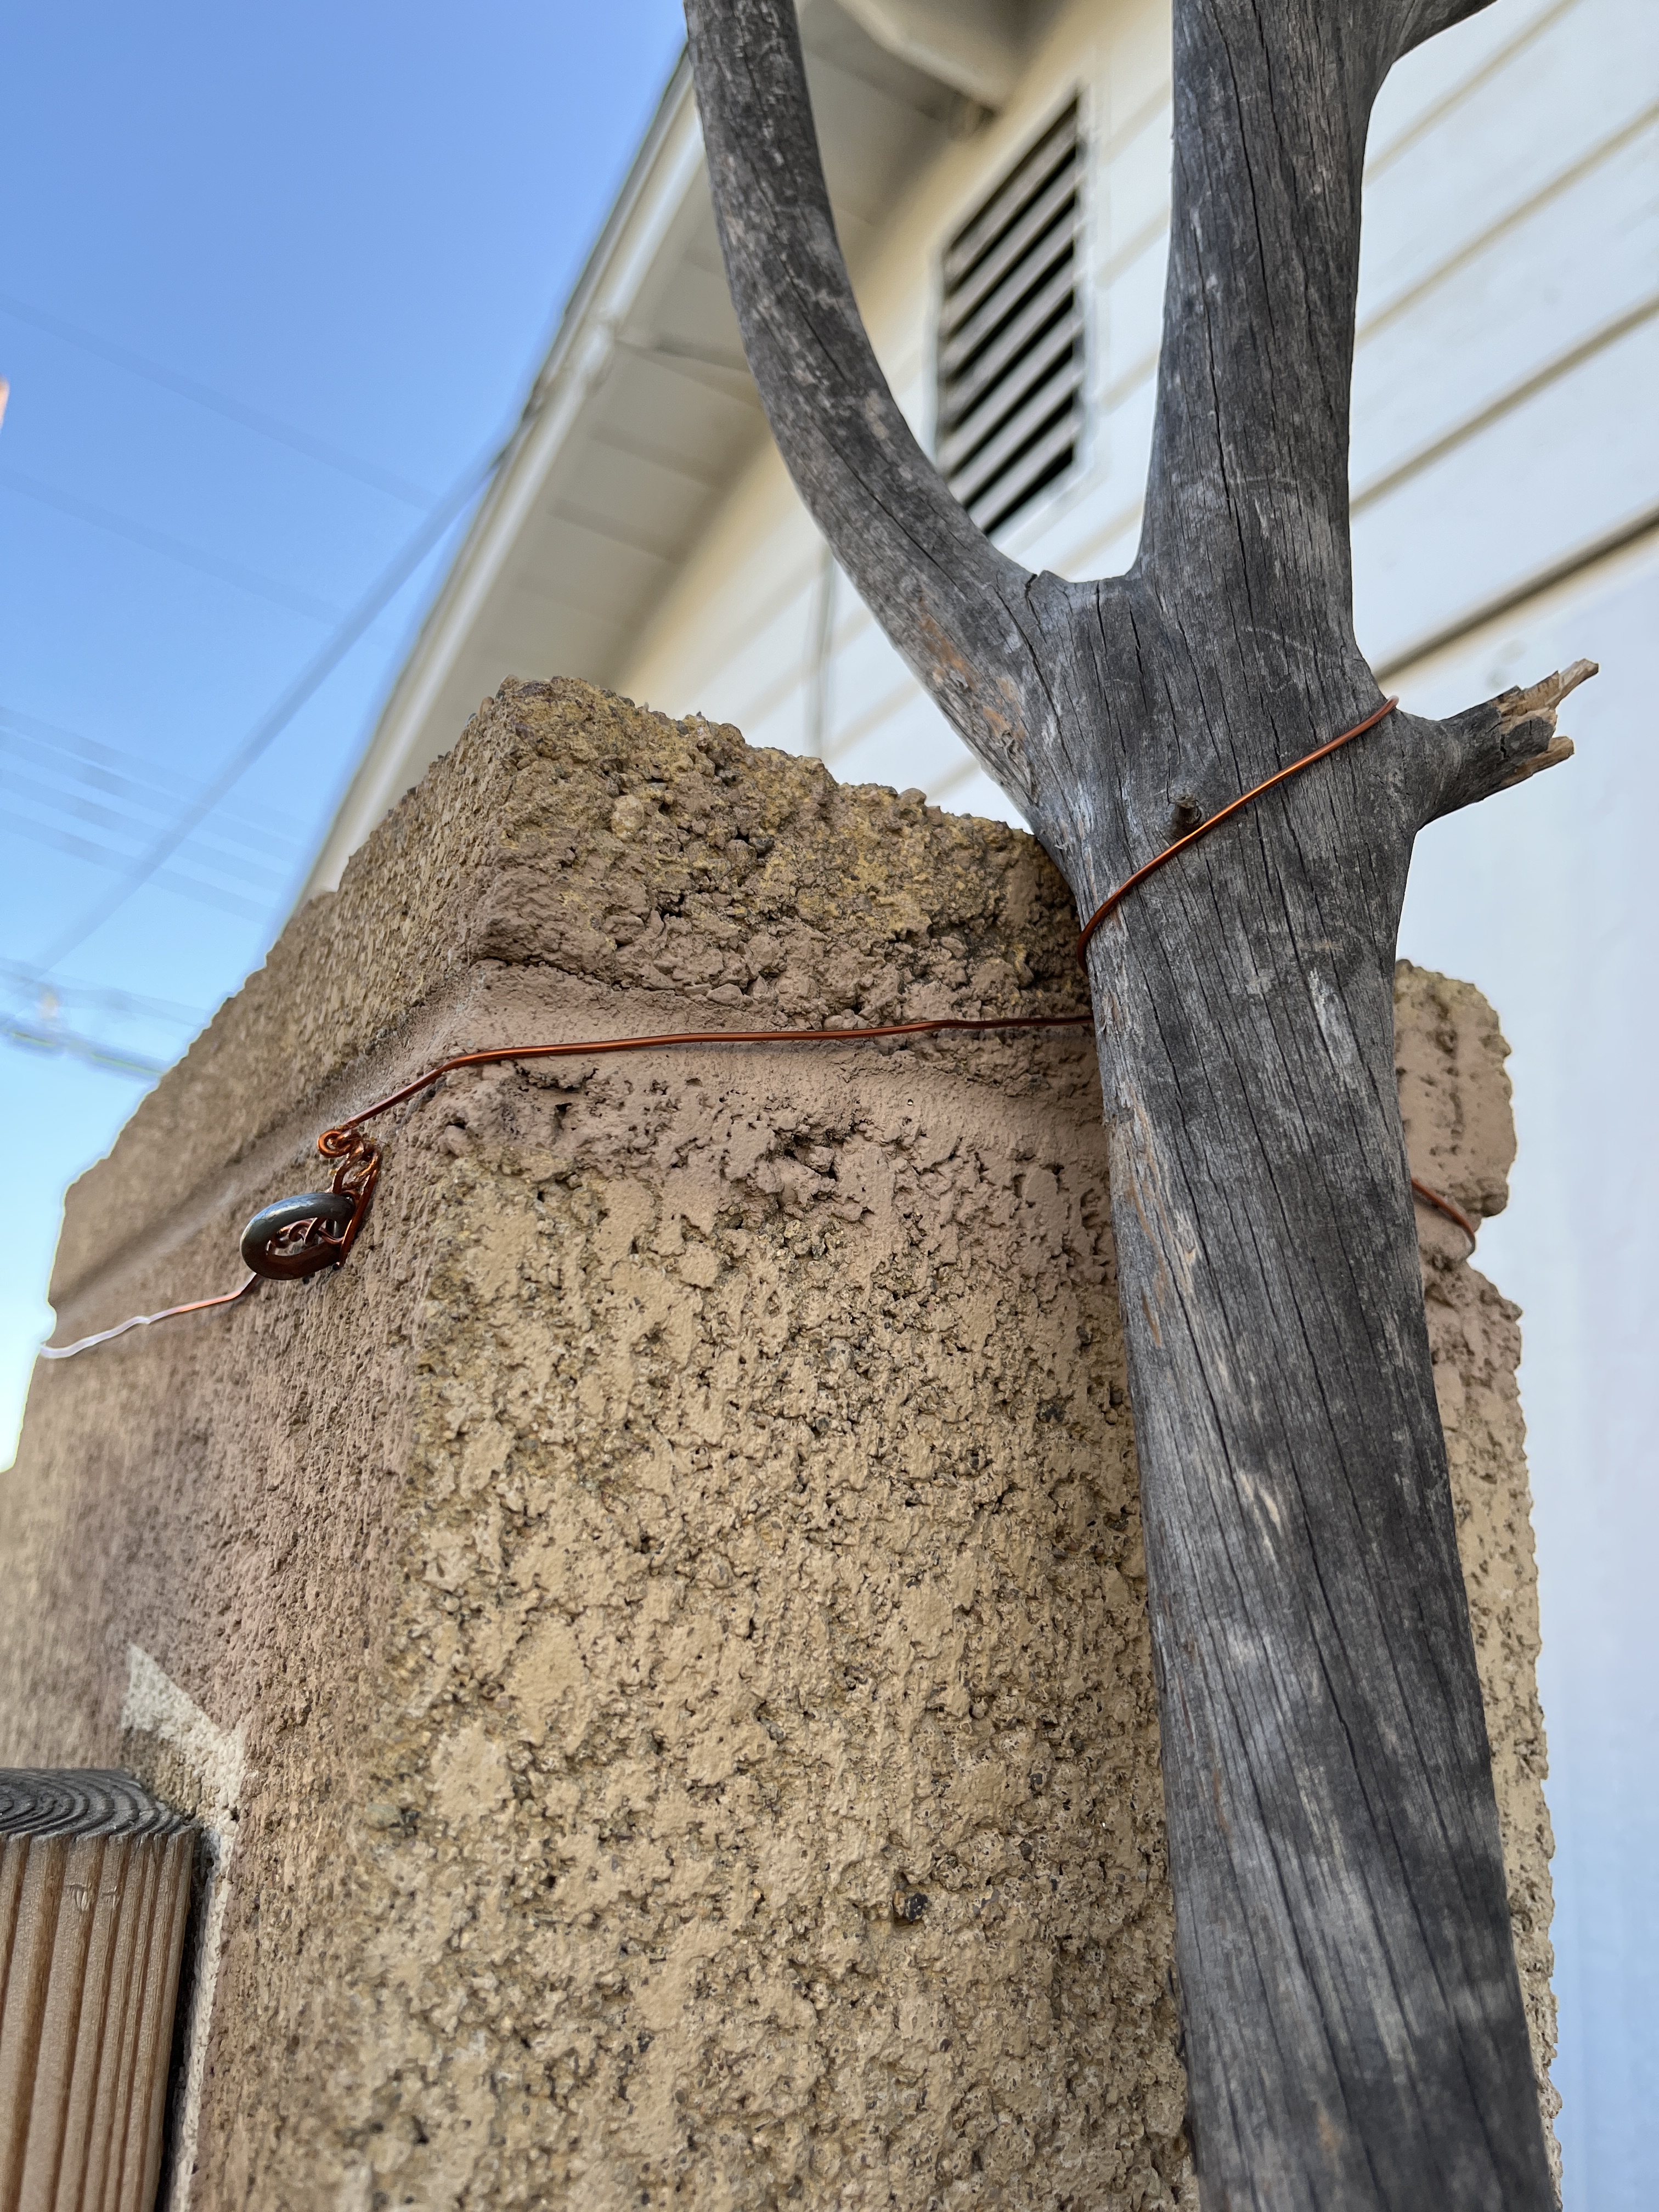
The other pole was a bit more challenging but I managed the top pretty well by using an existing eye-screw to secure the copper wire and wrapped the wire around the top of the concrete block wall post.

For the bottom I’d planned to just stake it down but the concrete wall foundation foiled that plan. A run to the hardware store for another eye screw and I was back in business, since a stake worked on my side of the wall.
Dinner was ready so ran inside for that, then realized what time it was and had to put away this morning’s project and re-cover their roosting spot on my workbench before they went to bed and messed up my stuff. By the time I got back out to finish I had to work by the light of the school athletic lights but I managed with square knots on the side by the house and 2 half hitches on the block wall side.
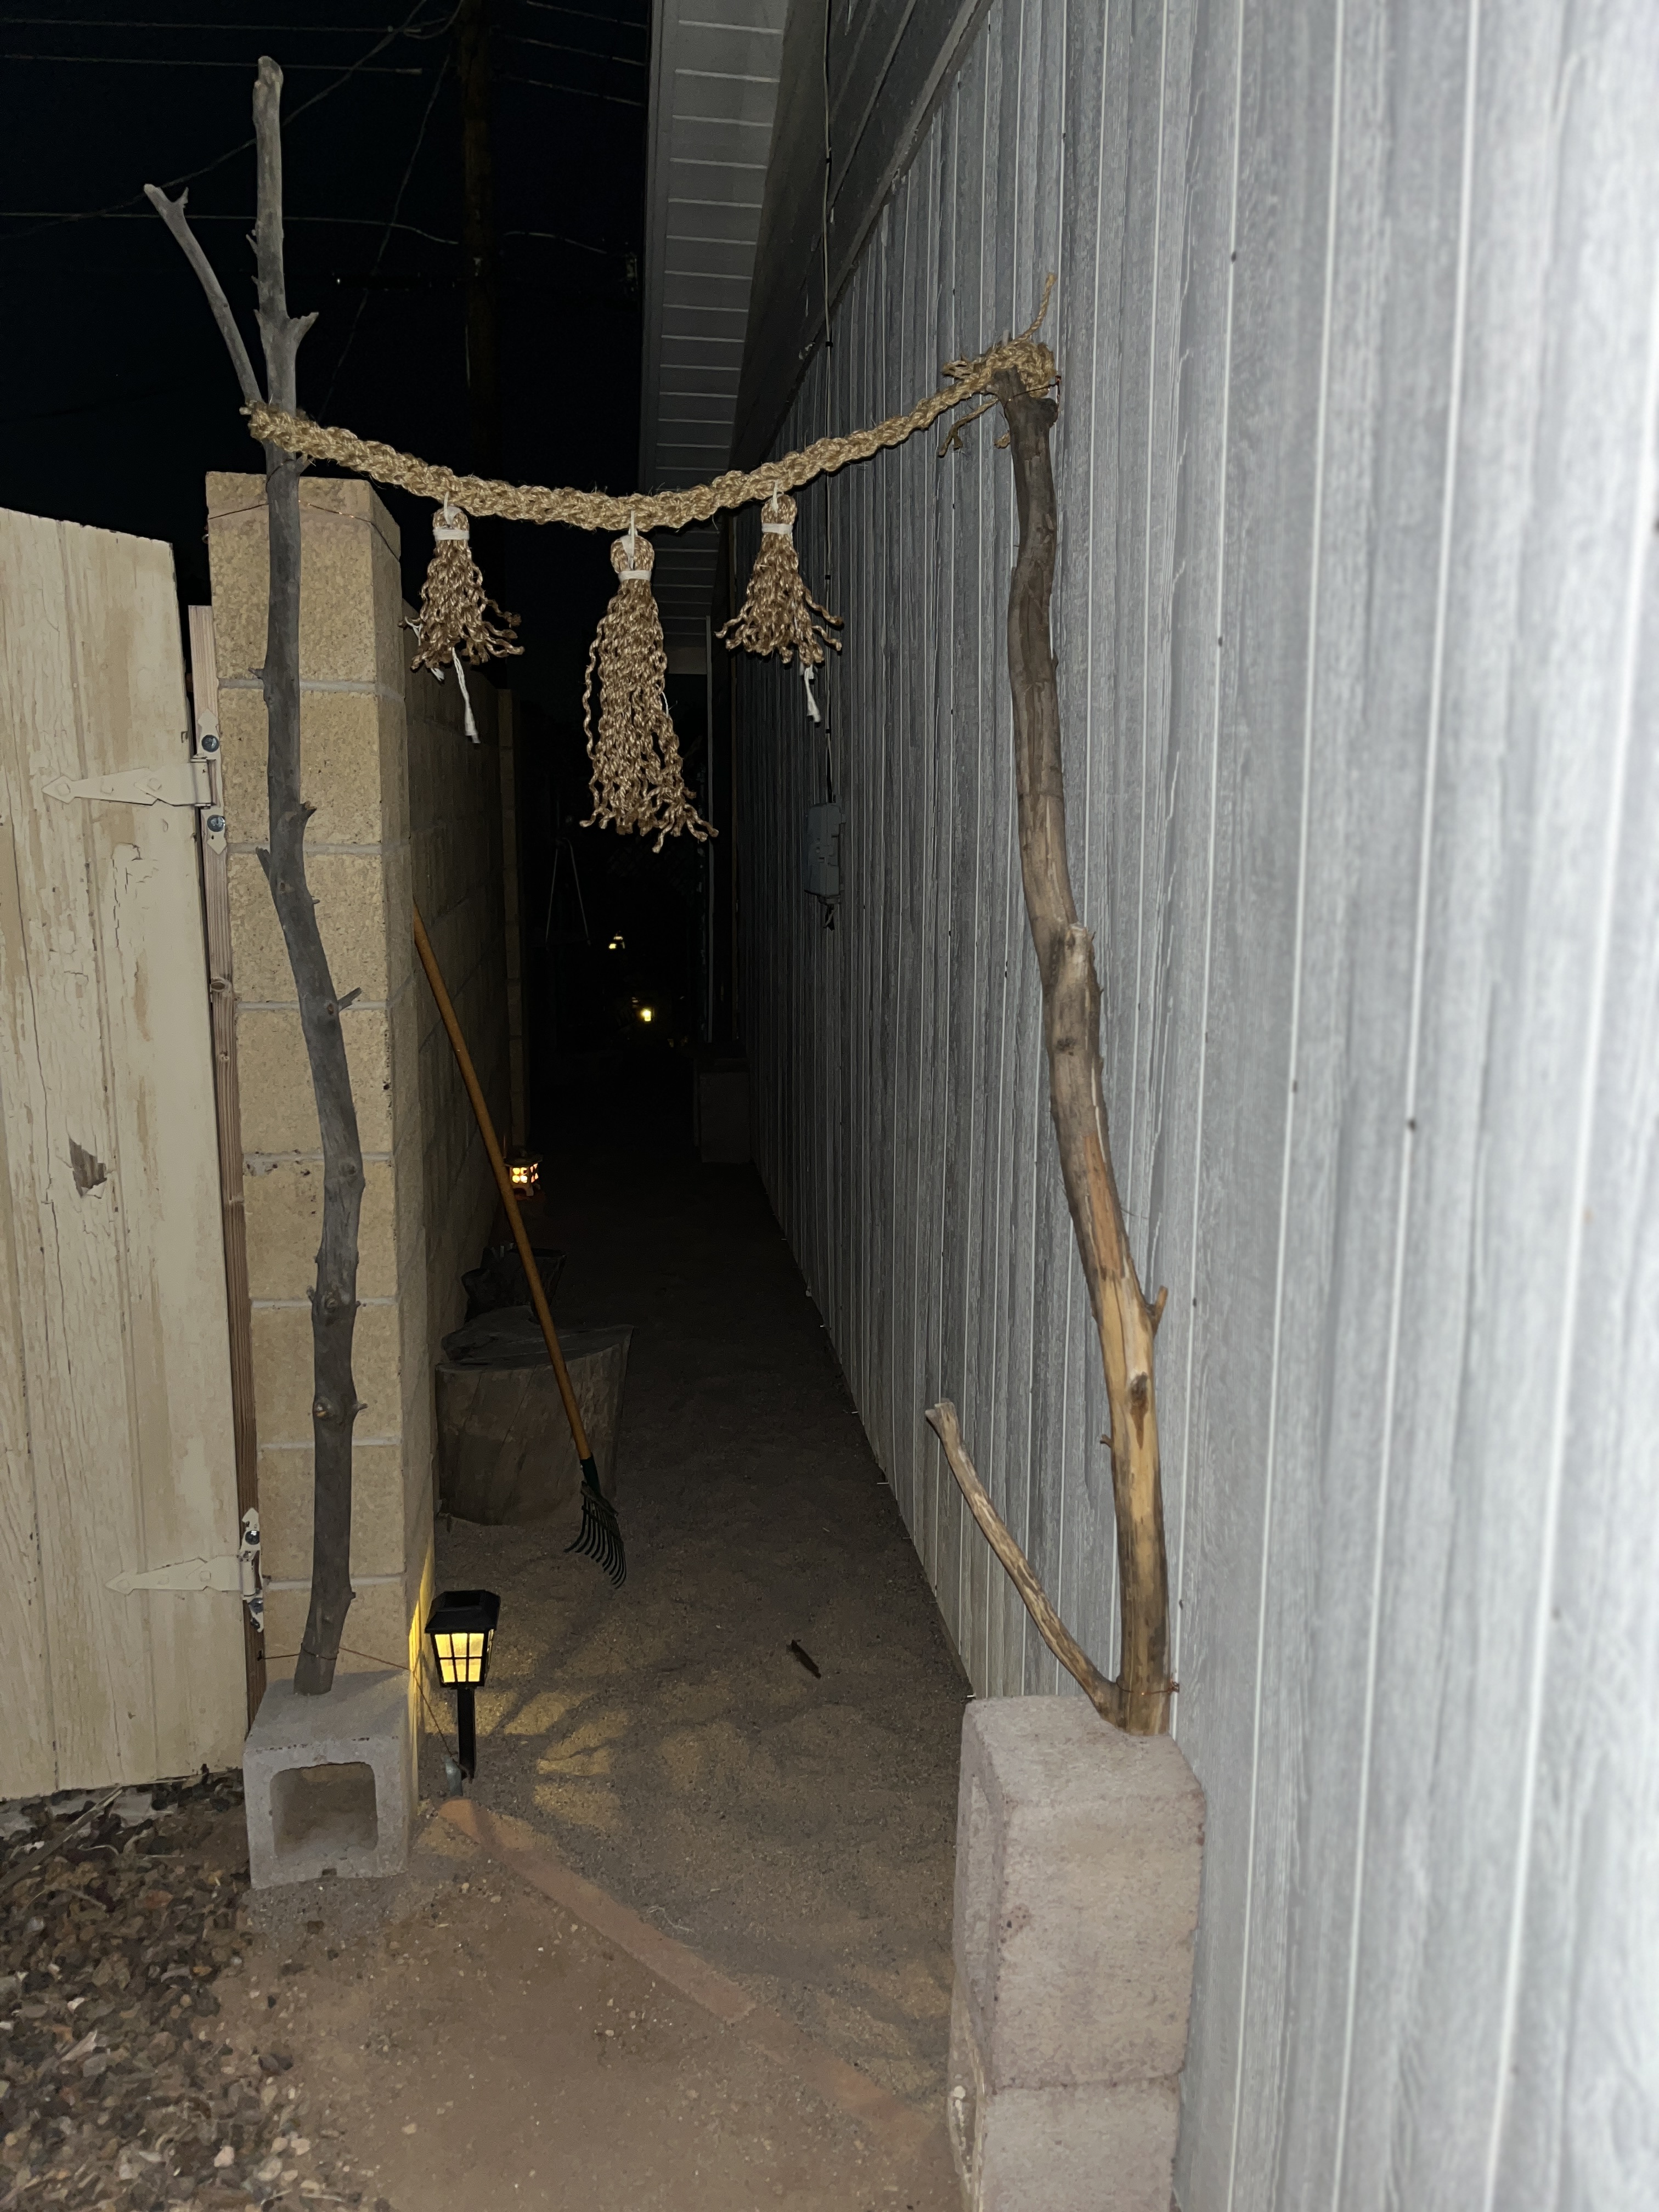
My first picture was with a flash,

Then with ambient light, which I like better.

Next I got a shot of the lantern with its first candle, the solar lights of the vegetable garden shining in the background and a nice bit of twilight sky showing.

First thing the next morning I raked all the cat offerings out of the sand and made some proper raked designs in the sand. So now it’s officially a garden, but I don’t think it’ll ever be done. I’m sure I’ll be making things to put in, taking things out, gifting stuff, being gifted things, selling stuff…a work in progress that changes over the seasons as a garden should.
Note: I’m not trying to be authentic. I’m taking inspiration from things in the broader world to make things in my world. If I were trying to recreate an authentic Zen garden and authentic Torii gate I would use the correct materials and techniques. Instead, I’ve used materials at hand with skills and techniques I have and understand to create a pleasant area in a form that solves some minor problems with a formerly unaesthetic, unused area.
Yes, I am making this up as I go along.

Leave a comment