Posted by: briellethefirst | February 17, 2025

Whole Wheat Bread


One of my roommates wanted a good, hearty, sturdy whole wheat bread for meals. I threw this together:

In a small bowl mix:

1 Tbsp Active Dry Yeast into a few spoonfuls of water to activate it.

In a glass measuring cup, mix:

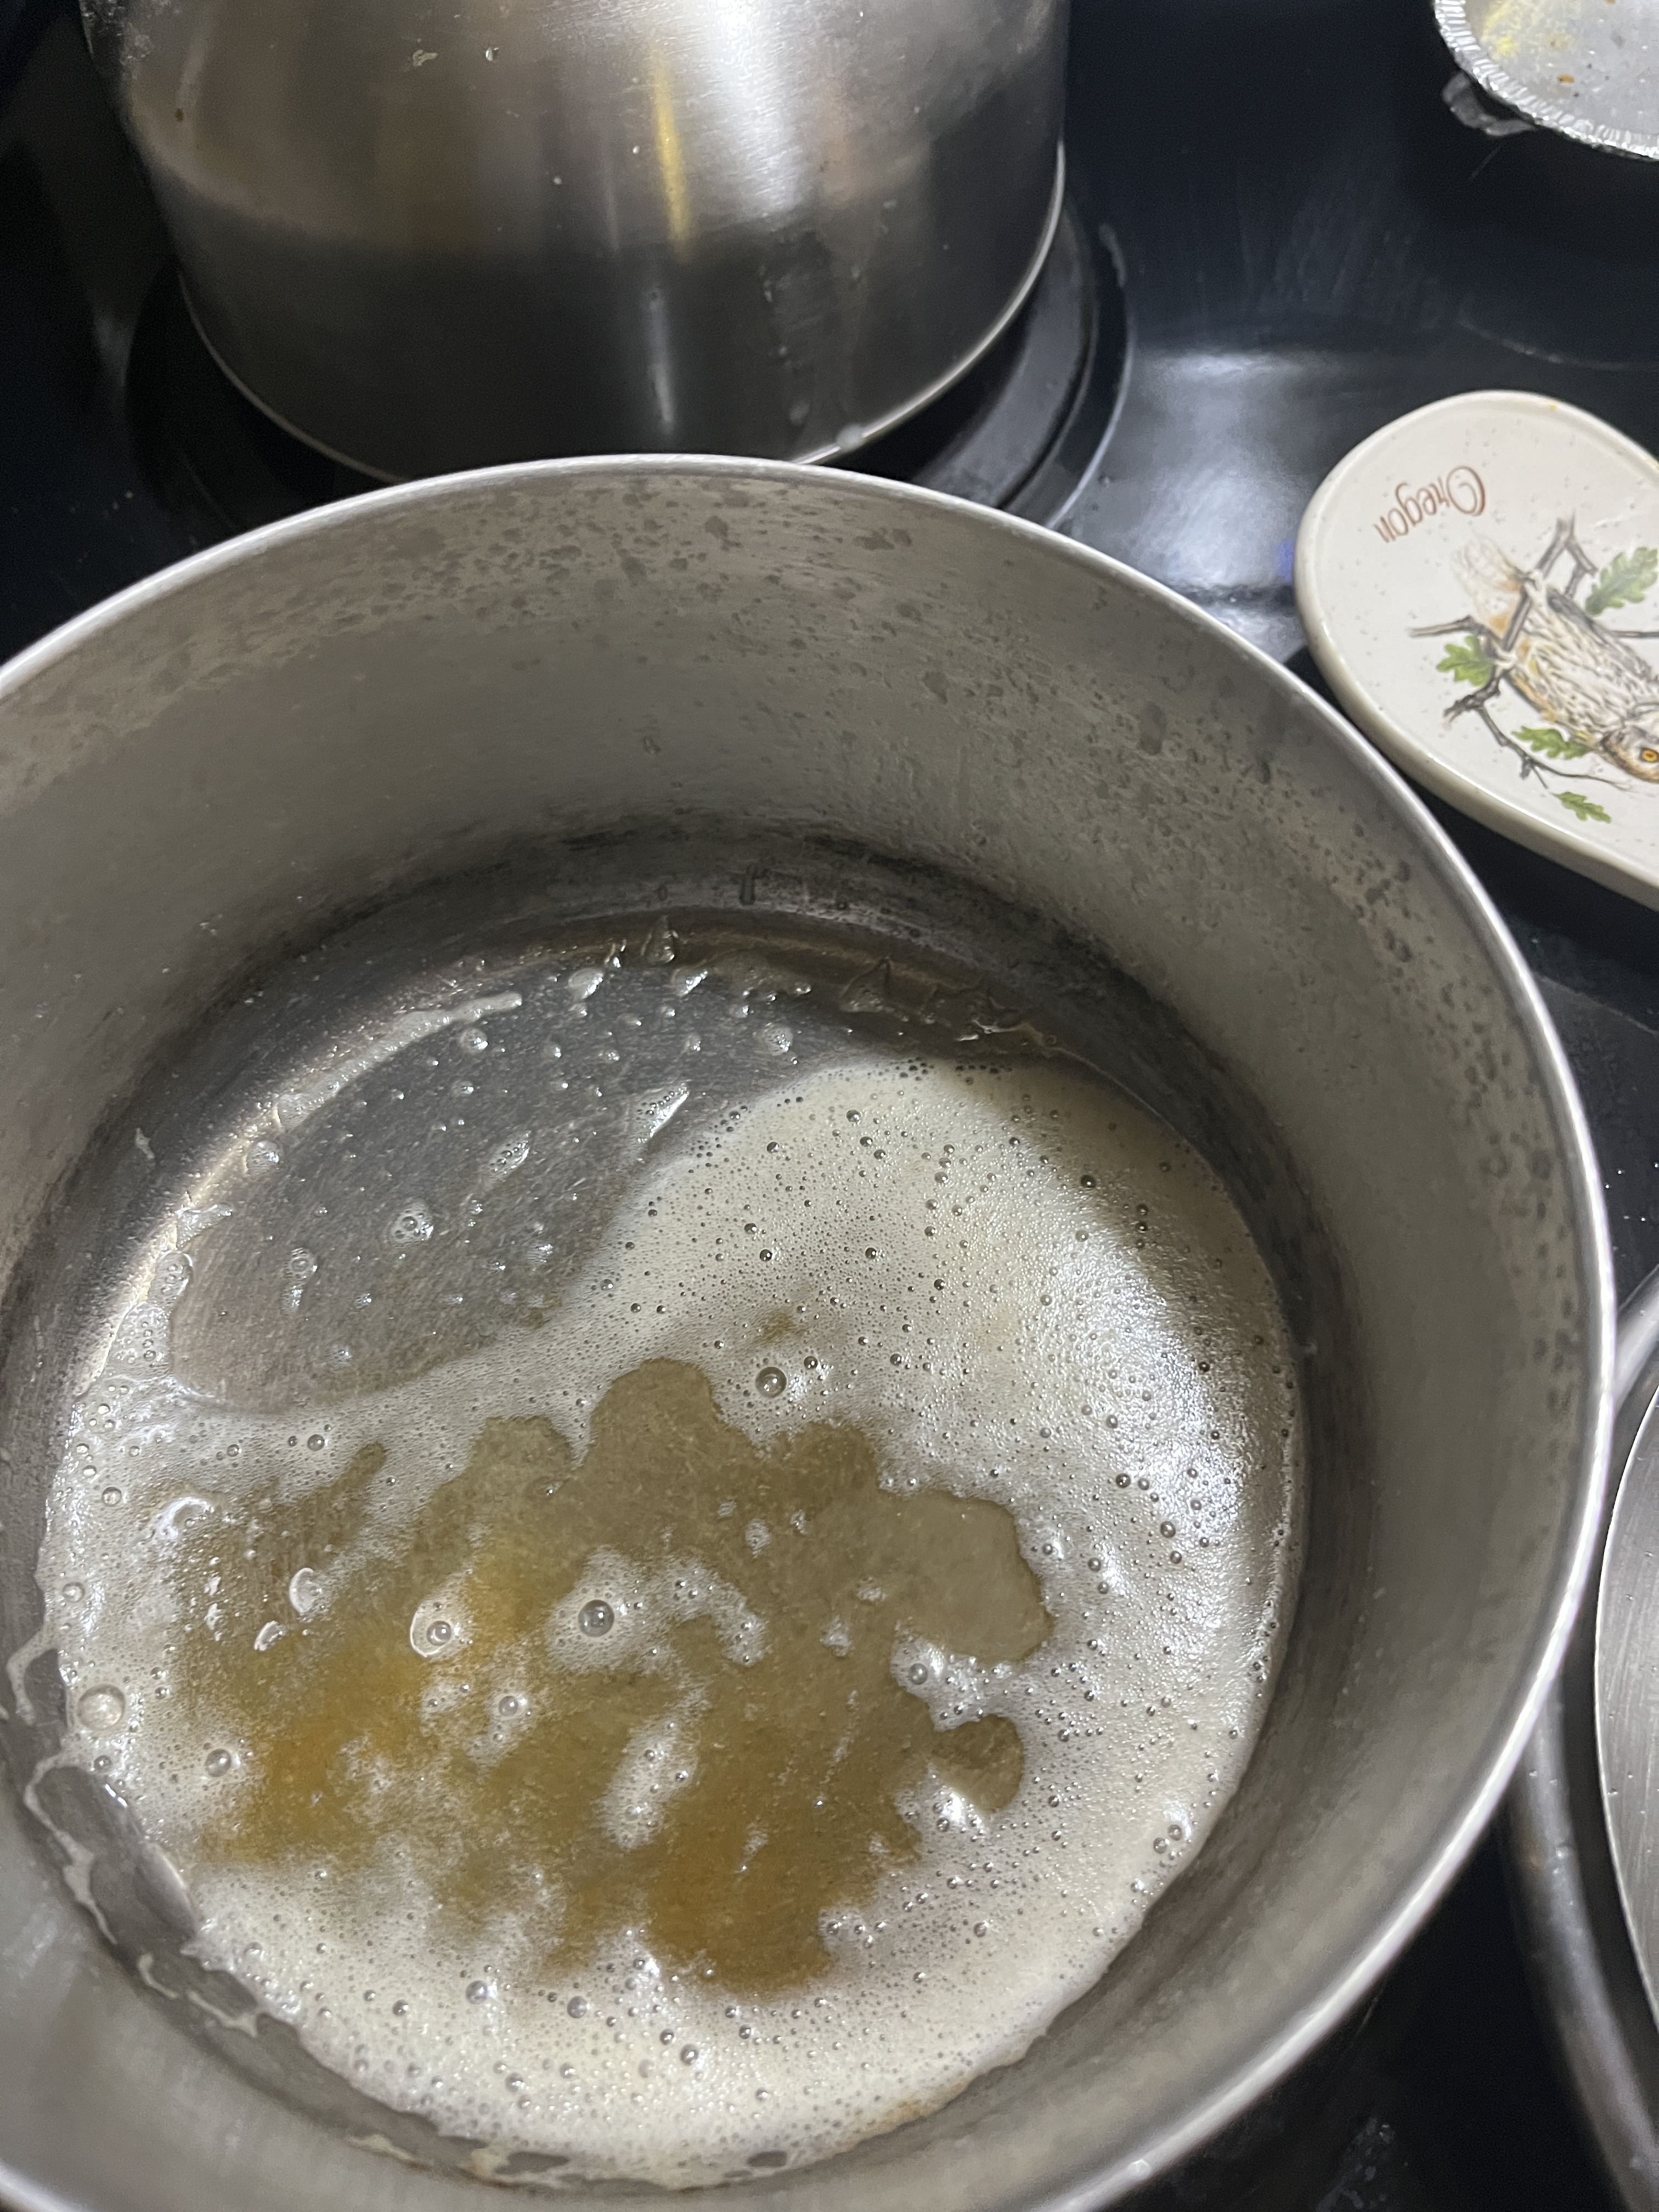
1 1/2 c Whole Milk, warmed in a microwave or on the stove

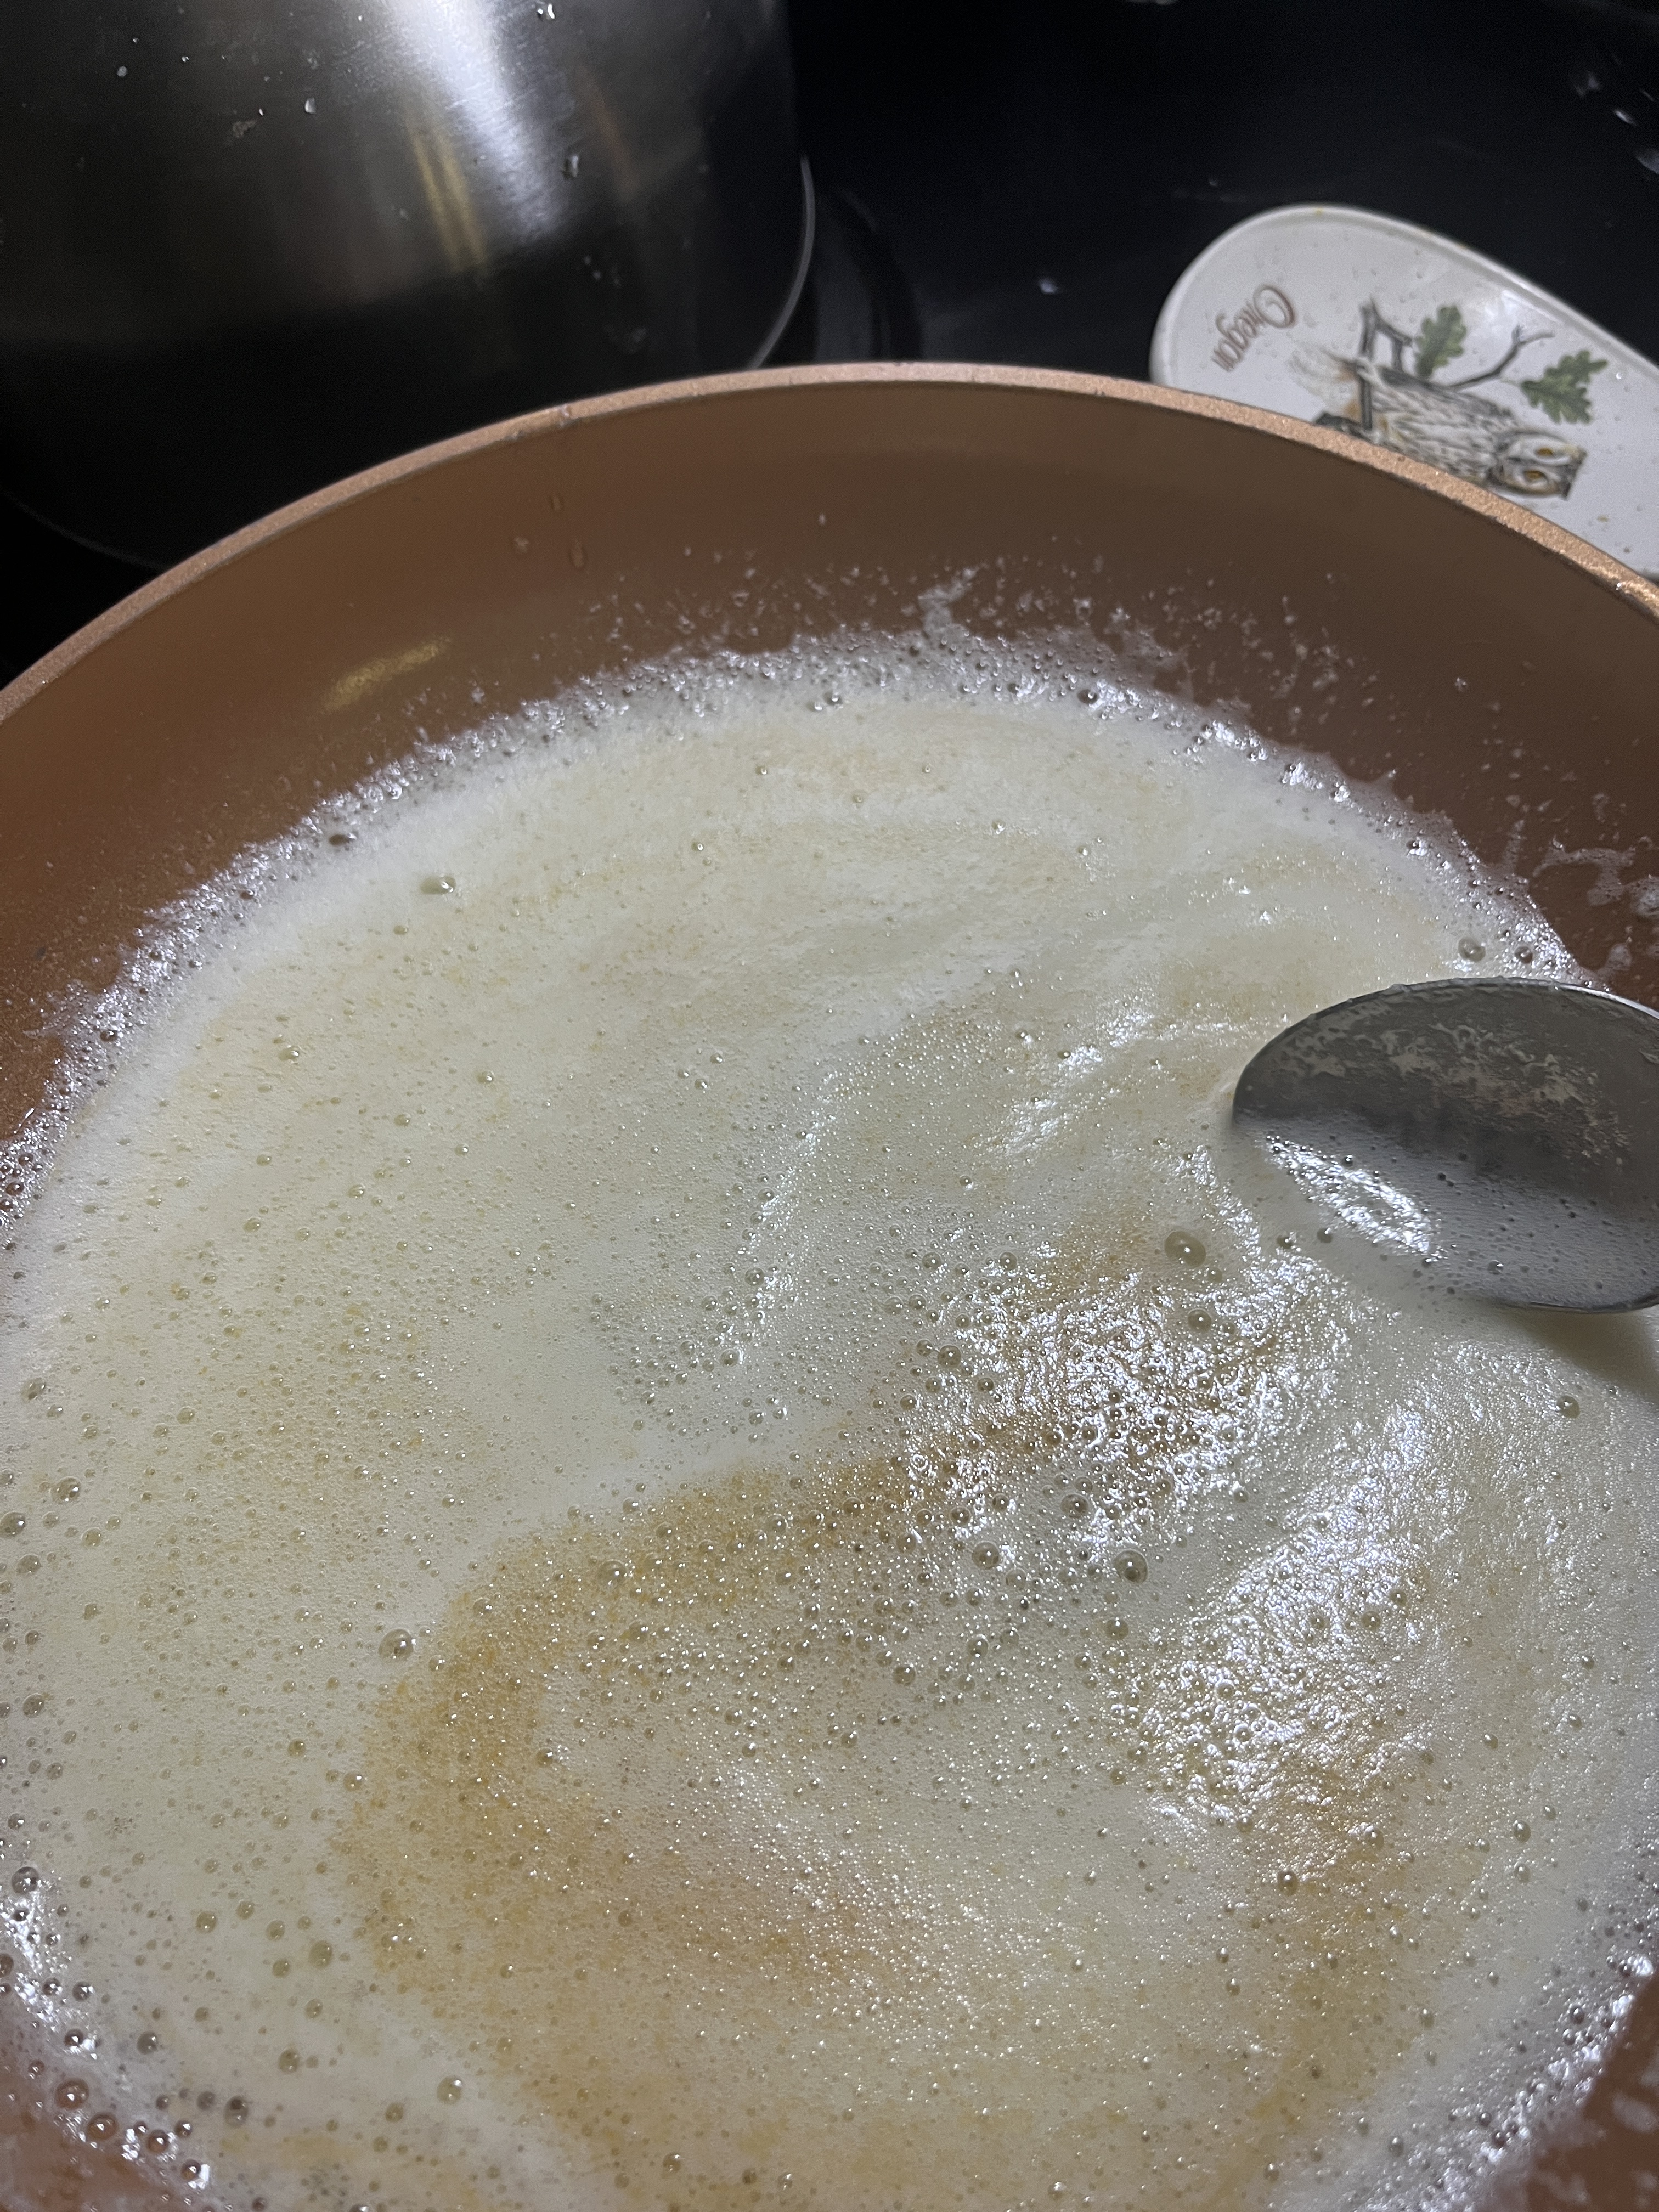
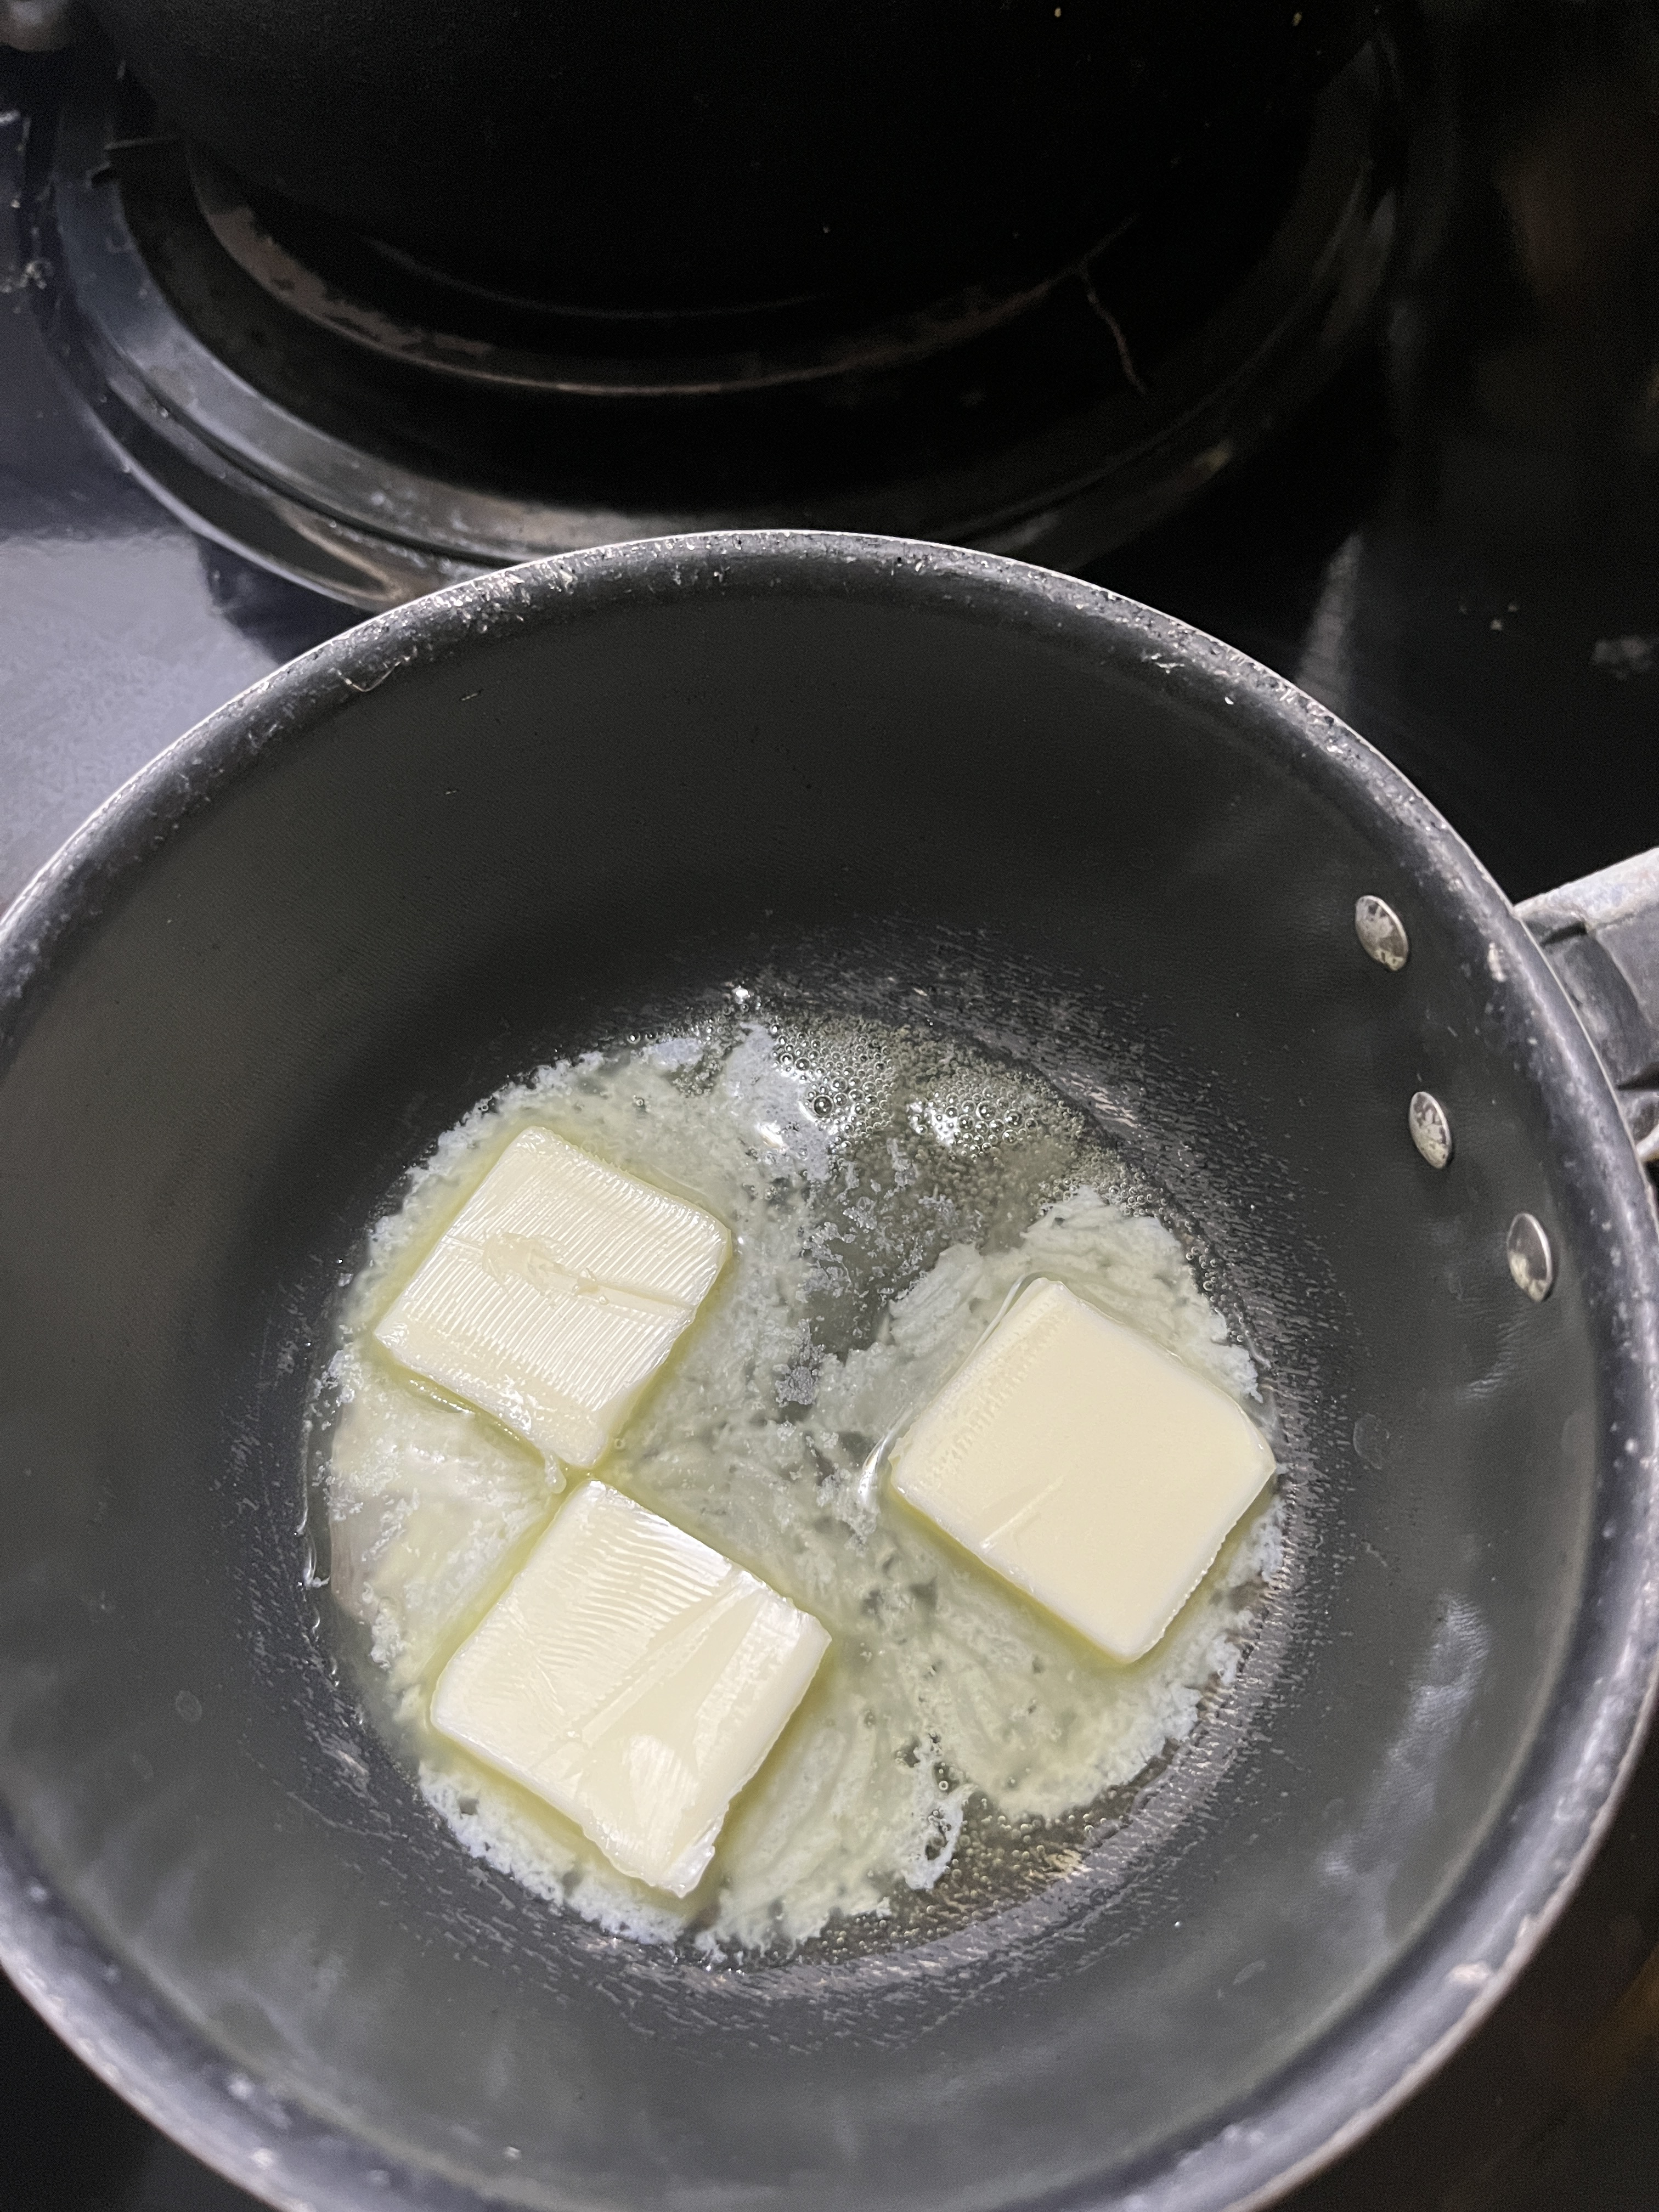
1/2 c butter, melted in the warm milk

1/4 c Molasses

In a blender or food processor whiz down:

1.2 c Granola, whizzed in a blender or food processor until it’s as fine as you like it, reserving about 1/3 of it as whole granola to put on top of the bread before baking.

Mix together in a large bowl:

2 c Artisanal Organic Bread Flower

1/2 c Oat Flour

1 1/2 c Organic Whole Wheat Flower

And the whizzed-up Granola

Make a well in the middle of the flour mixture and pour in the milk/butter/molasses mixture. Mix this a little into some of the flour, so it’s not too runny but still liquid. Then mix the water/yeast into the middle of it and mix the whole things together well.

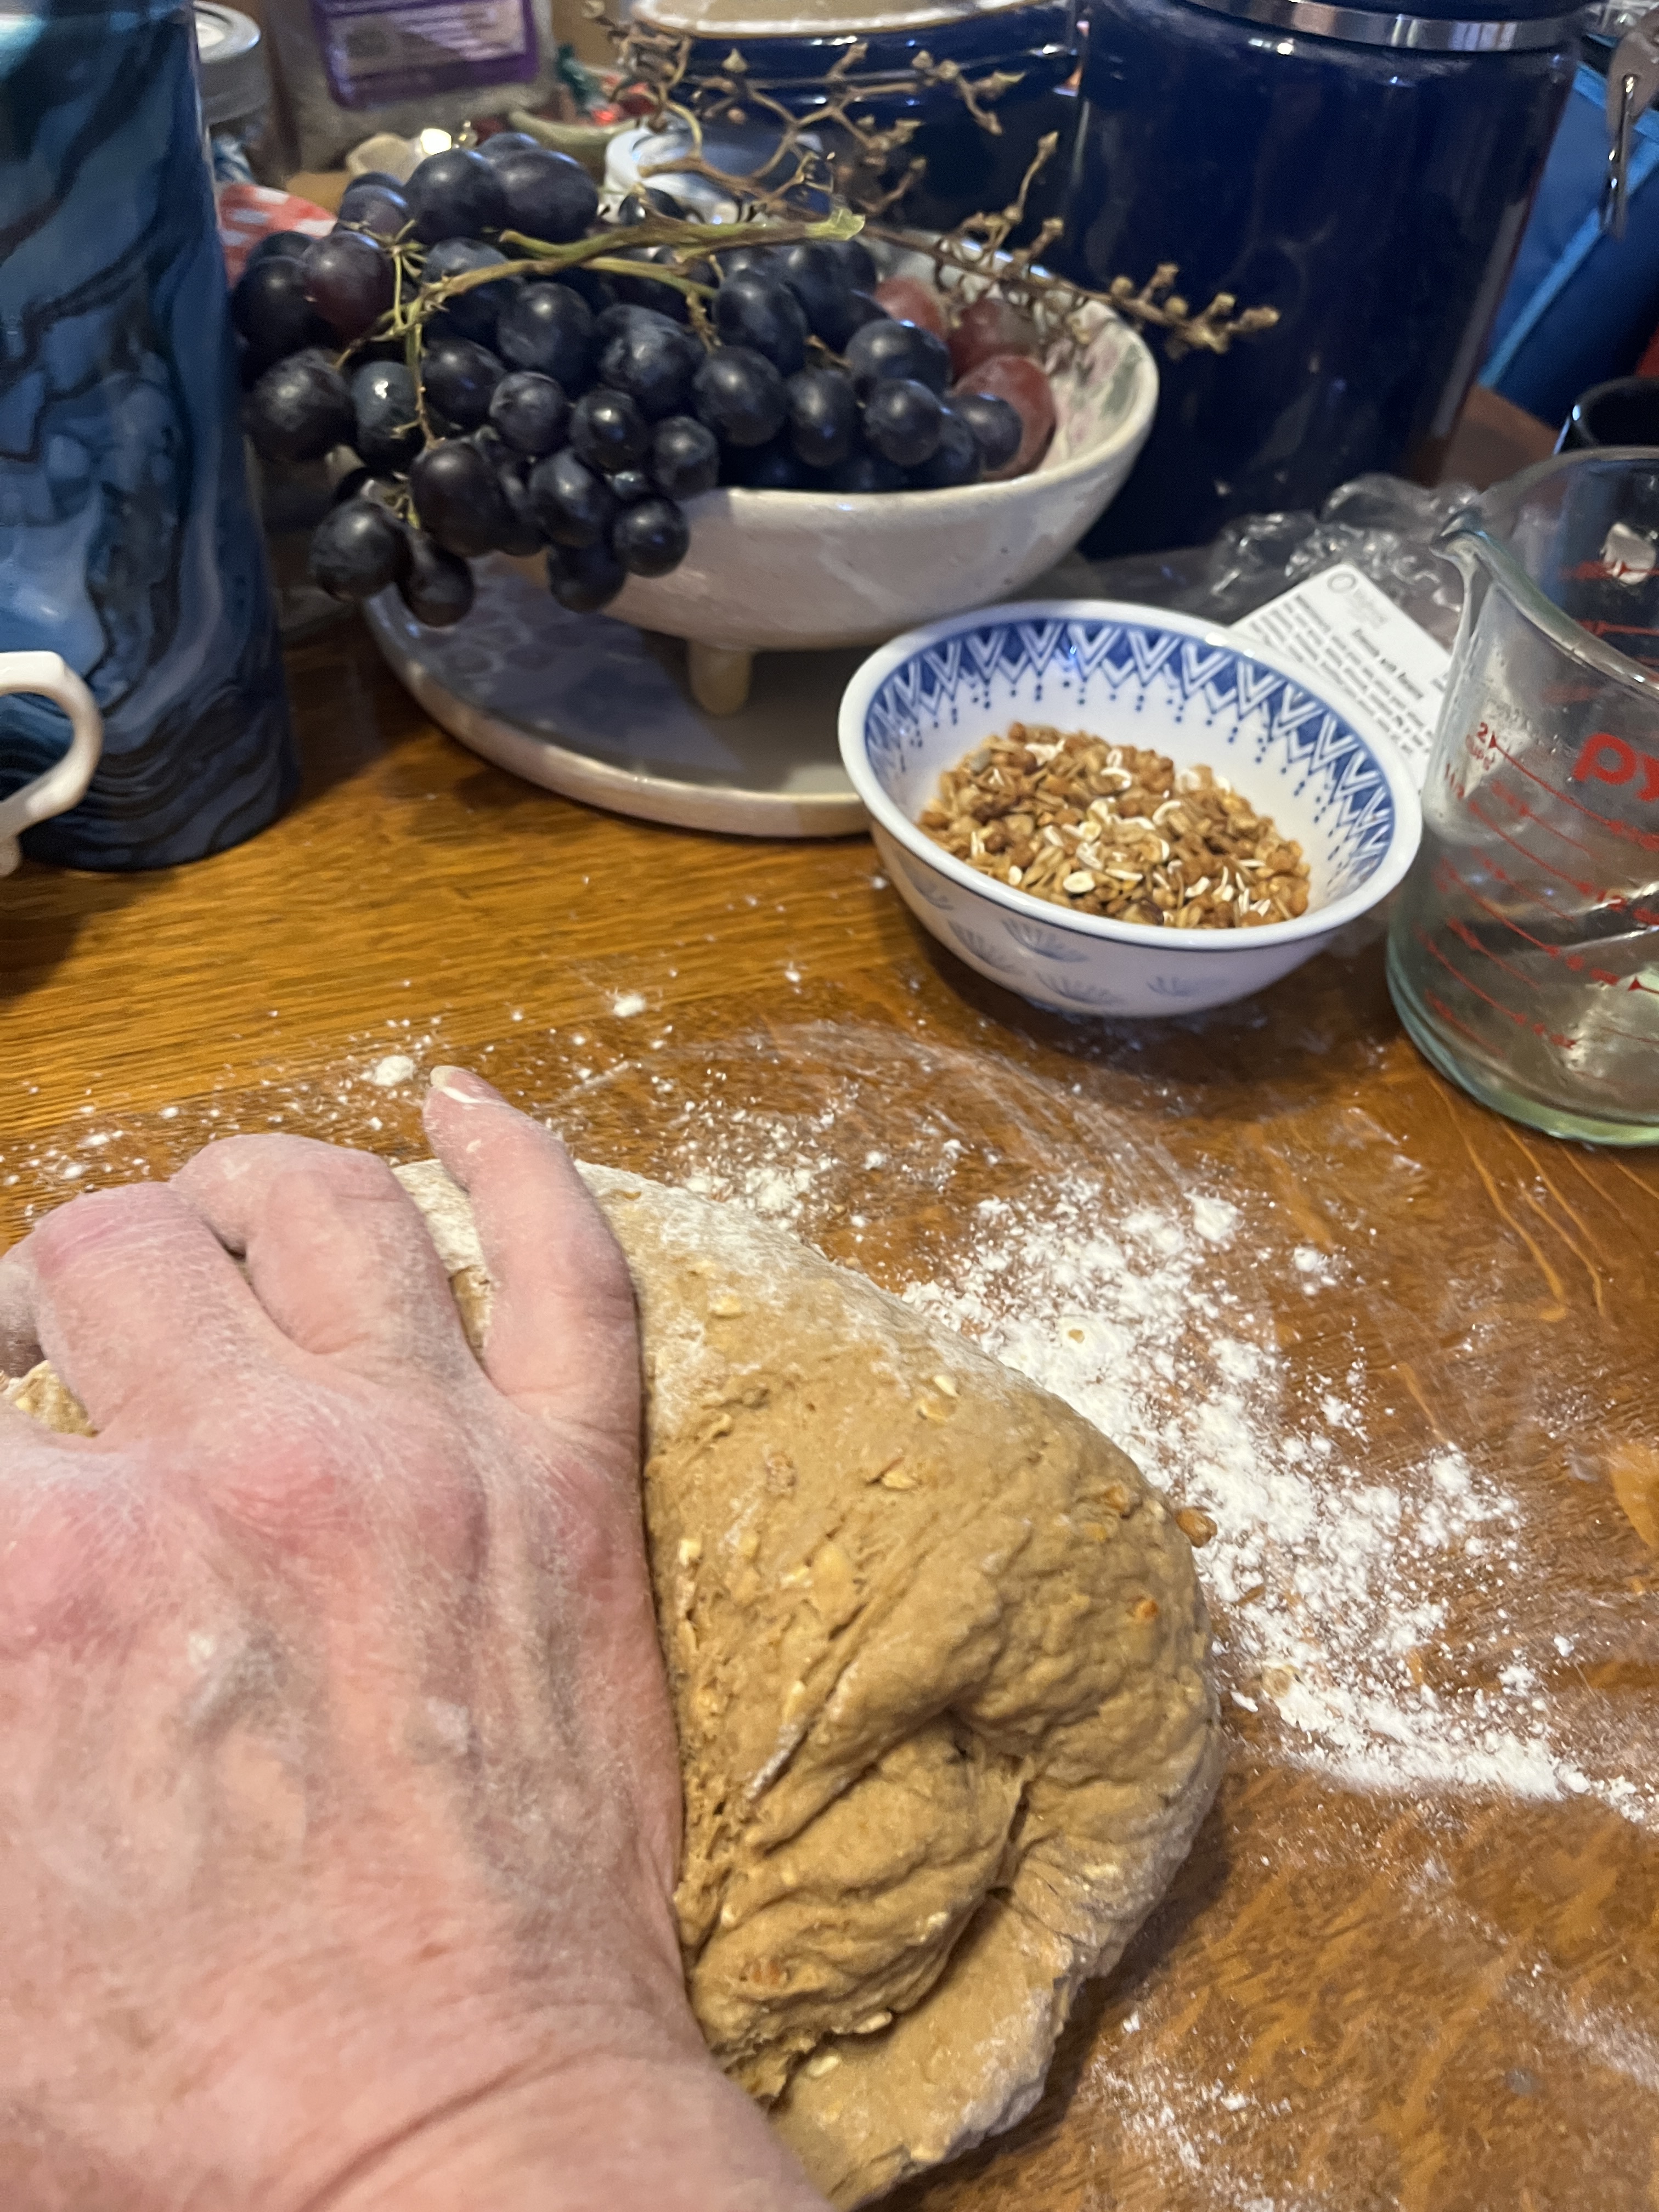
Sprinkle some flour onto a table or counter and knead well for about 15 minutes.

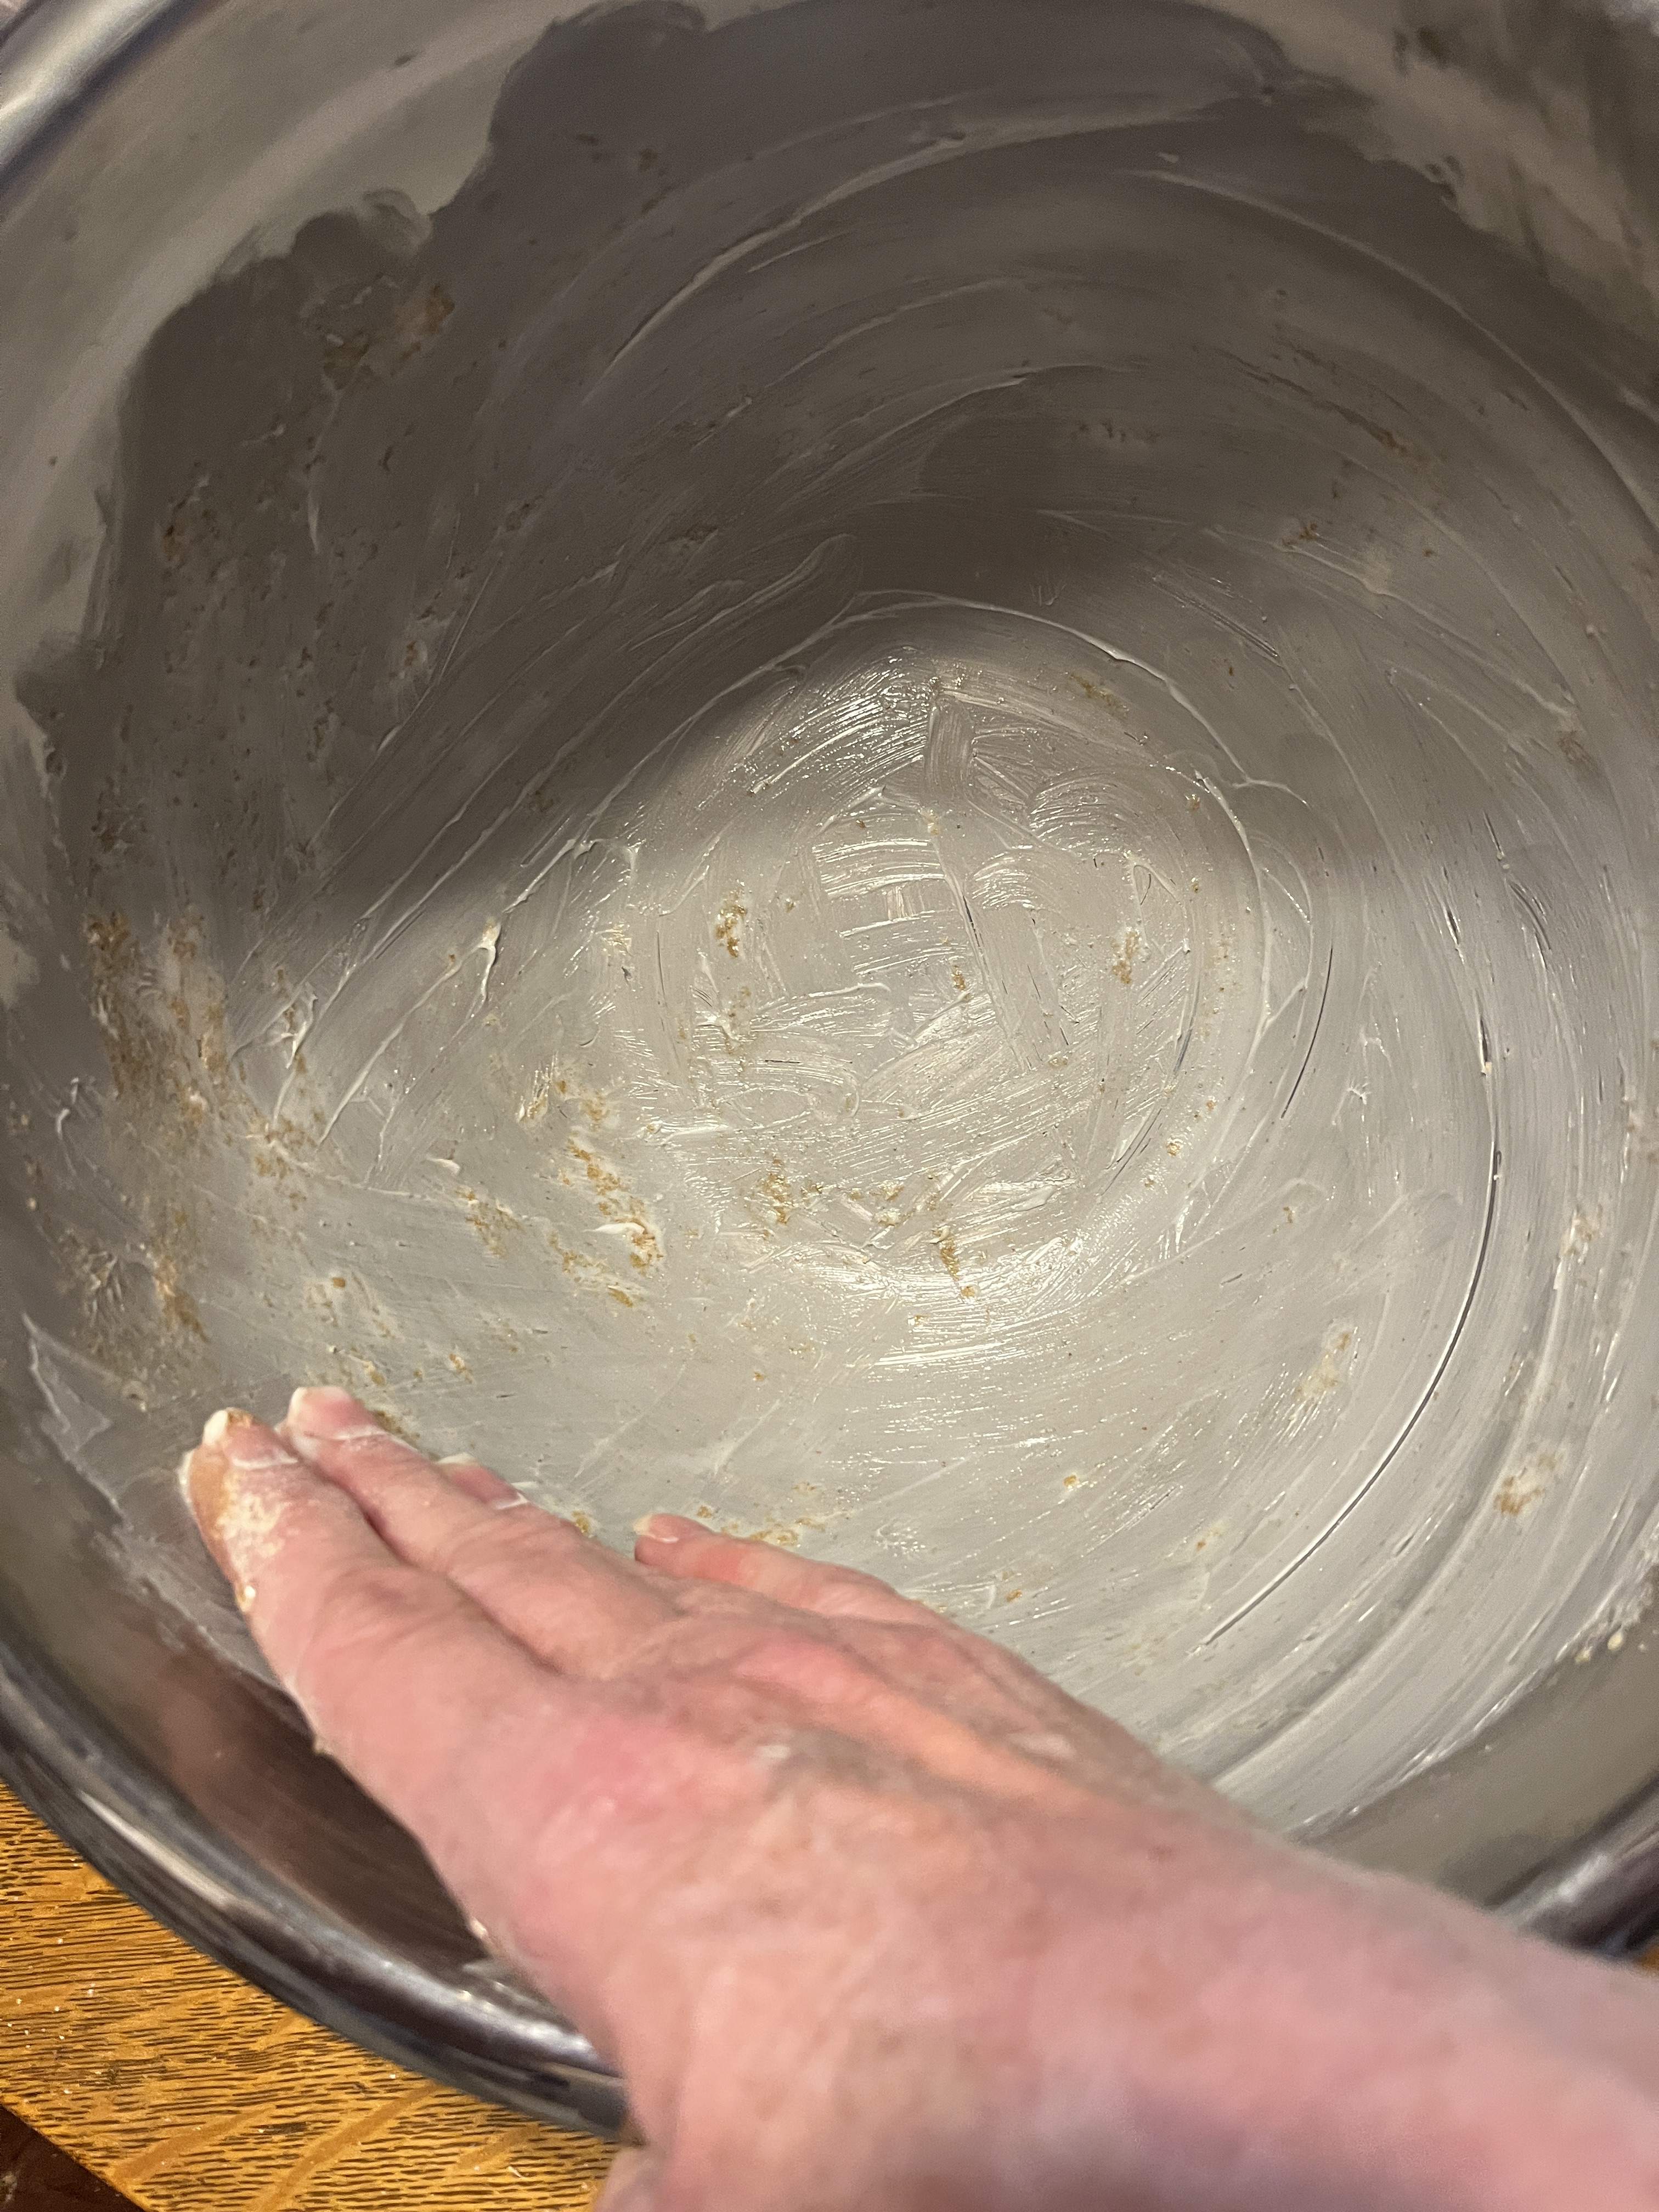
Brush any chunks out of the mixing bowl and butter it well.

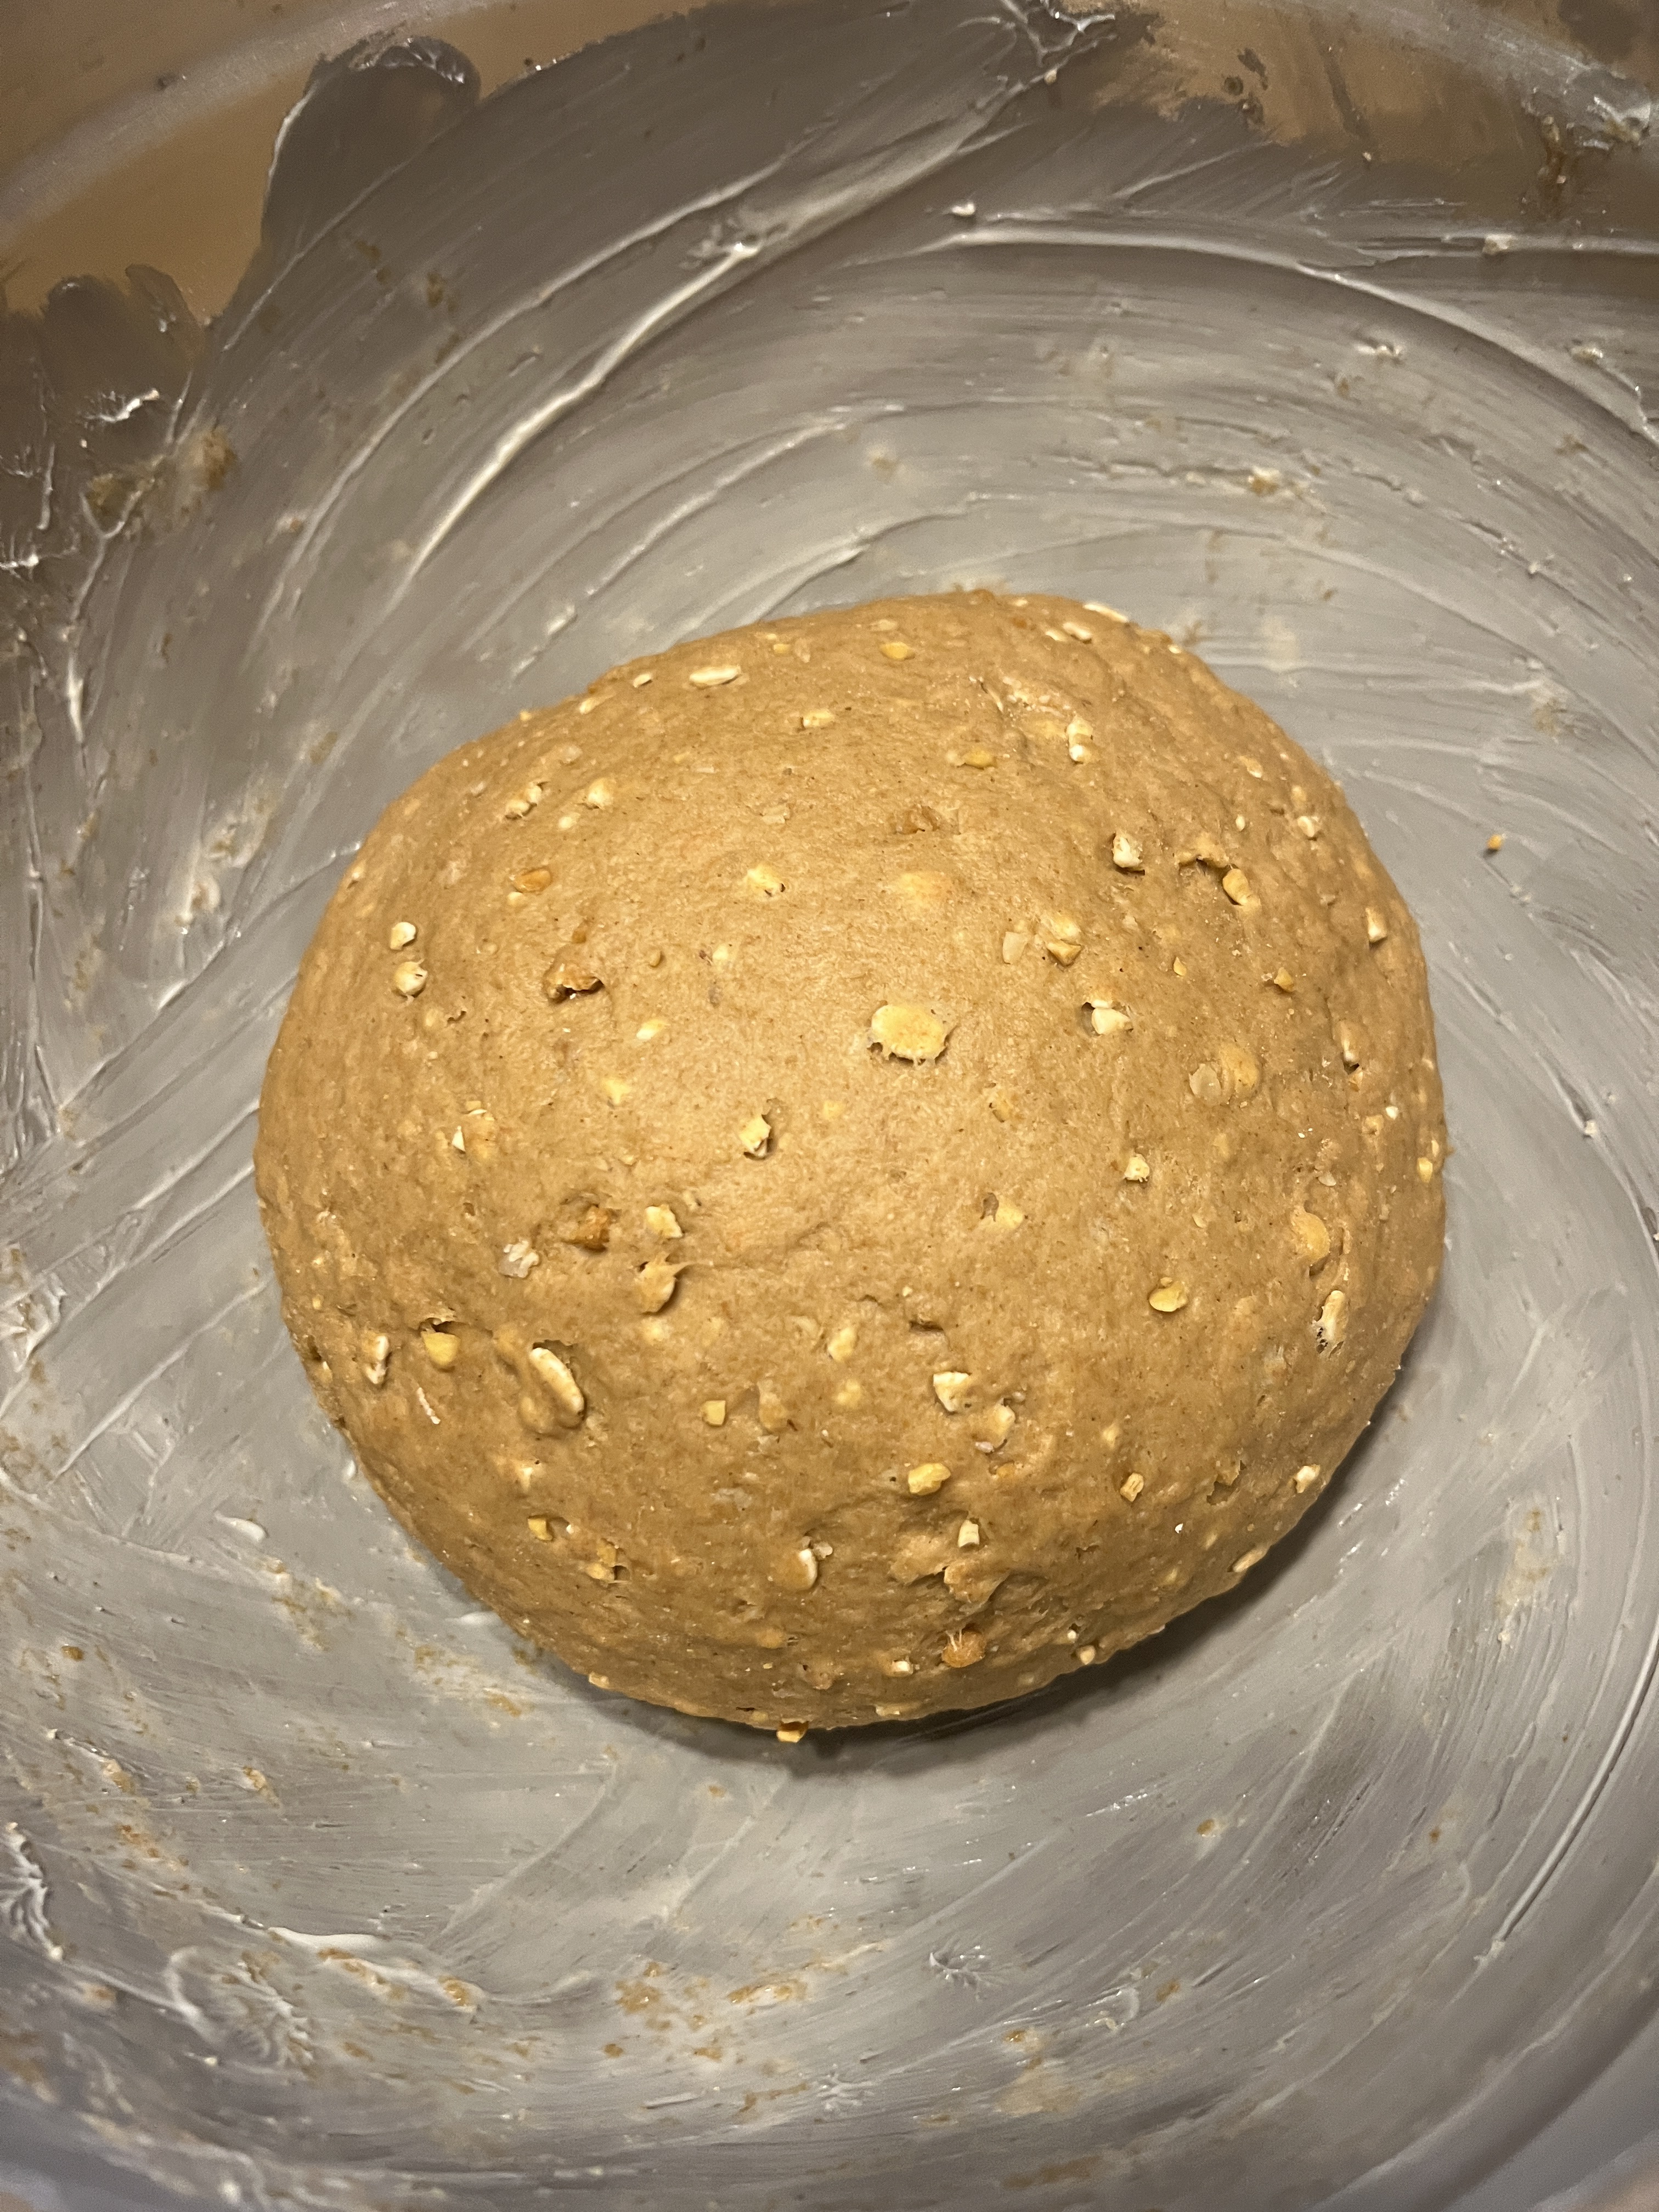
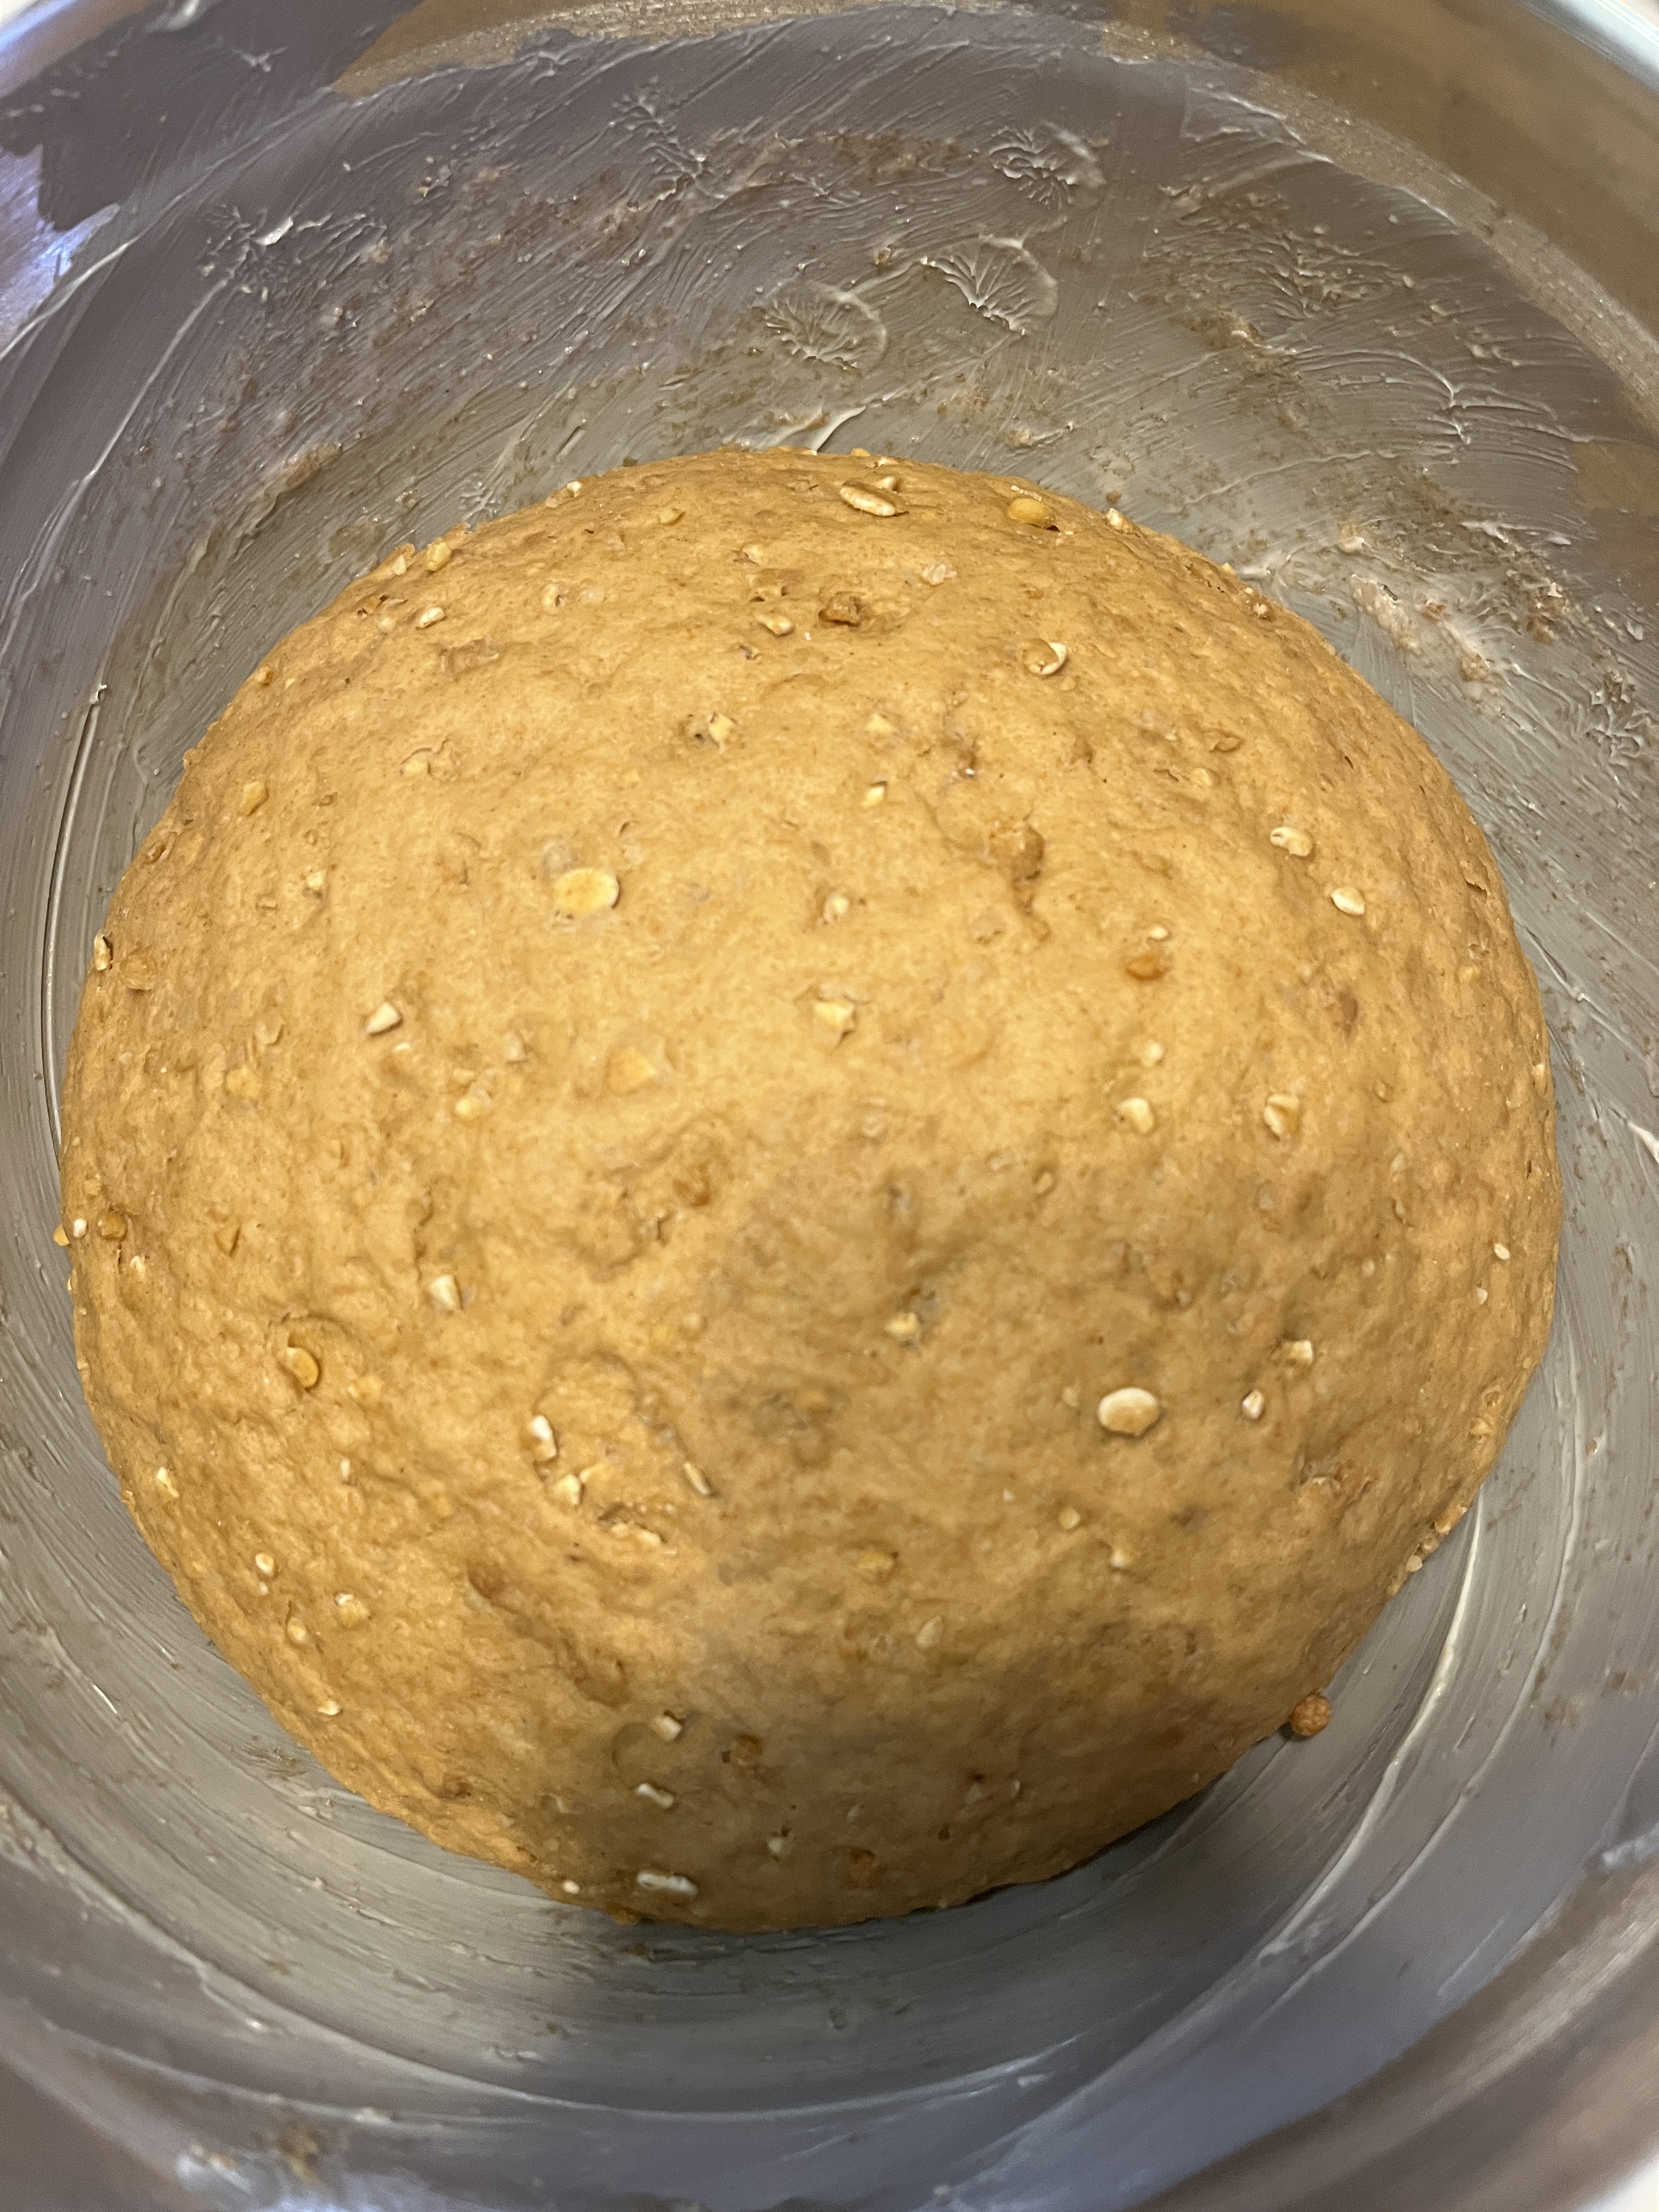
Toss the ball of dough into it, with any seams at the bottom and let it rise for a few hours until it doubles in size.

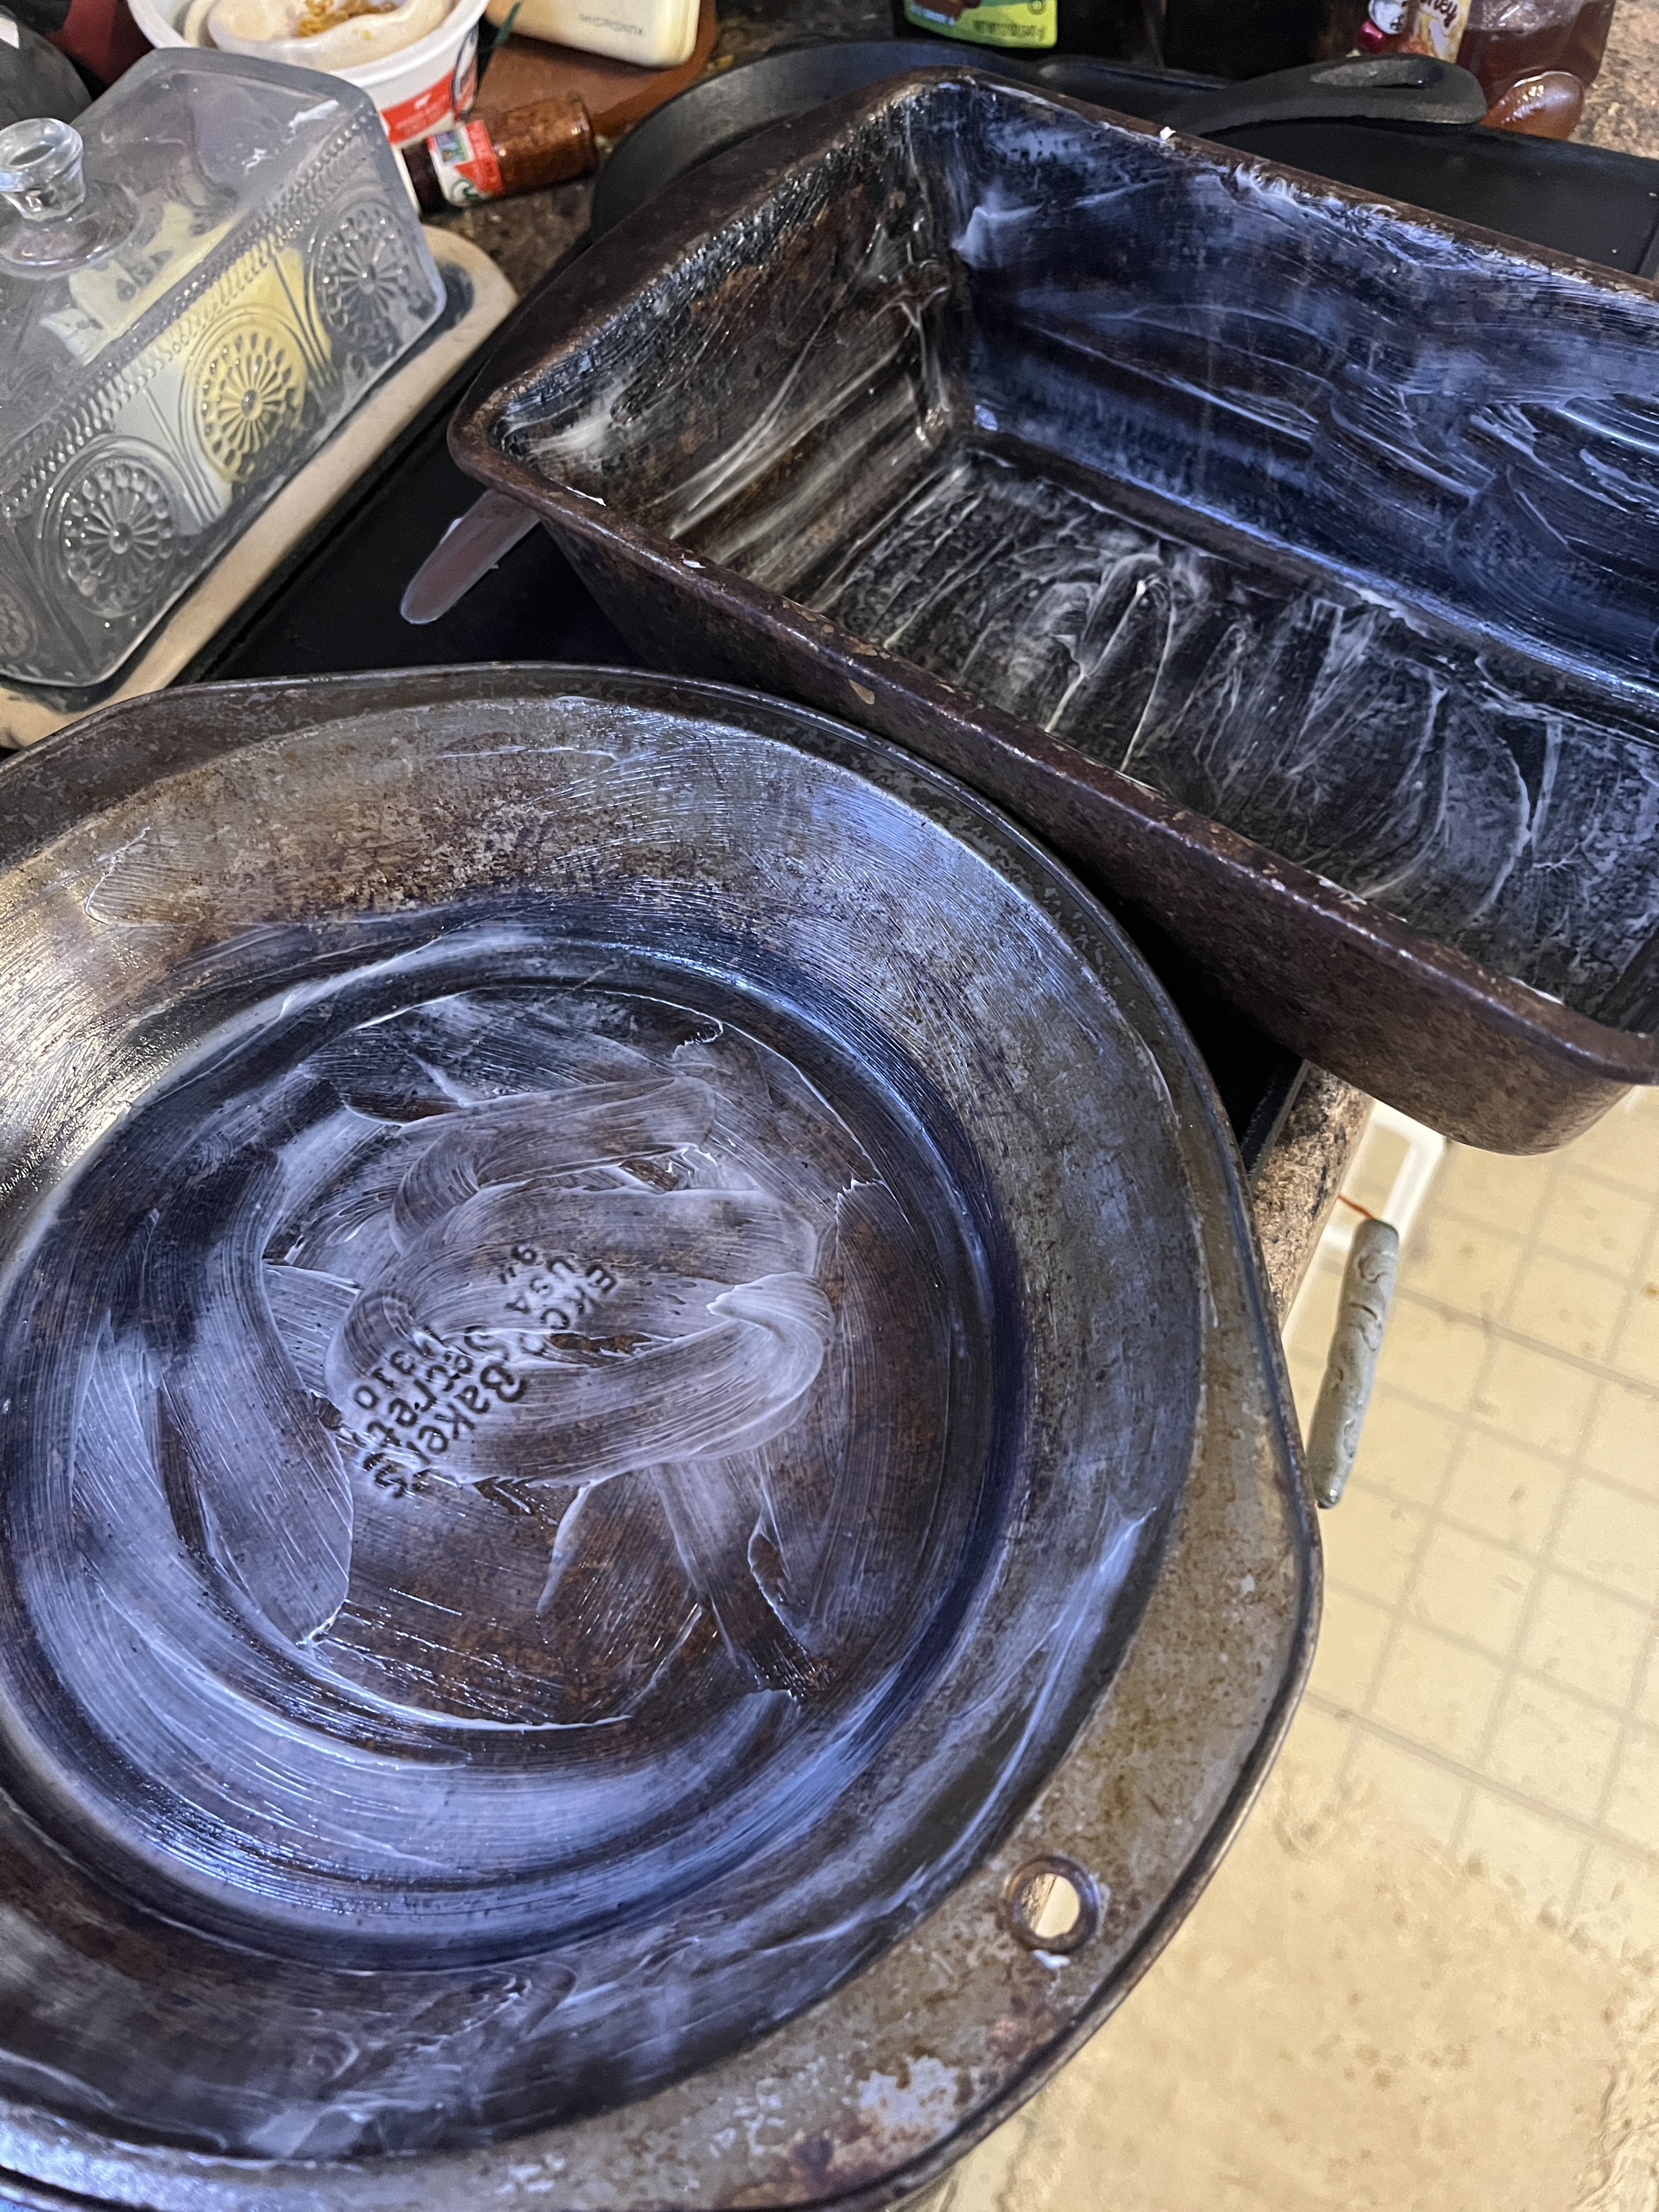
Butter the pans you plan to use to bake the bread

Turn the dough out onto a lightly floured surface and knead briefly. Cut the dough in half and proceed to form 2 loaves.

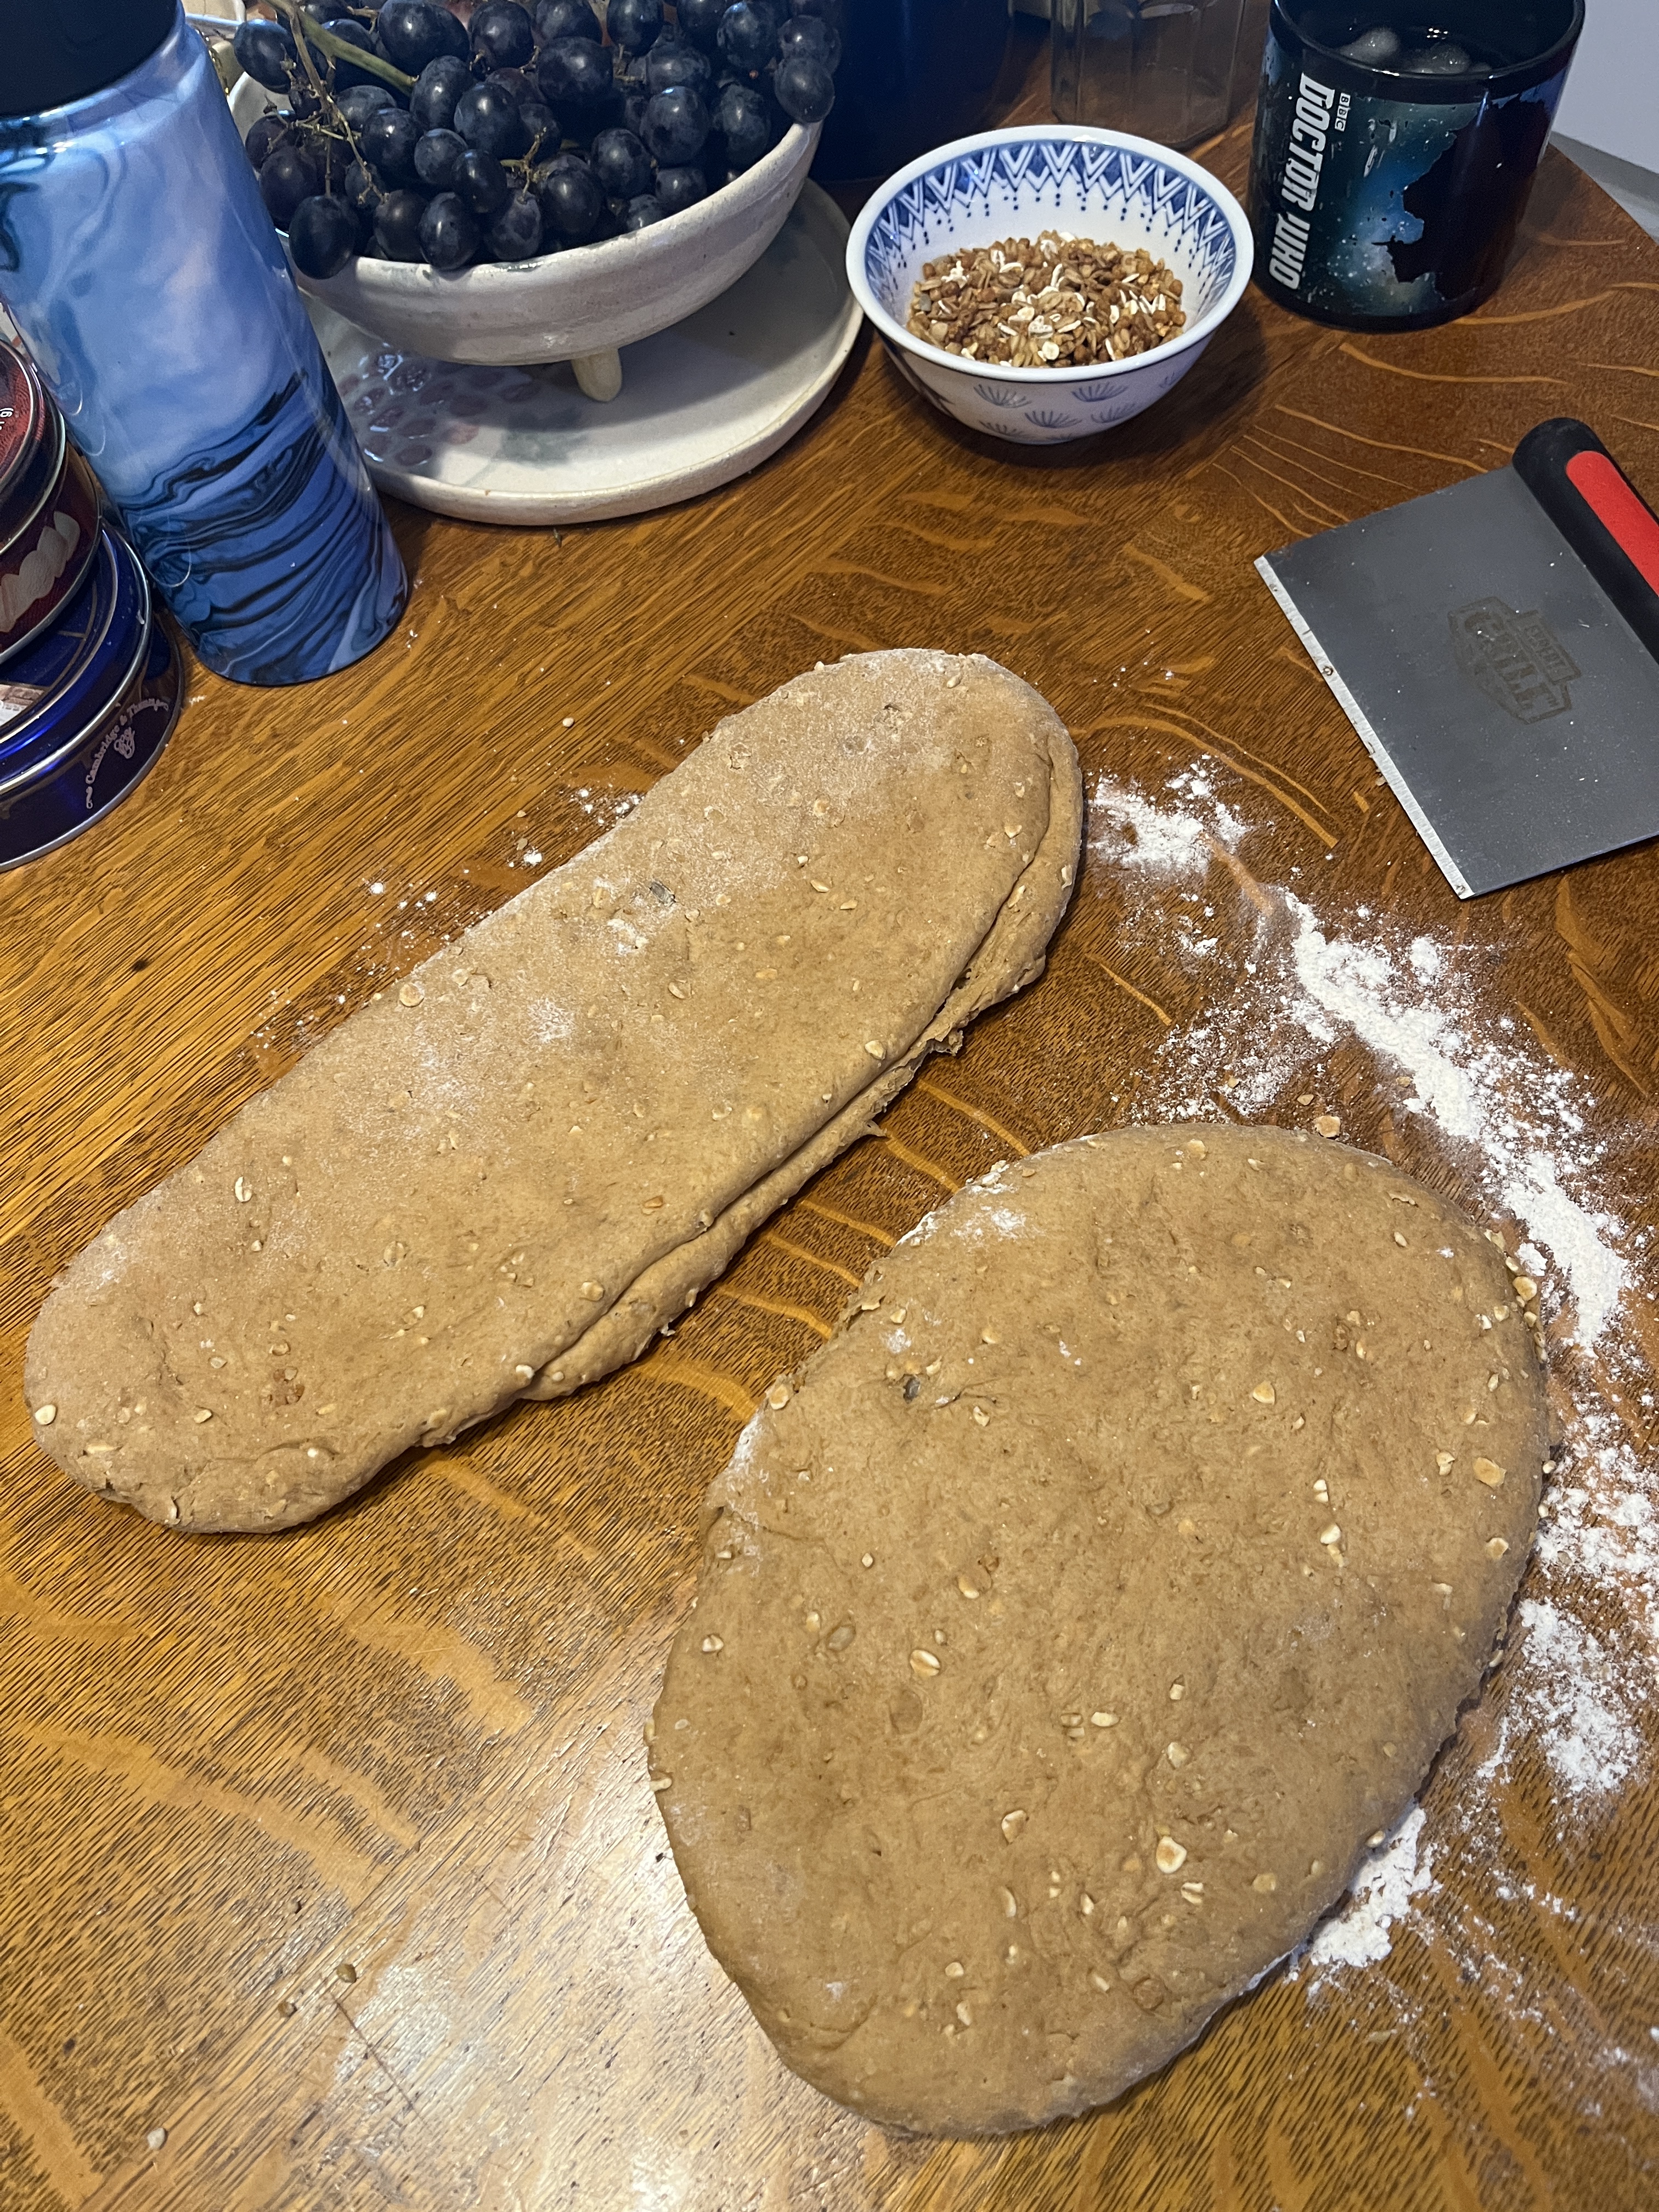
Let it rest a few minutes and start flattening it out.

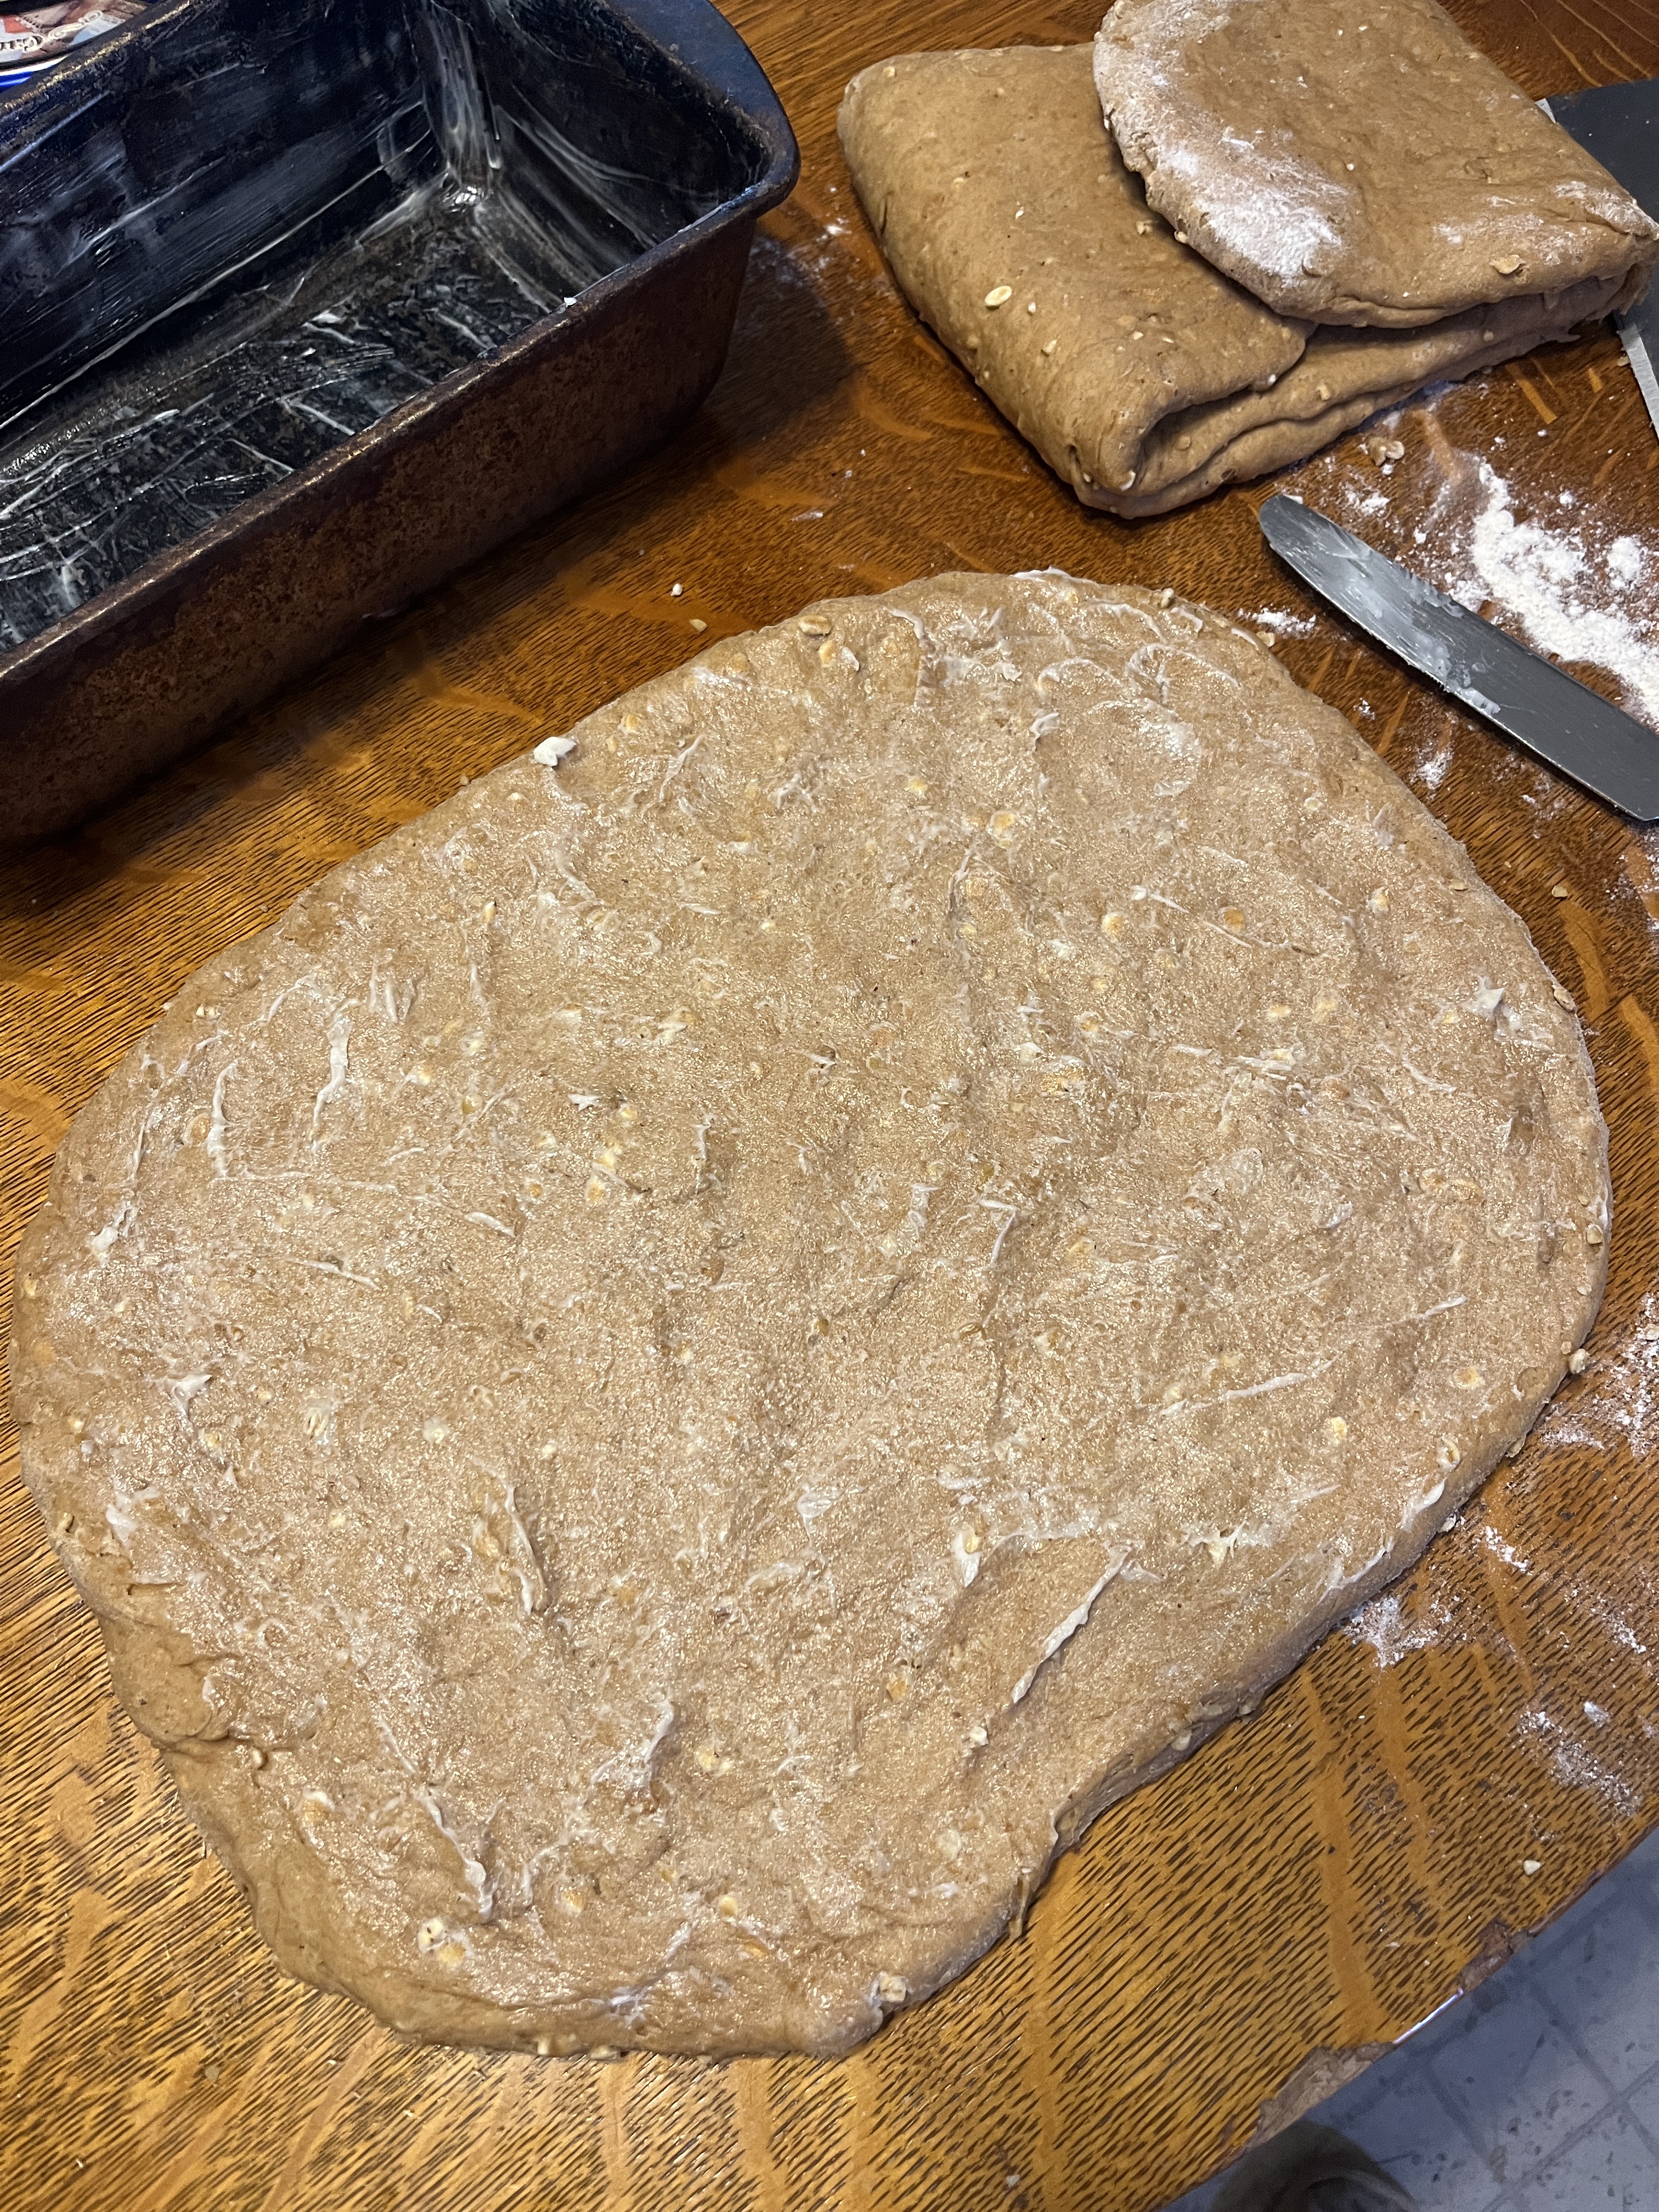
Let it rest again before flattening it out again. Repeat as needed until it’s flat enough to roll up, about as wide as the loaf pan. At this point you could add raisins or chopped dried fruit or nuts or cheese or a sugary/cinnamony mixture or a buttery/oniony/spicy mixture…or whatever you like to roll up inside. At this point I just buttered it lightly for flavour before rolling it up.

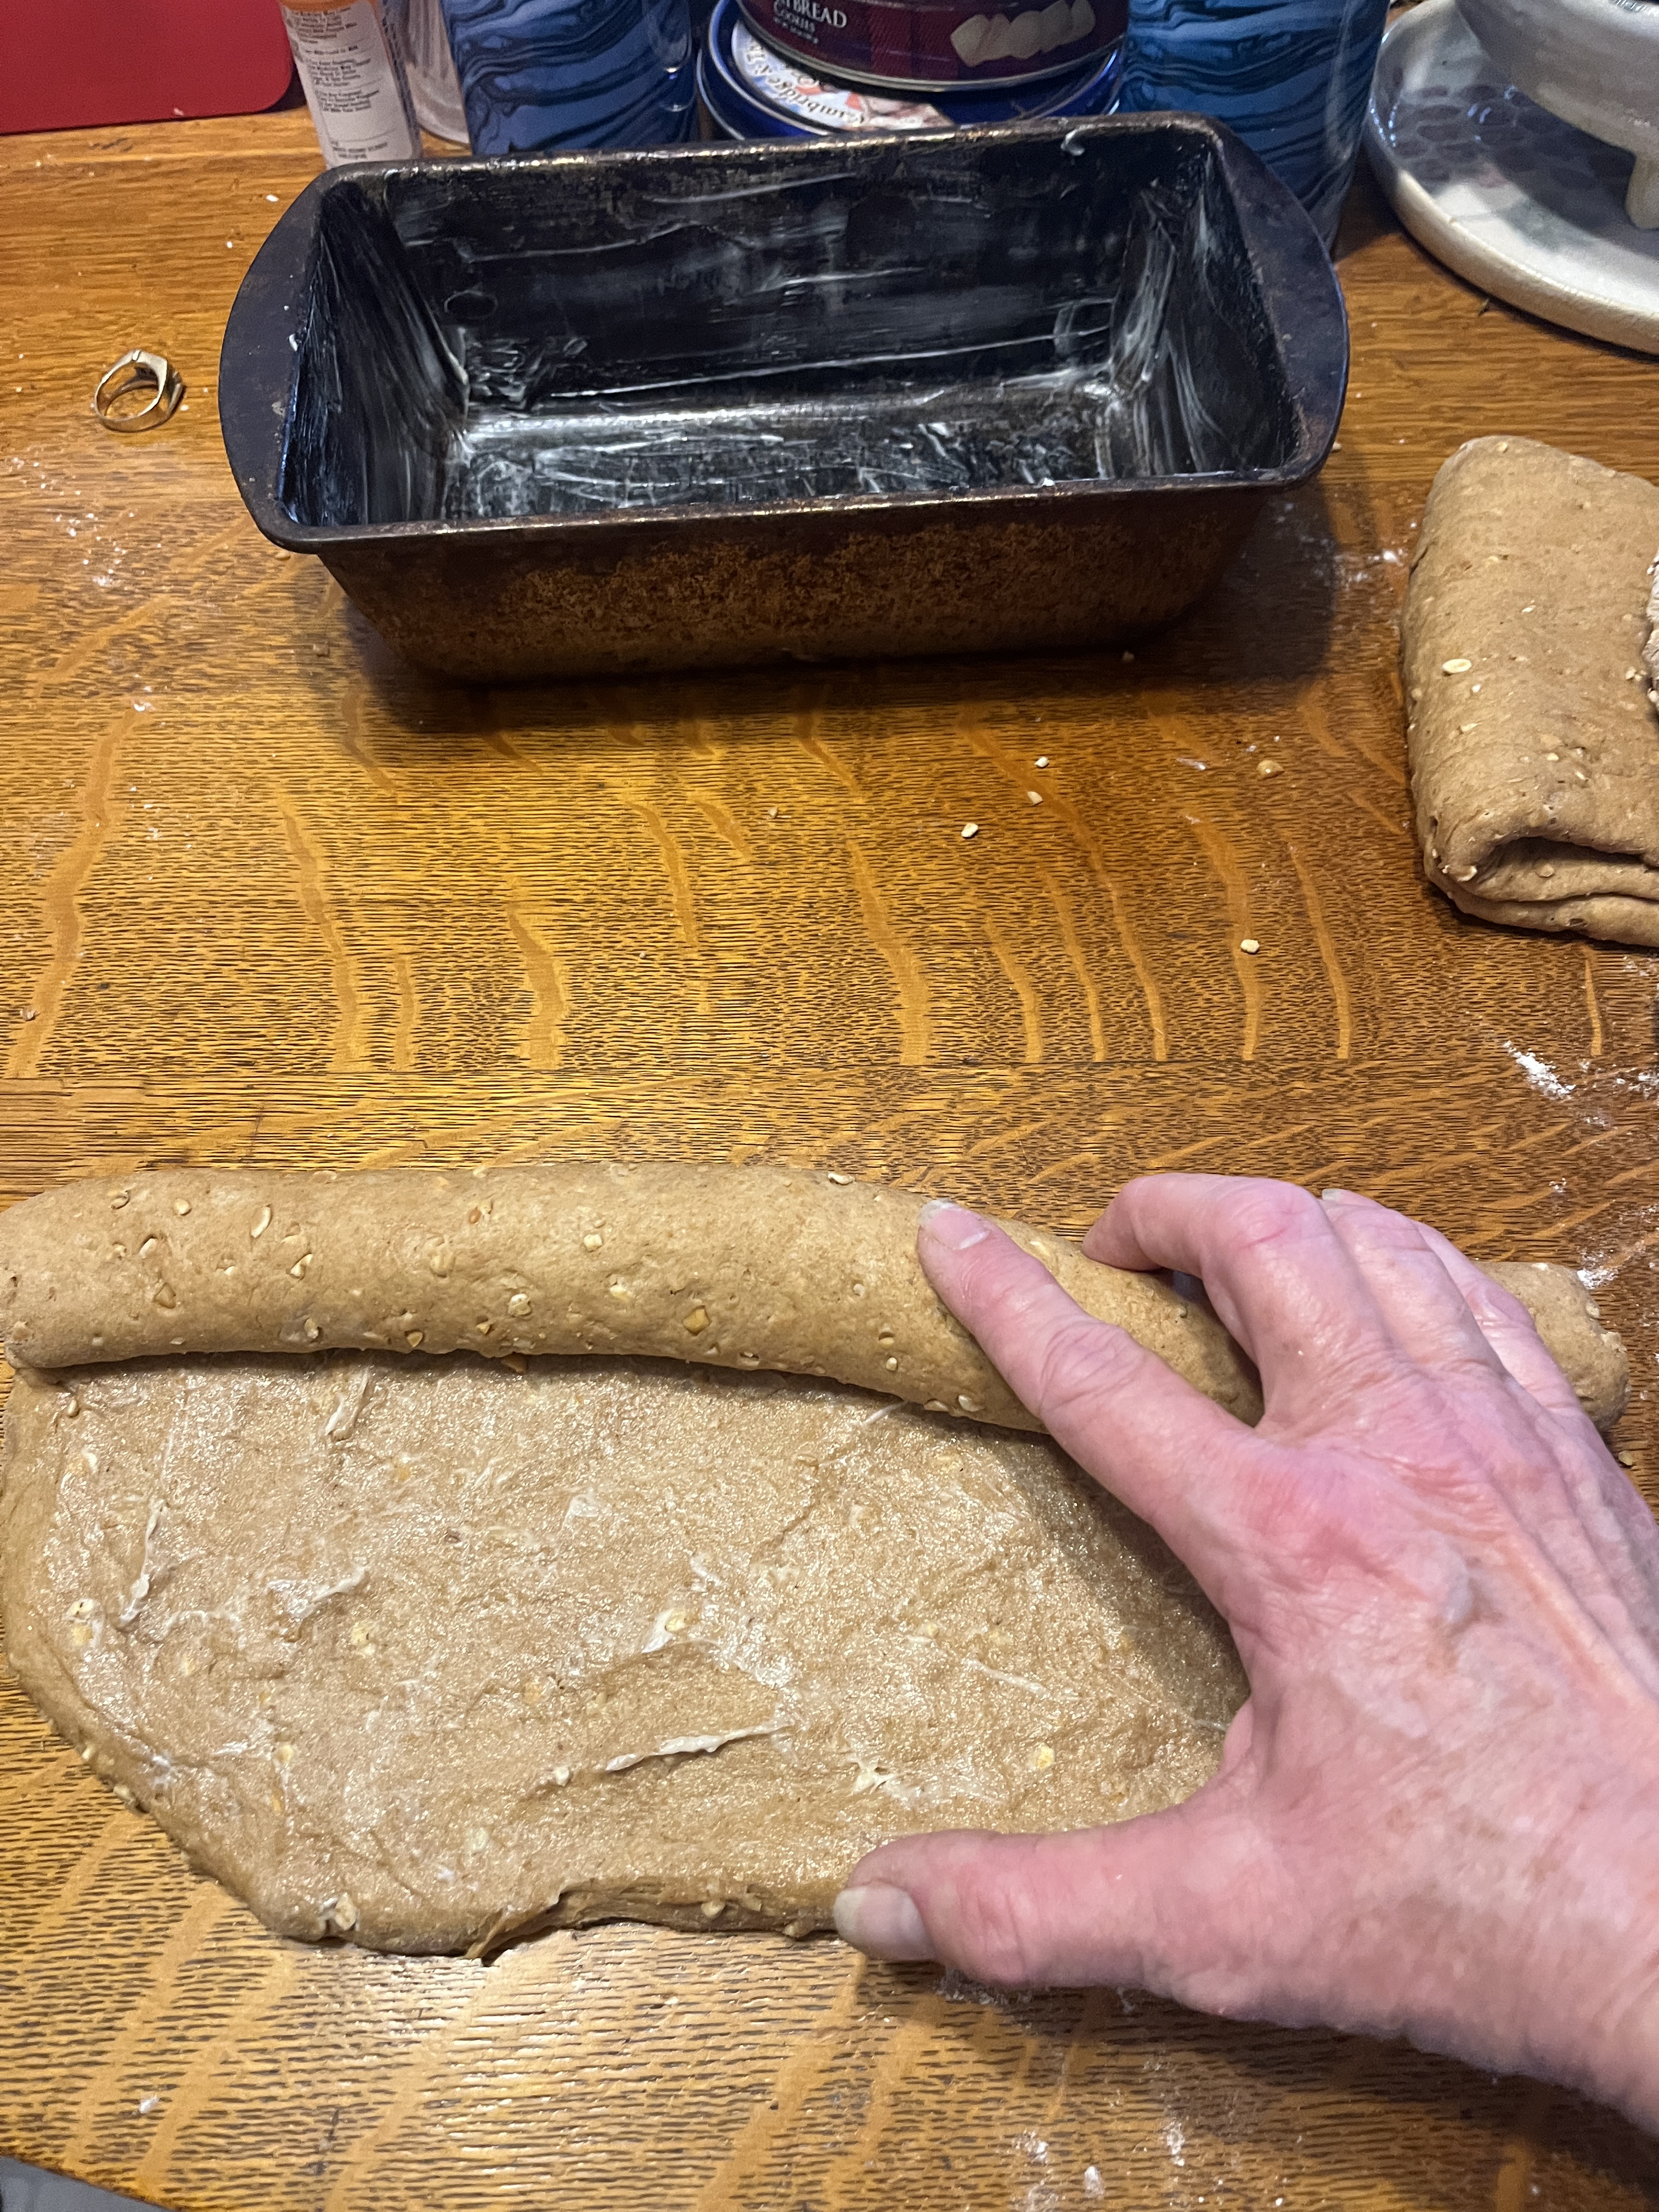
Roll the dough *side note, you might want to take off jewelry such as rings before this so they don’t get in the way*

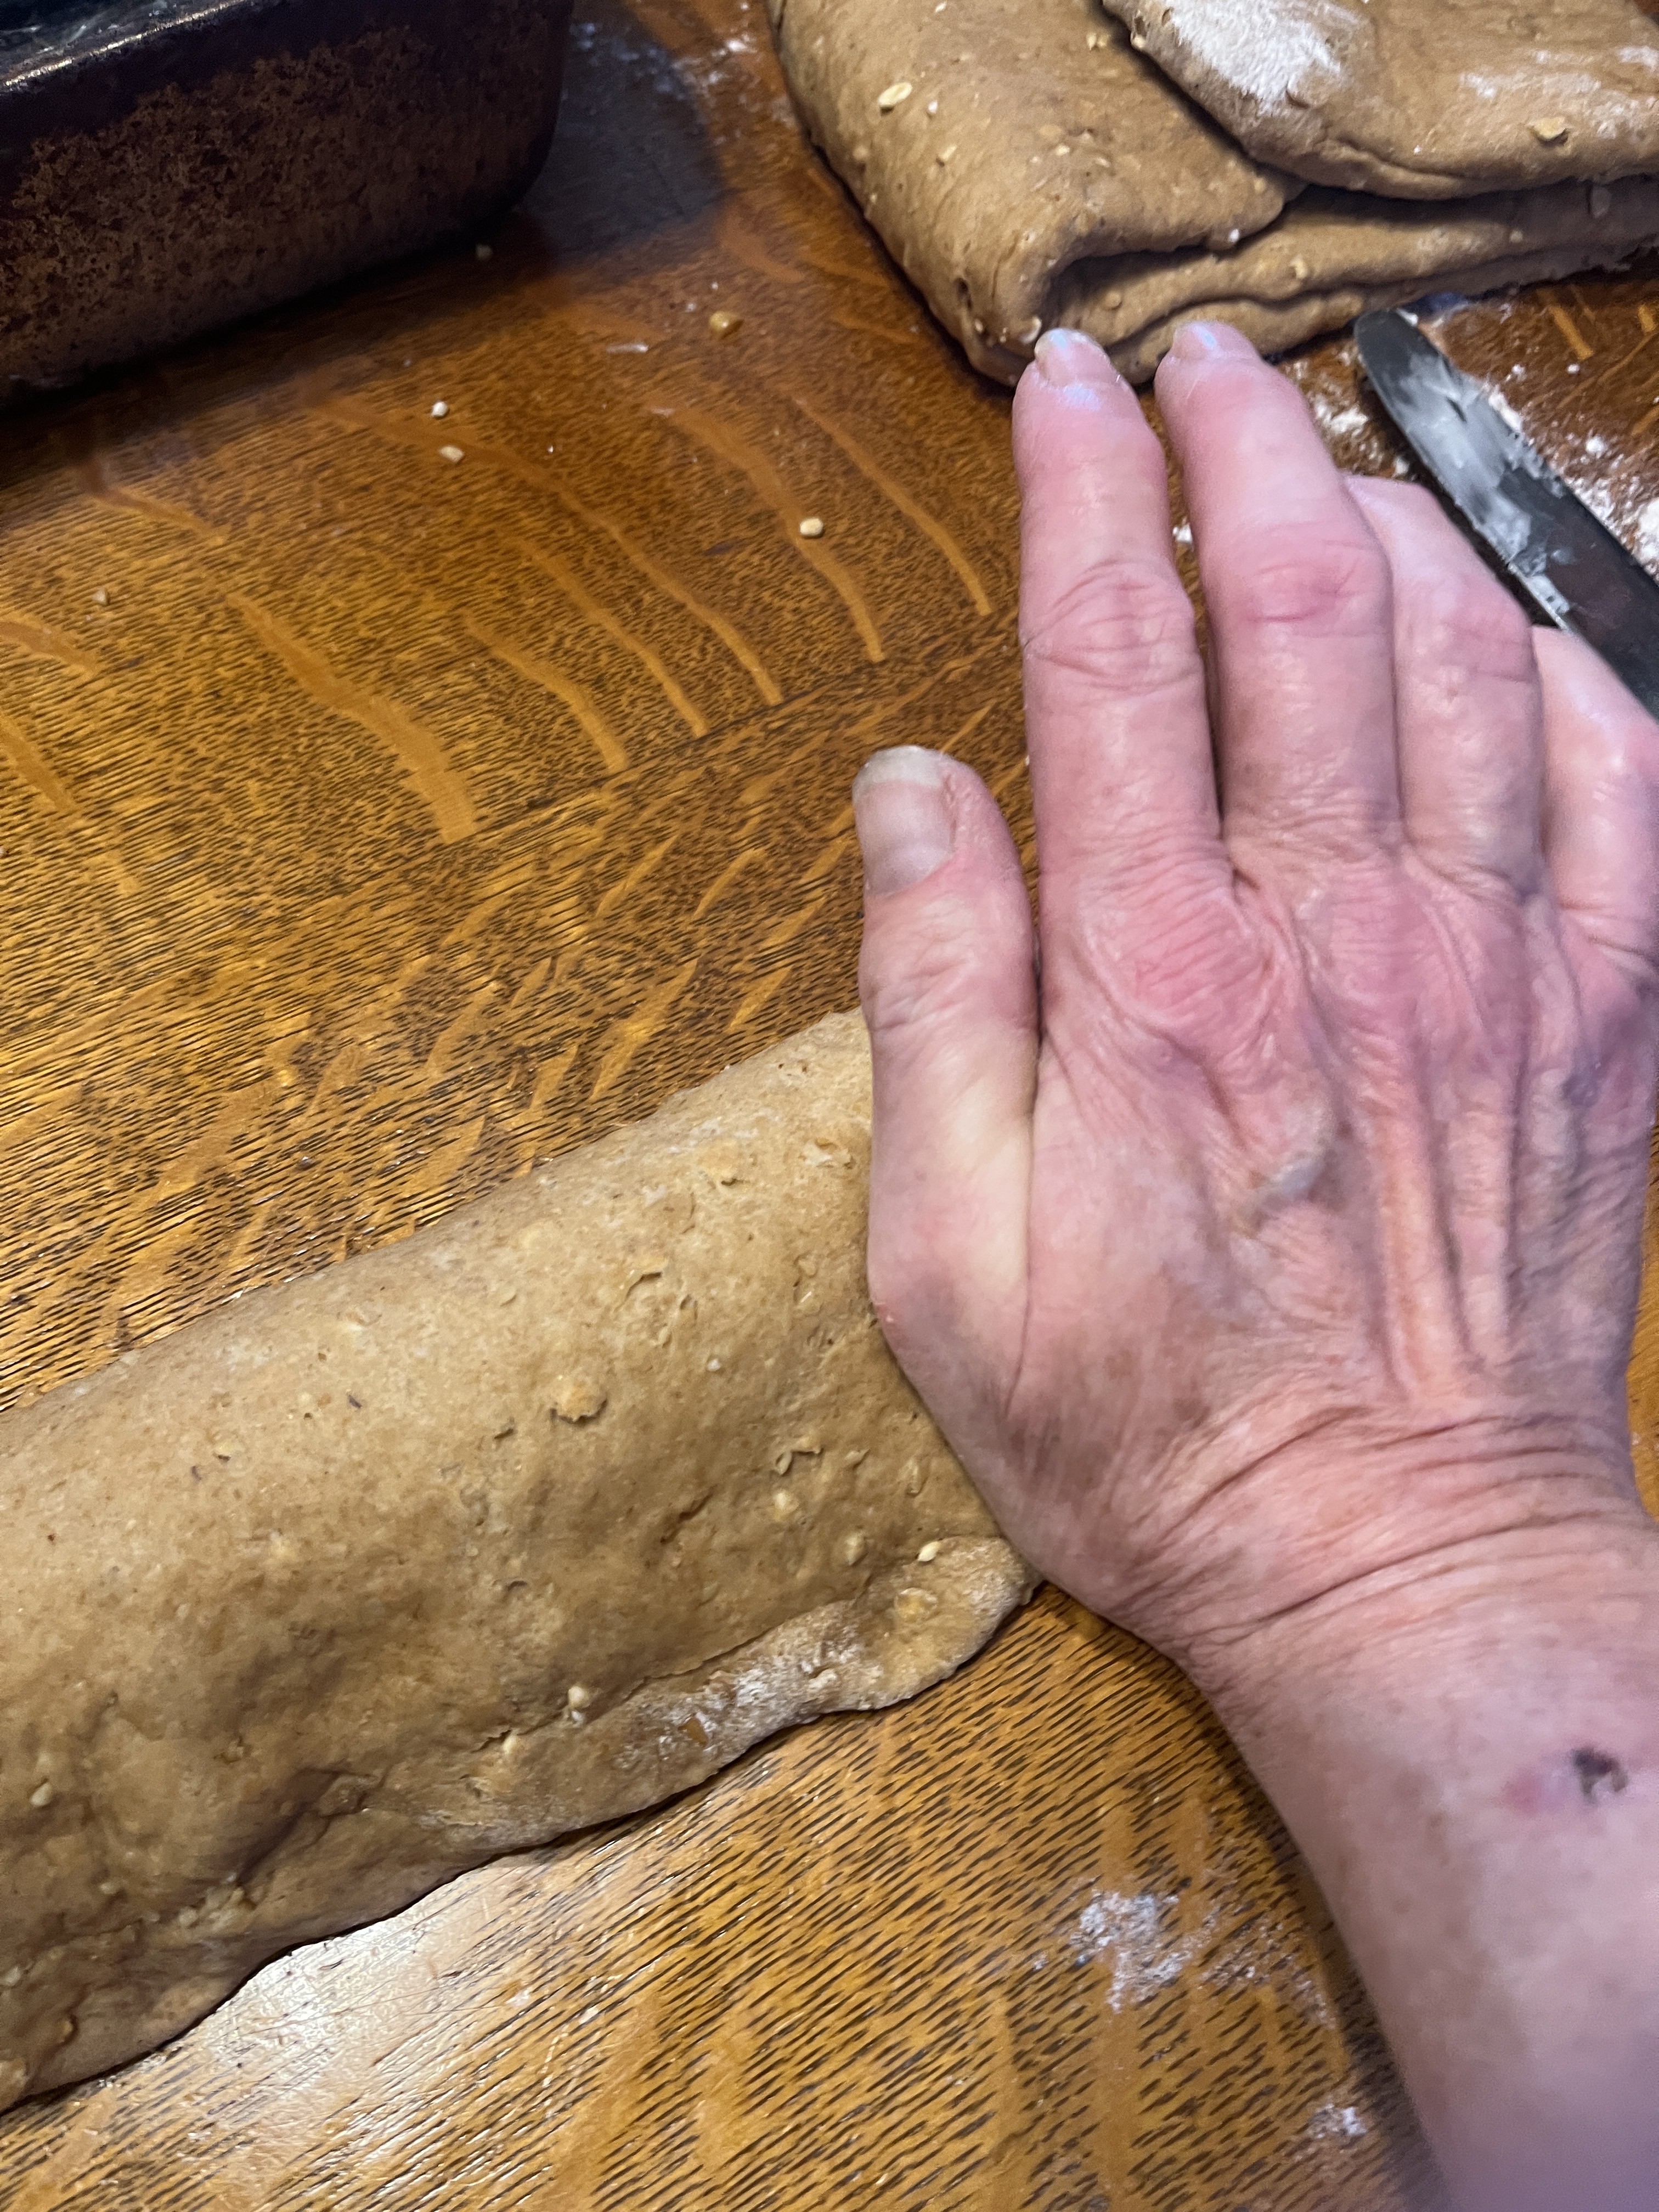
Once rolled, smoosh the seam together with the heel of your hand.

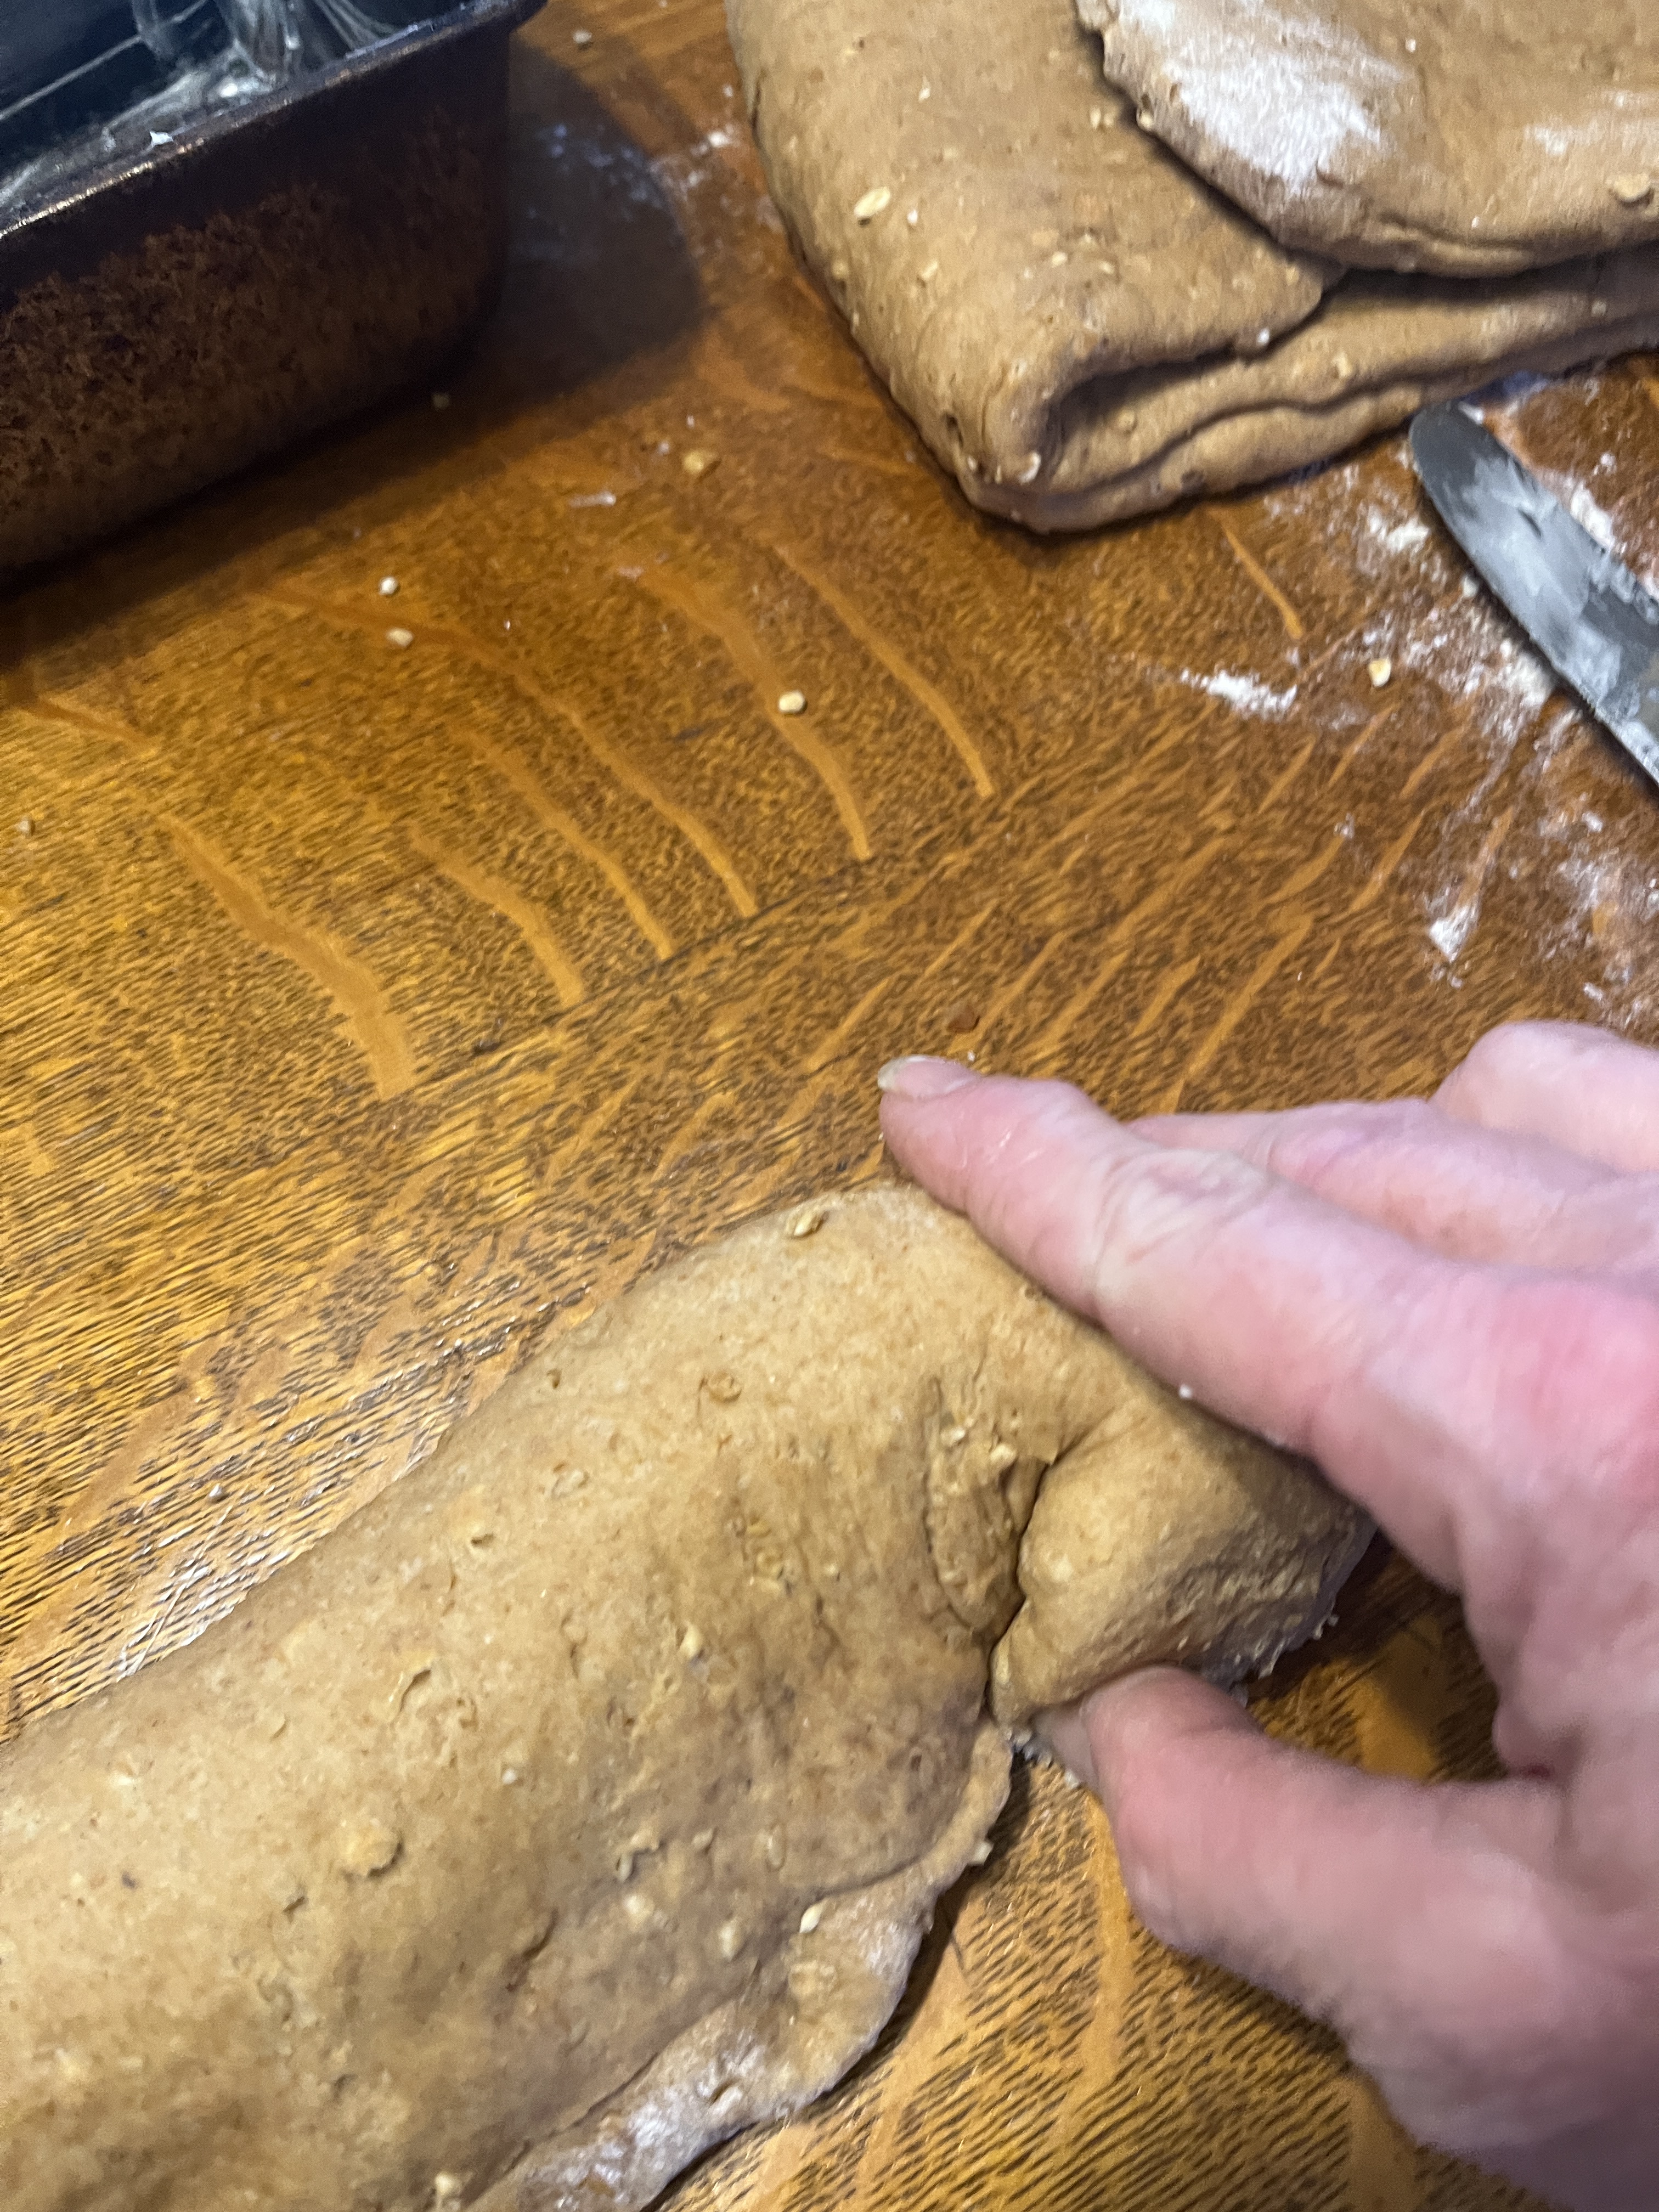
Tuck the ends under and smoosh them as well to make them evenly rounded.

Put into the prepared loaf pan and let it rise for a few hours until it has filled the loafpan. depending on the time of year and climate you could just leave it on the counter, covered with a light cloth…or, if it’s coolish/cold you can put it in a warm oven (about 80 degrees) with a pan of hot/boiling water in there with them to help keep the warmth and humidity up. If you leave the pan in while baking it will help make a fine crust.

Now to form the second loaf. You can make it in another loafpan or you can make it into any of several shapes/forms. Roll it as you did for the loafpan but make it longer, into a baguette. Or simply form it into a round boule. Or make a bunch of small, round dinner rolls. Or butter a muffin pan and make Parker-House rolls by putting 3 small balls of dough into each muffin space (make them small enough to fill it about 1/3 so they can rise well and pop a bit over the top). Or you can braid it, as I decided to do this time.

Smoosh the dough out like before, only longer and thinner, cutting it into at least 3 sections. If you like you can butter it as I did. This will both flavour it and keep the sections a bit separate as they rise and bake. It is messy, though.

Smoosh one end together

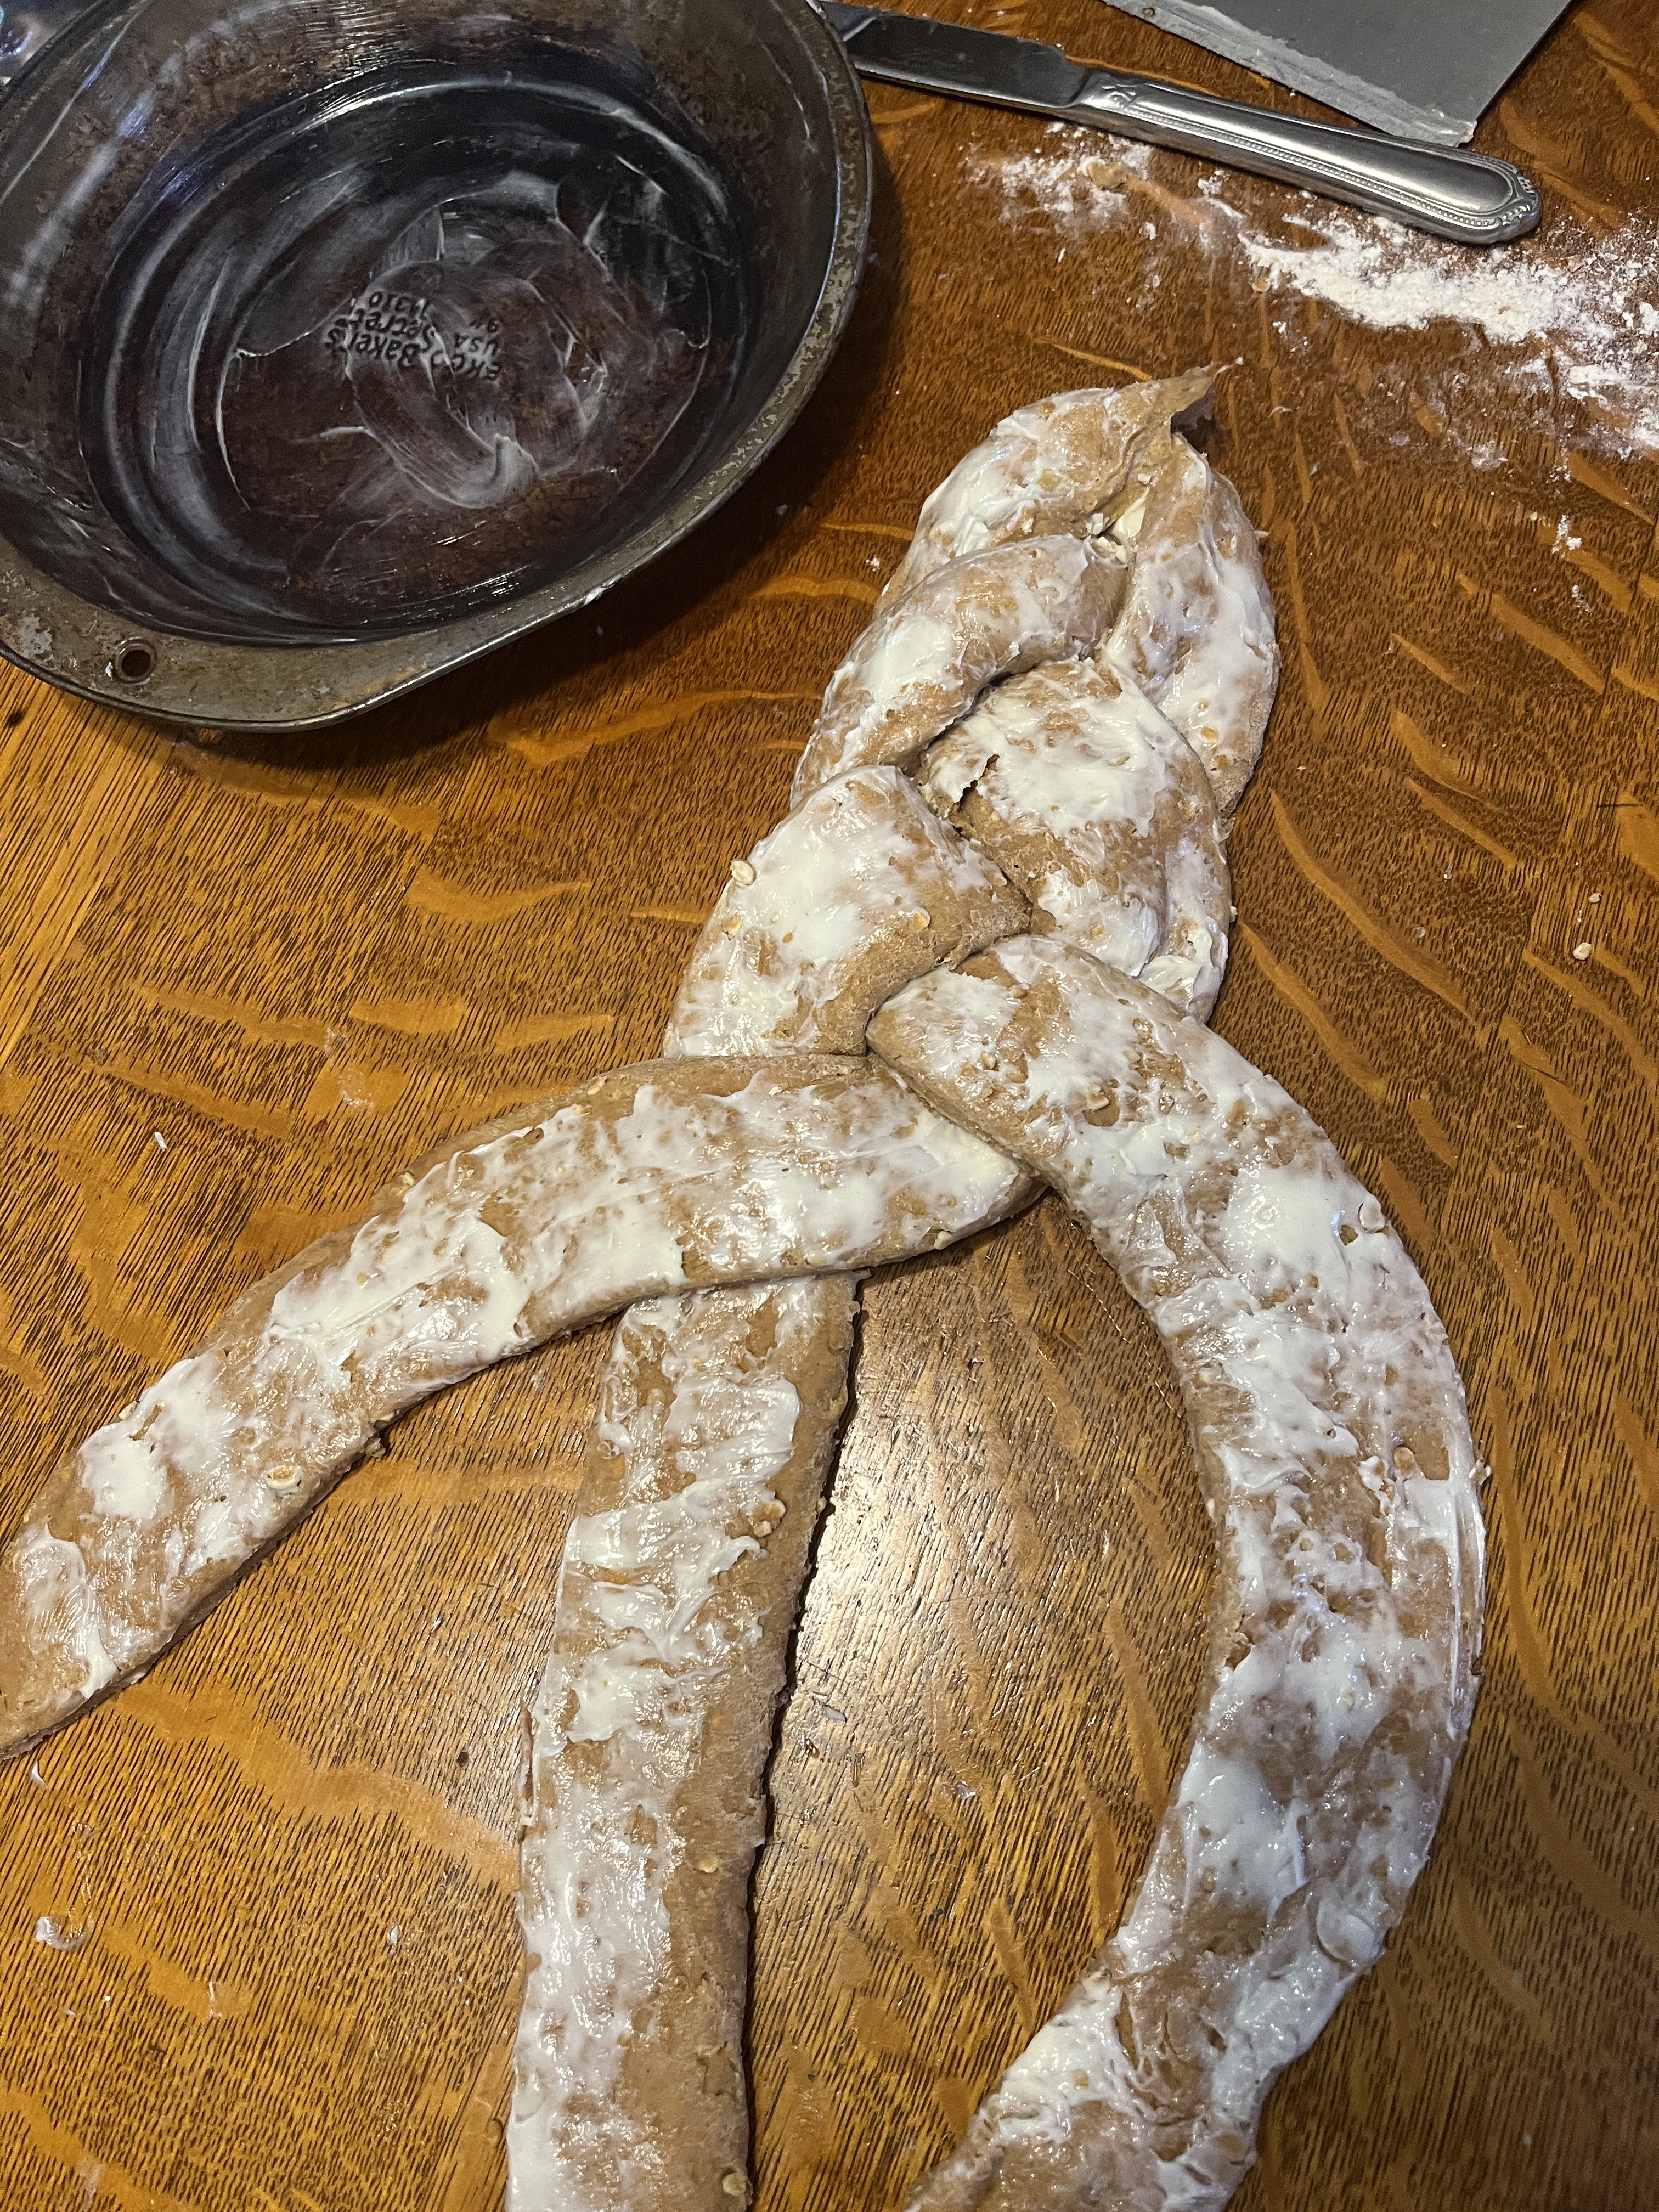
Braid the dough as you would braid hair. A 3-strand braid is simplest but if you know how to braid more strands, by all means, do so!

Smoosh the end together to fasten the ends and fold it under securely. Fold the other end, too. At this point you can put it on a baking sheet to rise before baking.

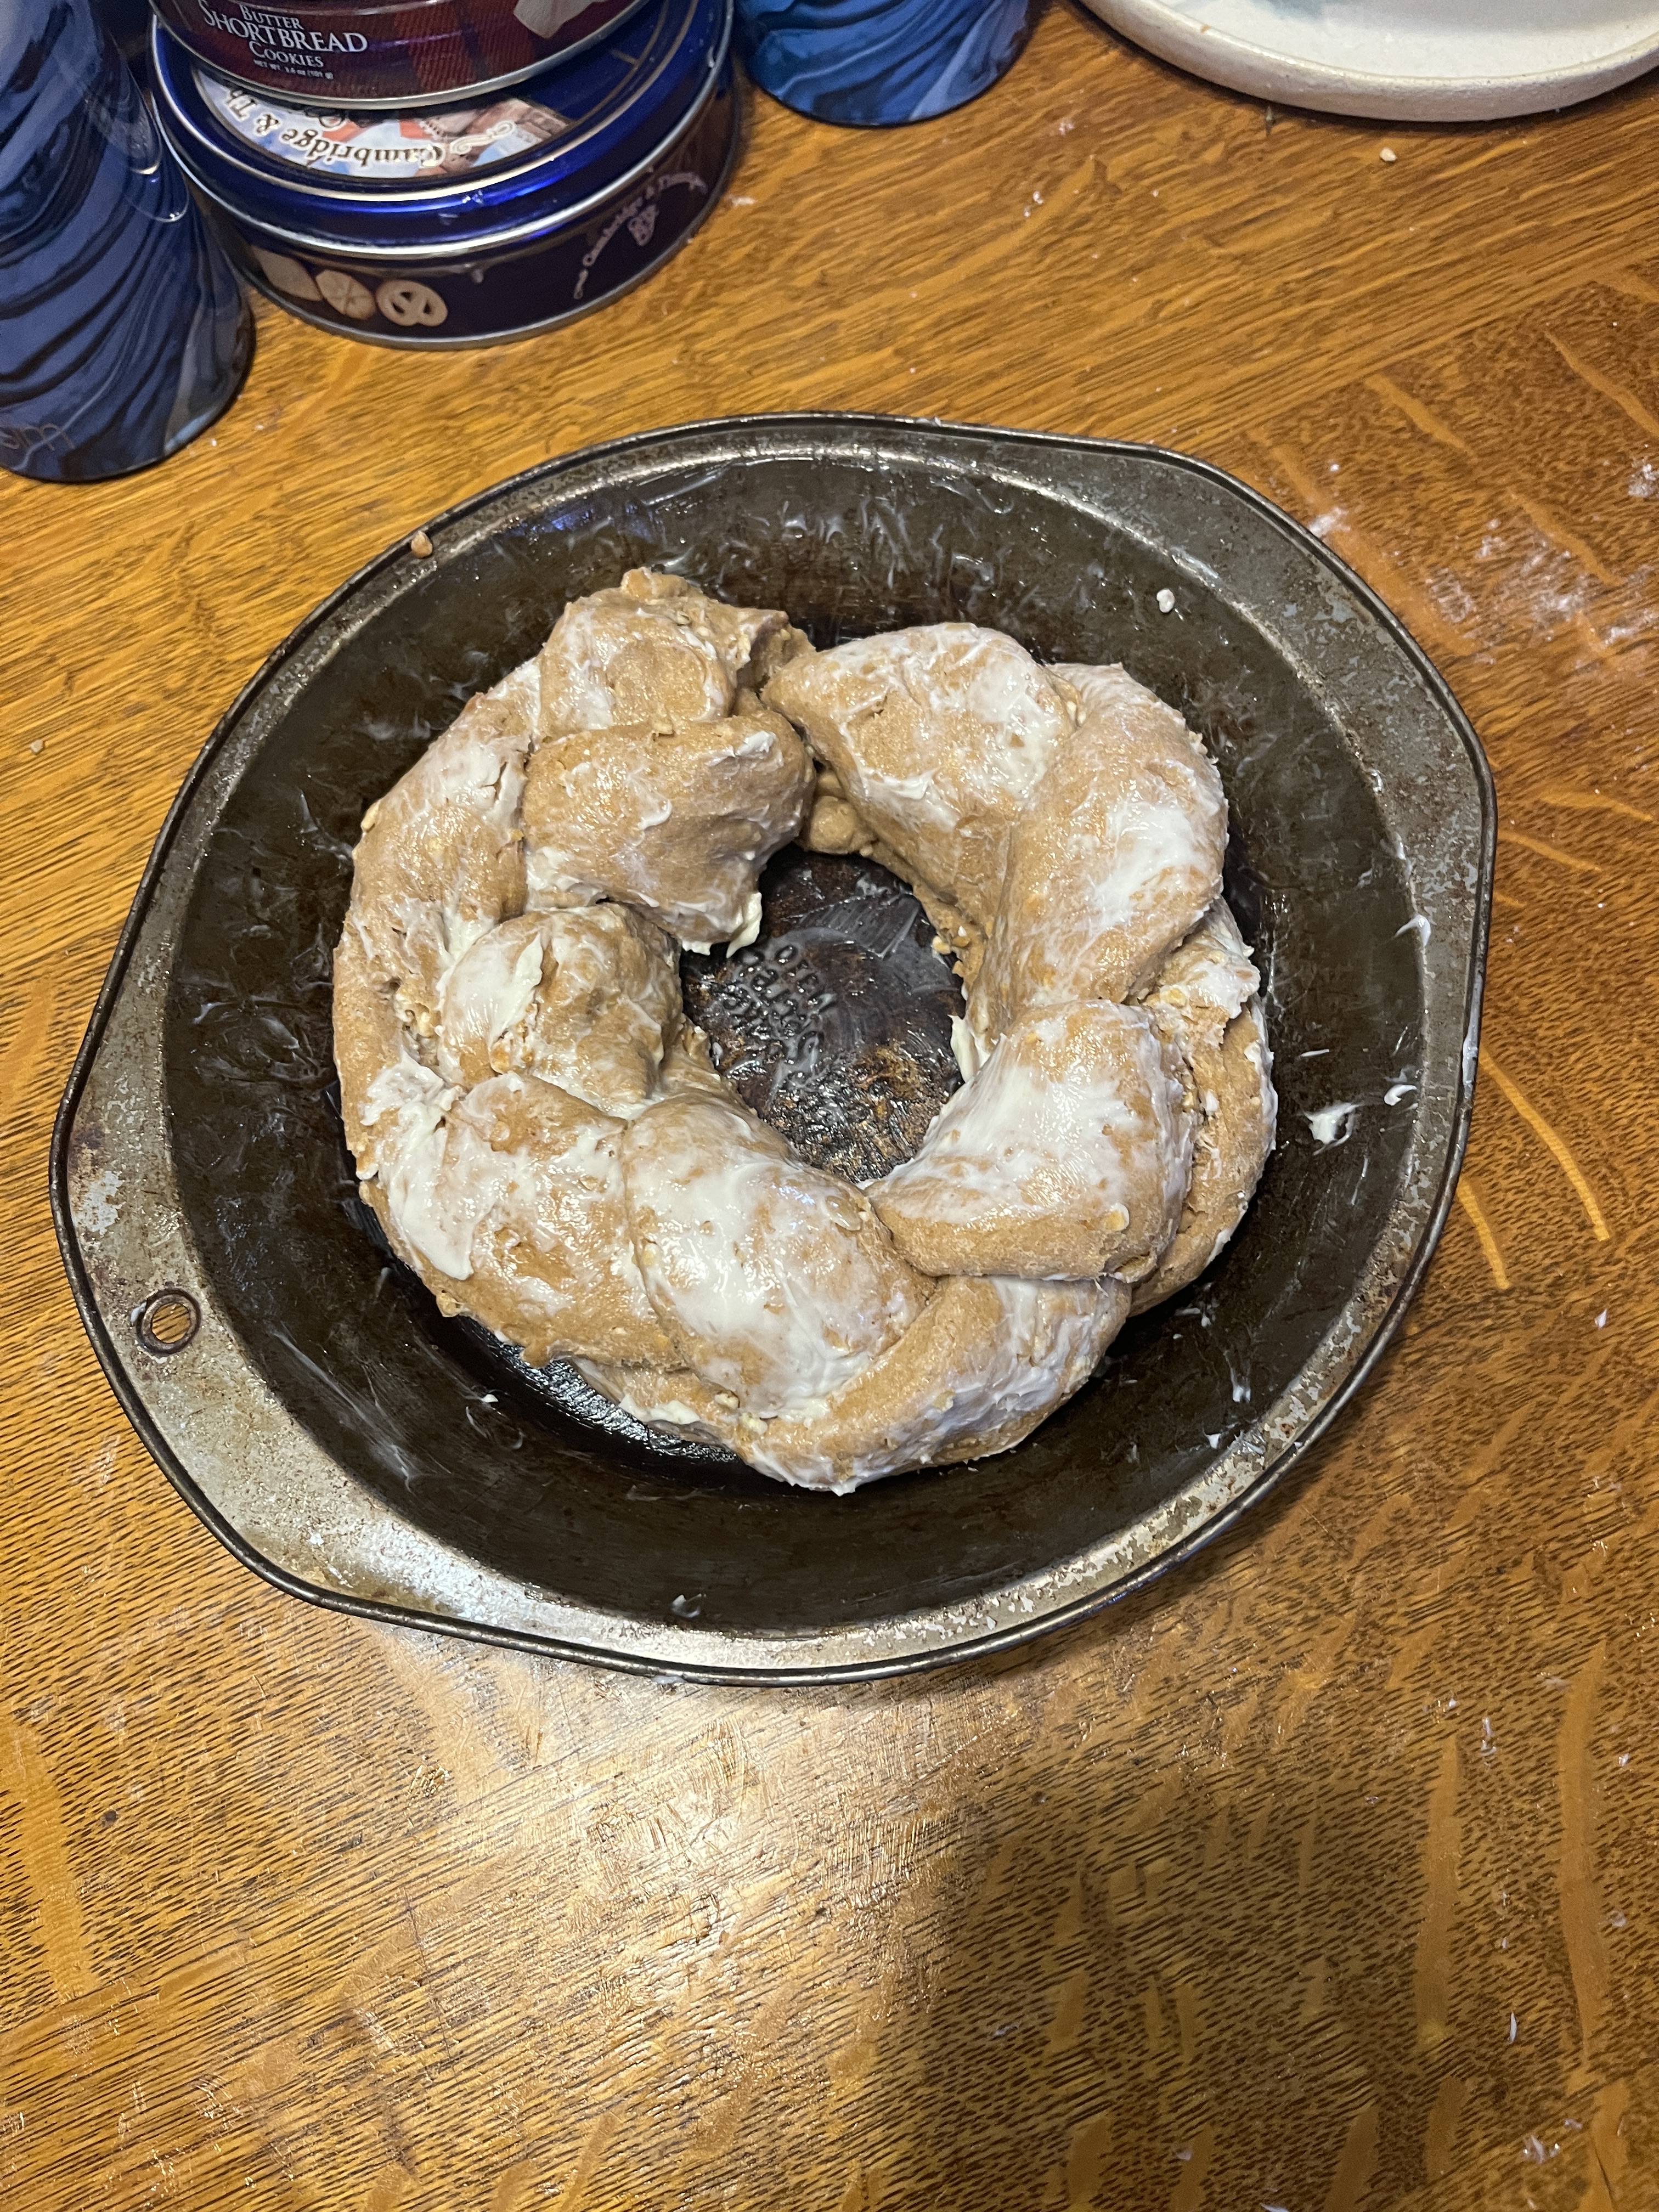
Or you can do as I did and place it in a pie tin or cake pan to rise before baking, forming a round loaf. When mostly risen brush with a beaten egg lightened with a bit of water so the granola topping sticks when baked.

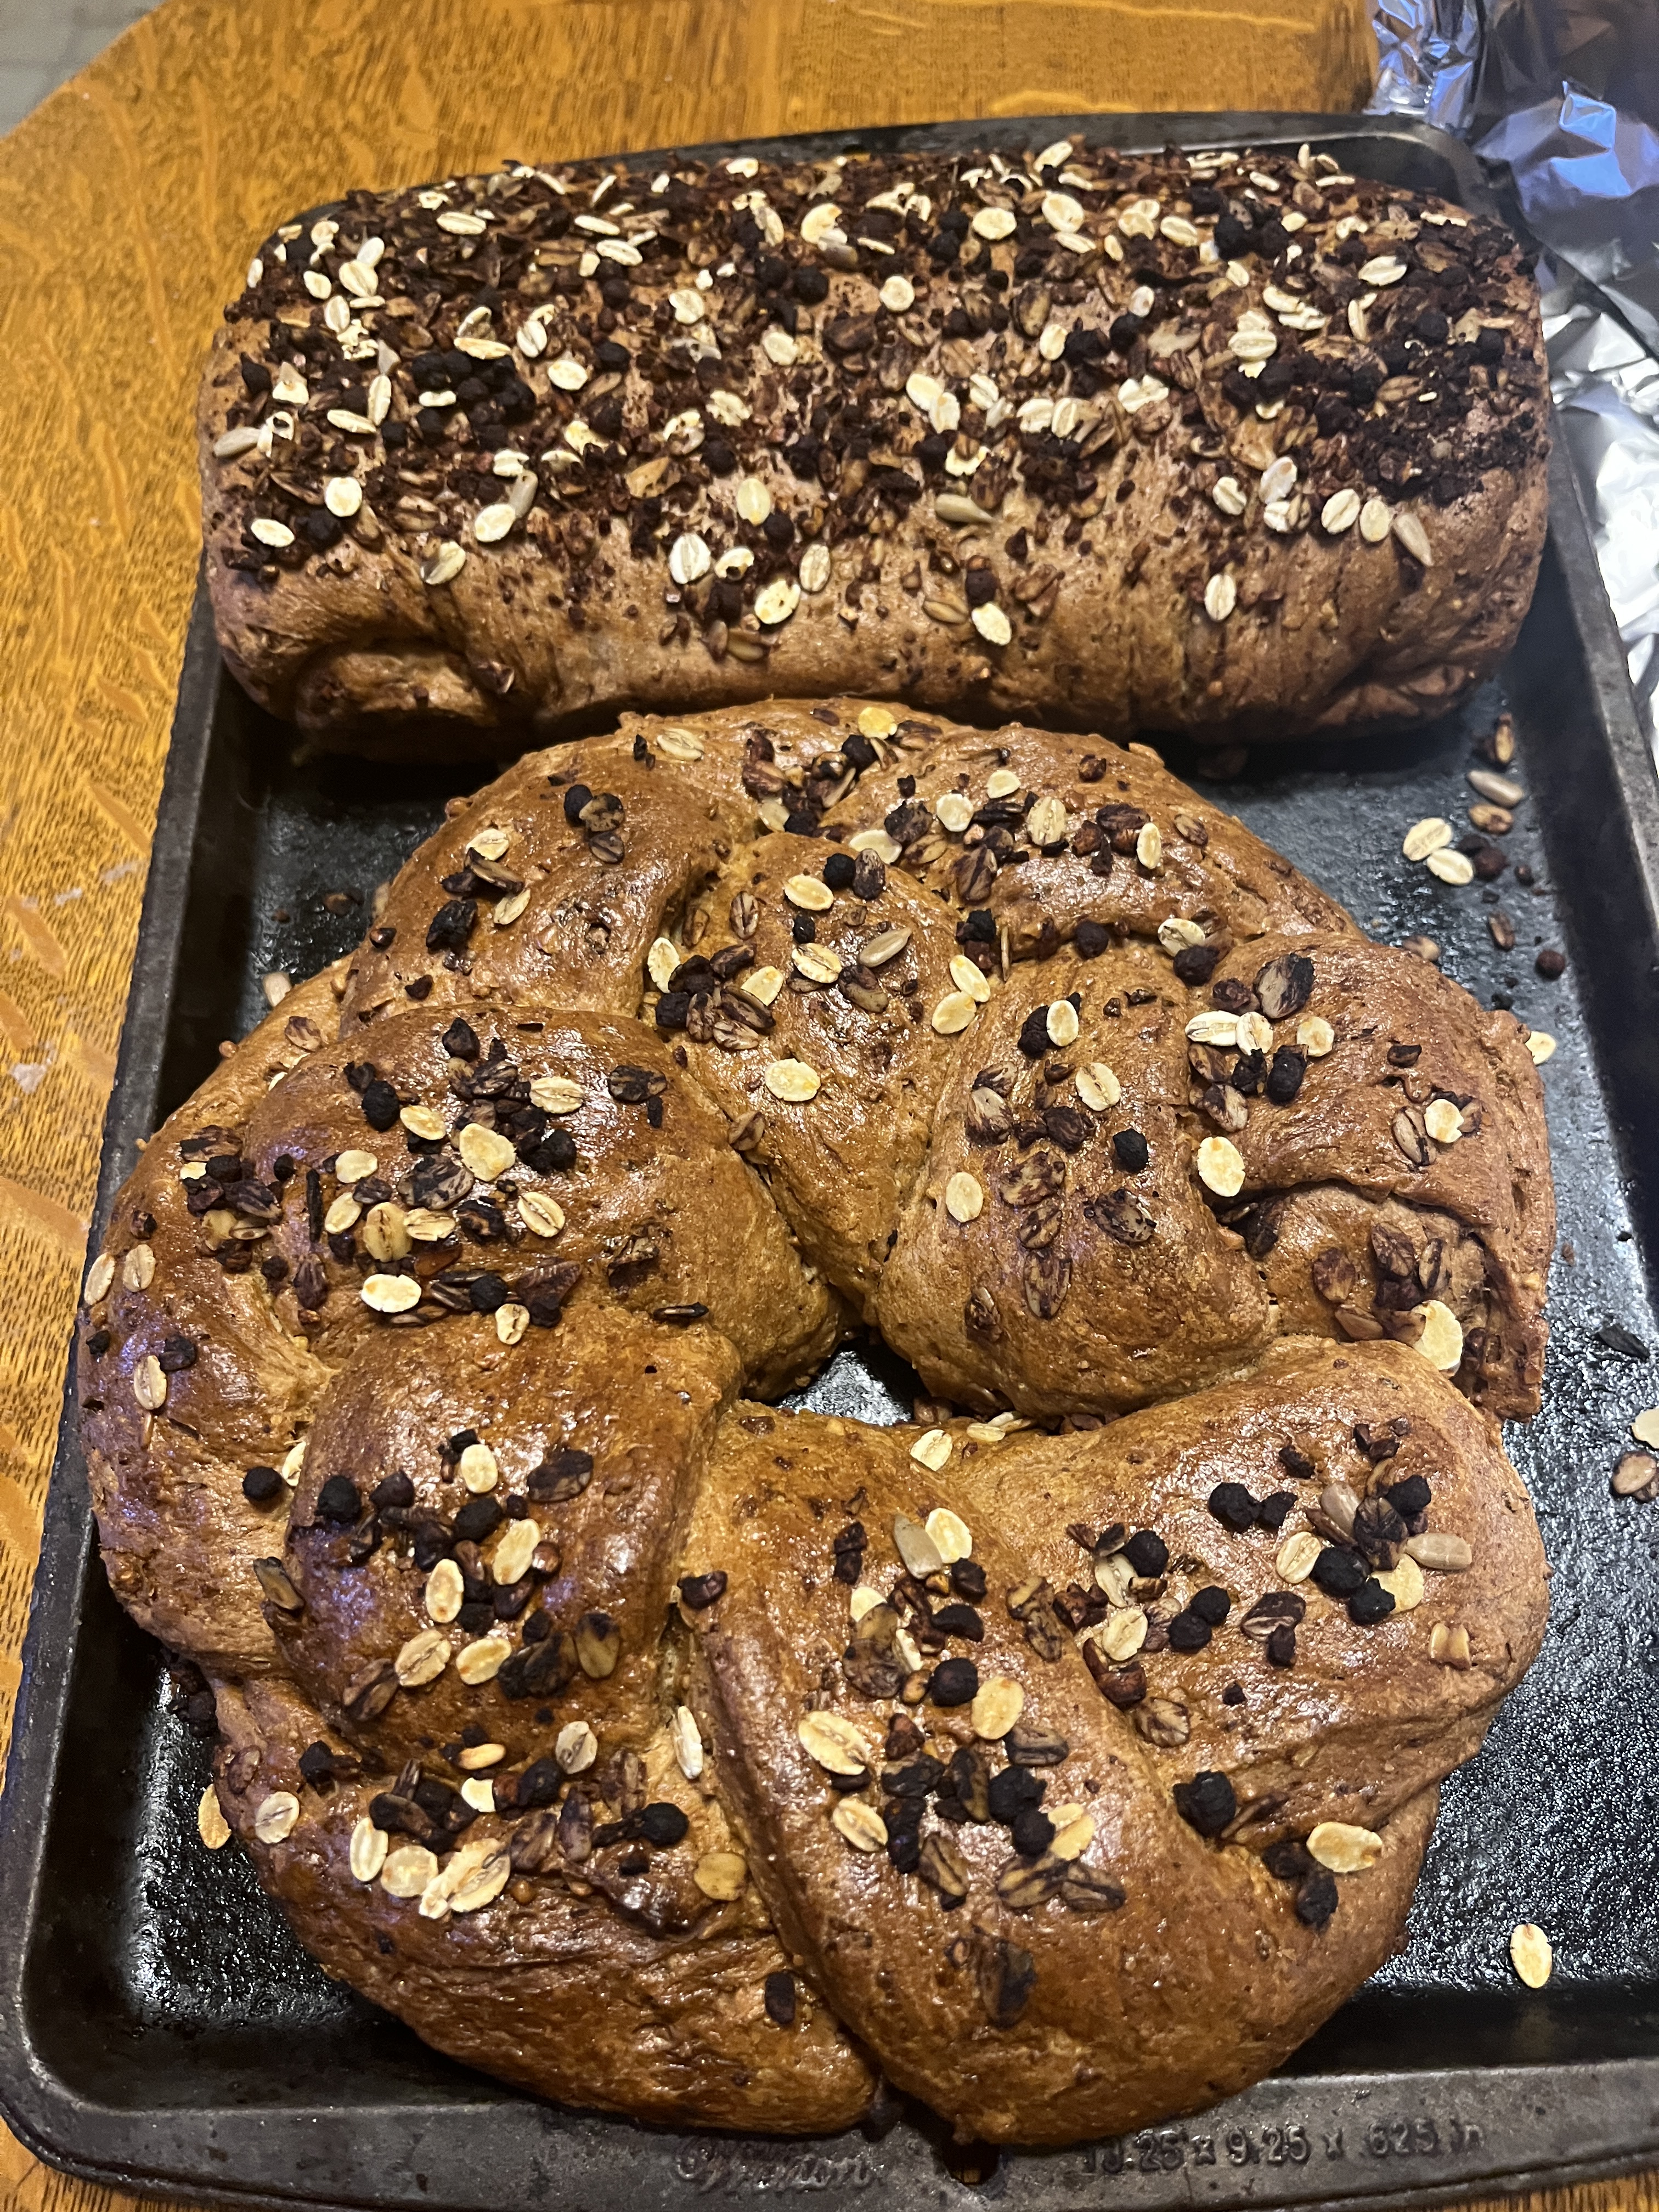
When the loaves have risen sufficiently, bake at 350 degrees Fahrenheit for about 30 minutes, until nicely browned and it sounds hollow when tapped. These turned out alright, but could have used a bit more time to rise, especially the one baked in the loafpan. Maybe I should have left it overnight.

Posted by: briellethefirst | December 2, 2024

Making Tassels


I made them for Ojo de Dios, pillows, horse tack, clothes…all kinds of things. I learned how when I was a kid, one of those things Mom taught us as she was making cool stuff for random projects or making things for holiday decorations. She just made things as a matter of course. So we do, too.

One of my most recent projects was making a bench out of a broken queen bed. The break happened years ago but I only recently acquired a new roommate who has been helping me fix all kinds of stuff & clear out clutter. One of the 1st projects, after fixing my henhouse and chicken coop, was this cool bench. He facilitated the fixing and construction while I was in charge of staining and varnishing it. I chose spar varnish because it would be an outside bench and needed to stand up to the elements, even though it was on the porch.

Once we were done making the bench we realized that arm rests would be nice but we were hard pressed to come up with suitable wooden options. I suddenly had an epiphany and thought macrame could serve nicely. It could be knotted in place, right on the bench, and be comfortable while using the bench. The only problem was that I haven’t dome macrame in decades! No problem, I have books in my library and the internet!

The first task was to find cotton cord for the project. I covered this ordeal in my post on making arm rests for the bench, including dying, so…so much for that…

On to the small details. I had decided that tassels would make nice accents for the macrame arm rests. I already had cotton twine for home/garden/kitchen use so I grabbed that.

I wrapped it around me hand about 16 times,

then slipped the coils off my hand and tied them together at the top, leaving enough to attach or tie on to the project. Yes, beet juice and other things kind of stained my hands!

Then I stretched the loops tight together and wrapped then at the top, making a bit of a ball/head and trapping the strings at top.

Once the basic structure was secure I pulled the loops tight at the bottom and cut their ends free.

The tassel was compleat, now to make 3 more.

I dyed them with the rest of the bench project cordage, which is also in the macrame arm-rest post, but here’s the final look, after all the dying.

And all 4 together on the bench seat. Now to finish the arm rests and put them on.

Of course I’ll add a picture of them hanging from the arm rests when all the macrame is done…but a certain mattress needs to move 1st…I can wait, there’s other projects need doing in the mean time. If I find/make time I’ll maybe pull out some ribbon or something and make tassels that look different, maybe for the olive wreath I made from tree trimmings for the front door…

Posted by: briellethefirst | November 30, 2024

Cornish Game Hens


It’s Thanksgiving. There’s only 3 of us, I want something akin to turkey but I don’t want to spend ALL DAY cooking and then dealing with leftovers. I bought 4 because they come in pairs so I will have 1 left over. All the trimmings, of course, but they’re easy and (even though I’ll be taking up all the pans in the kitchen) the clean-up will be fairly simple (probably just putting leftovers in containers in the fridge).

4 Cornish Game Hens

Seasoning to taste

Stuffing of your choosing

Take the hens out of their packages and rinse. Pat dry if you like.

Season the hens inside and out, under the skin if you feel adventurous. Yes, it’s possible and really good, especially if you add a bit of butter under the skin, too. I wasn’t that ambitious this time.

Stuff with your favourite stuffing recipe (or not)

Rub with butter or your choice of oils (olive, grapeseed, bacon fat…)

Arrange in a roasting pan or 2, depending on the size of your pan and if you’re doing more hens. I arranged them in the pan before I started stuffing them to keep the mess to a minimum. I added some wine to the pan to help keep them moist.

Bake at 375 for about an hour to an hour and a half, until 160 degrees Fahrenheit internal temperature. I went nearly 2 hours because they were stuffed.

One per person is plenty, they can even be shared for people with smaller appetites or if there are lots of side dishes.

Serve with whatever sides are traditional for your meals. I started with green bean casserole, mashed potatoes, candied yams, a roll and home-made cranberry sauce. The ham and dressing would have to wait. I poured gravy over it all after I took the picture.

Several years ago it was just my daughter and her 2 kids with me for Thanksgiving, so we had Cornish game hens and we all prepped our own bird. It was fun for the kids to make their own mini-turkey and they now know how to do it themselves. When they’re bigger they will be able to handle a chicken & eventually a whole turkey, duck or goose.

Posted by: briellethefirst | November 6, 2024

We Made a Bench!


A while back some lovely friends were moving and I ended up with their queen bed. A few years later it got moved into my large spare room so I could take in boarders and they’d have a place to sleep. A couple years after that new horribleawfulrotten roommates broke the foot board so the frame went out to the garage. Years later (just recently) an old roommate came back after travels and adventures and has been helping me fix a lot of stuff and catch up on random projects.

One project was putting in the security door I bought well over 15 years ago. Several friends offered to help install it but no help ever materialized. One day I came home from work and the new roommie had put it in! Now we can open the front door to let breezes through without the neighbourhood cats coming in and making trouble.

He also helped me rake and seed wildflowers in the front yard and clover in the walks.

Fixed the hen-house and coop so we could coop the chickens. Once we got them cooped it was quite a job cleaning up the back porch where they stayed out of the sun!

And we put in the back veg garden. Soon we’ll be picking salads for dinner.

Now he’s cleaning up and rebuilding a park bench for me.

But about the queen bed frame I mentioned in the beginning. I’d wanted to make a bench for the front porch out of it for years, but never had the time. That finally happened I still have to macrame the arm rests and make pillows but the pillows form the porch swing will do for now. It’s almost done.

We’ve been busy these past few weeks.

Posted by: briellethefirst | September 23, 2024

Rouladen


My roommate brought home a bunch of dinner stuff the other day. Last night my other roommate made spaghetti with Italian sausage and fried zucchini. Tonight I was going to make a roast but plans changed.

As I started to sear the roast I realized that it was prepped differently. Suddenly plans changed and instead of roast beef I was making rouladen.

Now I had to make a filling. I minced onions and a carrot, seasoned with fresh tarragon from the garden, celery seed, thyme, fresh-ground pepper and garlic.

Then I cut up some seedy bread from the day-old cart I picked up this morning. I poured on some of the wine I’d already put in the roaster and a few dashes of Worcestershire sauce, then mashed it all together well with my hand.

I pulled the now-cool-enough-to-handle roast from the pan and unrolled it on the cutting board, spreading the stuffing along the inside.

Next I rolled it up and tied it with cotton twine. If you try this make sure you use cotton twine. Synthetics will melt and other twine might…I don’t know, but cotton is smoothe, strong and doesn’t add funny tastes.

Then into the roaster it went with a little more wine. The rest of the onion, 2 carrots and 2 potatoes went in with it, too.

And remembering the last mushrooms you have in the fridge, add those, too.

Bake at 325 or 350. After an hour put the roast on a platter to rest and spoon the vegetables into a serving bowl.

Make a roux while the rouladen is resting. Mix the roasting juices with the roux to make a gravy. Next time take a picture of the gravy before everyone eats it up.

Cut the string and throw it away.

Slice and serve. A sharper knife would have made nicer slices.

Save the rest and make stew tomorrow.

Posted by: briellethefirst | August 19, 2024

Baking Bacon


Making bacon in a skillet doesn’t take too long but it is dreary and the spatters can be both messy and painful. Got a rimmed baking sheet? Lay the bacon out on that and bake it. Easy, less mess, less standing around and you can be making something else (eggs, waffles, French toast…) while the bacon is baking.

Lay the bacon out on the rimmed baking sheet. A 12 ounce package of thick sliced bacon should fit nicely on a large ( 11″x17″) rimmed sheet pan. These things are also called rimed cookie sheets and rimmed baking sheets so I might call it any of these things as we go along. They’re useful for things other than making bacon so you’ll probably want to get one. Bake at 350 until it’s as done as you want it to be. Some people like it to be crispy, some like a little more life in their bacon.

When it’s done get an old mug or bowl and drain the fat into it.

When the fat is cooled you can add it to the fat in the plastic covered container you keep at the back of your fridge. What? You don’t have one? Why not? Get one. You can use the bacon fat as a kind of condiment to make your cooking taste and smell so much better, like when you go camping and cook over an open fire. I mostly use olive oil for cooking but just a little bacon fat goes a long way.

Drain the slices of bacon on a double paper towel.

Fold the bacon in half and put into another plastic container. Freeze for future use. Again, bacon makes a nice garnish or condiment so having it handy in the freezer for future use is a good thing…and out of sight, out of mind, so it might be easier to not just snack it all into oblivion.

Wipe the cookie sheet with the paper towels you used to drain the bacon. Wast not want not.

Use in cooking for breakfast, lunch, dinner or snacks. Sprinkle bacon bits (easy to break up when frozen) on salads, in quiche, meat pies, soups, stews, sandwiches…all kinds of things…including a quick bacon sandwich. Having it in the freezer makes it easy to pull out at a moments notice and look like a miracle chef.

Today I have a lot to do so I figured I’d get a good start on the day…even though (especially since?) I slept in. I made a bacon and egg sandwich. Haven’t had one of these in YEARS! So it’s about time. I spread mayonnaise and mustard on bread. I usually use whole wheat, but white, rye, sourdough or even pita bread is nice, too. If you use pita bread just open one side of it so it forms a pocket. It can be a bit tricky to spread condiments in but you’ll manage. Put the fillings in and nom to your heart’s content, knowing the pocket is containing most of the mess.

Lay on some lettuce and a fried egg. It’s OK if the yolk breaks, since that makes for a less messy sandwich. Lay 3 strips of bacon on the other side, breaking them as needed to fill ‘holes’, top with 1 or 2 slices of cheese (I used Muenster here but Swiss, Havarti, Gouda, cheddar or even *shudder* American cheese-product-slices will do) and melt under the broiler. The melty cheese will, of course, help hold the bacon in place. If you don’t do eggs, that’s OK. Tomato, onion or avocado are among other options you can consider…or just stick with bacon and cheese.

Fold the 2 halves of the sandwich together, add a bit of fruit to make it fancy and enjoy. Of course you’ll use your favourite lunch/breakfast/snack/brunch plate. Tea, coffee, juice or any beverage of your choice goes well with this.

Posted by: briellethefirst | July 16, 2024

Blondies and Brunettes


Like brownies, only without the chocolate. A few weeks ago, when I brought brownies in to share, a coworker asked if I’d ever made blondies. I said no, but I’ve been meaning to so I’d make some soon. Now is soon enough. I basically used my brownie recipe without chocolate. This is something even kids can make and you can’t learn about the wonders of browned butter too young! It’s also a handy backup when you want to make brownies but you’re out of chocolate.

Melt a stick of butter in a saucepan. Let it cook til it bubbles, makes a froth and (finally) starts to brown. It’ll smell rich. Move the froth around until you see the milk solids below turn blonde-brown.

Remove from heat and add 1c sugar and 1 tsp vanilla. Mix well and let cool enough so the eggs don’t cook when you add them. Also, resist eating the mixture as it is at this point!

Add 2 eggs.

Tilt the pan and beat the eggs while slowly incorporating them into the sugar/butter. This makes sure there are no little bits of cooked, chewy egg that don’t quite mix in well.

Spray a cake pan (8×8) with oil or butter it with some soft butter.

Add 1/4 c flour to the square cake pan, coat the pan, knock the excess into the batter and add another 2/4 c flour to the batter.

Mix well and pour into the cake pan and bake at 350 for 30 minutes.

These are fabulous with milk. Tea would be good, too, as would coffee. Yes, I took a nibble out of one before I took the picture. They’re just that good. I’m glad I browned the butter before mixing them all up, it really made a difference, the flavour becoming nutty and caramely. They’re chewy, too, so the yum goes on a bit.

Update 8/5/24: Rain chased me inside this morning so I decided to make blondies. Then, since anything worth doing is worth over-doing I made 3 batches. The 1st was with browned butter, the 2nd was with plain melted bitter and the 3rd was with brown sugar. I also realized that I should note that waiting for them to cool for about 10 or 15 minutes is a good thing so they don’t tear so much. Taste test on all was YUM! But the breakdown ended up:

Plain blondies were really yummy but yes, just plain and really good if you have nothing to compare them to.

Browned butter blondies were amazing. They had a richer, caramel like nutty favour.

The brown sugar blondies looked like I’d used chocolate chips or milk chocolate to make brownies (which I’ve done when I was out of Baker’s chocolate). They were also richer and tasted lightly of molasses, which is as expected since I used brown sugar.

Overall they’re all good. I think I’ll continue to make the browned butter blondies most. I guess the plain blondies would be a good vehicle for nuts, dried fruit, various flavours of chips (chocolate, butterscotch or peanut butter come immediately to mind) or even broken pieces of hard candy, since they’re a very neutral yum. This could take more experimenting in future.

9/2/24 Update

I can’t believe I didn’t take pictures of the comparative blondies I made a month ago with plain, melted butter, browned butter and brown sugar! Oh, darn, I need to make more! But I DID make blondies with browned butter last week. I was really happy with how the previous batches turned out but thought they could be even better. They were tasty and chewy but a little oily so in this latest batch I used 1c flour instead of 3/4c or 3/4c+2Tbsp. This worked. This batch was still tasty and chewy with lovely browned butter flavour but less oily. Now to work on my oatmeal cookies.

I made another batch this morning so I could photograph the brown sugar blondies. I think I’ll call them brunettes. I still had a couple pieces of blondie in the freezer (out of sight, out of mind) so I included one for direct comparison…and they’re yummy and get lonely and small so it’s best to have 2.

Posted by: briellethefirst | July 16, 2024

Chicken Rice Casserole


Just another impromptu dinner using up leftovers. Also, Andrew suggested this one, a rice casserole with chicken. I just made it happen.

Cook the rice. over medium high heat bring 4 1/4 c water to a boil. When the water boils, add 2 c rice, stir briefly, turn burner down to medium and continue cooking.

When it looks like this check to see if there’s still water below. If there is let it cook a little longer. Don’t let it burn or it’ll all small and taste of burnt rice.

Put the rice in a casserole dish. If there’s too much just put a little in a small bowl for the parrot (he can have it when it cools) and some in a bowl for yourself to enjoy with butter and salt. Yum!

In a small pan saute some onions in a little olive oil. You can use butter but I’m running low on that right now.

If you have some, cut up and toss in a few mushrooms, too.

Add a can of Cream of Mushroom Soup.

Rinse the can with some wine. White is good, red will make it a bit purpleish, but that’s OK since it’s what I have tonight. About 1/2 a can to rinse it out is fine, or a bit more if you need to thin it down some.

Cut up some leftover chicken and put it on top of the rice. If you use rotisserie chicken and there’s any aspic in the bottom of the bag (juice or, if it’s cold, jelly), add it to the soup mixture.

Tuck in some broccoli or any other random vegies you happen to have.

Pour the soup mixture over the top and spread it out, making sure it covers the rice and stuff. If you have to use a spoon to poke holes in the rice to let the soup in, that’s good, too.

Sprinkle on cheese of your choice (this is fiesta mix of Monterey jack and whatever) or place slices of any cheese you prefer around the top. Bake at 350 for about 30 minutes or until the cheese melts and, if you like, browns a bit.

Serve with rolls, biscuits, bread or as is and the beverage of your choice. Makes a good, filling dinner and if there are any leftovers you can put them away in the freezer as individual portions for later.

This is also something simple enough for kids to make from leftovers, like I used to do for the kids when Mom and Dad were out. That’s not a bad thing, older kids take care of younger kids like stronger people take care of weaker…noblesse oblige. Enough of lessons from childhood, enjoy dinner.

Posted by: briellethefirst | July 16, 2024

Popcorn


Popcorn. One of those things you just gotta ave when watching movies…or other stuff. Hanging out on the porch is nice with a treat like popcorn, especially if you’re making holiday decorations by stringing popcorn and cranberries into garlands. Here in Arizona the weather is often nice enough to do this out on the porch, in the yard or on the lawn so the mess gets cleaned up by the birds. It’s nice to snack on while playing games. Popcorn is something even kids can master, no matter how you make it.

Yes, I guess you can just pop one of those bags into the microwave and nuke it, but where’s the fun and tradition in that? Besides, it’s just as fast to do it on the stove…and you know what’s in it and it’s fresh. The chickens don’t mind, though, since they’ll eat anything they can catch.

Then there’s the old standby popcorn ready-to-pop in a foil pan with carefully folded/swirled expandable foil on top. We used to take these camping or make them at a cabin on vacation. Brings back fabulous childhood memories! Even if it’s not as good as pan-made, it’s special.

You probably know it’s name and may even have fond memories similar to my own. Follow the directions, keep it moving while it’s on the burner and growing so the popcorn doesn’t scorch. Ignore the stovetop, I’m on vacation!

When it’s as done as it’s going to get put it on a trivet, pot holder or towel on the table and make sure to use a fork or other utensil to open it! That steam can be nasty-owie!

Serve right out of the foil in front of the TV, while telling ghost stories in front of the fireplace or just regular chatting on the porch enjoying nature and a sunset. Mmm! The taste is unique and reminds me of a campfire even though I just made this on my kitchen stove. There were a lot of old maids in the bottom, though. Maybe I should’ve popped it a bit longer.

Overall the best popcorn (in my opinion) is made in a pan. Simple, quick, few ingredients and you know what’s in it. Besides, you made it yourself and what’s better than that? In a 2 quart saucepan, over medium high heat, melt a Tablespoon of butter or heat a Tbs of vegetable oil, margarine, shortening or bacon fat in a pan. Have the well-fitting top ready, you don’t want to be looking for it when stuff starts popping!

Have a few Tablespoons of butter melted on the side so it’s ready when you are.

Add 1/4 c corn kernels, brand of your choice, to the bottom. It’ll make a nice layer on the bottom. If you put in a little more, that’s OK…as long as you don’t have more than a layer of single kernels. This stuff REALLY expands!

Now put the top on, hold it in place and start shaking, keeping the pan in contact with the burner. In a minute you’ll hear a POP! Then another. Then a couple…and soon POP*POP*POP*POP*POP*!!!! Keep shaking the pan until the popping slows.

When the popping almost stops take the pan off the heat and put it on a trivet or pot holder on the table. Have a bowl or 2 ready to put the popcorn into. There’ll be a lot of steam when you take off the lid so be careful!

Pour some melted butter over the popcorn,

Salt to taste and enjoy. This is the good stuff! Sure, you can share it with the chickens (like I just shared the other 2 batches, after nomming a bit…for comparison sake, of course) but you won’t want to. Excuse me while I have a nosh.

*Licks fingers* I’m back. It’s good as-is, but you can put a tablespoon of sugar in with the melted butter before you pop the corn for a slightly sweet flavour. Using bacon fat instead of butter to pop the corn makes it taste a bit more like camping. After you’ve popped the corn you can top it with all kinds of things, too. There’s commercial jars of sprinkle stuff to use but who knows what’s in that! Put some garlic, paprika or other spices in the melted butter you pour over the popcorn. Finely shredded cheese in the really hot popcorn with hot butter to help melt it or just sprinkle with Parmesan. Yum! I’m sure you can come up with some wonderful flavours.

If you want to make a second batch just wipe out the pan and start again. Don’t forget to pause the movie…or are you just calling an intermission between your double features?

Or if you just want a bowl to nibble from as you read, play games, chat with friends…whatever…putting it in a nice bowl you made is another opportunity to show off.

Posted by: briellethefirst | June 19, 2024

Dried Apricots


Last week my roommate brought home apricots because they were on sale. I love apricots but we just couldn’t eat them fast enough! They were good just nomming out of hand, in cereal and even in salads. About 1/2 of them ended up going out to the chickens as they, one by one, got bad spots. *Heavy sigh* Well, today at the store there was a basket of apricots calling to me! I put it in my basket and continued shopping. At checkout I noticed 2 of them were pretty weepy but it was the last basket so the cashier gave me a discount (yay!). I brought them home, ran through all my chores, made dinner and finally got around to prepping the apricots for drying. At least they won’t all go weepy now and I love dried apricots.

Find the cleavage.

Cut longitudinally around the pit.

Bend the apricot open and finish cutting it in 2.

Pop out the pit.

If an apricot has a blemish just cut it out.

Squeeze a lemon into a small bowl and dip the cut parts in the lemon juice.

Arrange the apricot halves on a screen or something open but not so open that they fall through when they dry and shrink.

Put in the oven and turn it on to 170 degrees for about an hour, then turn it off and let them dry overnight. Check on them in the morning.

I’d heard that apricot pits could be used like bitter almonds. I’m not overly fond of almonds and don’t expect to really like bitter almonds but I figured I’d save the pits and see how hard it is to get to the kernel later when I have time. Now I have to catch up with the doings in Discworld. *stretch, yawn…*

When I checked them in the morning I realized that I’d forgotten to turn off the oven! The ones in the back were drier around the edges than I liked and a couple had fallen through the grates but they were dry and not horribly discoloured. Even the more dry ones were good to eat, kind of like apricot chips.

Good to try for breakfast and, when they cool, good to put away in a container to use in baking and general cooking. I’ll play with the seed kernels after work.

A week later and I haven’t played with the pits but I did get more apricots.

This time I put them on a spatter screen

and cut out the slightly tough small areas where the stem was

and the small bit of matrix that was almost imperceptible before they dried but was also a little chewier after they dried. I only turned the oven on to 170 for an hour before leaving them all night. We’ll see how they do this time.

There were 6 apricots left over so 2 of them went into our salads tonight. They’re good in cereal, too, and parfaits and fruit salads and compotes. Anything you’d use peaches in you can use apricots.

First thing in the morning, after feeding the chickens, I checked on the apricots. They weren’t dried yet so I turned the oven back on to 170

and turned the screen around so the ones that are more dry are at the front. The oven is hotter at the back. I’ll check on them again when I come back from the gym in about an hour.

After I got back from the gym and errands they were still soft and somewhat juicy, I’m thinking still prime for mold so I took them out while I baked the quiche and brownies. I put them over the burner that gets hot while the oven’s on until everything was out, then put them back in the oven while it cooled. When I checked on them some were still a bit sticky and not leathery enough, so still likely to mold so back they go into the oven overnight. Any sticky parts will mold, so netter safe than sorry, don’t want to lose a whole batch because one or 2 go technicolor fuzzy.

Finally dry with no sticky spots.

I put them away in a sandwich container. Happy snacking and cooking and stuff in general.

7/1/24 Update

I had heard that apricot kernels could be a nice stand-in for almonds, if used occasionally, so I thought I’d see how hard it was to get at them. First I pulled out my nutcracker. Here’s another of my occasional ‘you should have one of these’ advisories. Don’t have a nutcracker!? You need to get one! If you can’t find one right now (it’s summer), wait for fall and holiday season, they’re all over for the nut bowls people want to display for company. Nutcrackers usually come with nut pics and both are useful beyond cracking nuts and digging nutmeat out of shells. You could also use a hammer (since anything worth doing is worth over-doing) but then you risk crushing not only the shell but also the kernel.

Then I tried cracking them. Some worked this way.

If it doesn’t work one way, try another. This way had a more explosive distribution of shell fragments.

Either way, I’m not overly fond of almonds so it was a fun diversion but I’ll skip this step next time and save myself the concern of extra micro-doses of cyanide. Apparently they’re assumed to be fine for healthy people in small doses. I prefer hazelnuts, walnuts, pecans and cashews.

Older Posts »

Categories