 One thing to do with yolks after the meringue is made. They’re lightly lemony, not over-powering and good with tea. If you use lemon they’re a nice lemon yellow and if you use blood orange they’re a light orange. Next time I’ll have to see if you need a boost from food colouring when you use lime. If you’re making meringue cookies then make these first so you’ll have the oven warm and free to bake the meringues as long as they need.
1/2 c Butter (1 stick)
1 c Sugar
1 tsp Vanilla
Zest and juice of 1 lemon
3 egg yolks
1/2 tsp Baking Powder
1/2 tsp Cream of Tartar
1 1/4 c Flour
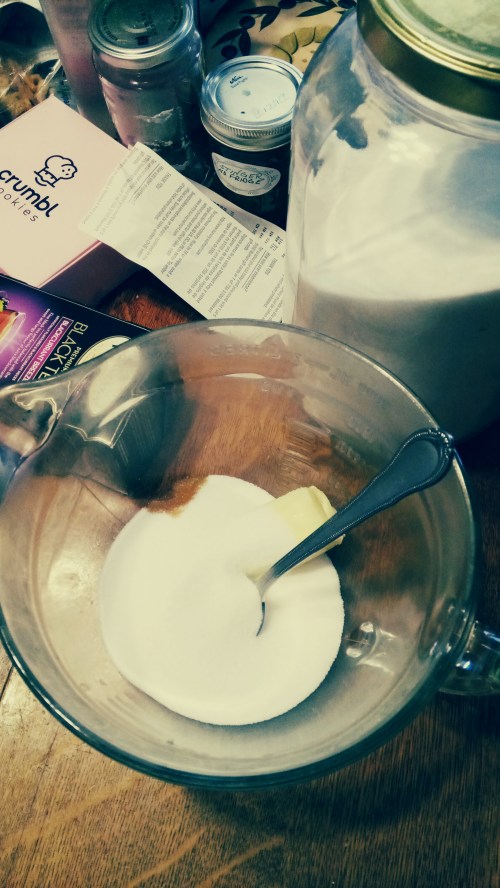 Cream together the butter and sugar.

 Add vanilla and lemon, whichever kind of zester you use
 Mix in egg yolks, baking powder and cream of tartar. Yeah, you caught me…I used blood orange in this one. Pretty pink, though. When you use lemon the yolks will make them a pretty, light yellow.
Mix in flour
 Roll into 24 balls, roll each in sugar (optional, and if you roll them in sugar it can be coloured or just ordinary sugar) and bake on cookie sheets at 350 for 8-10 min.
If you want to use oranges, limes or blood oranges instead of lemons, those are yummy, too. If you use blood oranges they might taste like Fruit Loops.
Hmm…wonder what broken-up sour balls (hard lemon, lime or orange candy) would do in these? Maybe next time.
 They’re good for desert, with sherbets, at tea time or whenever you just feel like a bit of yum. They also keep well in the freezer.
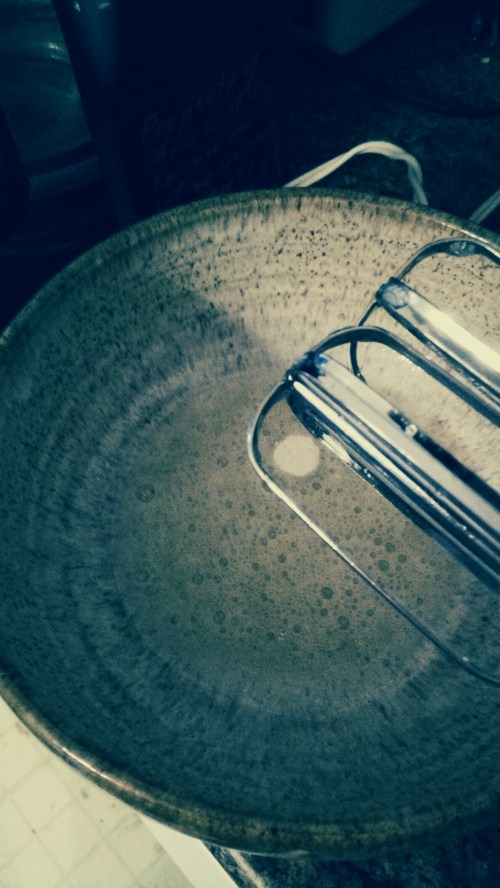 Beat the egg whites until foamy. Add the cream of tartar.
 Beat until they form soft peaks. Add the sugar 1/4 c at a time, pouring in as you beat. Add the vanilla in between sugar additions.
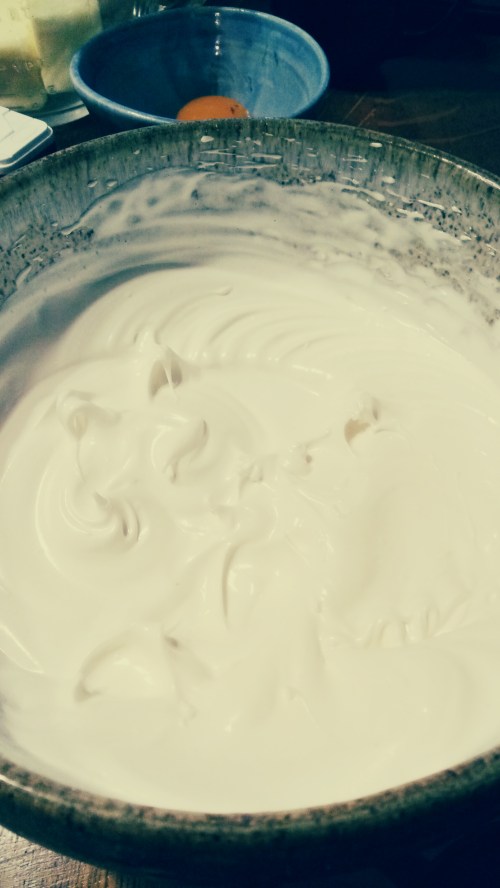 Beat until they hold stiff peaks.
 Put a sheet of waxed paper on a cookie sheet. use a dab of meringue under the corners to keep it in place.
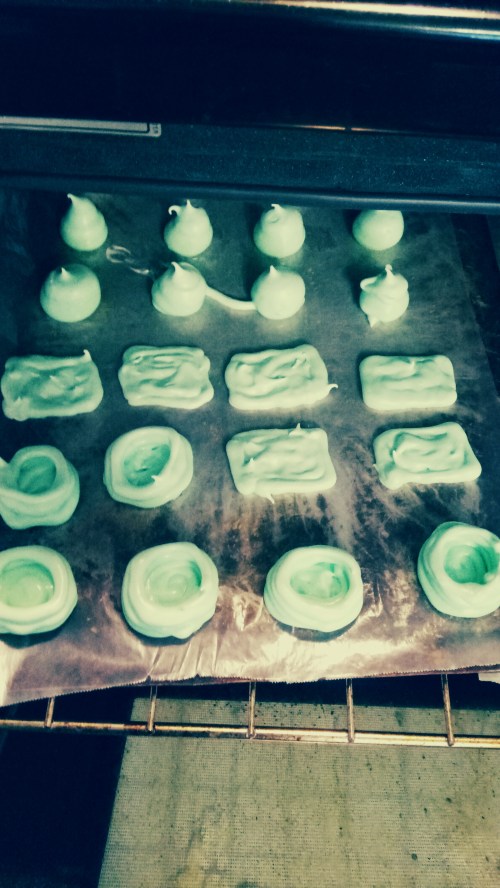
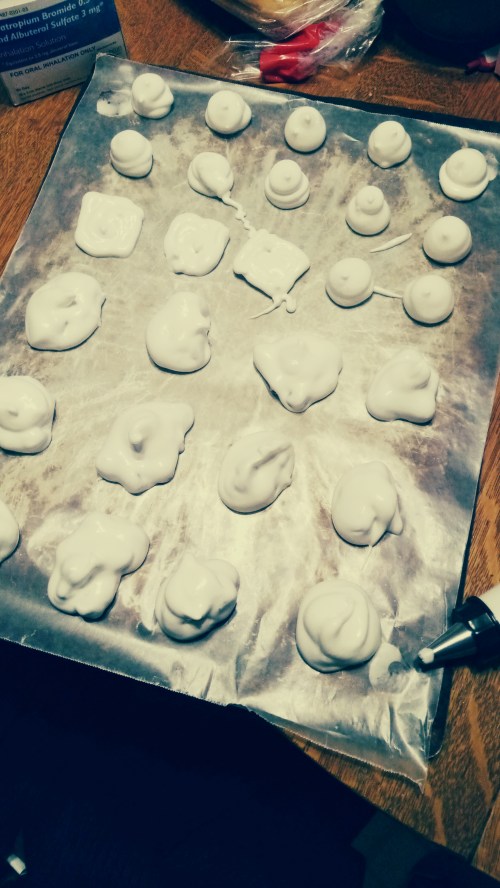 Fill a pastry bag with meringue and pipe little mounds of meringue onto the waxed paper. If you like you can make little flat bits to use as crackers.
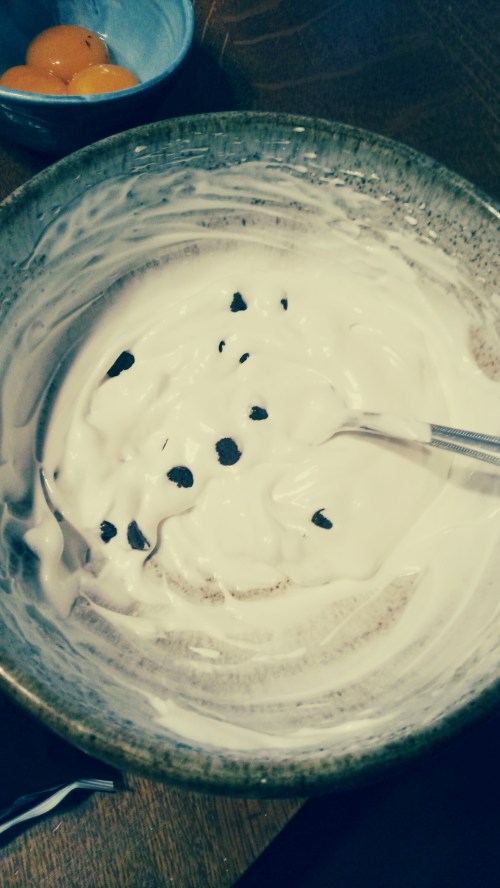 If you don’t have a pastry bag you can just spoon meringue into cookie mounds. If you add chocolate chips this is probably the easier method.
 Bake at 200 for 1 1/2 hours or so, then let finish drying in the oven as it cools.
 Food colouring, different flavouring extracts, chocolate chips, nuts, broken peppermints or other hard candies are all options. Any variation you feel is appropriate for any holiday like Christmas, New Years Eve, Birthdays, 4th of July, Wedding or Baby Showers, Bastille Day… If you pipe them into little cups you can put fruit, jam or other fillings in them. Just don’t add this until they’re ready to serve, you don’t want them getting soggy.
 It’s easy, too. Just butter the slices, put on a cookie sheet and set in the oven. Turn the oven to 350, but turn it off when it reaches temperature. Let them dry out as the oven cools.
 If they aren’t quite dry the 1st time, do it again. Just try not to let them get more than golden brown around the edges. Brown is OK, but they’re better when they’re just starting to brown. You can store them in a cookie jar, plastic container or last Christmas’ cookie tin.
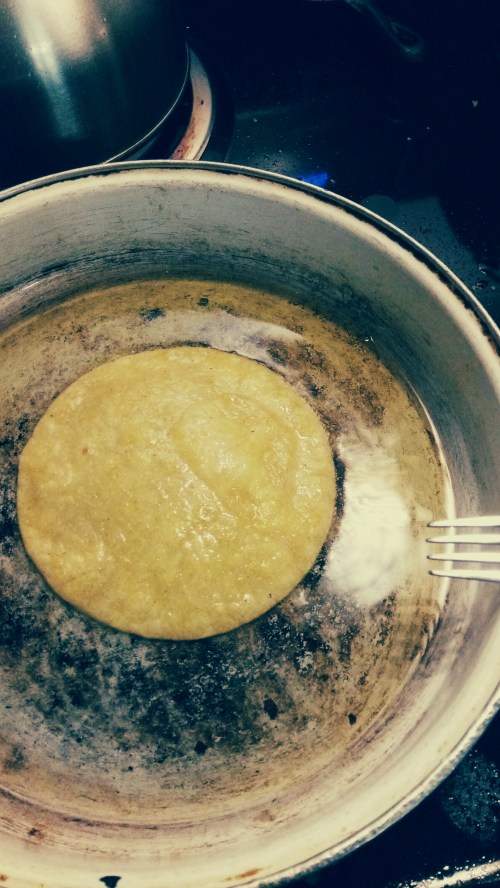 Fry each corn tortilla in a skillet until golden and crisp. Yes, you can use the hot pan and oil you just used to make a cheese crisp or 2. Turn and rotate often to keep it from curling too much and allow it to brown evenly.
 Drain them on paper towels to absorb the oil.
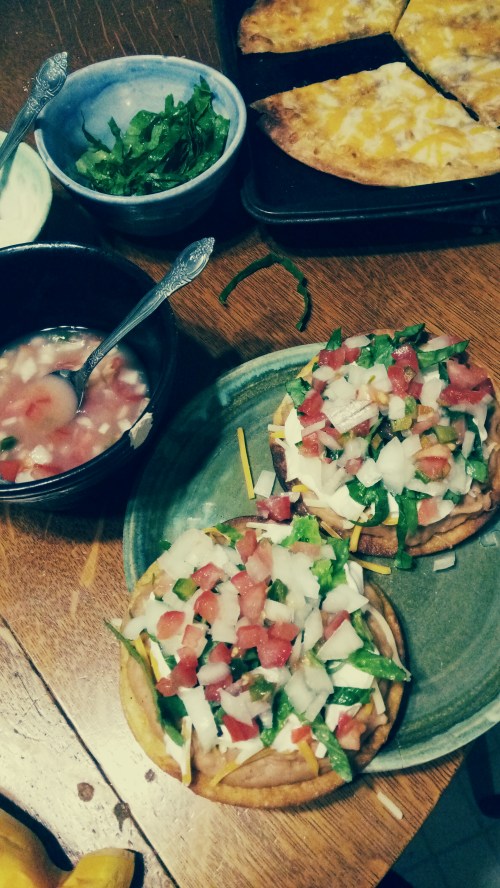 Spread with refried beans and sprinkle on scrambled ground beef or shredded meat leftover from another meal, cheese, onions, tomatoes, shredded lettuce and dab on some sour cream and salsa if you like. Good with milk, cola, orange soda, beer or wine. If you can find a Mexican wine, try it out!
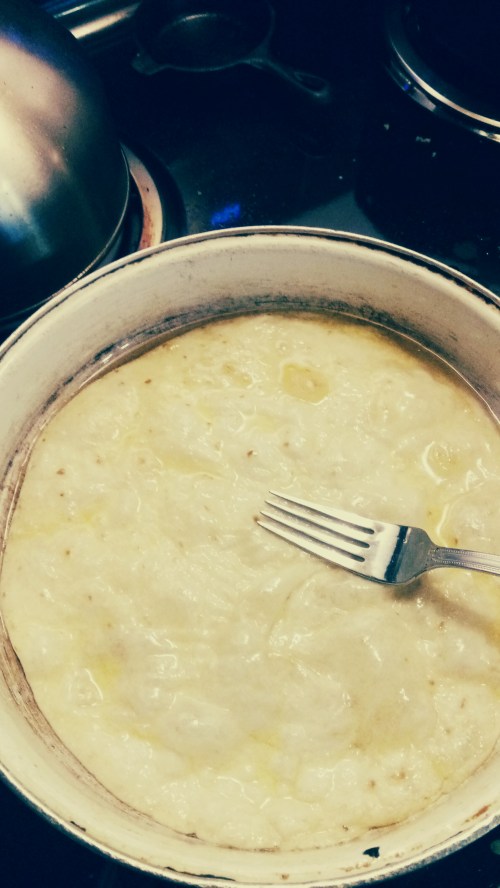 Warm up a skillet , melt butter, shortening, olive oil or bacon fat in it. Fry a flour tortilla until golden brown, turning often so it browns evenly.
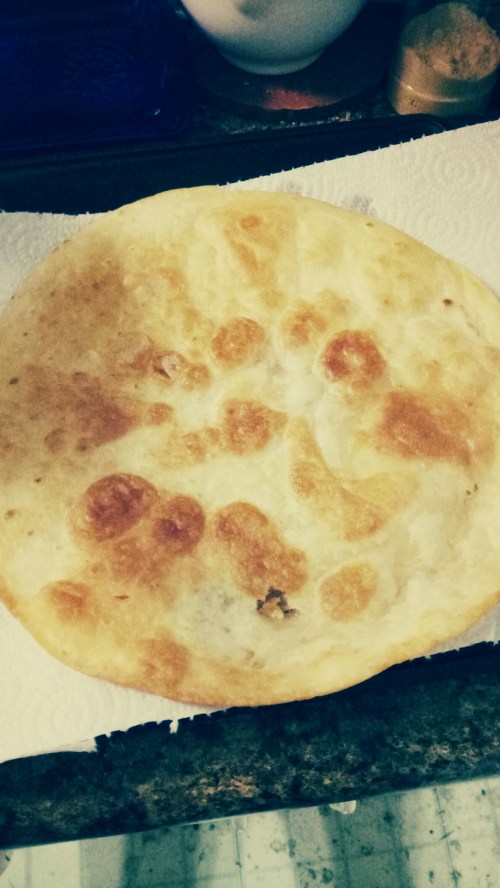 Put between paper towels to absorb the oil.
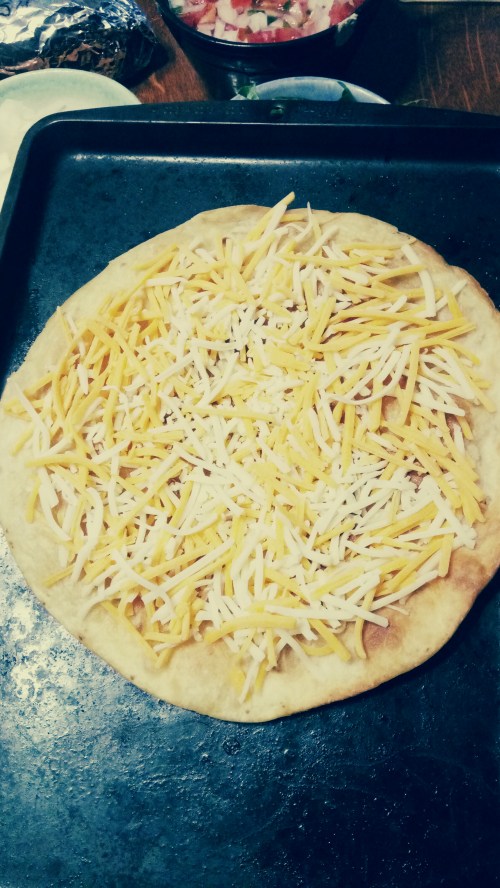 Sprinkle with grated cheese. Colby/Jack, mild cheddar, or Fiesta mix (our store offers a mix of grated cheddar, colby and whatever for Mexican food). Using a cookie tray helps keep the oven less messy and makes it easier to get it in and out of the oven.
 Put under the broiler until the cheese melts. It’s yummy when it just starts to turn golden, too, but don’t forget about it or you’ll have charcoal for dinner and might possibly need a box of baking soda for a small fire fight. Believe me, you don’t want to clean up that mess! The finished cheese crisp in in the background of this picture. Yes, I’ve used this picture in 3 posts…don’t judge!
 Chop up the chiles, onions and tomatoes, put them in a bowl. Chop them as fine or coarse as you like.
 Squeeze lemon or lime juice into the mix. I’m using Key limes in this picture…roomie had some left over…long story…
 Now it’s ready for whatever Mexican food you want. Tacos, tostadas, enchiladas, chips, whatever.
 Mix together dry ingredients and whisk together eggs and milk in a separate bowl.

 Mix wet ingredients into dry ingredients slowly to avoid lumps, about 1/4 at a time. It should end up the consistency of heavy cream.
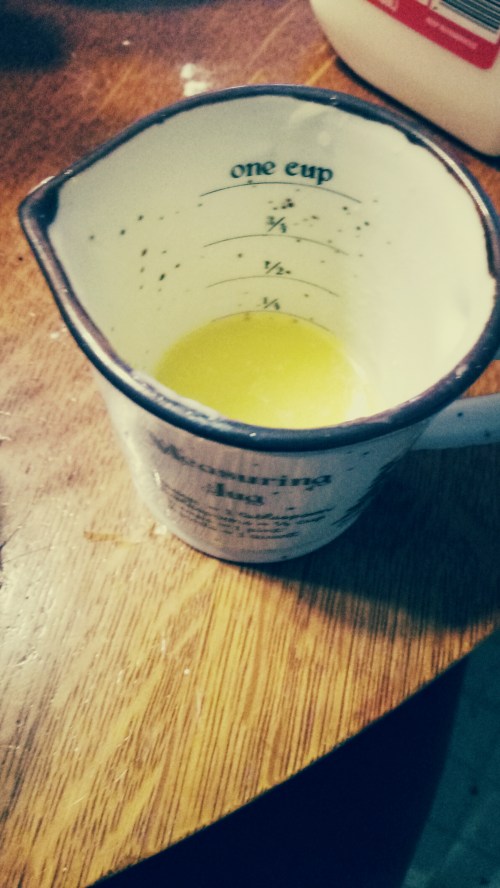 Also mix in the melted butter.
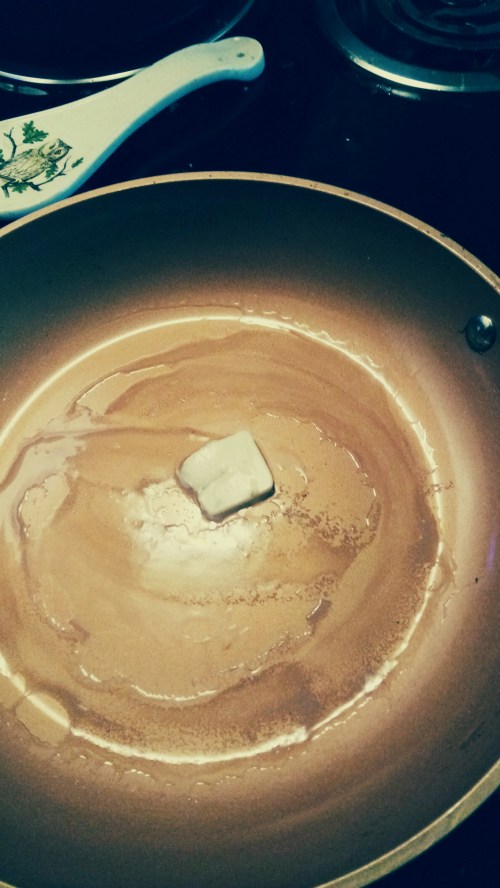 Melt another lump of butter in your pan.
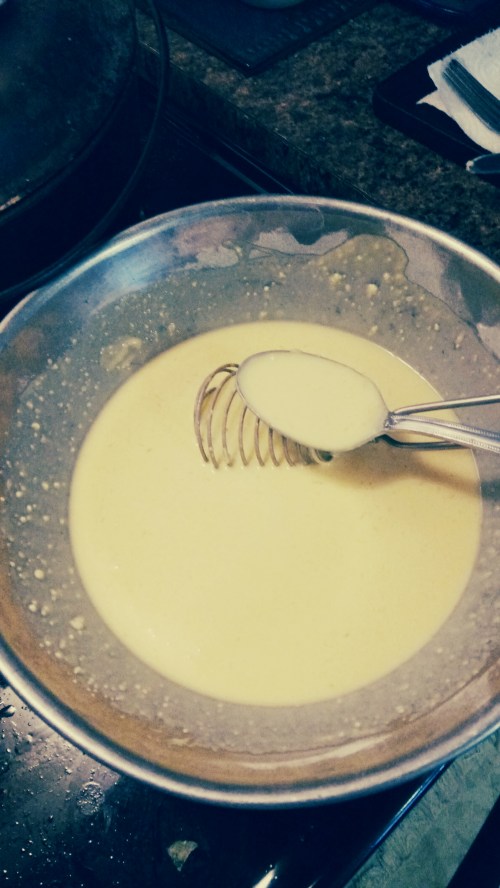 Pour a few tablespoons in and quickly swirl into a thin pancake.
 Your 1st one or two will be wonky.
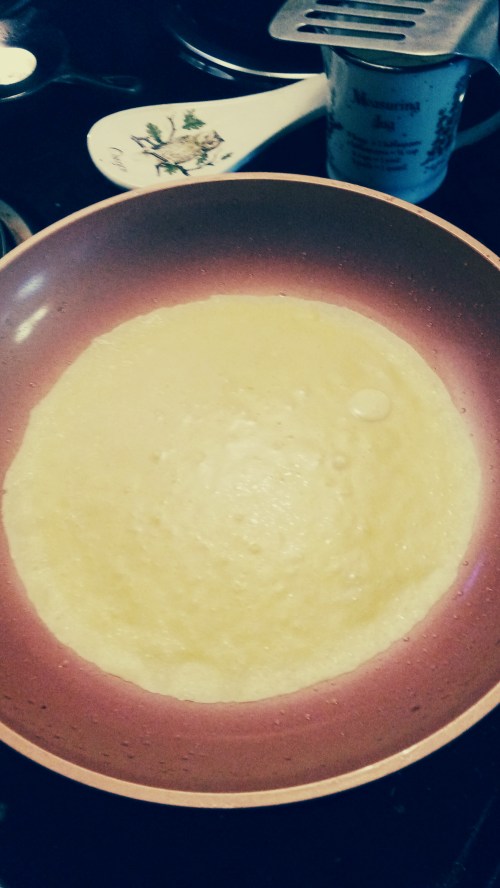 3rd time’s a charm. After about 10 or 15 seconds flip. It’s OK to use a spatula if you’re not confident enough to do the hand chef-flip trick with the pan. I’m thinking I’ll need a couple glasses of wine in me before I have the confidence to try the chef-flip. Greasing the spatula helps, too. You can use the spatula to loosen the edges if it doesn’t want to slide right away, then letting it slide partially out of the pan onto the spatula before flipping helps to not tear and reduces folding. Those of us with asbestos fingers can gingerly unfold it if we work quickly.
 Cook another 10 to 15 seconds and let it slide out onto a plate.
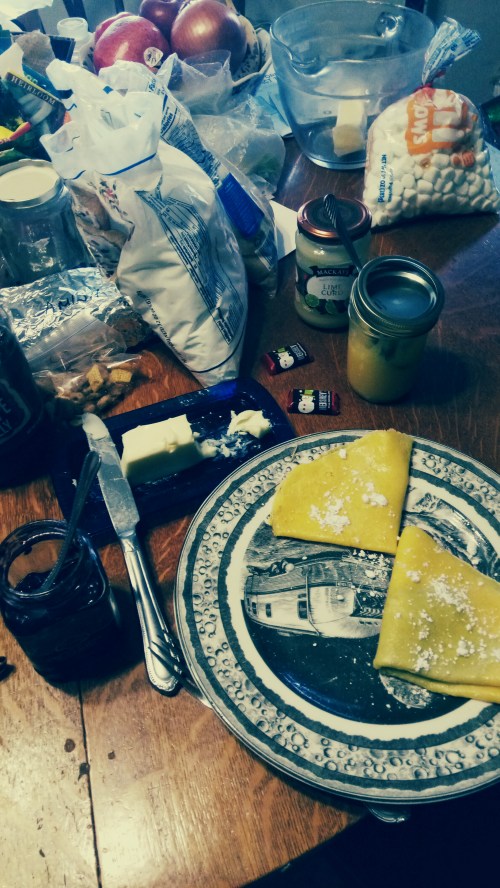 Fill with fruit, jam, lemon curd, cheese, brown sugar, sour cream, cream cheese, chocolate, Nutella, peanut butter or anything that sounds good.
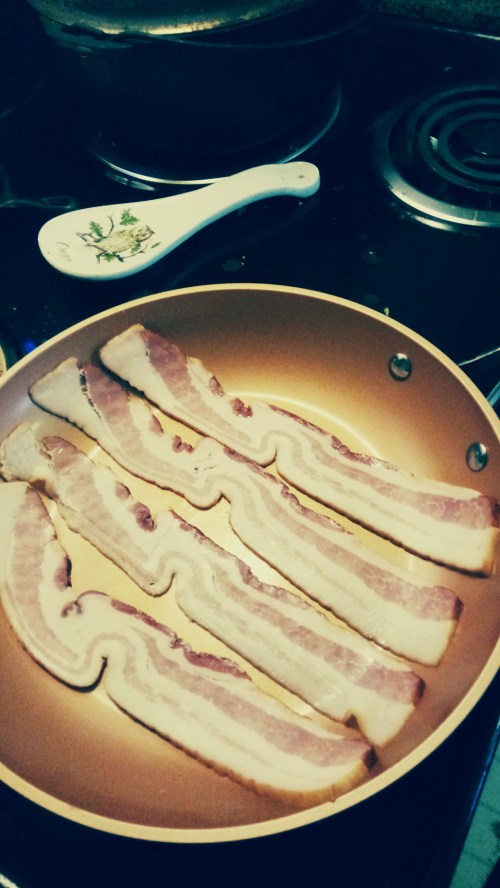 The old standby way is to fry it up in a pan.

 Turn it with a fork a couple times until it’s as done as you want it.
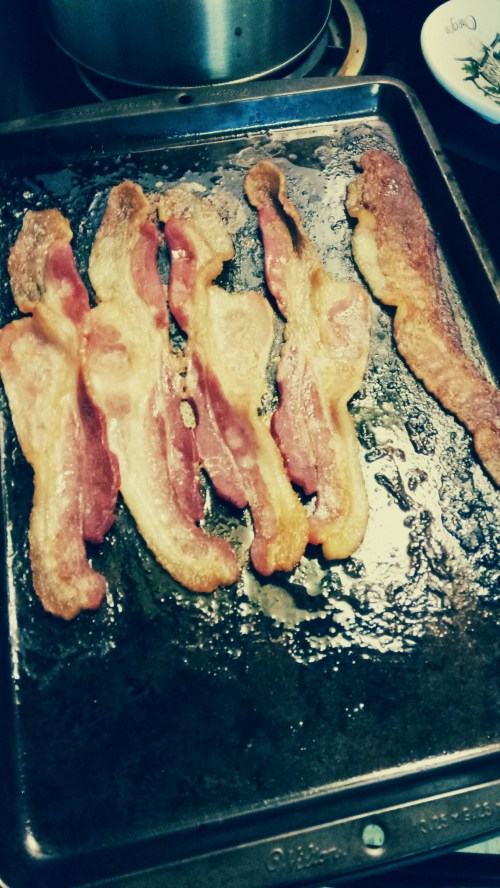 Another, easy way to cook it with less stove-top mess is to bake it in the oven in a sheet pan. Just don’t forget about it while you make your 1st batch of crepes. At least the dog or the local strays will appreciate it.
 Either way you make it, take them off with a fork, putting them onto a double layer of paper towel to take away the grease.
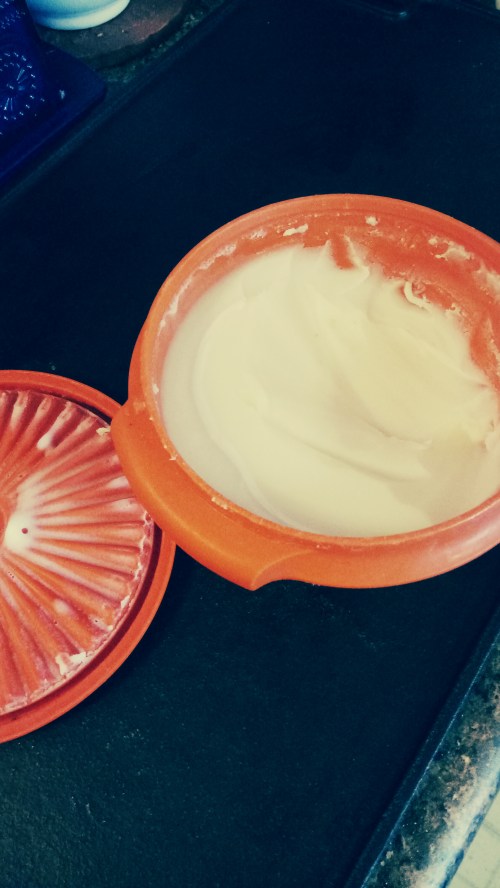 Pour the fat into a cup so the scraps can fall to the bottom before you put it in a container to store in the fridge for later use.
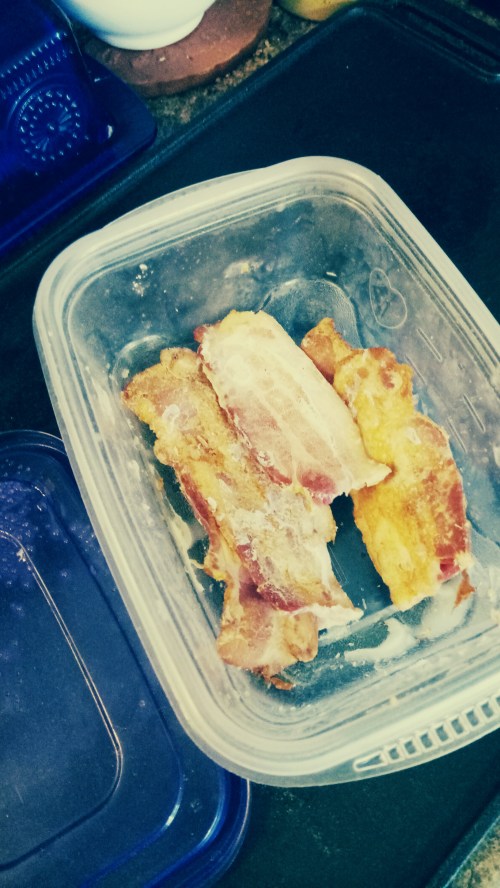 When the bacon is cool enough to handle, fold it into a container to freeze for future use. I use both the bacon and the fat as flavouring when cooking. It doesn’t take much bacon fat to give bacon flavour to other more socially acceptable fats. This way you can have your healthy fats and eat bacon, too.
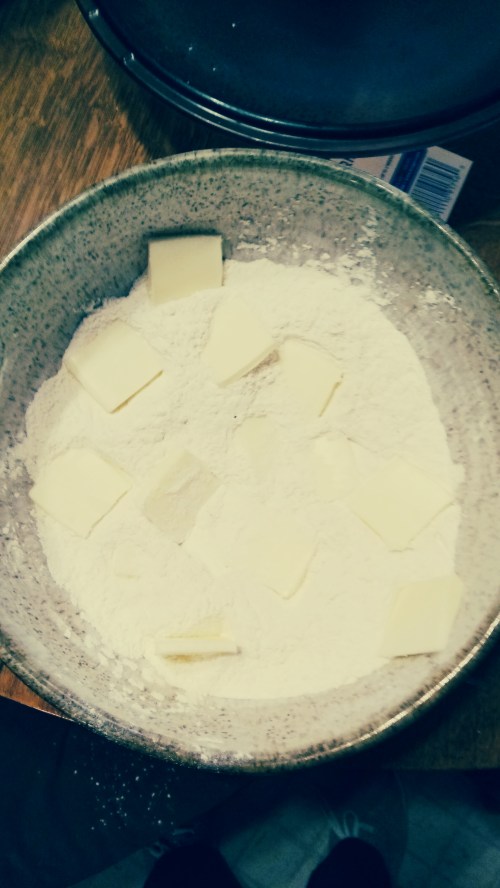 mix together dry ingredients,
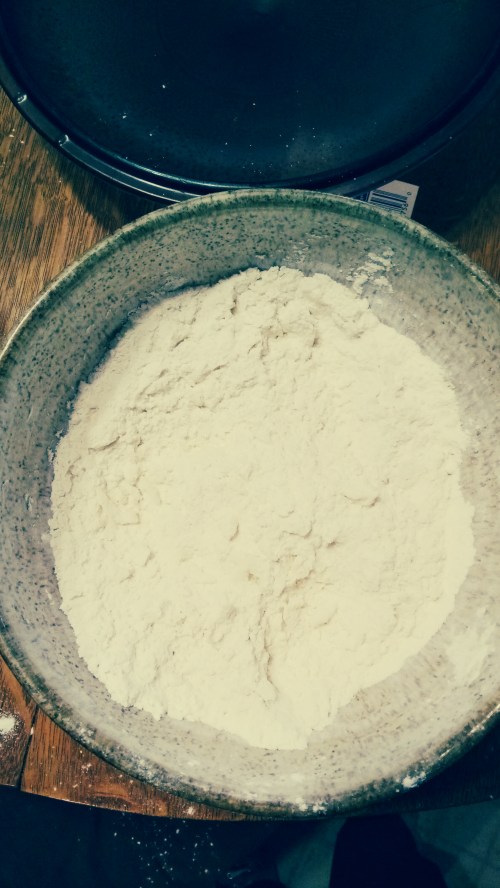 then slice 1/2 stick of margarine or butter into slices and either cut into dry ingredients with a fork, cutter or 2 knives or smush into the dry ingredients with fingers until it resembles meal or coarse sand.
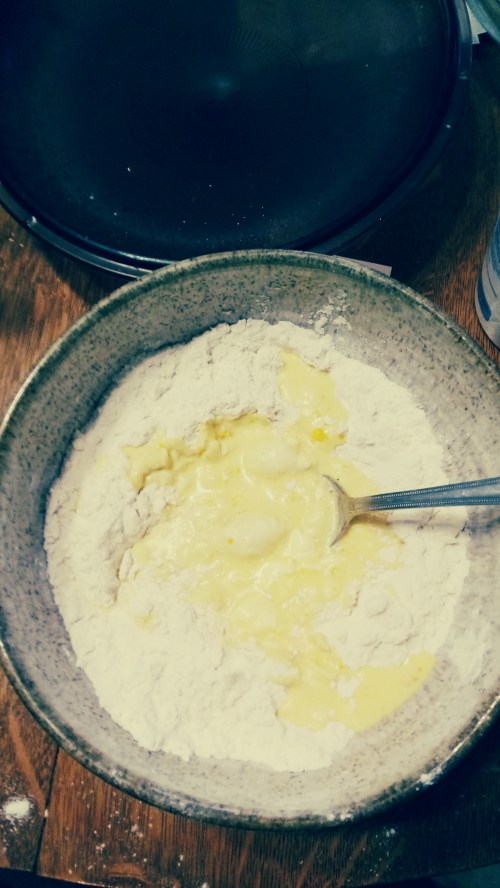 Make a well in the middle.
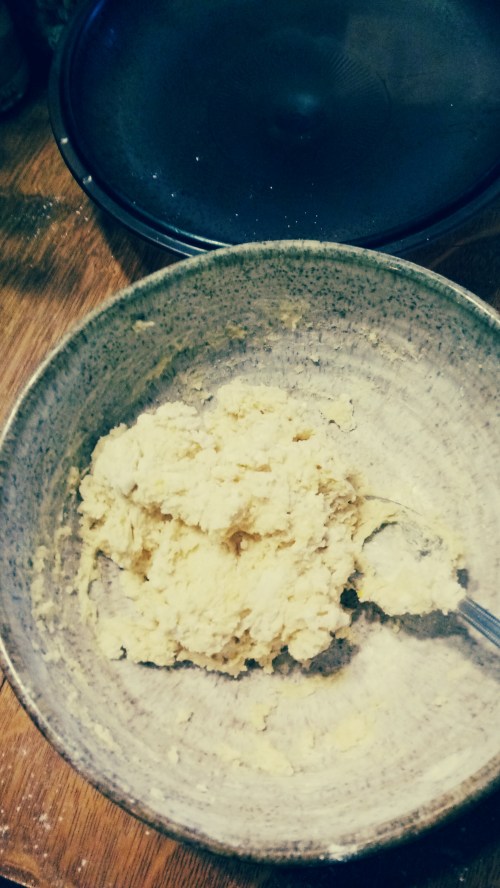 Add to the well and mix til it forms a ragged dough.
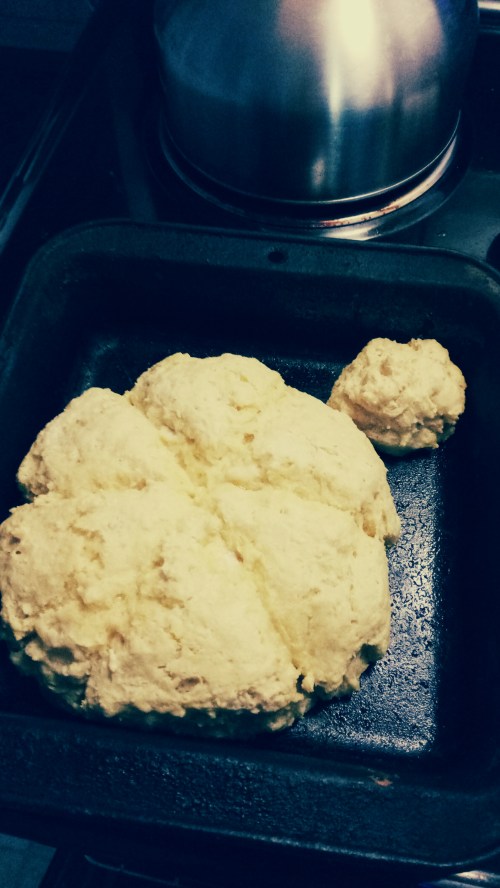 Turn onto a greased tin and form into a round cake. Cut into 6 or 8 sections. Or just take large spoonfuls and drop onto the greased pan.
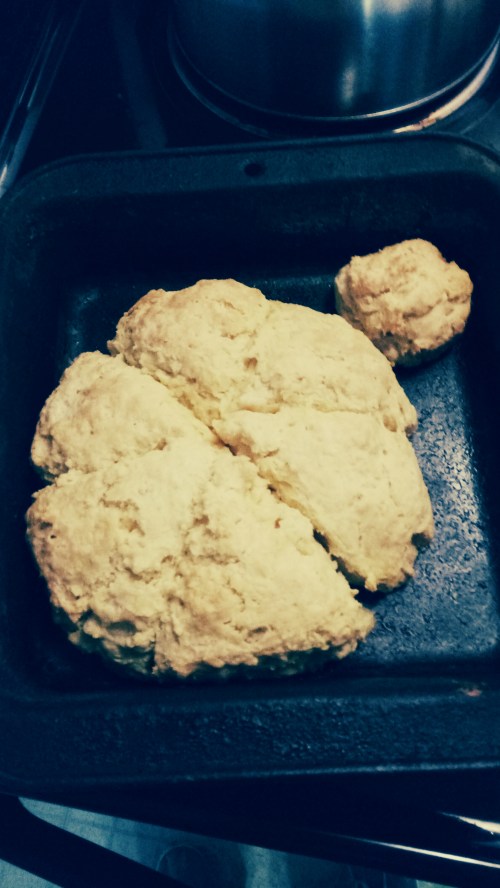 Bake at 350 until golden, about 20 min (give or take 5 or 10, depending on whether you pre-heat your oven, I don’t).
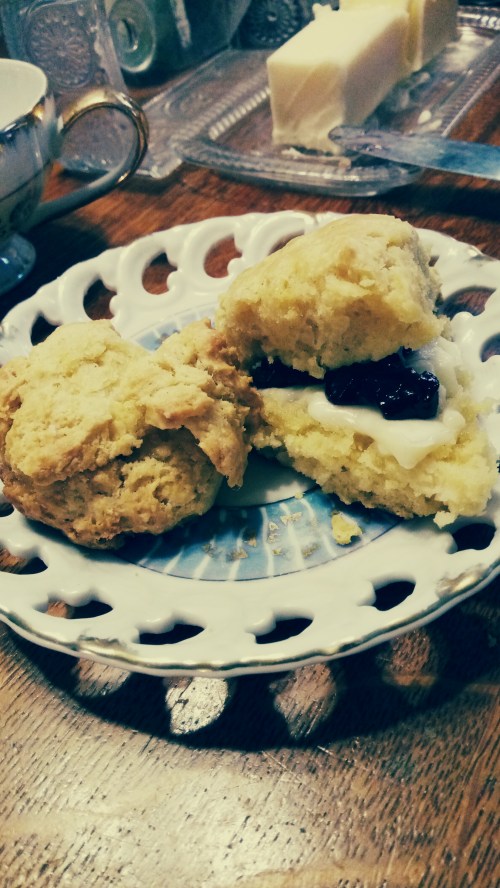 Serve with butter, jam, clotted cream at tea or breakfast or fill with smoked salmon, cheese, thin ha, or just butter for dinner.

You must be logged in to post a comment.