Great made fresh or with leftovers or even (gasp) from stuff in cans!
So, we start with the beans you have leftover from the other night. What!? You don’t have leftover beans!? OK, we’ll just accept that you used them in all the other fabulous things you made this week. Make some tonight and we’ll make chili tomorrow. What? You’re out of dried beans!? Blasphemy! *sigh* OK, open a can. You DO have a can of beans in the pantry for emergencies, don’t you? Good. So open it, drain it and empty it into a pot. Pinto, navy, kidney, black beans, it doesn’t matter.
 Now go get tomatoes from your garden. WHAT!? OK, so dead of winter or middle of summer in Phoenix won’t yield many tomatoes. No, don’t run to the store. Back to the pantry and pull out a can of diced tomatoes, open it and dump it in the pot.
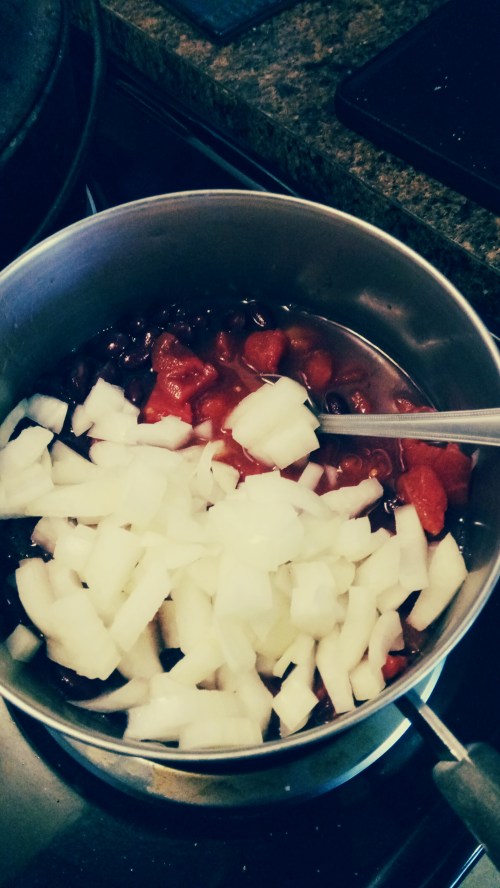 Pick a big onion (or a bunch of smaller onions) from your garden or the bowl in your kitchen. Chop it up and add it to the pot. OK, they haven’t grown big enough in your garden yet, so just pull one from the basket/bowl and chop it up. What kind of onion? Sheesh! Yellow, purple, white, green bunching onions that you didn’t use in yesterday’s salad…whatever you have is fine. This is home cookin’ after all.
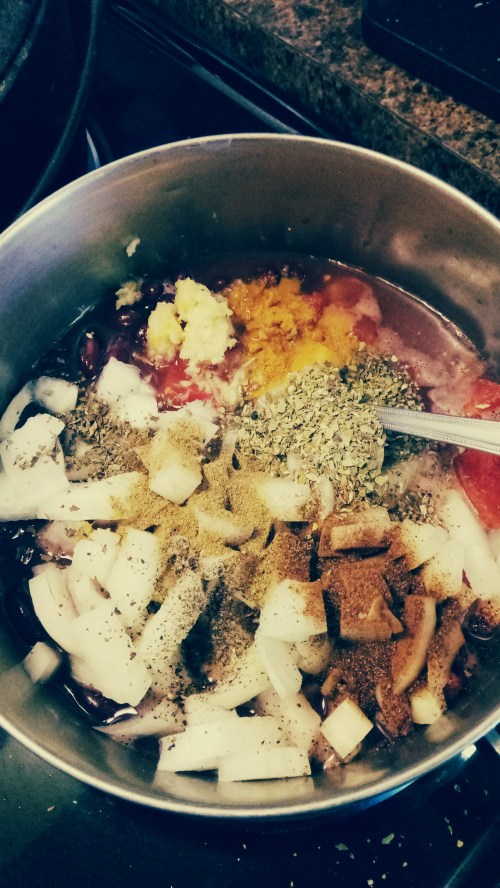 Now season with garlic, basil, oregano, pepper, cumin…whatever sounds good…and don’t forget the chili powder. I would’ve added Worcestershire sauce but I was out.
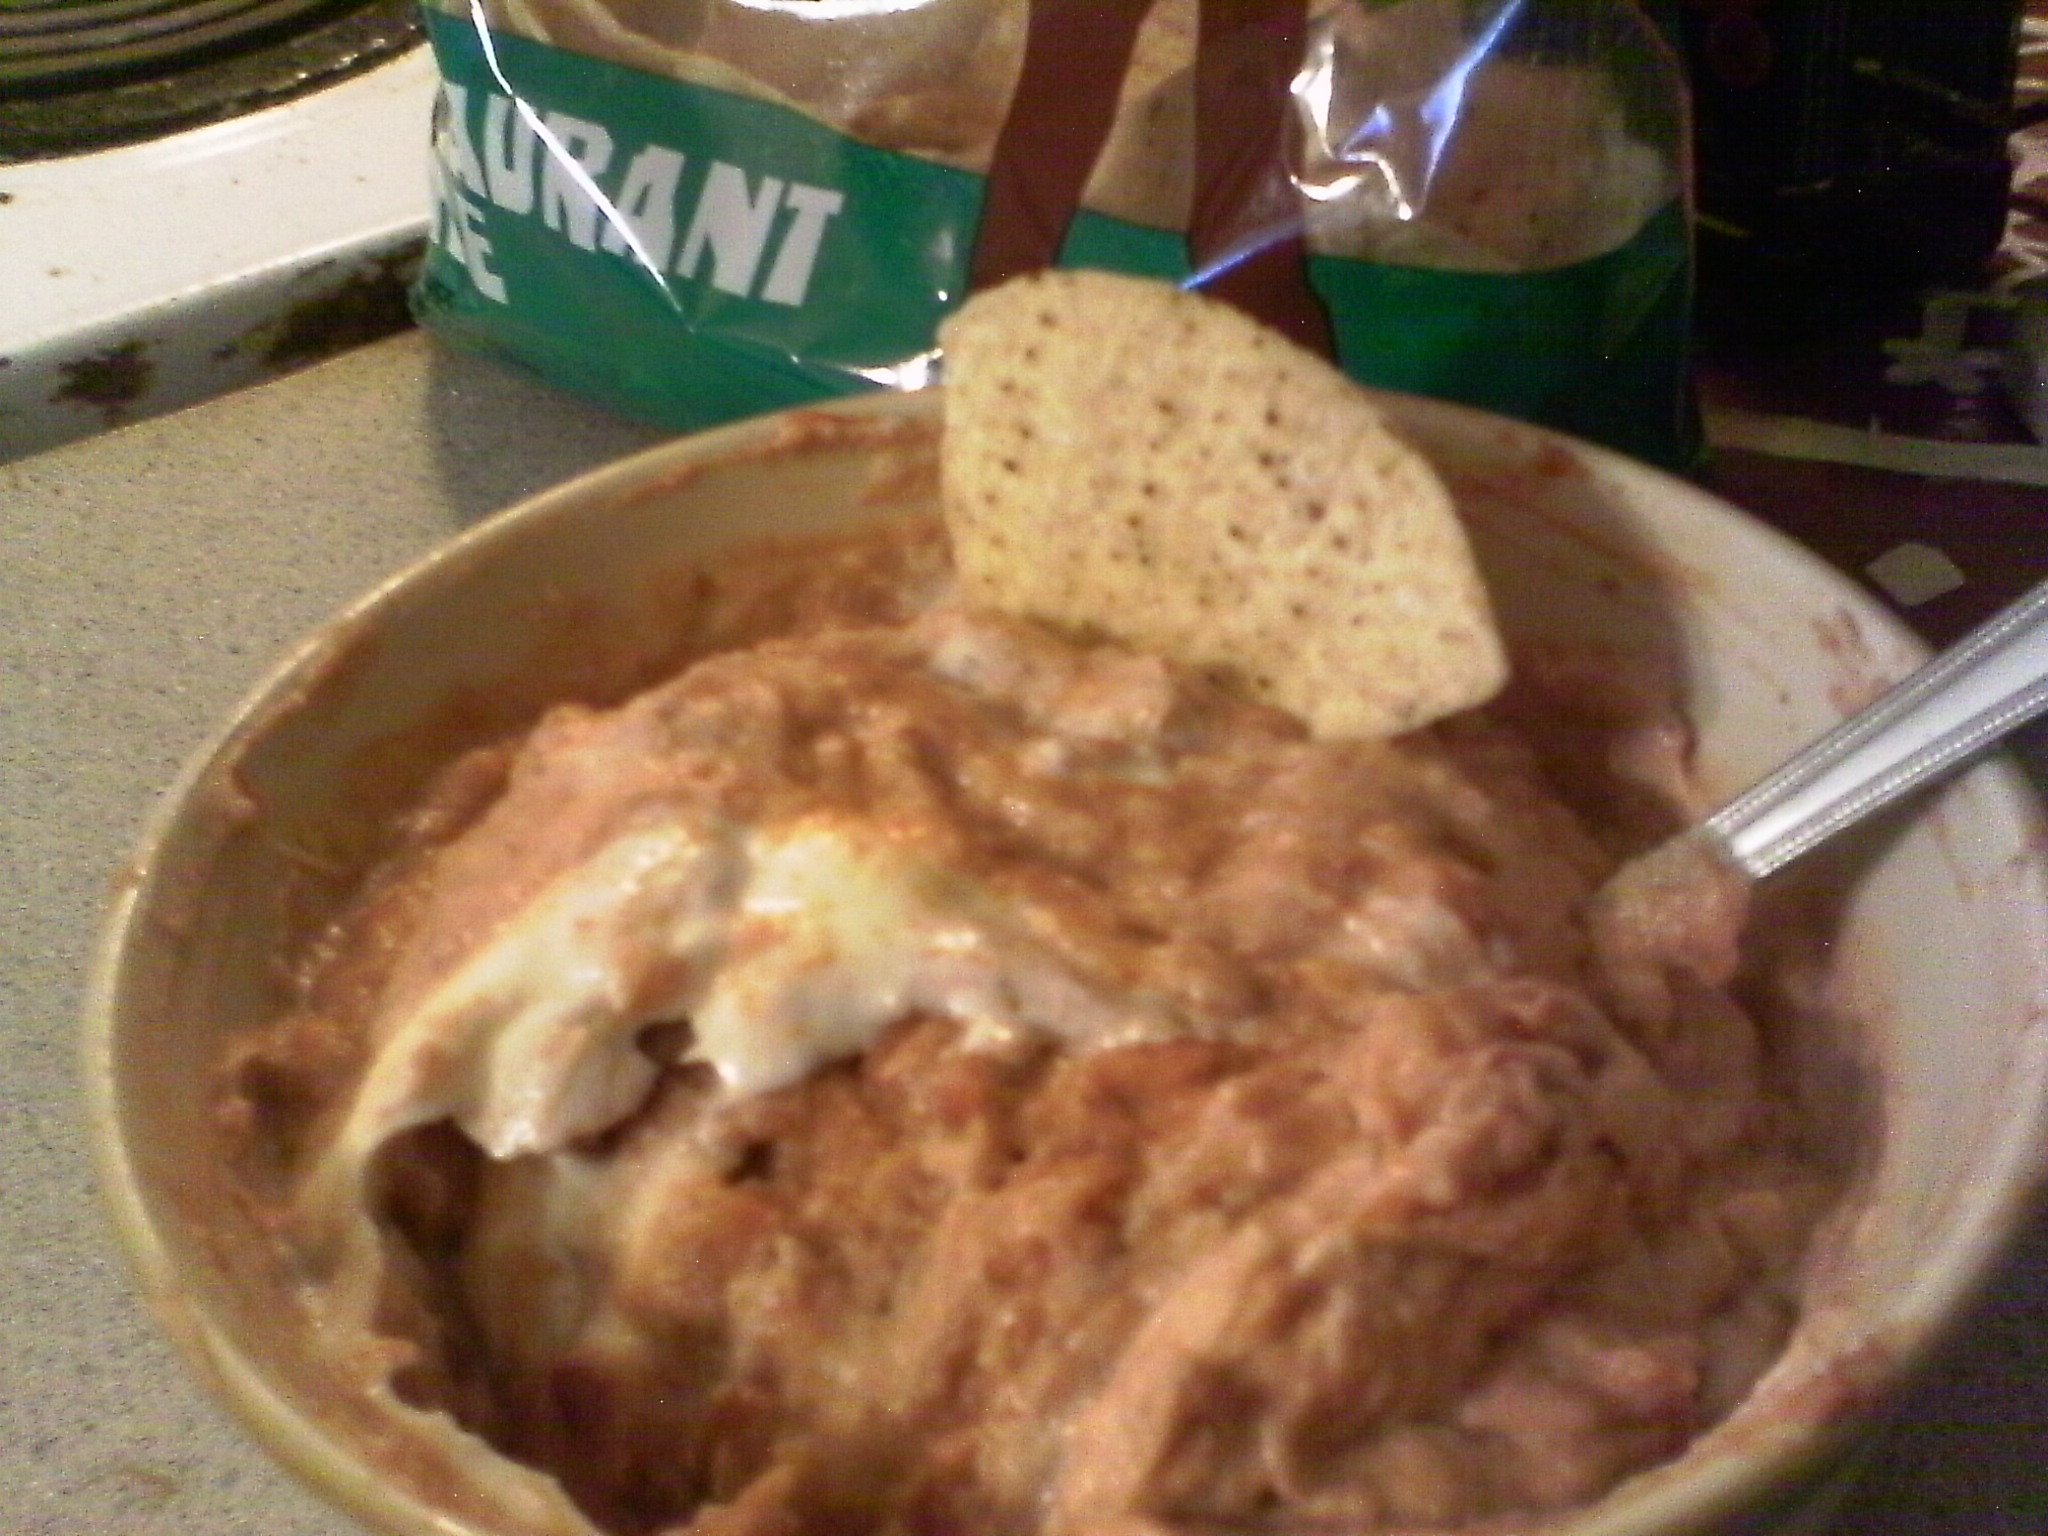
 Cut up some leftover meatloaf or roast or chicken or whatever and add it in. That’s leftover meatloaf in the picture. What!? No leftovers!? *heavy sigh* What are we going to do with you!? Well, some people don’t put meat in their chili, so this’ll have to do. Come to think of it, some people don’t put beans in their chili, so…let the arguments begin! Yes, you can make do with tofu if you must, especially if it’s leftover. Mushrooms make a nice meat alternative, too, or zucchini. Yeah, who doesn’t have a surfeit of zucchini at some point? You’ll just call it plain chili, not chili con carne.
Add a bottle of beer or wine and let it stew for a while, til it’s nice and stewy and your tummy can’t stand to wait any longer.
 Garnish with cheese (making it chili con queso), chopped onions, chopped tomatoes, shredded lettuce, chopped cucumber, bacon pieces, sour cream, lemon wedges or anything your hungry tummy desires.
Serve with buttered tortillas (I like flour tortillas, but corn tortillas are good, too) or crackers or cornbread or Fritos or tortilla chips or croutons or bread or toast (yes, I have family in the Midwest and honestly, you really need something to sop up the last of the liquid goodness).
It’s good with beer, red wine, milk or the soda of your choice (I prefer “the real thing”).
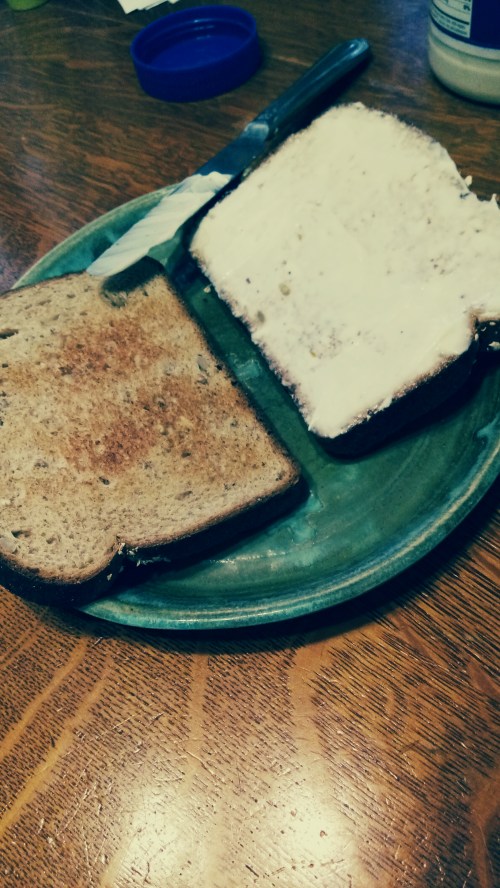 Toast 2 slices of bread.
 Spread with mayonnaise or 100 Island dressing, or ranch or butter and/or the condiment of your choice. Mustard is a traditional choice, but catsup, salsa, piccalilli, chutney, sweet and sour sauce or even BBQ sauce can make this an adventure.
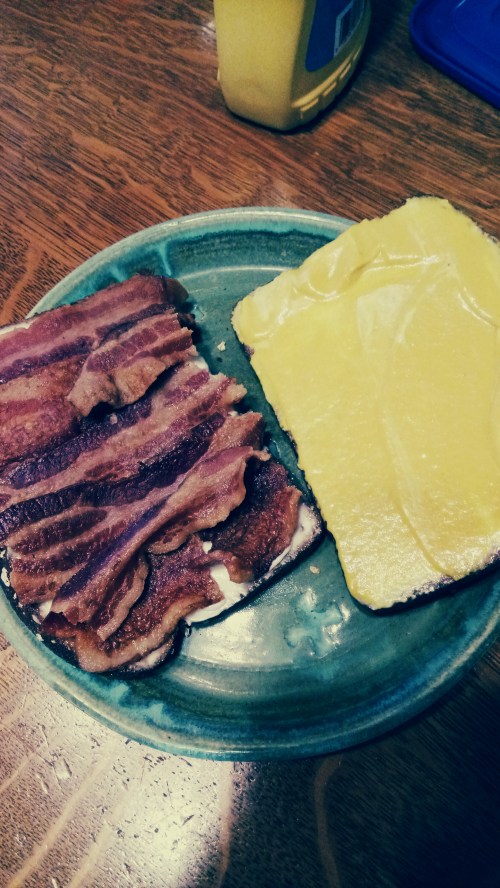 Lay strips of cooked bacon on the slathered-up bread. Ham or other lunch meat can be substituted if you like.
 Add cheese. I usually use American cheese, but this time I had provolone. Swiss is good, too, or you could try muenster or anything your little cheesy heart desires. You don’t have to put it under the broiler to melt, but I did so this picture came from after the egg was done. You’ll notice lettuce under the egg. It’s a nice addition that makes the whole sandwich feel compleat, special and professional.
 Fry up an egg in a little butter, bacon fat, olive oil or whatever oil is handy. You can leave it nicely asymmetrical like a regular fried egg, either sunny-side-up or over easy. Sunny-side-up can leave the yolk warm and liquidy so it can end up as a default condiment in the sandwich. Asymmetrical eggs are fun to nibble at around the edge before you bite into the bulk of the sandwich. Or you can break the yolk and scootch the egg into a general shape to fit the bread, as I did.
 Lay the egg on the sandwich, close and gleefully consume with the beverage of your choice.
 Melt butter/fat/oil/whatever in a saucepan
 Add flour.
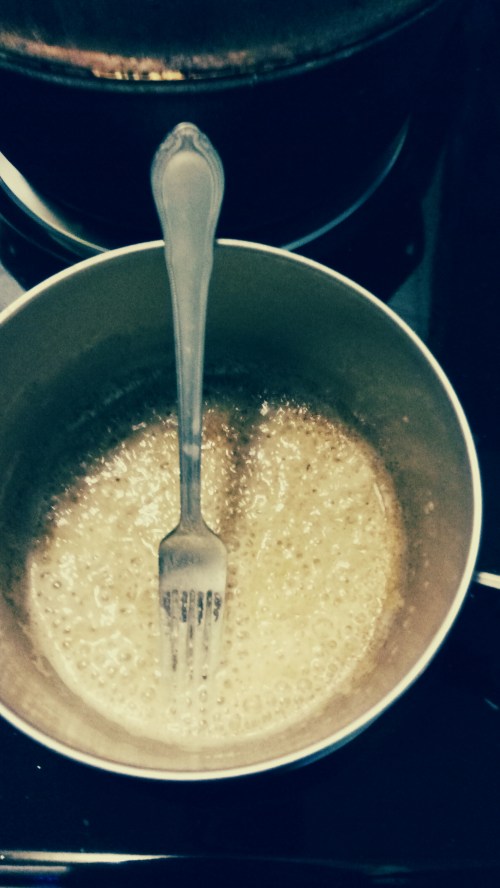 Stir until it’s toasty.
 Quickly stir in the beer, squishing all lumps that form.
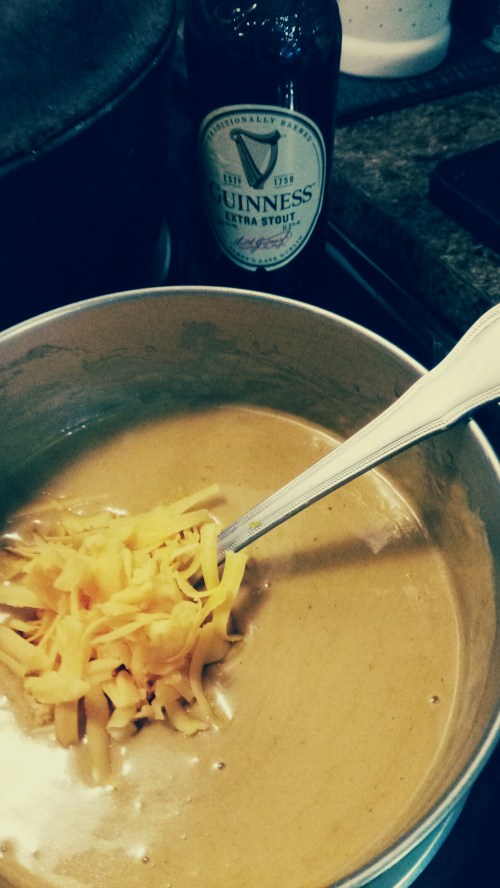 Bit by bit add the cheese, stirring to make it not clump.
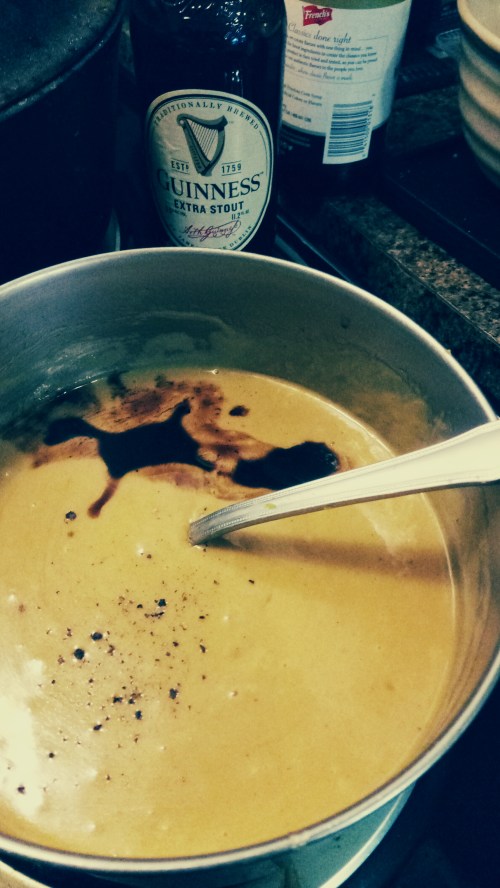 Once cheese is all in and melted, add seasonings to taste.
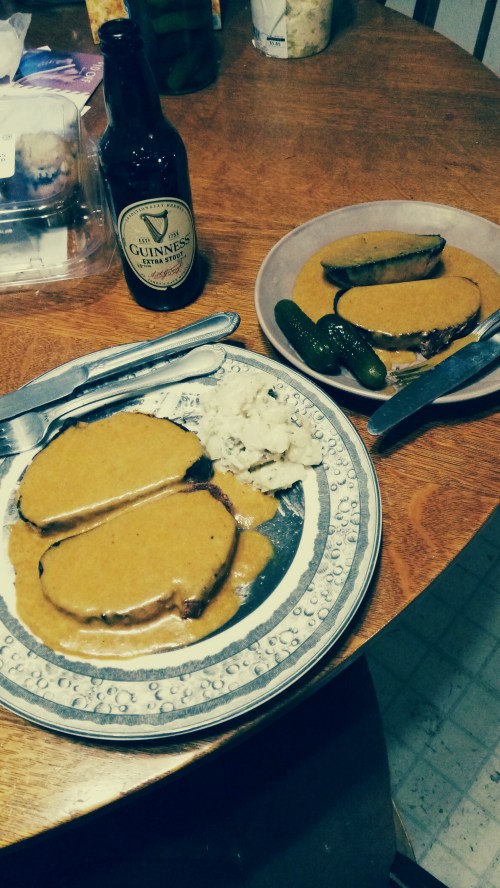 Serve over toasted English muffins or thick slices of bread.
 Put the chopped onion (as much as like) in the hot oil to saute as you prep the eggs.
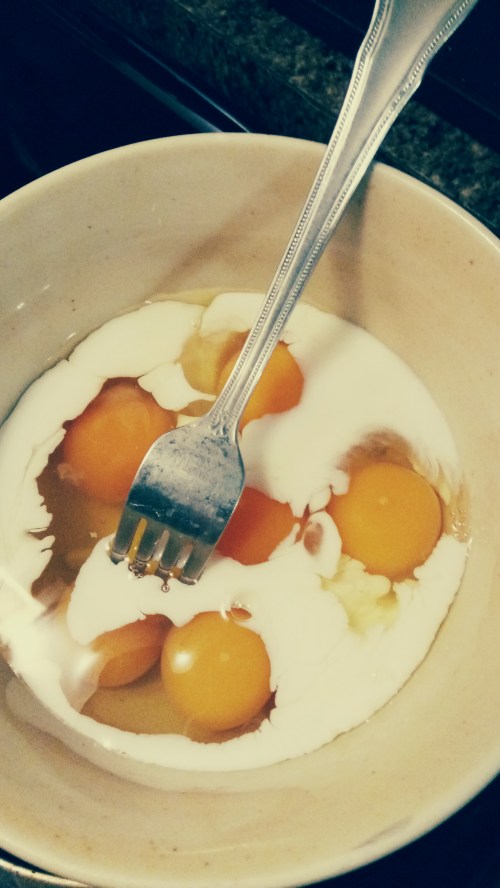 I figure 2 eggs per person. We had 3 for dinner tonight, so I used 6 eggs. Add some milk (about this much, more or less).
 Season the eggs with pepper, garlic, paprika, basil…anything that sounds good. Scramble well with a fork. It’s fun to get all stabby on the yolks first, too.
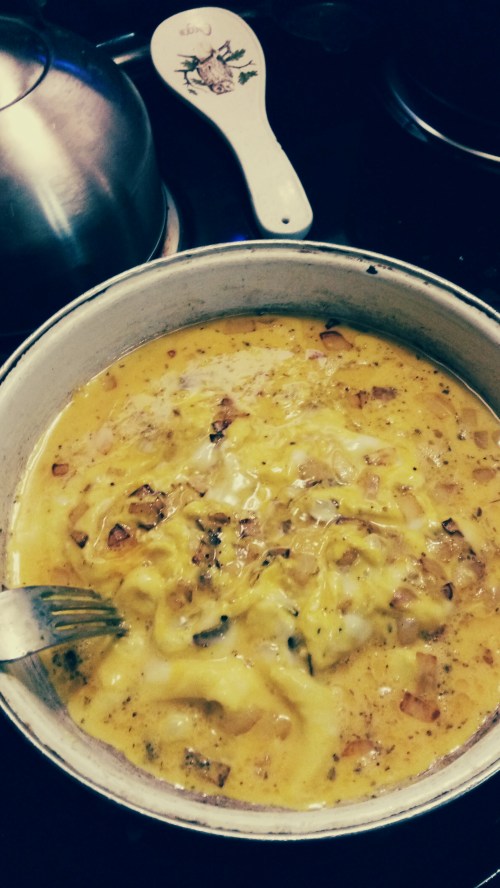 Scoot the eggs a bit as they firm up on the bottom so the liquid eggs can slide under and cook. If you tear or break the eggs just let the liquid fill it and mend it.
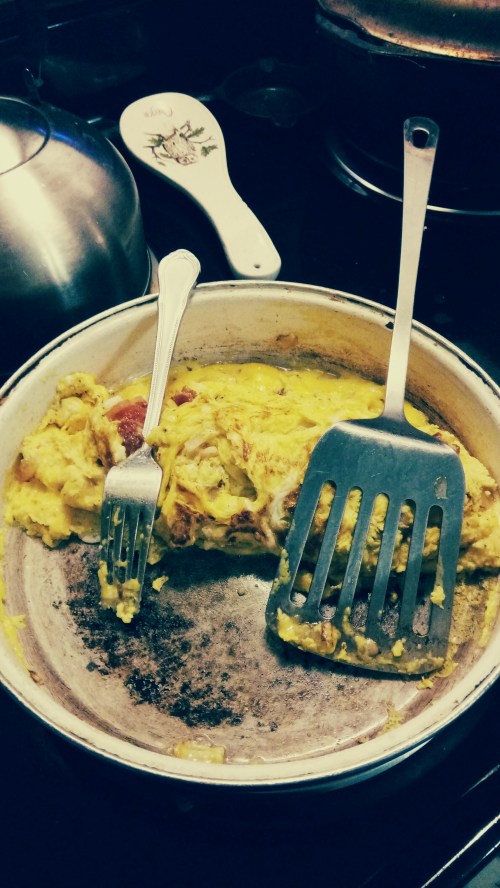 Once it’s mostly firm, quickly add the chopped vegies (I forgot the broccoli!) and meat. and cheese. Fold. If all you can do is one fold, in half like a taco, that’s fine. If you can manage folding one side over to the middle, then the other side over that or just rolling it in the pan, that’s OK too. With practice you can make pretty omelettes to rival any chef. The point is to make something tasty but you do get points for making it pretty on the plate.
 Divide into portions and serve. Ignore the hammer on the table. We fixed a chair earlier. We were tired and were more interested in a quick meal than putting tools away.
 Cut as many slices as you like, as thick as you like.
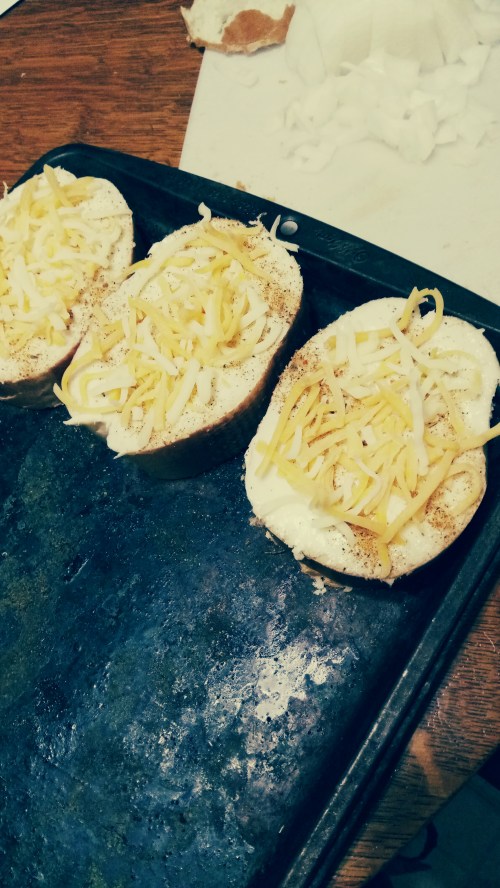 Butter, season and cheese them. Stick under broiler until cheese melts or is as toasty as you like.


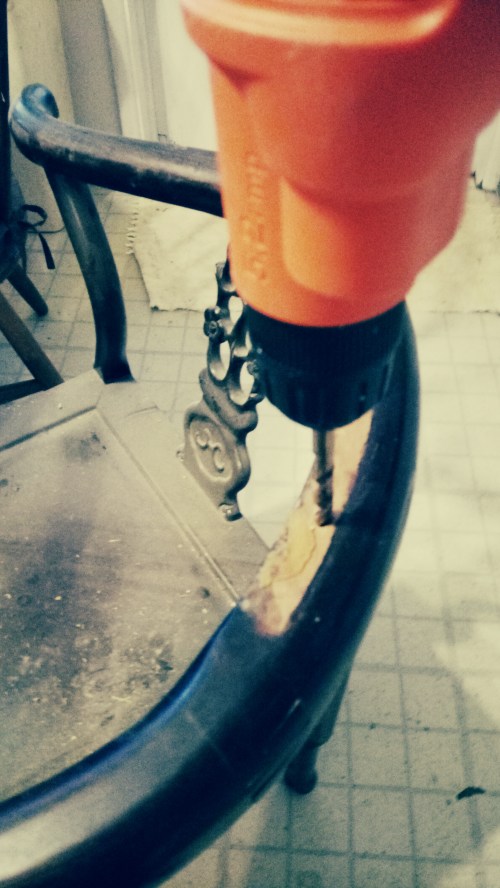 I pulled out my drill and bit set and found a bit that matched the dowel that matched the original dowel holes (OK, slightly larger). Being careful to keep the drill plumb, I drilled the original holes in the chair body.
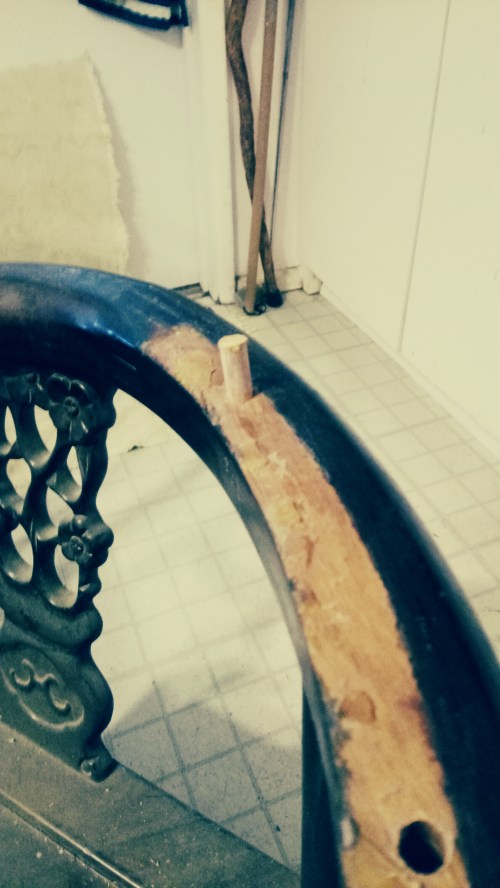 Then I placed a dowel in the hole, measured with an incredibly precise tool (my finger) and cut it with a hole saw.
 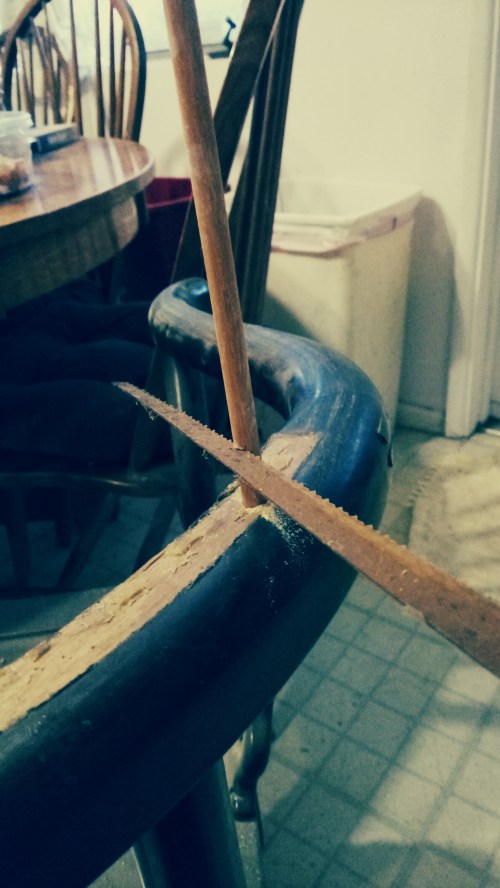 Of course I couldn’t show the measuring process while taking the picture! Not enough hands.
 After a dry-fit to make sure it all would go together (yay! It worked!)
 I applied glue to the dowel holes and each side of the surface to be joined. Yes, I should have used wood glue. Yes, I usually have it but somehow it got old and wouldn’t flow so I decided to be lazy, not run out for a new bottle and just used the white glue I had.
 Using a soft mallet I tapped the pieces into place and managed to not damage the finish.
 Then wiped off any glue that squeezed out with a damp cloth.
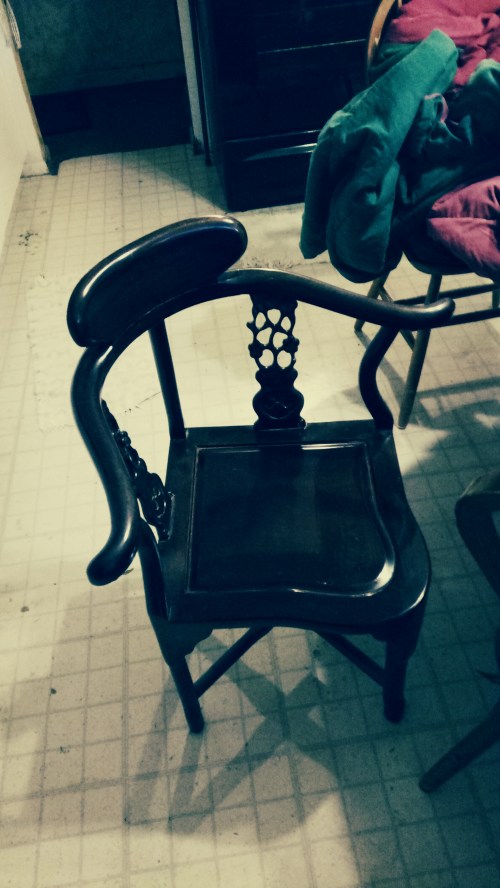 Tah dah! A broken chair mended and back to usefulness in about an hour.
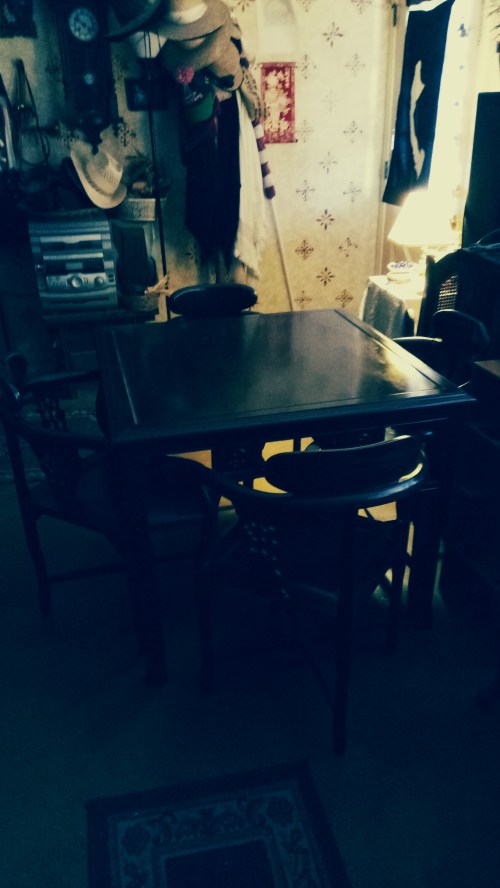 You’d never know which one it was now. Anyone for a nice game of chess?
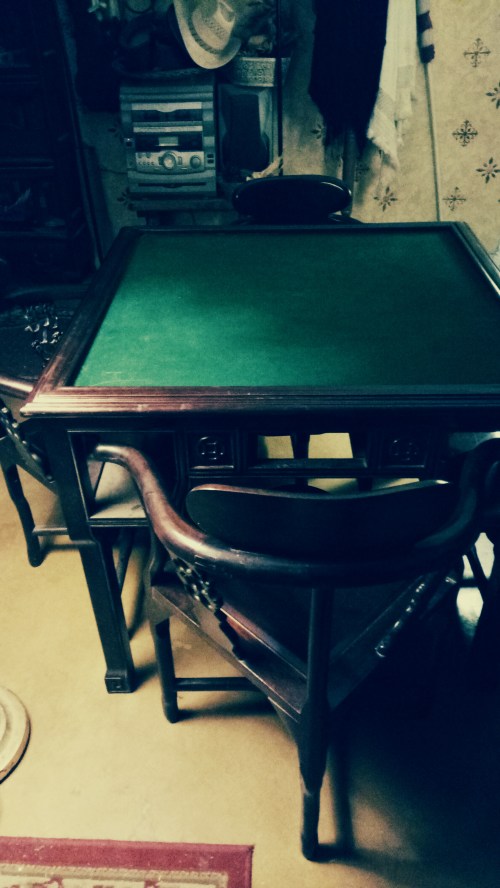 Or a round of cards?
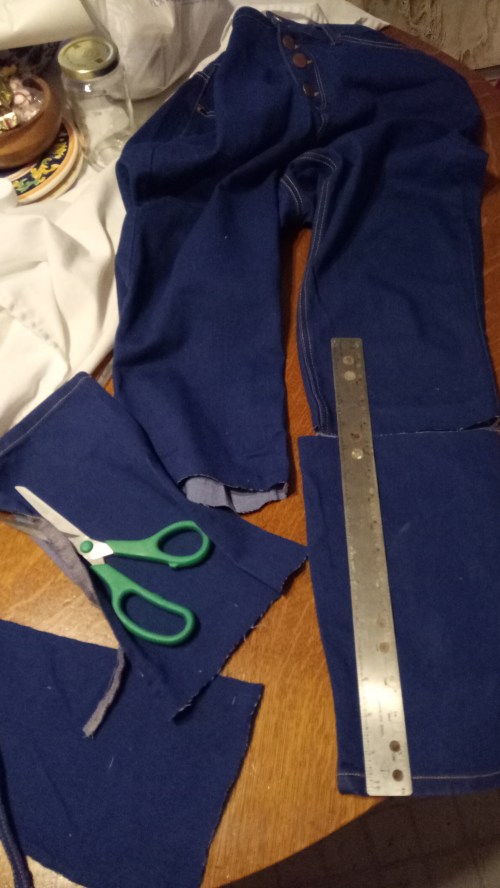
 I cut this pair 11″ up from the hem. Then I cut the seams off the off parts and evened up the cloth and cut 4 strips.
 I put 2 of the strips right side together and sewed then at one end, repeating with the other 2 strips. Then I ironed open the seams and ironed them in half the long way like they’ll be after I sew them to the end of the pants.
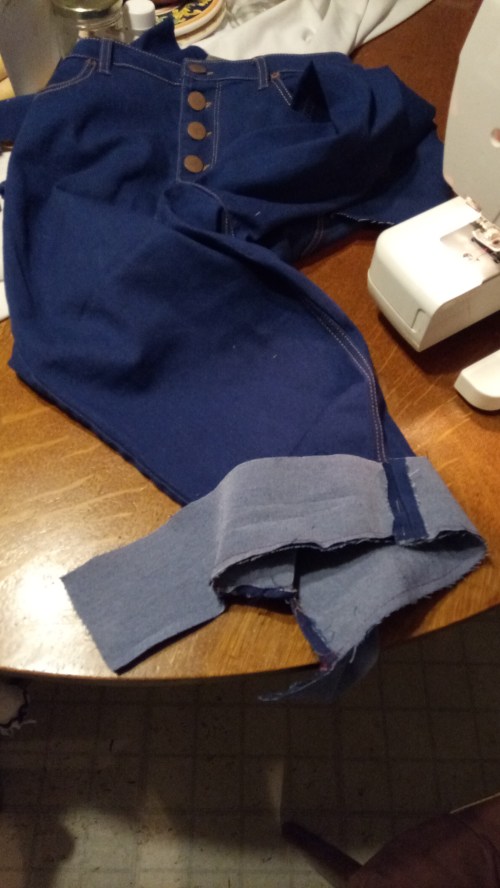 I opened the outside seams of the pants about 2 inches up the side, sewing the cloth back to keep it finished and nice. At the top end of the opening I backed and forthed a couple times to tack it and make sure it wouldn’t continue to open up along the outside of the leg.
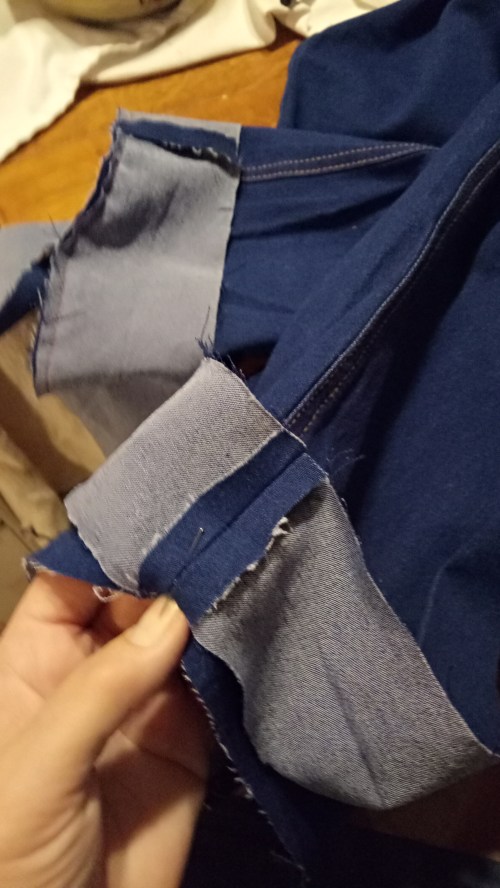 Next pin the center seam of the strips to the inside seam of the pants, right sides together. If you have enough pins, pin the whole thing (it helps) but I didn’t, so I just used the one pin. Either way, don’t sew over your pins, you’ll bend the pin and break your needle. Anyway, sew the strip to the pant leg, stretching slightly as you stitch if your pants are somewhat stretchy as mine unfortunately were.
 Turn the edges over to match the seam edge between the end of the pants and the ends of the strips and sew them down.
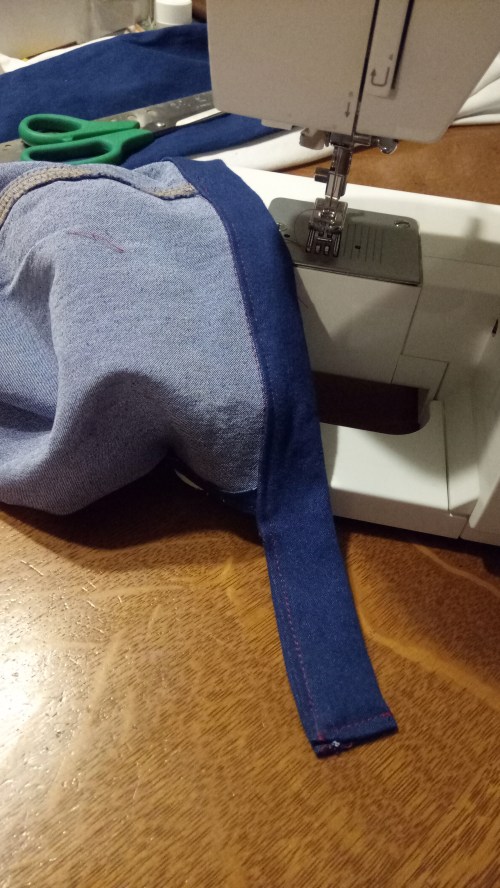 Next turn the edge slightly, iron to keep it in place and pin. Stitch carefully so it looks straight on the right side.
 Decide where the buttons will go on the short end of the strap and mark your buttonholes accordingly. Do a tight blanket stitch around the button markings, making them snug but not tight to the button size so they’ll stay closed but be able to loosen a bit over time. Sew on the buttons and button as you like.
 Ta Daaa!!!


You must be logged in to post a comment.