Posted by: briellethefirst | June 11, 2015

I’ve Been Absent, But I’m OK


I haven’t been posting as much as (wow! Has it really been that long!?) … well, life happened. Unemployment sucked but made more time to write, so I did! Then friends died, I had to put a my dog to sleep and  a crappy job took up most of my time (working then recovering). Film-making, critters, music, gardens and good friends have been bright spots in life. Still doing the crappy job. Still finding bright spots in sadness. Thank you all. Seeing the views even when I haven’t written for months had helped immensely.

I do keep having ideas but they usually happen when my hands are otherwise occupied (mostly as a meat librarian, but that’s another story) cleaning, opening boxes of meat to shelve, pruning or so many other random non-writing things. I do have a few posts in draft form to finish, and many more notes on ideas I’ve managed to scribble…I know they’re around somewhere…I keep finding them when I look for something else…

I’ve still got some unpleasantness to wade through, then I hope to be able to restart my life and write more. Keep being your interesting selves and I’ll try to write more. In the mean time, here’s a random picture:

Posh the attack Cat

Posh, protector of the property and all within

Posted by: briellethefirst | June 5, 2015

Flower Doll


Hollyhock in the wild

Hollyhock in the wild

This is the best reason to grow hollyhocks! My Mom used to do this when we were little. Her grandmother taught her how.

First, cut a flower and a bud,

Hollyhock flower

Hollyhock flower


Hollyhock bud

Hollyhock bud

Then push a pin up the inside of the flower and into the bottom of the bud, that small bright point is the head of the pin,

pin in the flower

Pin in the inside of the flower

Pin bud to flower

Pin bud to flower

Squeeze the two together to make it look like an old-fashioned lady in an old-fashioned dress,

Pushed together

Push them together so you can’t see the pin

Then put water on a plate and float her on the water so she can dance.

Let her dance

Put her on a plate of water so she can dance

Posted by: briellethefirst | March 14, 2015

Cawl


Yum!

Yum!

Happy St. David’s Day! March 1st. It’s a Welsh holiday, I’m part Welsh, so any excuse for a party, right? To celebrate I made Cawl today. It’s pronounced kaul. I looked it up in Wikipedia. It’s made from salt-bacon or beef or lamb, potatoes, swedes (rutabagas or turnips), carrots and other seasonal vegetables. I had (most) of the ingredients, so here’s my first crack at it.

List of ingredients:

Bacon fat (or Butter or Olive oil or whatever you have)

1 Onion

1 rib of Celery (optional)

2 or 3 strips of cooked Bacon (if you used them to render the fat to saute the onion, they’ll already be in. You can pull them out and break them up and put them back in.

Beer or Wine and water or broth (preferably home made)

1 Turnip

A few Carrots

2 to 4 Potatoes

Some leftover meat, usually roast, but you can use fresh/raw, cut into small pieces and saute with the onions.

Pearl Barley

Worcestershire Sauce

Salt, Pepper, Parsley and whatever other spices suit you…to taste

So. Start by pulling out and chopping an onion or 2 (depending on how big they are), a couple of carrots (again, size…I used 3 small to medium ones) and digging some potatoes from the garden. Don’t have any in your garden!? Quick, run to the store…I’ll wait. So, while they’re running to the store let’s talk about why the rest of you don’t have any garden at all…(raises eyebrow, taps foot, shakes finger)…since you can grow stuff in pots made from old cans, juice bottles and other random things and set them in windows or balconies or under grow-lights and there are strategies to avoid watering daily…well…that’s another post, anyway. OK, they’re back…scolding averted.
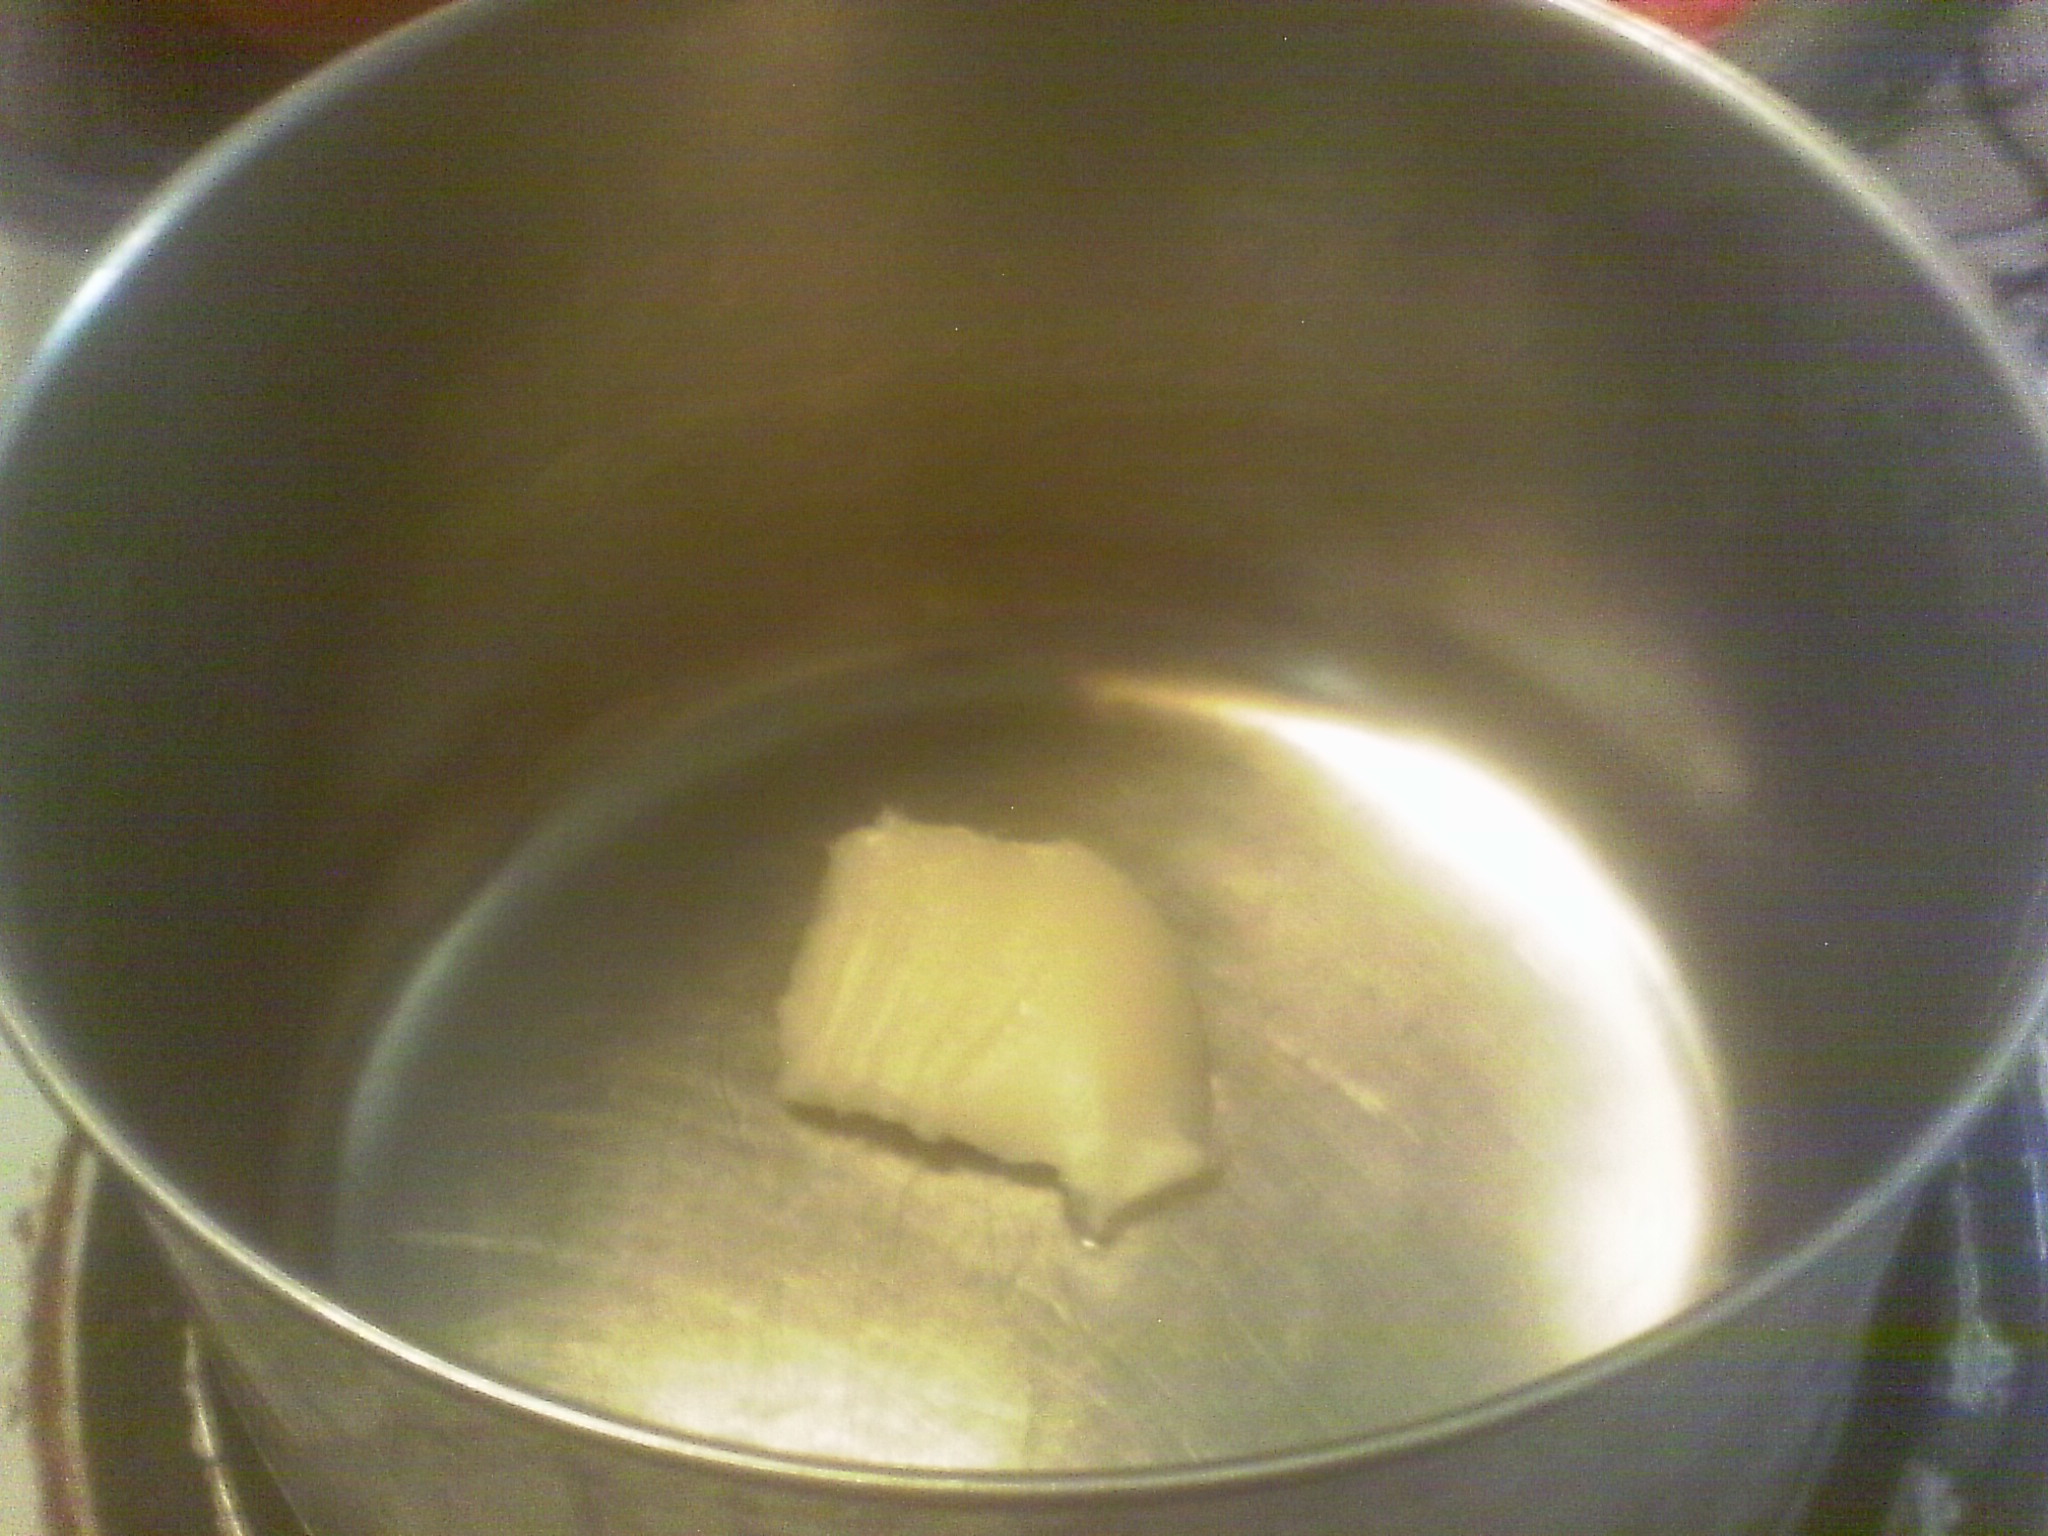
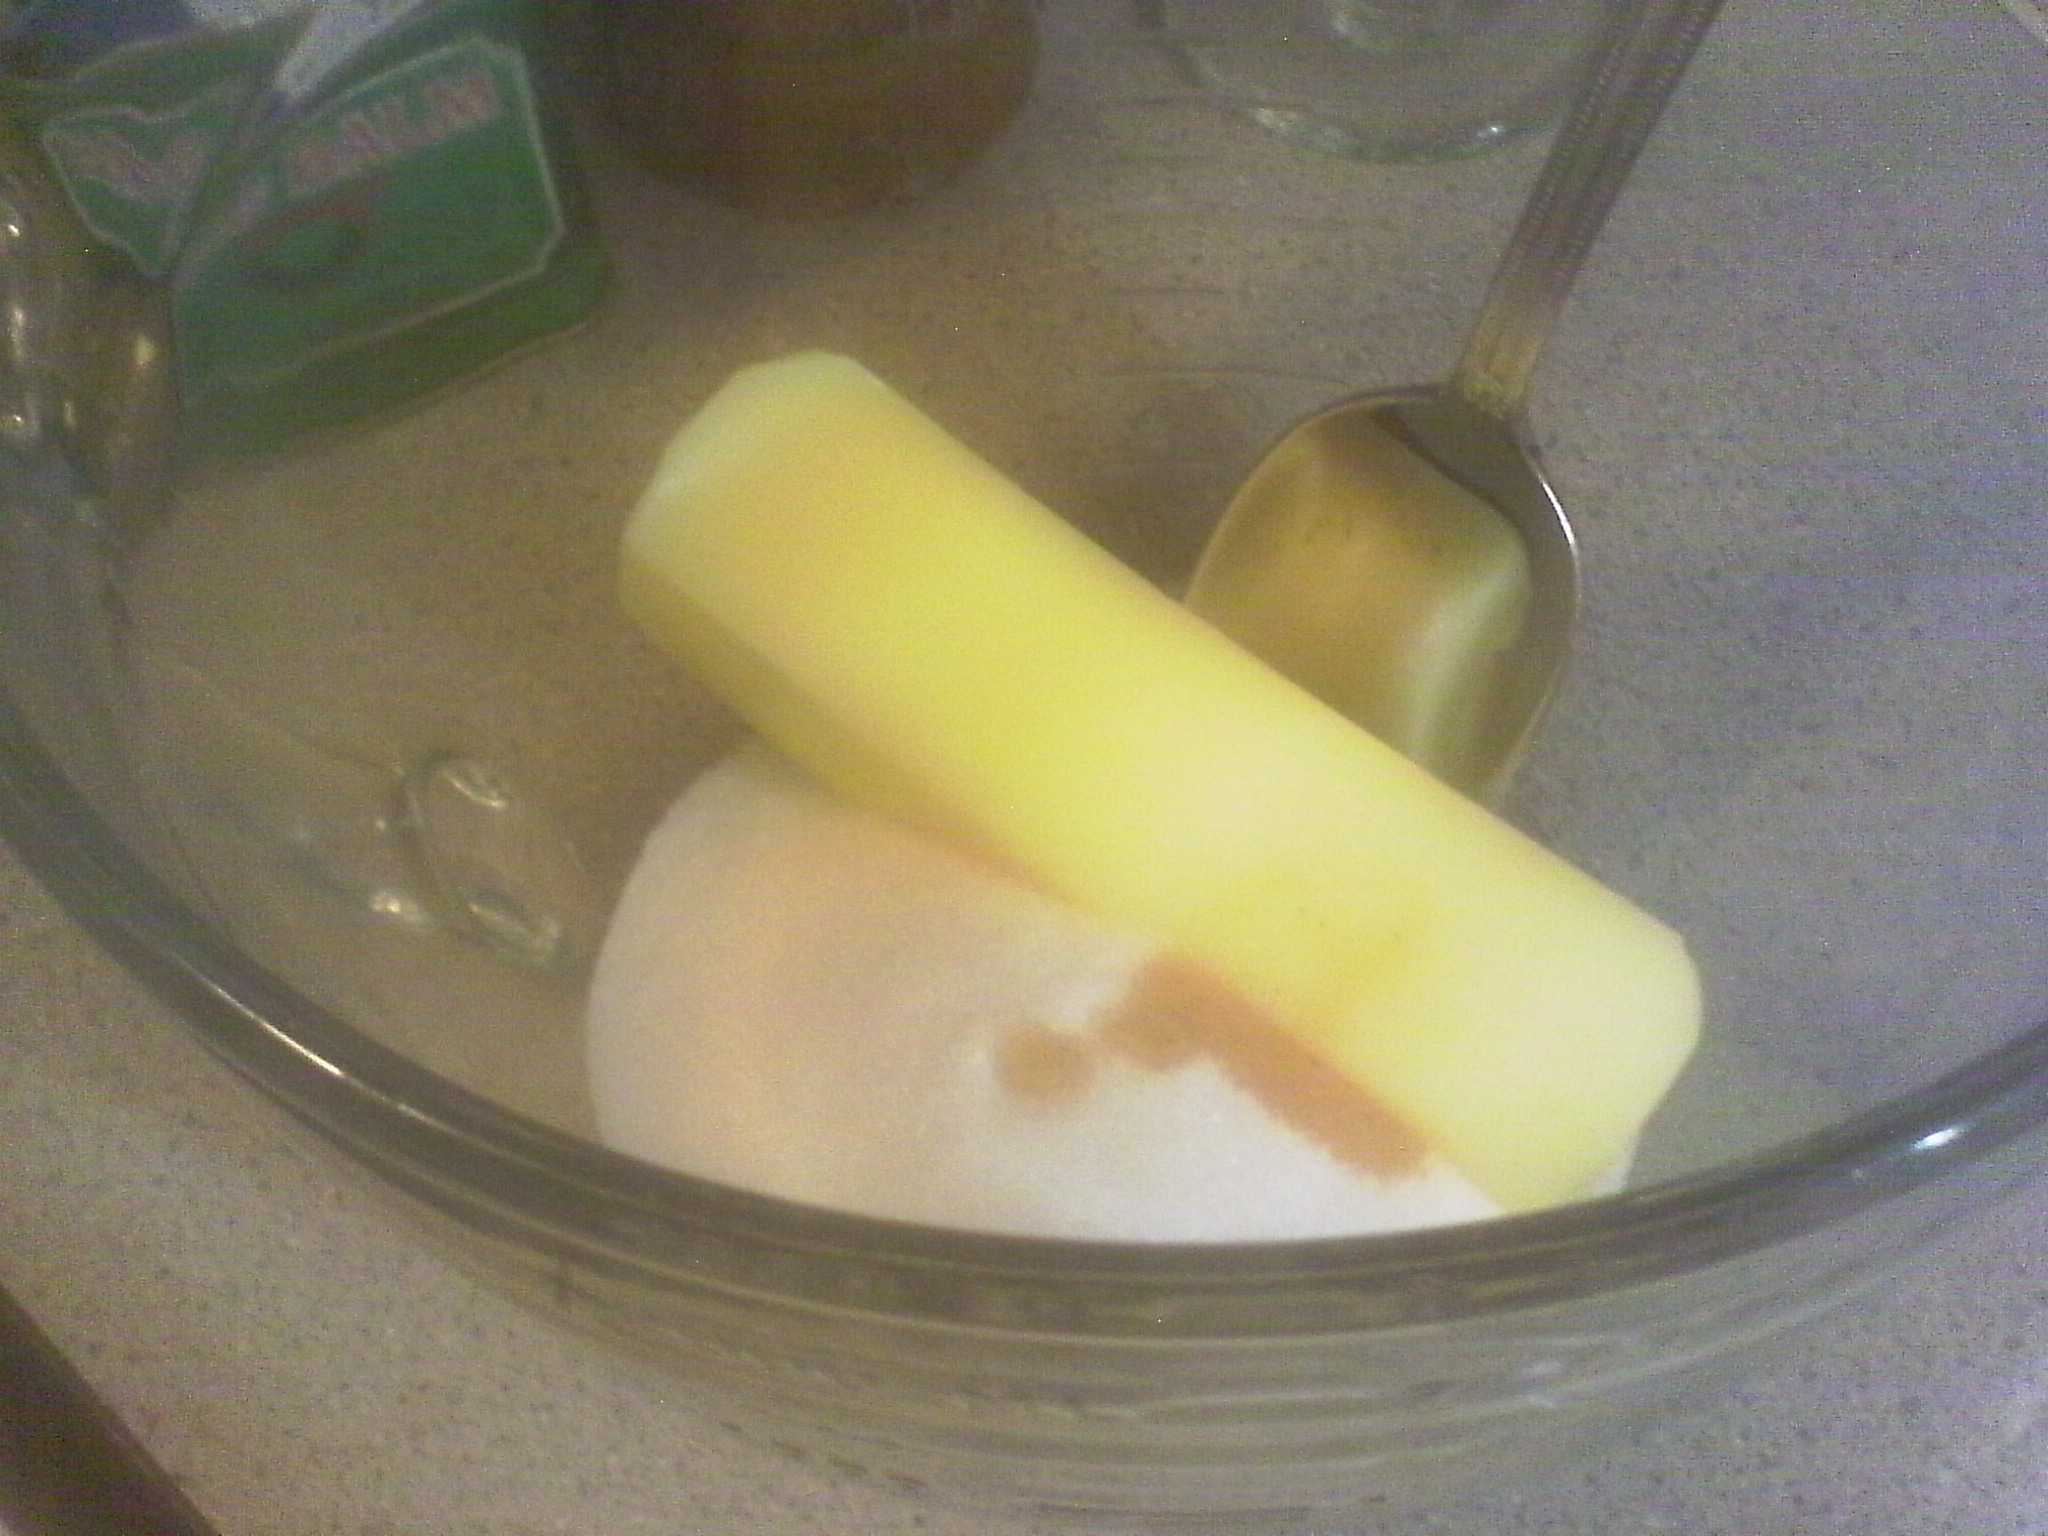
knob of bacon fat

knob of bacon fat

So, pull your bacon fat out of the fridge and scoop a knob (about a generous Tbsp) into a 2 qt pot. What, you didn’t save your bacon fat!? OK, just take a couple of strips of bacon and cook them in the pot until they’ve rendered enough fat to sauté a chopped onion over medium heat. No bacon!? OK, use olive oil, butter or whatever you have handy. YOU HAVE DUCK FAT!!!? (who has that!?) LOVELY! Use that!

Next time get a lb of bacon, lay the strips in 1 or more pans, cook it in the oven until done as much as you like. Pour the oil off into a bowl to cool, drain the slices on a paper towel and when they are cool put the bacon in a container and freeze it and put the fat in another container in the fridge. It’ll keep a very long time! And you’ll be ready to make cooking that smells of camping and proper breakfasts anytime you want.

This is also the point where you’ll want to add meat cut to stew-sized bits. Beef, pork, lamb are best (if you can afford them) and even chicken, turkey or duck or other birds (if you hunt…OK, city kids don’t hunt much, so stick with what’s available at the store and within your budget)

Saute onions

Saute onions

So, back to the soup. Once the chopped onions are starting to nicely brown (I assumed you figured out that’s what you should do once the fat melts/renders and the onions got chopped) you’ll notice that brown bits are starting to stick to the bottom of the pan.

Fond

Fond

DON’T PANIC! This is a good thing and it’s part of the flavour growth pattern. Just don’t let it get too dark. Have a cup of water, or preferably beer (a nice ale or even stout) or wine or even broth. This will help you lift the fond off the bottom of the pan. It’s called de-glazing and it gets more flavour into the soup as well as making cleaning up easier (no burnt bits on the bottom).
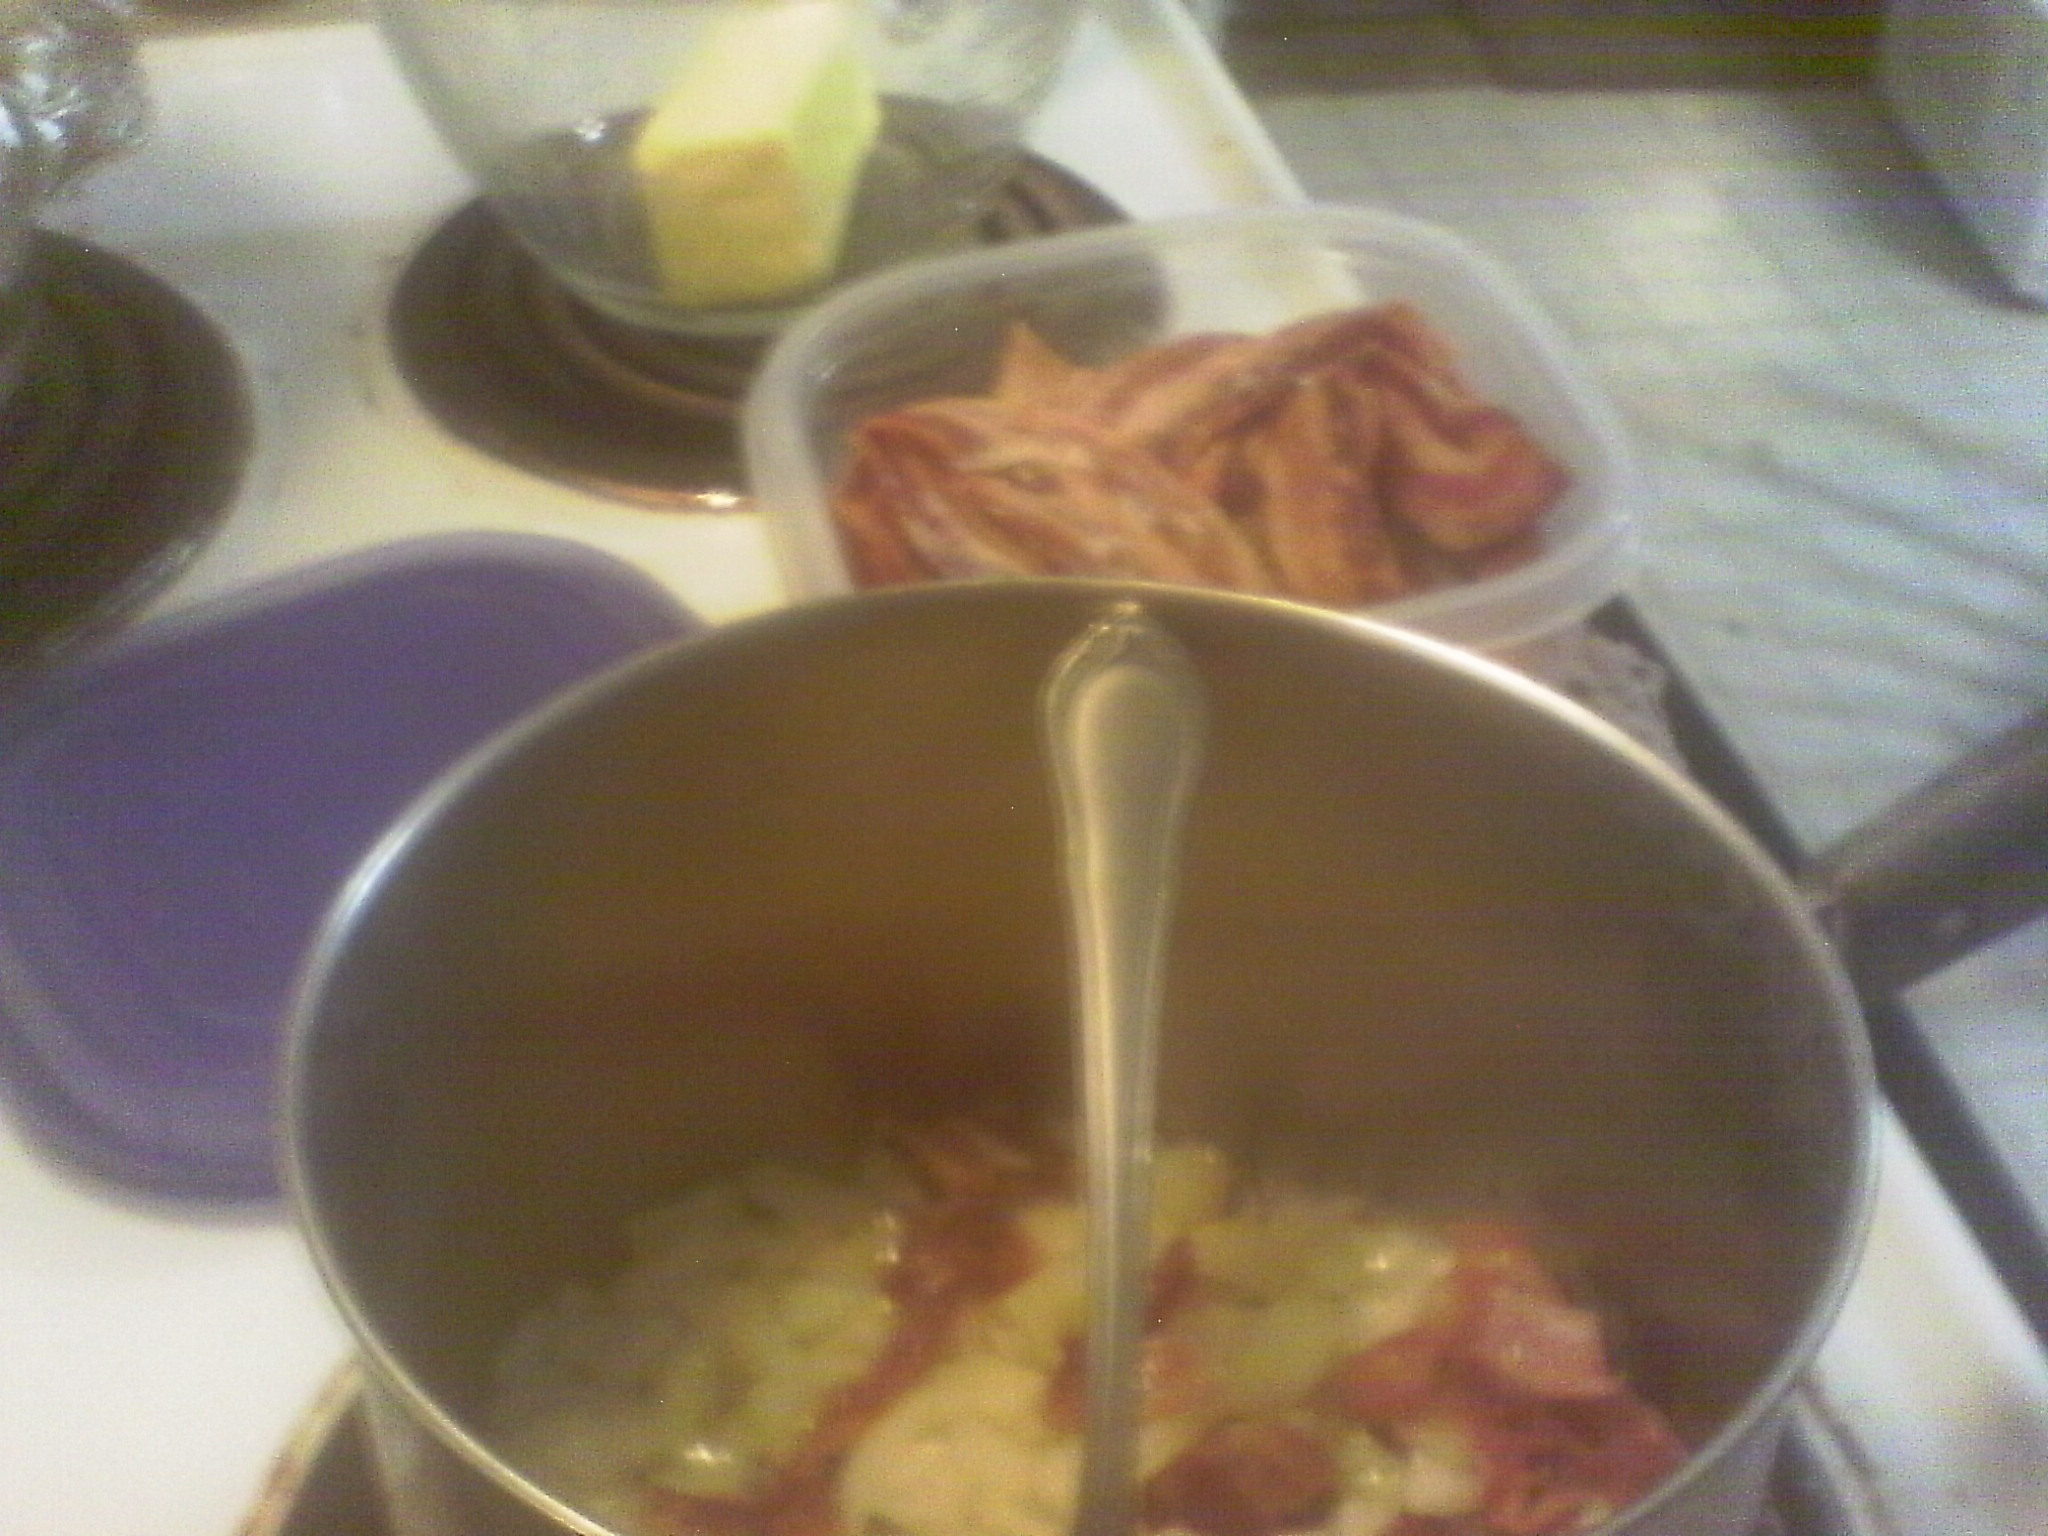
Adding bacon

Adding bacon

If you had to fry some bacon to start with, skip to the next step. If you thought ahead and have bacon in your freezer, add 2 strips. Now add some wine and stir the fond off the bottom of the pan.

Time for the veg.

carrots!

carrots!

Peel and chop a Swede (turnip or rutabaga) and add it. Now cut the tops off the carrots and give them to your chickens. What? No chickens!!? What am I going to do with you!? Well, at least put them in your compost heap or (if the stubs are big enough) re-plant the stubs and try to grow new carrots…after you’re done cooking! Wash the carrots, chop them and add to the pan, pouring in enough water to cover the carrots.

Potatoes!

Potatoes!

Now wash and chop the potatoes and add to the pan, with enough water to cover them, too. Add a few Tbsp of barley (optional), pepper and parsley. You can add a dash or two of Worcestershire sauce, too, if you like. Simmer until everything is tender.

Serve with buttered bread. Pumpernickel is marvelous, as is sourdough, rye, good whole wheat, soda bread, scones, biscuits…really, this is poor folk food, so make a feast of what you have. A glass of beer or wine is nice if you have it and a nice salad on the side with shortbread or strawberries and cream for desert would be nice, too.

If you have peas or other things from the garden you’d like to add, go ahead. You can also add leftover vegetables, since there’s usually not enough for anything other than adding to soups or stews and they often stick around until you have to throw them into the compost.

Posted by: briellethefirst | March 8, 2015

Shortbread


This is a super simple traditional cookie with only 3 ingredients, or 4 if you count vanilla. Using powdered sugar will give you a more delicate cookie while using granulated sugar will make the cookies crunchy around the edges and brown sugar will make them chewy.

Butter, Sugar, Vanilla

1/2 c Butter (soft)

1/4 c Powdered sugar

1 tsp Vanilla (optional)

Smash up
Smash up

Cream this together. Yes, just keep smashing it all together til it’s smooth and creamy.

Creamy, fluffy
Creamy, fluffy

Mix in 1 1/4 c Flour

Dry, crumbly dough
Dry, crumbly dough

Mix well. It’ll look really dry and crumbly, that’s OK.

Divide into 2 or more parts

Turn it out onto the cookie sheet, divide it into 2 sections and flatten each into a big, round cookie, smashing all the crumbly bits gently together.

Make it about 1/4 inch thick, or about a finger deep.

Not too thick, about a finger
Docking
Docking

Now dock it to make it look pretty and cook evenly. What’s docking? Basically it’s poking a few holes in the cookie to keep it from becoming misshapen. You can make the docking in any decorative design you want.

Bake at 350 degrees for about 10 min or until it starts to just lightly golden at the edges.

Just golden, shift from sheet carefully

If it browns it’ll be overdone. Cut them into wedges. If you want you can add chopped nuts to the dough or drizzle caramel or chocolate on the finished cookies.

You can also roll into balls and flatten with the decorative bottom that some glasses have or roll out with a decorative rolling pin or the side of a fancy straight-sided cut-glass tumbler. Then cut the cookies into squares and bake as otherwise directed. Docking can help these forms of shortbread, too.

Cut into wedges
Cut into wedges

Enjoy with tea, milk, coffee…yum!

IMG_20200310_103253
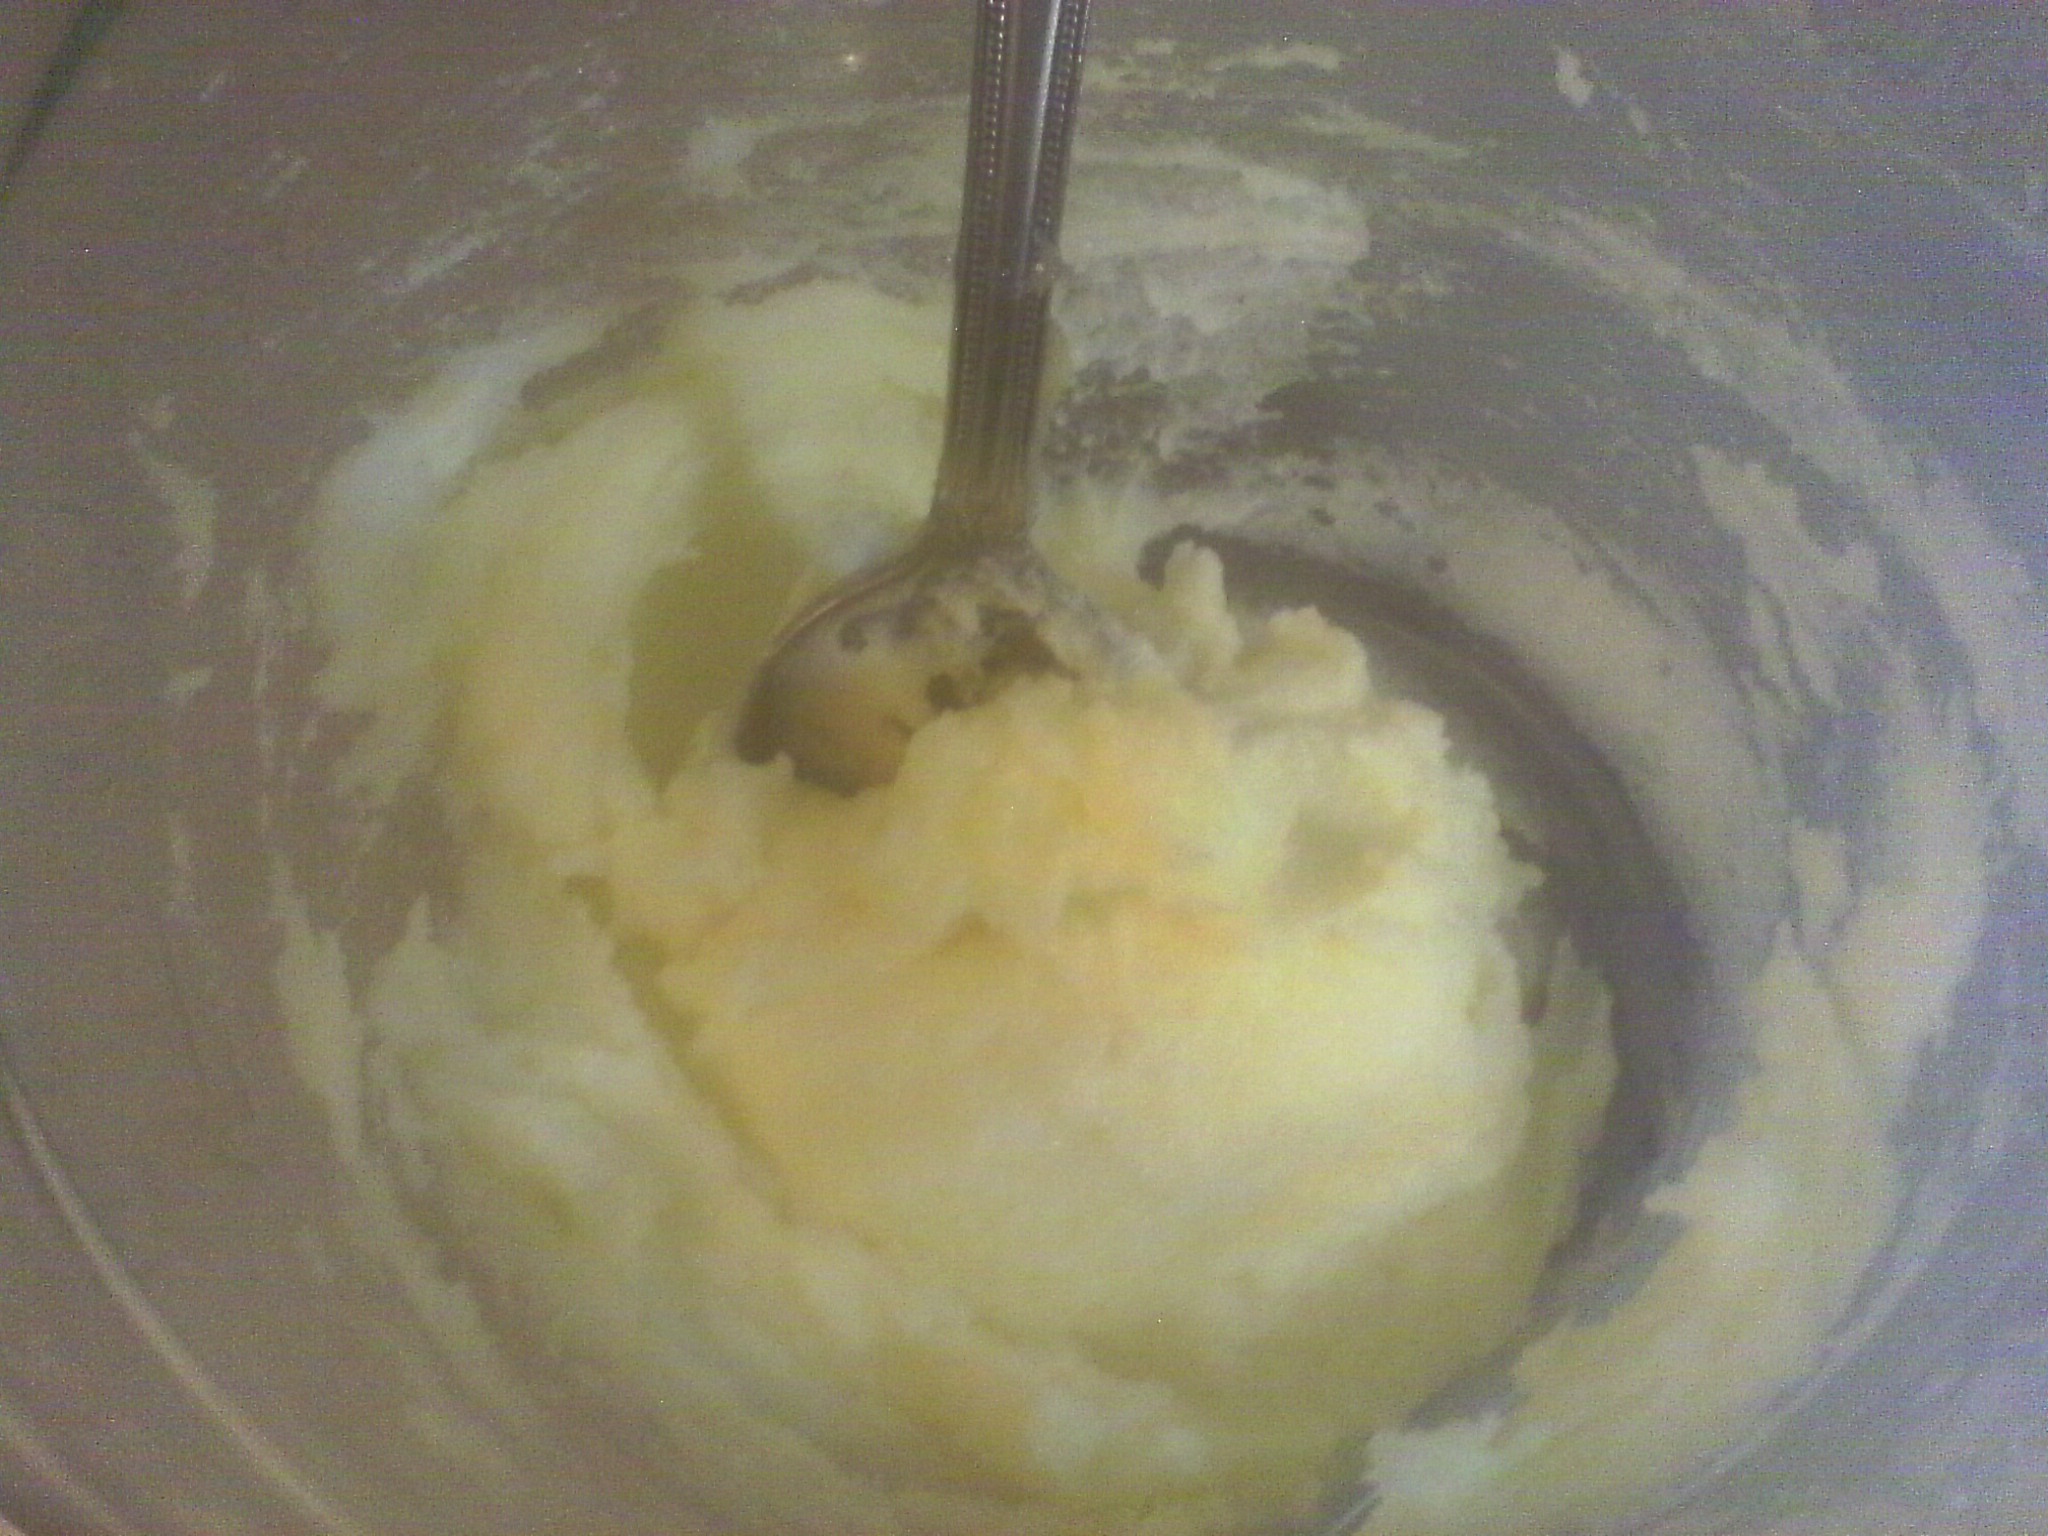
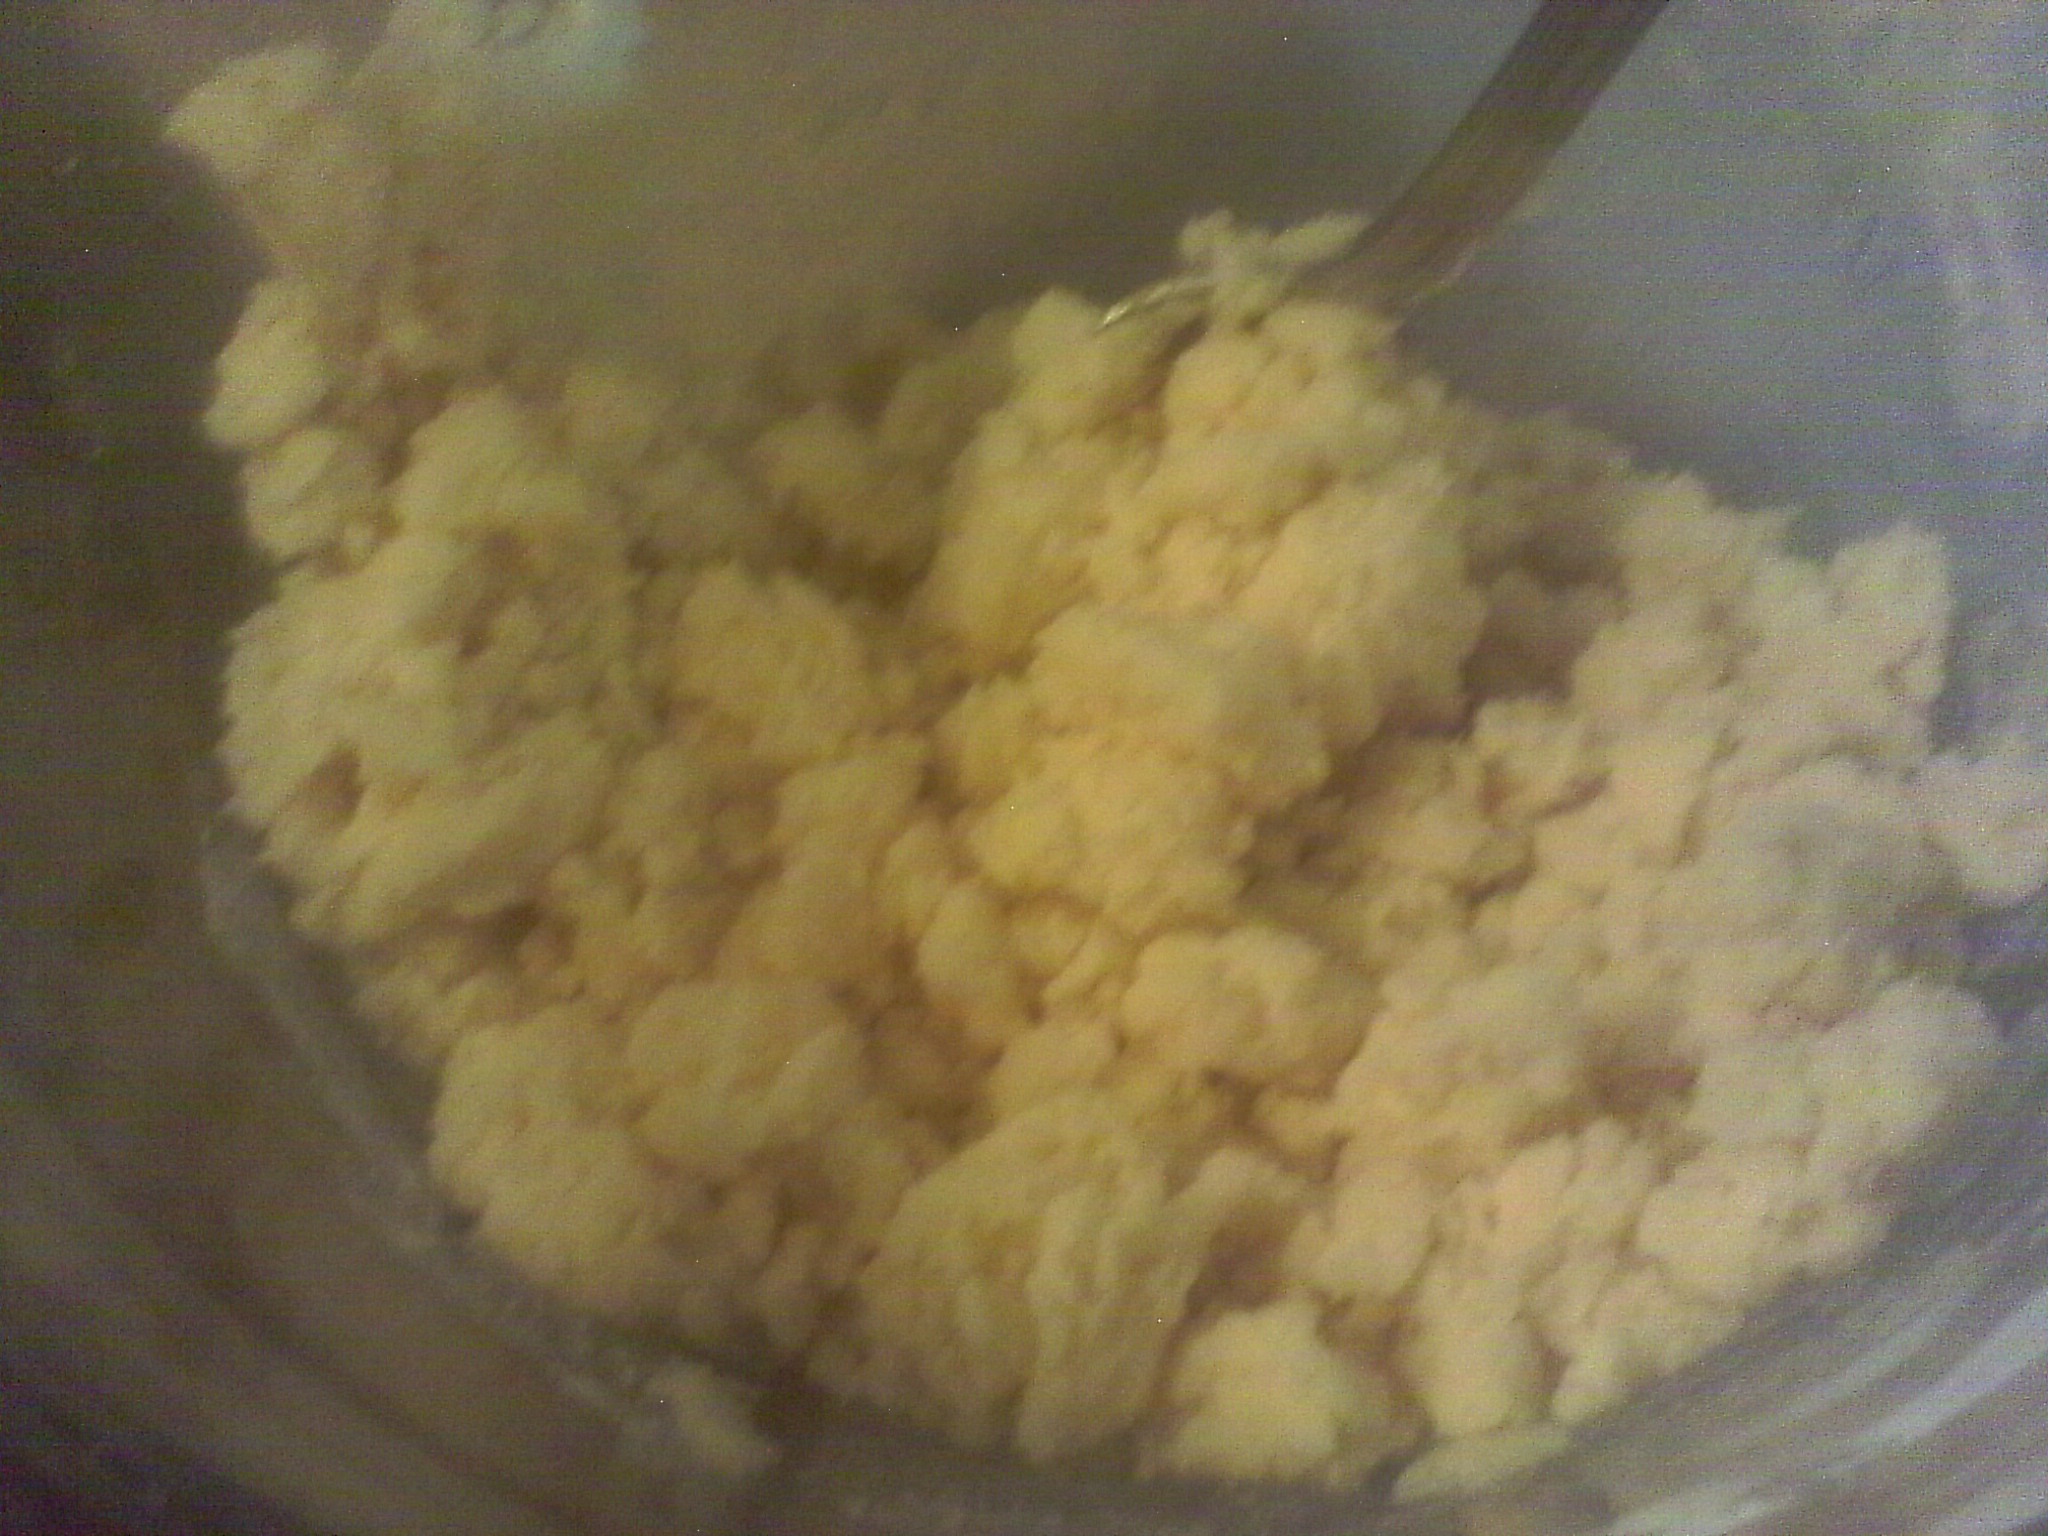
Or you can try making thumbprint cookies. I added a capful of vodka to make the dough more workable, but it smelled like an infirmary so I added a capful of rum. Better and more workable.

IMG_20200310_104852
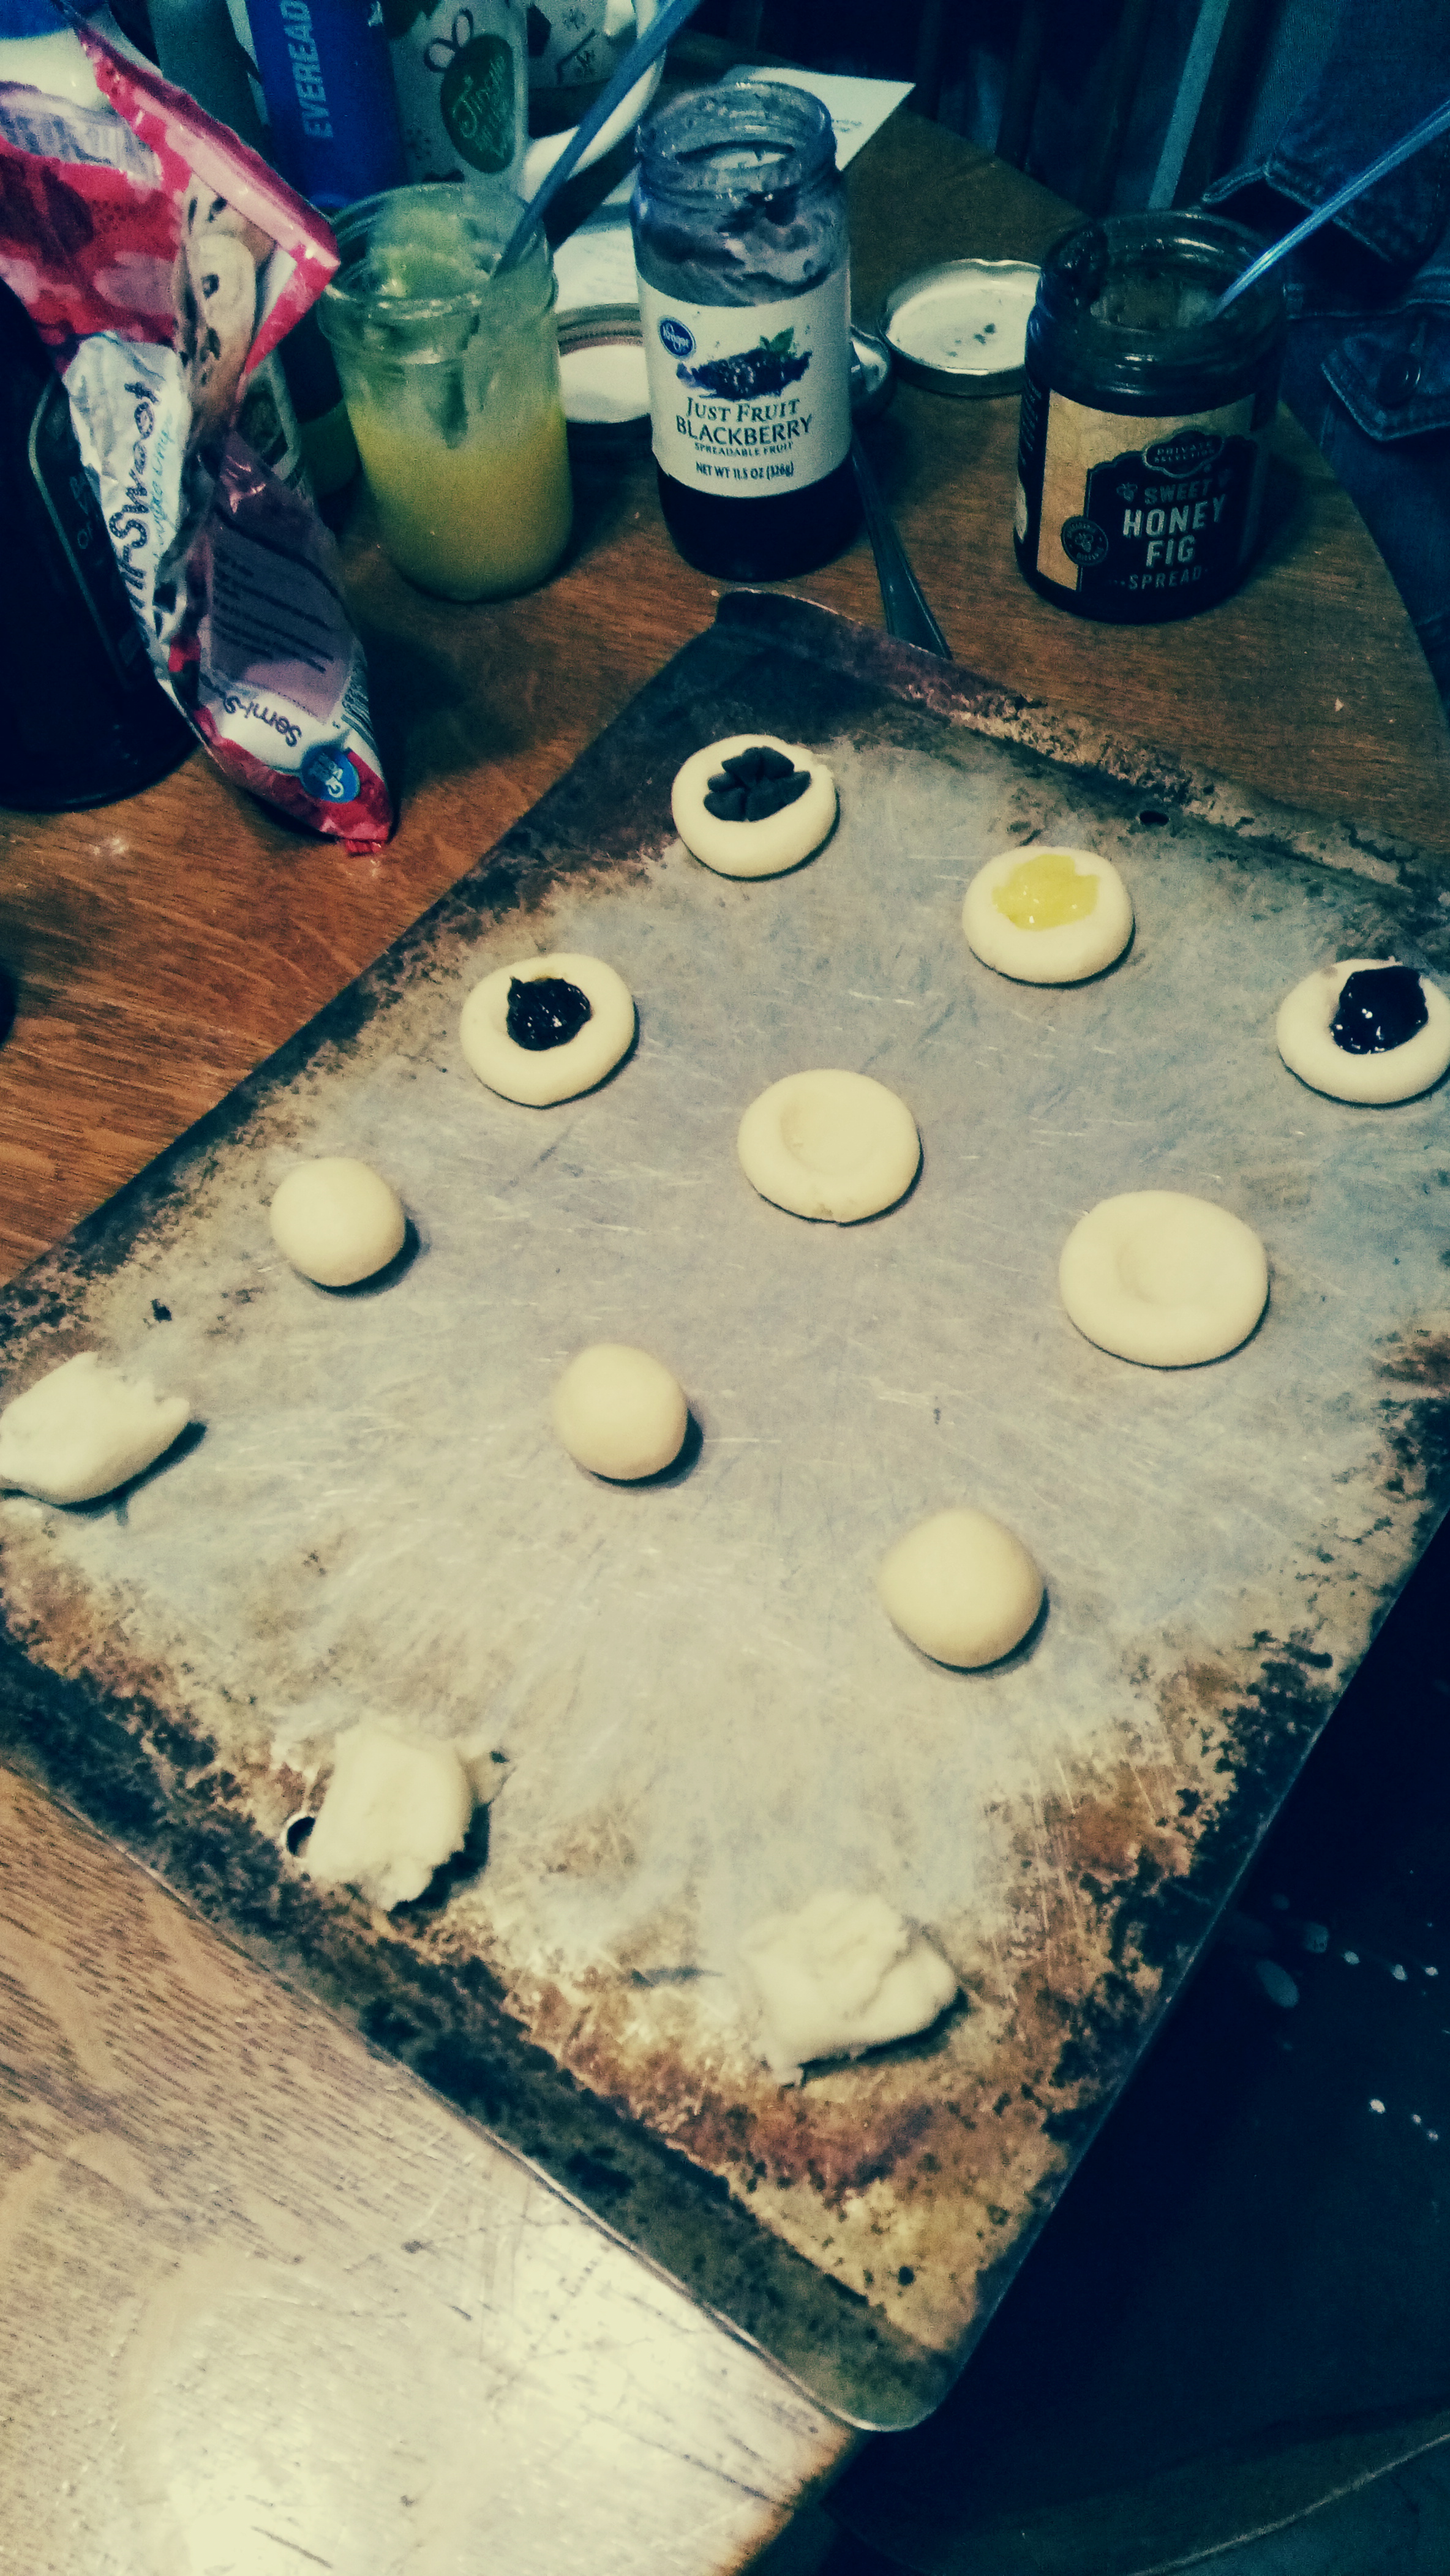
Then I rolled the dough into 24 balls and punched a thumbprint in each and filled them with a variety of things. Chocolate chips, lemon curd, blackberry jam and Fig jam. You can use any you have around, like grape, apricot, prickly pear, apple butter…

IMG_20200310_111818Unfortunately they didn’t turn out as planned. But they’re still yummy and good with milk, coffee and tea. Better luck next time, maybe with a recipe with egg in it.

IMG_20210616_153957
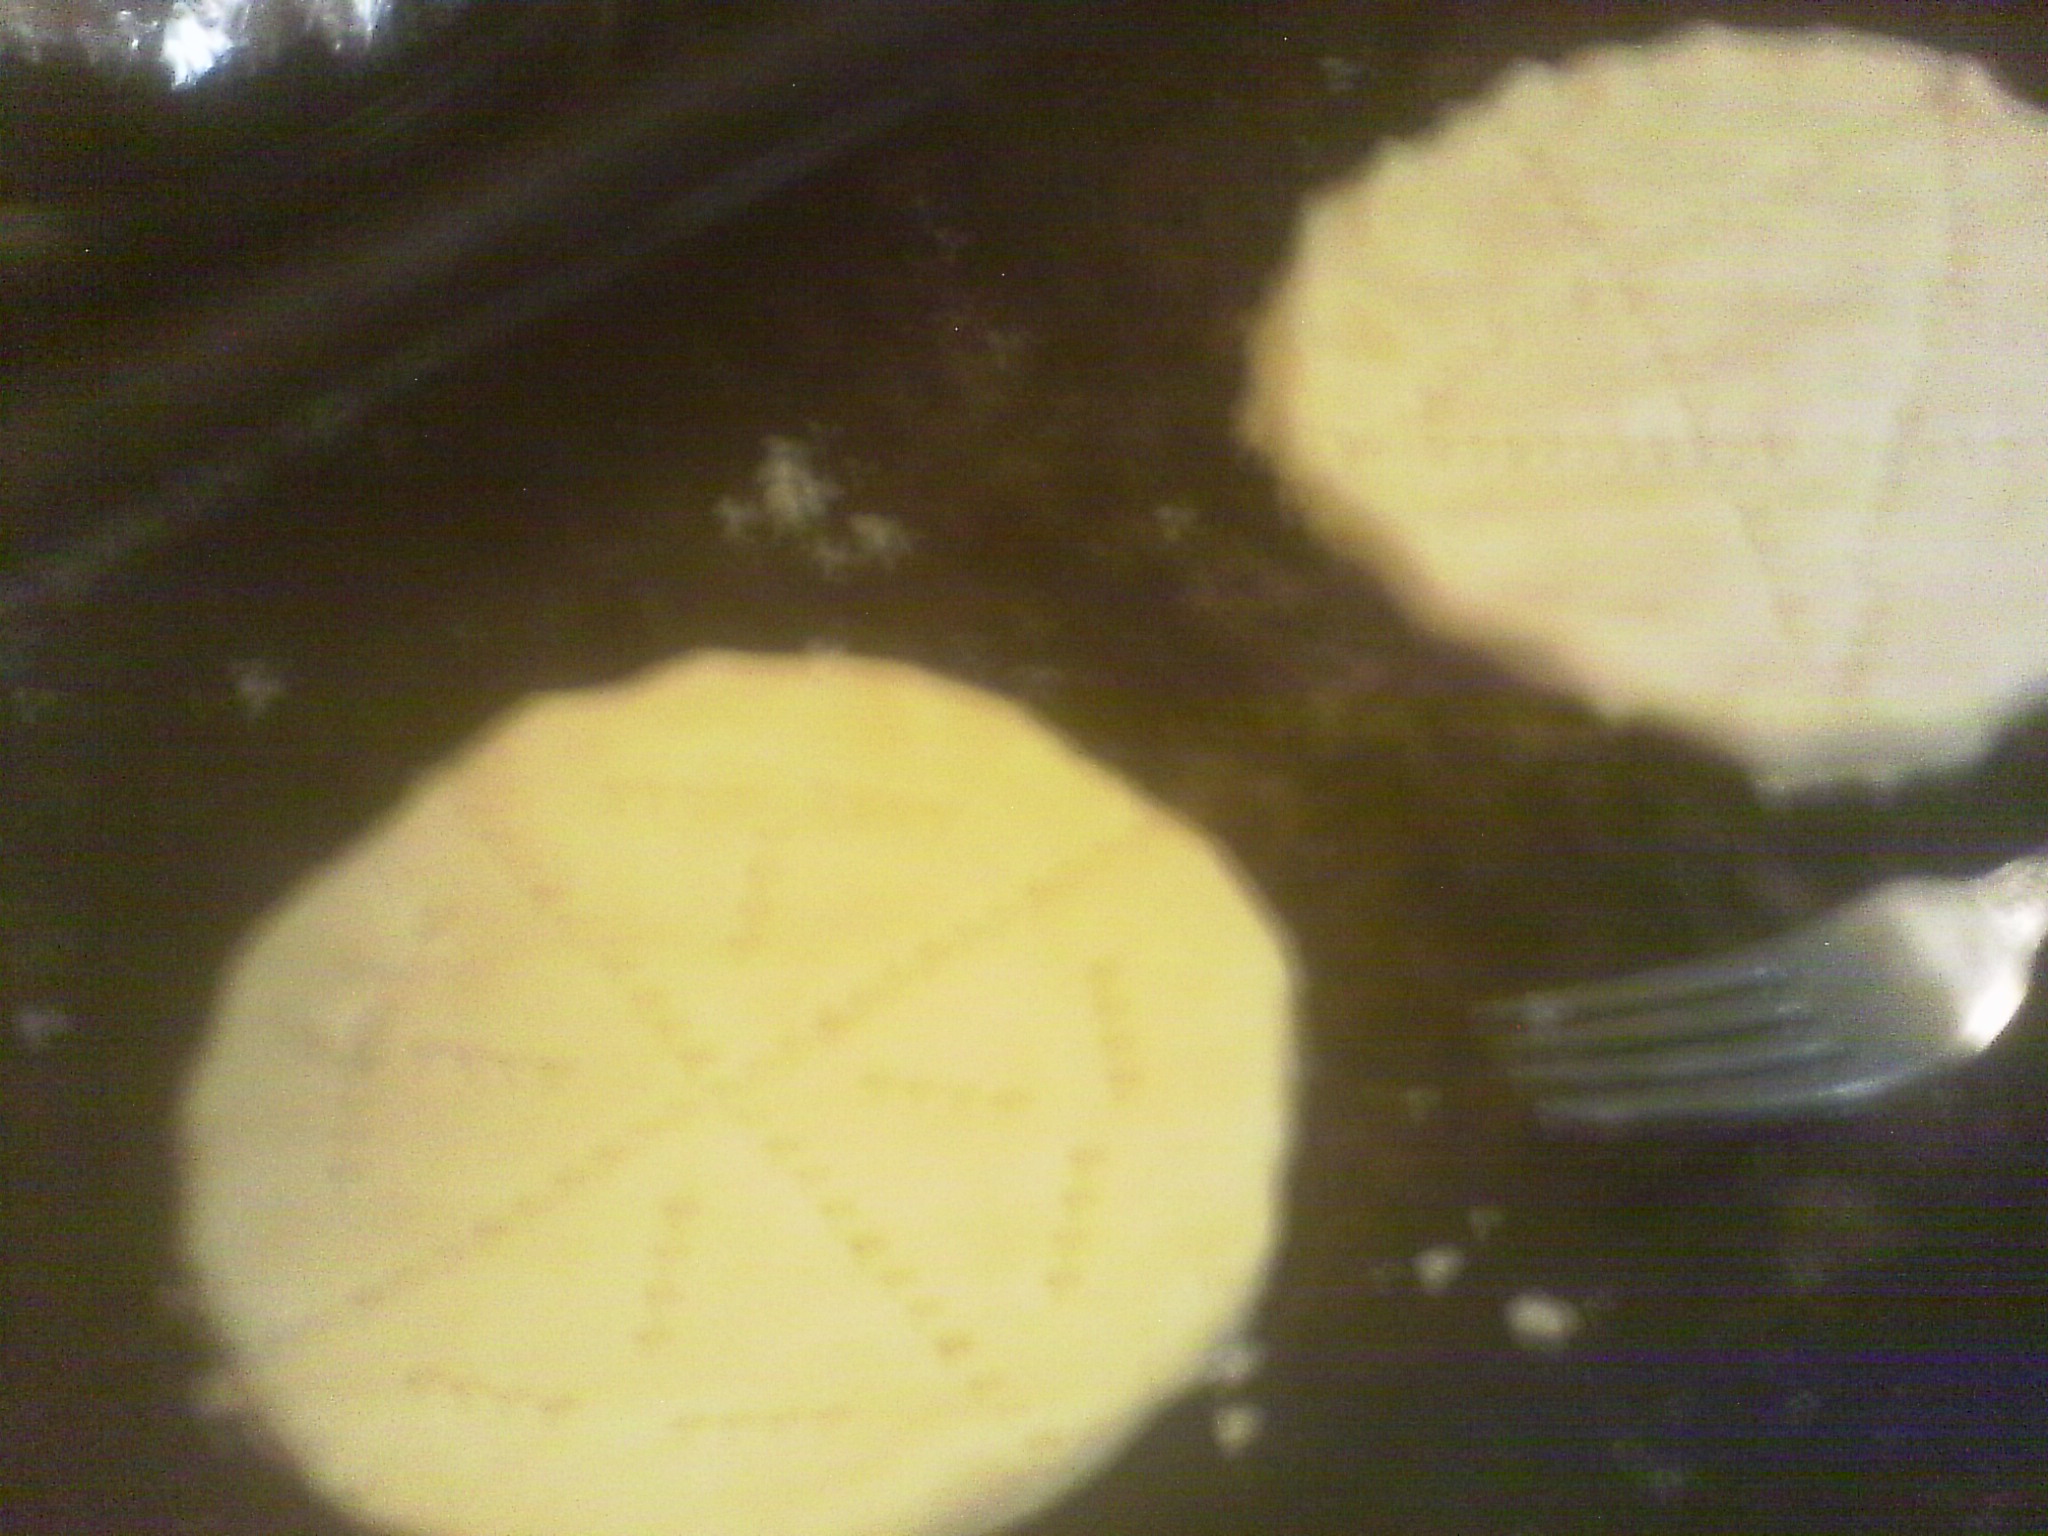
You can also improvise with a fancy glass, either using the side to roll it

IMG_20210616_154059or the bottom to stamp it.
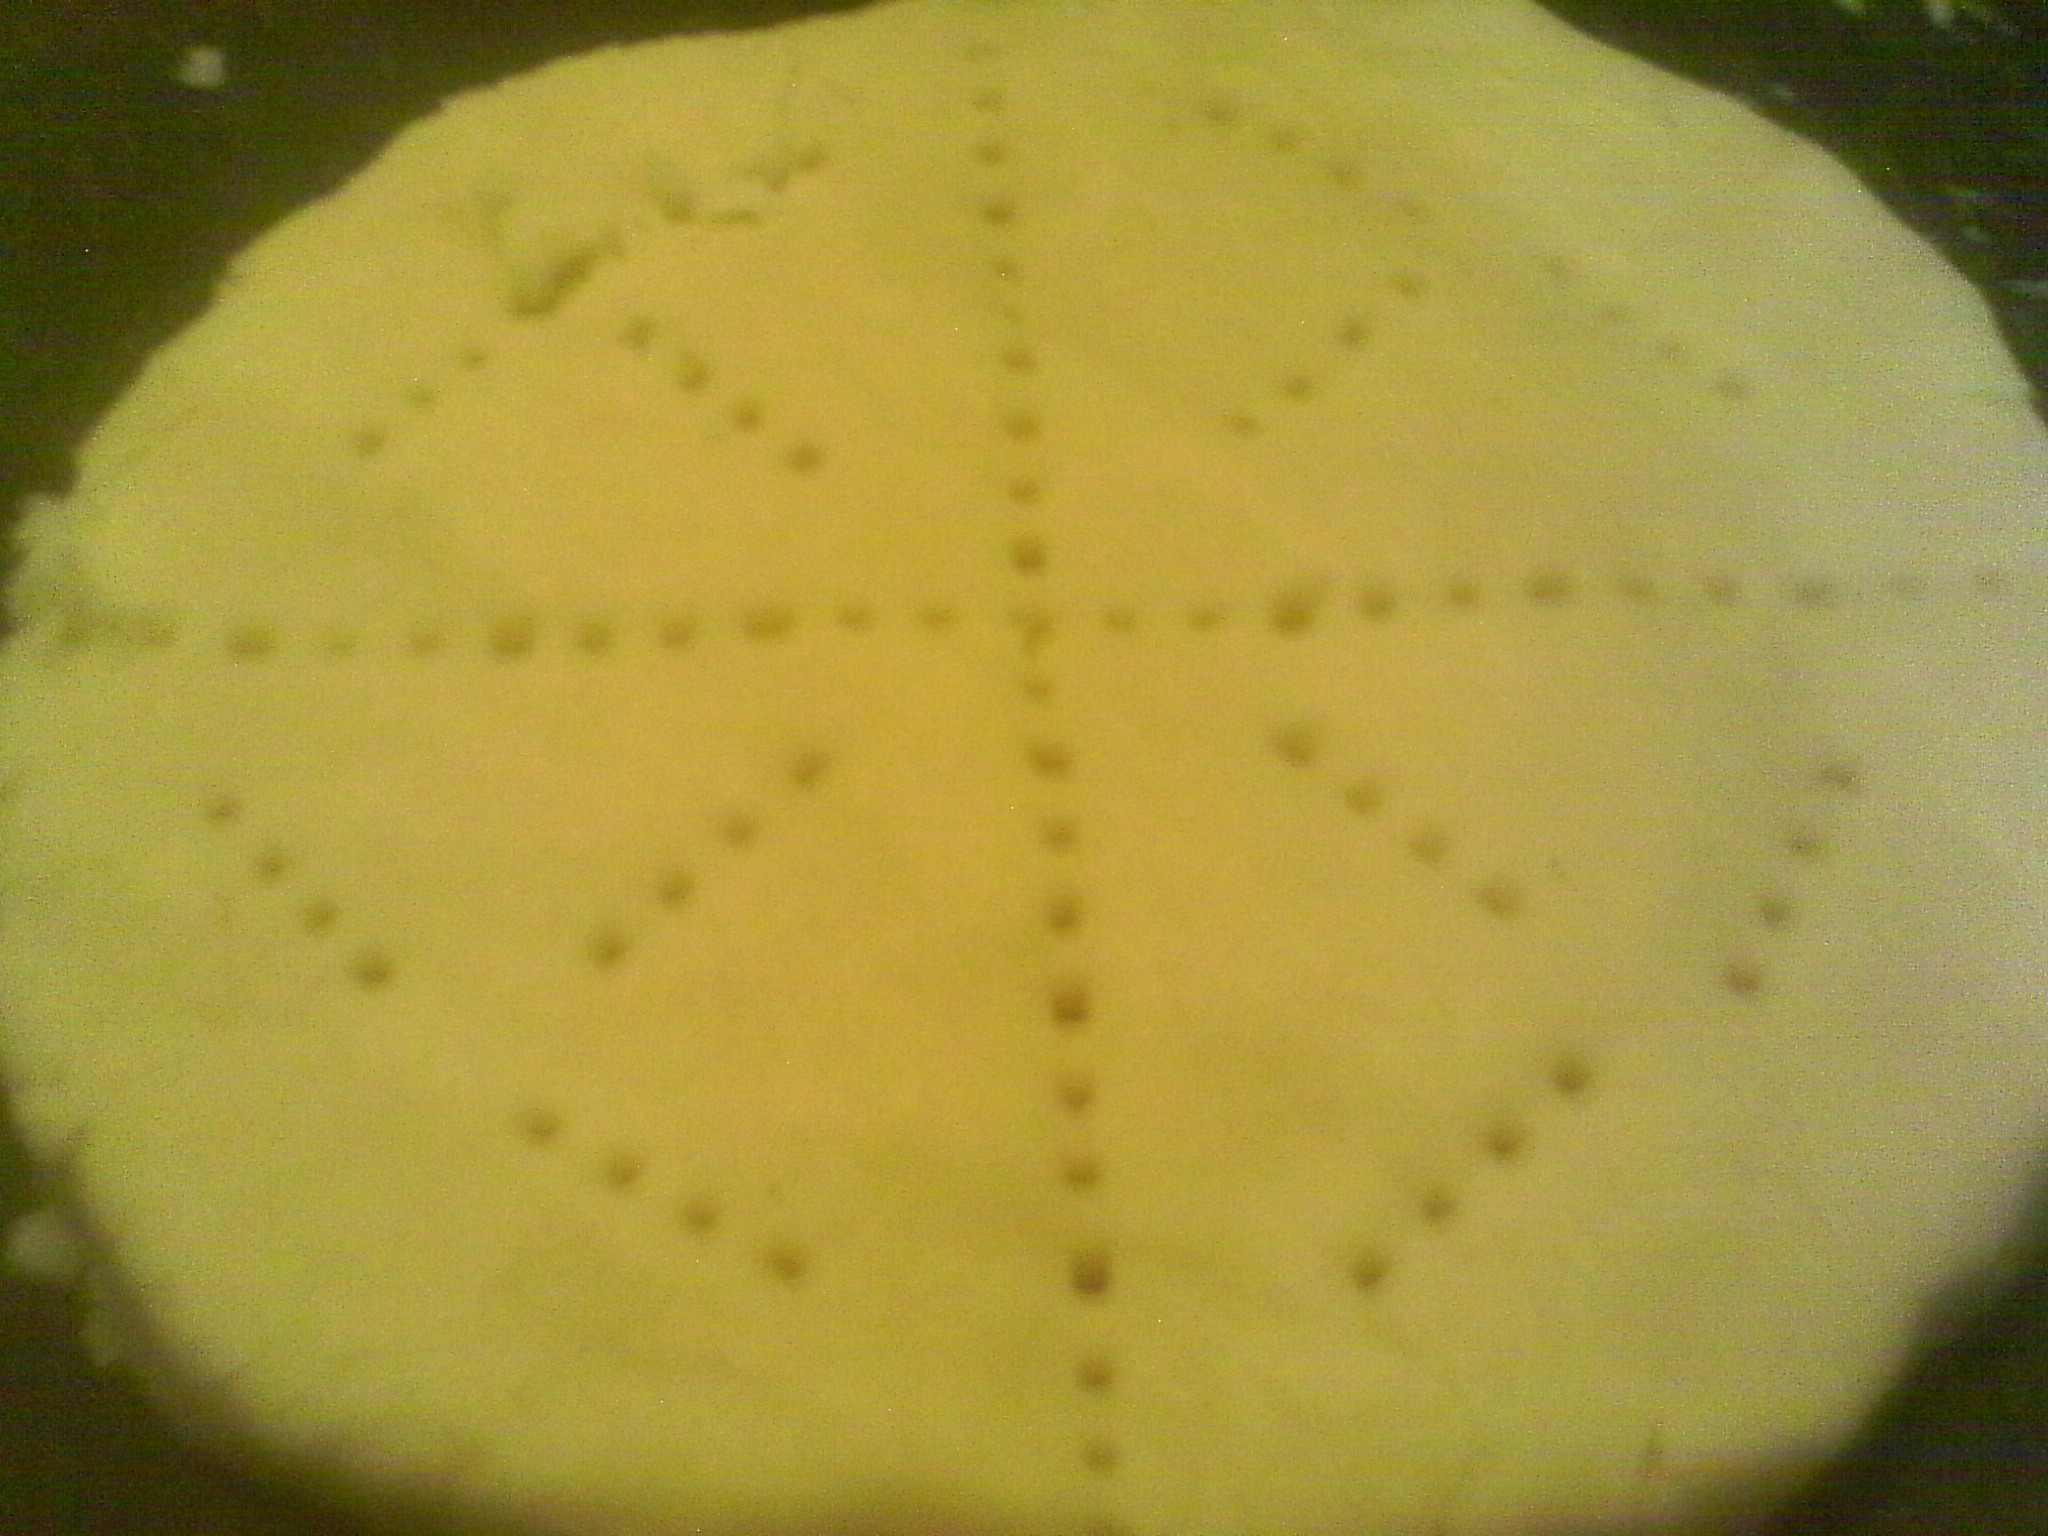
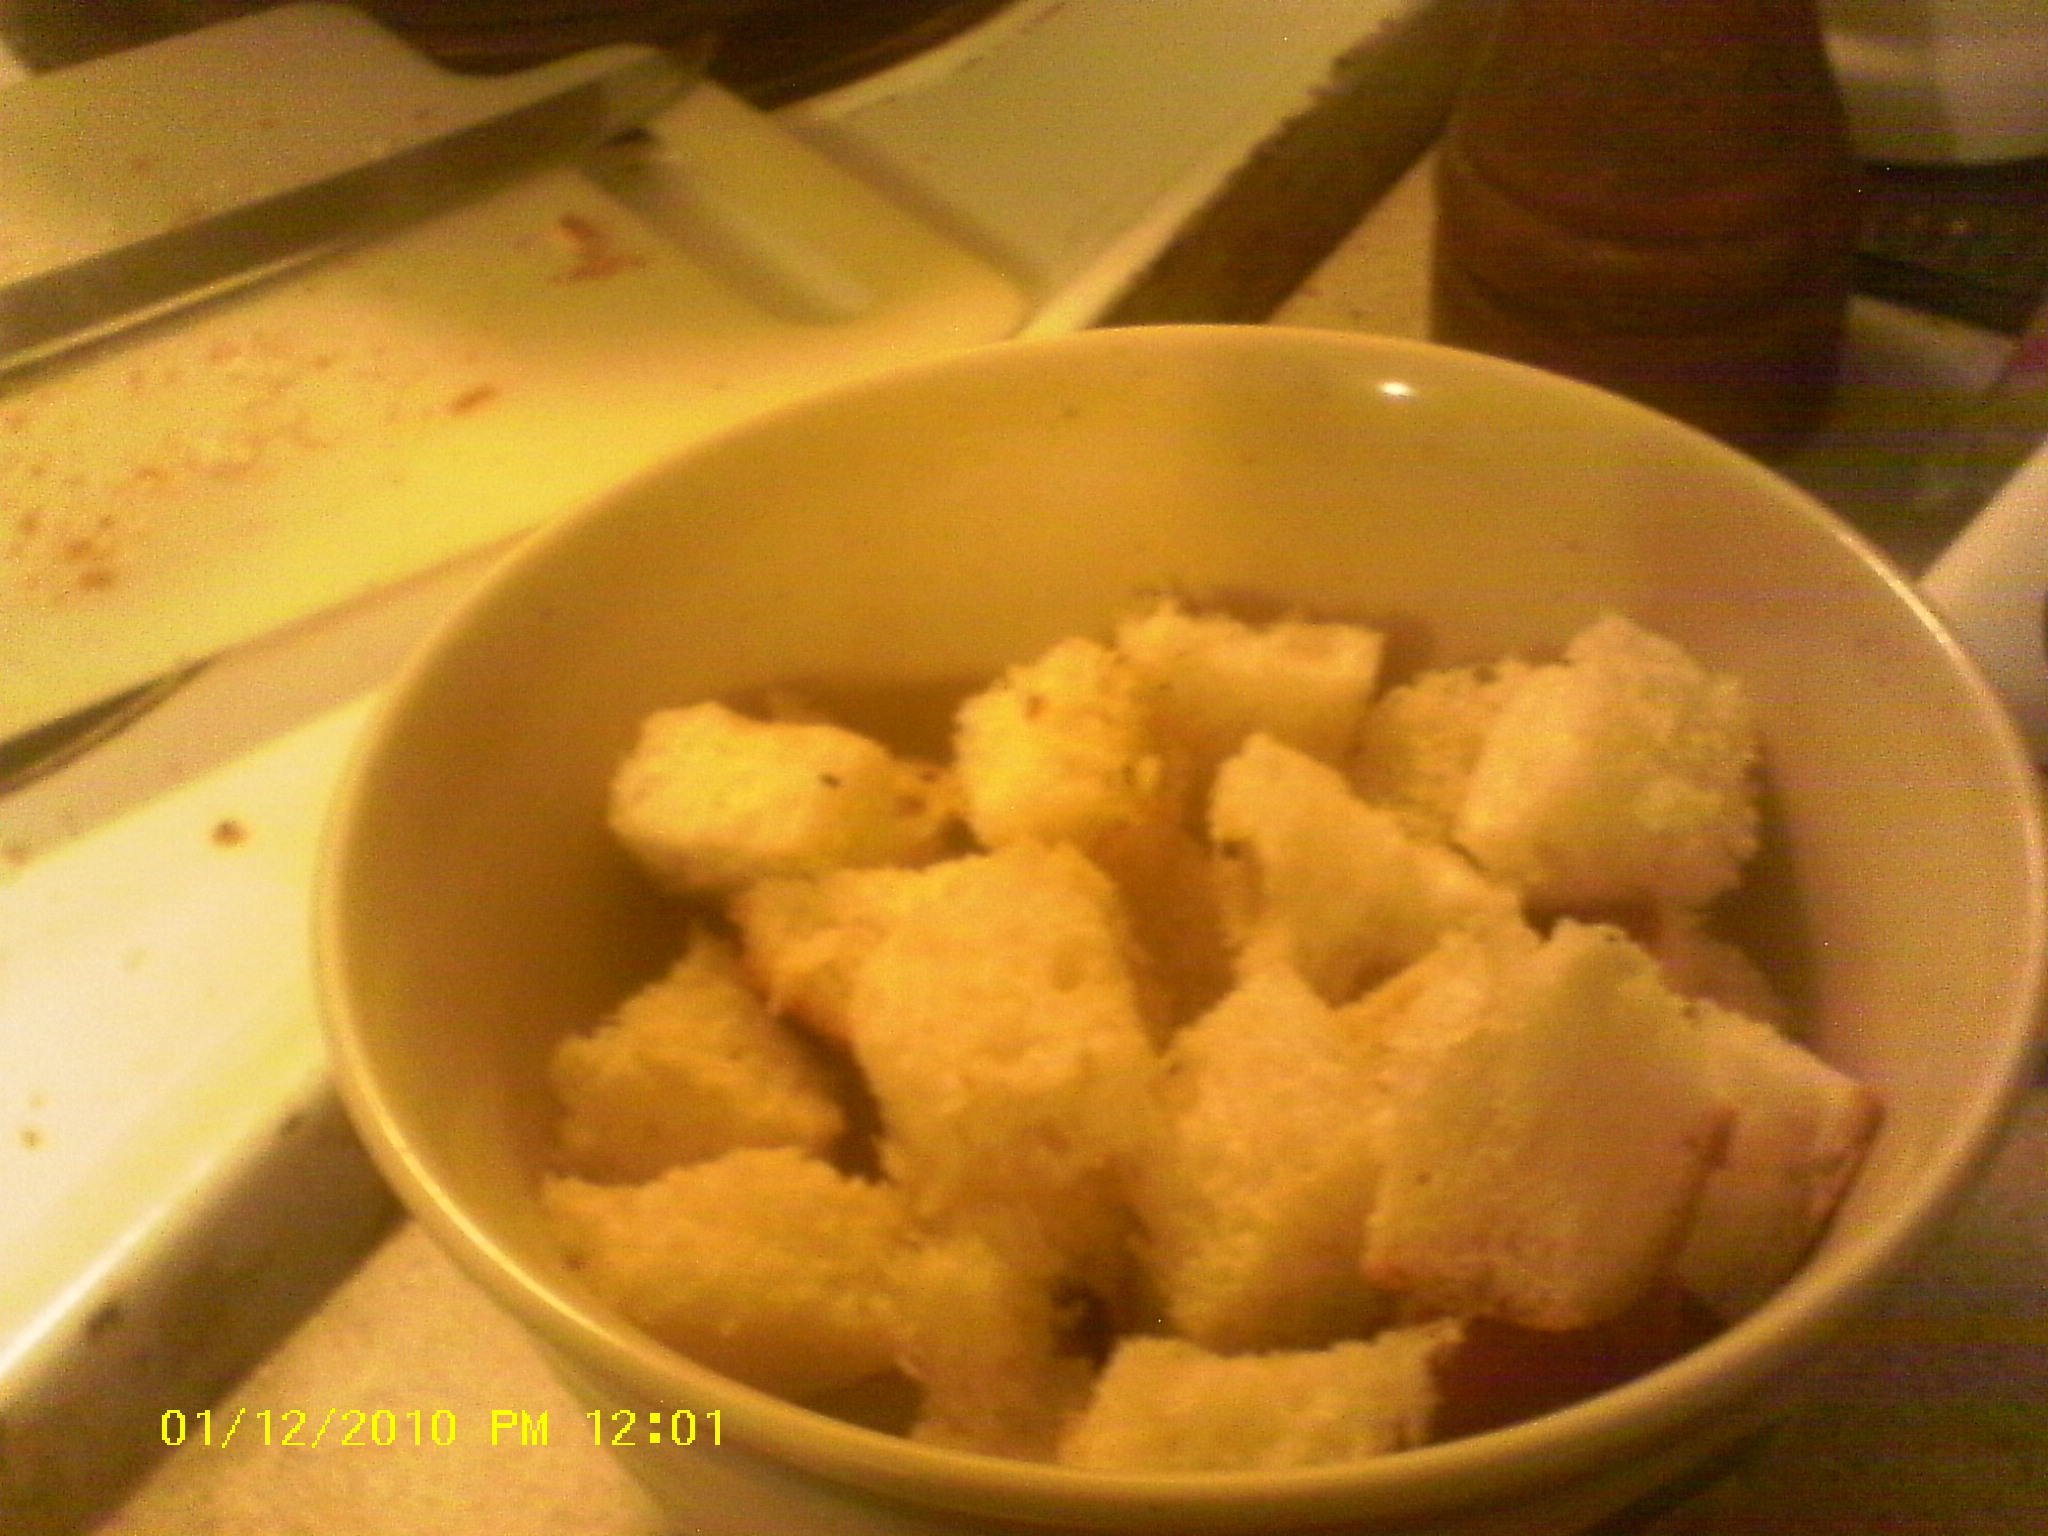
IMG_20210616_152701Rolled, cut

IMG_20210616_152834docked

IMG_20210616_154639
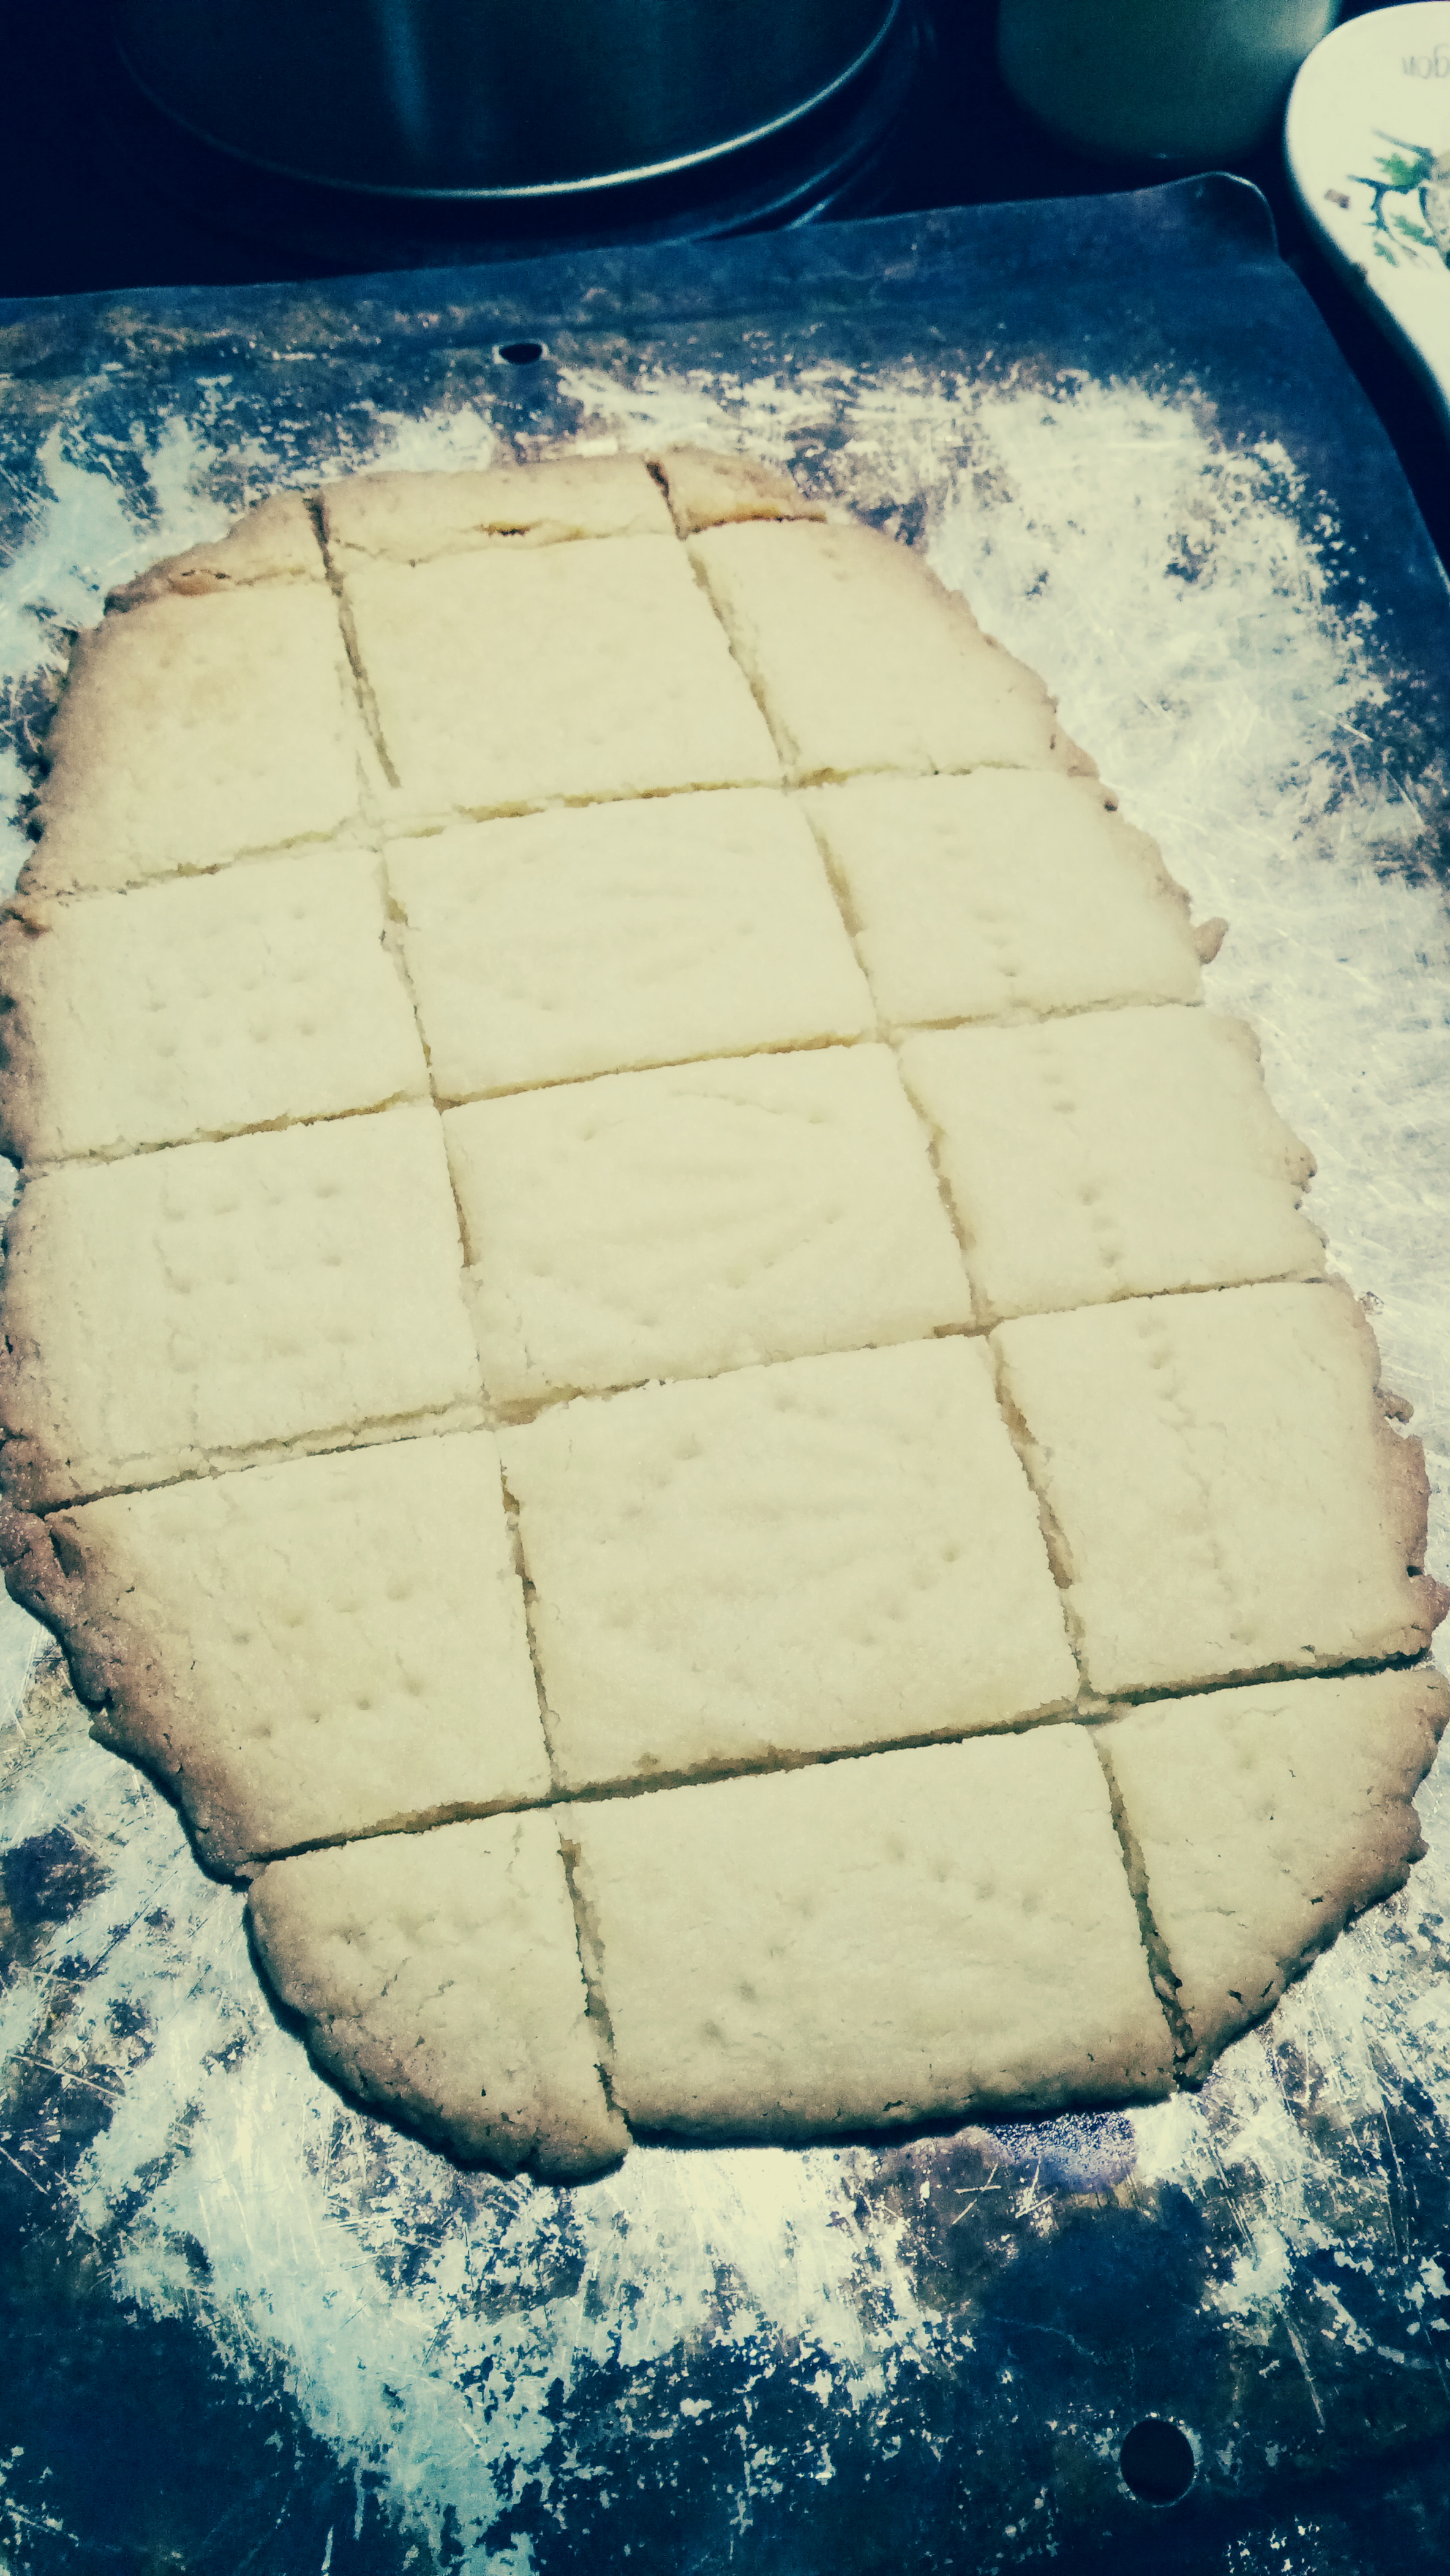
baked. Keep in a tin or an old margarine container in the freezer or on the counter or even a proper cookie jar.

Posted by: briellethefirst | June 7, 2014

Peanut Butter And Jelly


PB&J innards

Inside the PB&J

The simplest things are the best! And SO versatile! I could live on PB&J. It was a staple in my school lunches, then my kids had it in their lunches. For years I started my workdays off with crunchy peanut butter and blackberry jam on buttered pumpernickel bread. Other people in the office tried it…and liked it. Yes, I’m a bad influence.

PB&J on Pumpernickel

PB&J on Pumpernickel

I usually start making my sandwich by spreading the bread with butter. The simple explanation is that that’s how Dad did it. A little more background is that once upon a time, not so long ago, almost all sandwiches started this way. The butter kept any juicy fillings from making the bread soggy.

It seems so plain, but given the chance PB&J can soar to haute cuisine. Usually the PB dilemma is whether to use creamy or crunchy. I like either and have both on hand for picky grand-kids. Some things like sauces might be better with creamy and those days when you just want an extra crunch then crunchy is nice to have around. Then there are other nut butters to try, like almond, walnut and cashew. If they aren’t in the peanut butter section you can try making your own. One decadent option is hazelnut spread, usually made with chocolate, so it’s almost like desert! Spread it on strawberries for a heavenly special treat or put a dab on a small shortbread cookie and top it with a piece of strawberry or a raspberry for sweet appetizers or delectable desert.

I grew up eating grape jelly but now I usually use Blackberry preserves. Strawberry is another favourite. Try Apricot jam, apple butter, raspberry jam… home-made or from the store, there are enough options to keep you from getting bored anytime soon! Switching out jams and jellies aren’t the only ways to add variety to your lunch (or breakfast). Dad used to make PB&Honey sandwiches. Mom used to eat PB&Bananas. Raisins are good and so are apple or pear slices. Sliced melon is great, too. Berries can be used whole if they’re small enough, or you can cut grapes and strawberries in half. It’s a great way to get more fruit into your diet. If you have some nice fresh herbs in the garden you can even try a few leaves tucked in for even more variety.

While nomming on peanut butter straight from the jar by the spoonful is tempting, it usually needs a vehicle to officially count as a meal. Bread of some sort is the norm. White sandwich bread is probably the norm, but I prefer whole wheat. Rye is yummy, pumpernickel is fabulous and sourdough is sublime. When we were kids Dad would cut pita bread in 1/2 and spread peanut butter on one side of the inside of the pocket and jelly on the other. When I ran out of bread before payday I used hamburger and hot dog buns or french rolls. I’ve even spread PB&J on

Tortilla PB&J

Tortilla PB&J

tortillas and rolled them up.

All rolled up

All rolled up

French bread, thinly sliced, that’s been spread with butter and dried in a warm oven til it’s delicately crunchy makes lovely open-faced sandwiches. Crackers are also a great way to enjoy your favourite spreads. Dad often had peanut butter on buttery round crackers with a dab of jelly on top for desert.

I was always in a hurry and one day Mom caught me making a PB&J for breakfast. We had a ‘discussion’ about what was appropriate breakfast food, determined that toast was OK, so I made toast, put peanut butter on one, jelly on another, slapped them together and ran out the door. Mom was bemused. Yes, I’ve always been a bit of a problem child.

Oh…unless you’re running out the door, late for school or work, at some point you will probably want or need to cut your sandwich. If you made it in a pita then it’s already cut. If you made it on a tortilla or other flat bread then it’s rolled up and you don’t really need to cut it to fit it into your mouth, but you can cut it into sushi-like sections. When making a regular sandwich on regular bread, the big question is: (drum-roll) do you cut it straight, into 2 rectangles, or do you cut it diagonally into triangles?

Triangles

Classic triangles

If you really want to be fancy you can cut the 2 pieces into 4 pieces, especially if you’re making them for your very favourite kids or putting them out as a fun alternative at brunch or tea.

When making finger sandwiches for special events (finger sandwiches are what we call the small sandwiches we snack on at posh events) a fun alternative is to keep buttering pieces of bread and stack the fillings and bread slices 3 or 4 high, then just cut them into stripey long sections. This can be a really fun addition to the sandwich plate. And the really HUGE question is: do we cut off the crust? Of course not! You want curly hair, don’t you? Unless your hair is already curly, then go crust-less if you want.

What goes with PB&J? Milk of course! But juice, soda or fruity coloured drink mix stuff is yummy, too. Some chips on the side and a couple of cookies or brownies for desert make a great end to a perfect comfort meal.

A really nice thing about all this is how simple it is to make. All you need is a knife. You don’t even need a plate! You can make it on a napkin or paper towel and have less to wash up after! Even a little kid can do it! What more could a busy parent ask for? Well, maybe putting everything back and wiping the counter when you’re done, but all the best kids do that no matter how old we are!

Note: I’ll add pictures as they become available.

Posted by: briellethefirst | January 14, 2014

ARR…You Ready For Eyepatches?


Eyepatches

The finished eye patches

A friend called several weeks ago needing a few eye patches for some ex-Nazis in a s film she’s shooting. “Sure, I can do that!” I said as my mid visioned cutting, wrapping, sewing…then my mind went SCREECH!!!  I grabbed some blue note cards, my ancient glue gun (yes, although I generally prefer other methods I can shoot one of those), bought a swatch of cloth and a roll of ribbon and went back to planning. The day of making these was supposed to run concurrent with a Doctor Who marathon I am having with a friend. I’m catching him up  on the New Who (from 8 to 11, soon 12). Things happened and it had to wait for Monday to finish prep and Friday to assemble. AAARGH, my life! Sometimes I hate when work gets in the way of art. Oh, who am I kidding? I always hate when that happens.

I expect that only a few of my friends will ever need this information (Filmmakers, Thespians, Rennies, Healthcare, Sci-fi fans, Cosplayers, Steampunk aficionados, SCA members and maybe the odd Pirate…) OK, most of my friends might be able to use this, so here goes:

Eye patch Supplies

Eye patch Supplies

Supplies: Black cloth (or any colour/pattern you want, actually)

Ribbon or (Optional) Elastic

Thread to match the cloth/ribbon

3×5 note-cards

Needle

Hot-glue and Hot-glue gun.

If you want to add any embellishment add those to your shopping/foraging list, too. I used ribbon because this was a period piece and these would more likely have been tied on with a bow than slapped on with elastic. Yes, I could have used elastic and sewn a nice bow on the back to look correct to the period, but…*sigh*…this seemed right for this time, since I was making it for a WWII era film. Here’s how I made them.

Eye-patch Template

Eye-patch Template

First I cut the shape I needed, making sure it would cover my eye. Then I realized that it was flat and needed dimension. Crap. Back to one. At least I now had a template.

Shaping eye-patches

Eye-patches taking shape

Half way there

Half way there

This time I trimmed the top of the patch from a 3×5 card and cut a slit in the eye-patch from the middle-bottom to center. I folded the bottom of the center slits together to make the middle a very slight cone and hot glued it together. I did this 4 times (Gita needed 4 patches) then trimmed them using the flat template I originally made.

Black patch covers

Patch covers and backing

I cut 4 squares of black cloth big enough to cover each patch front and (mostly, folded around) back. I also cut 4 patch-shapes from the black cloth using the original template.

Fold and blue the top

Fold and blue the top

I wrapped the cloth around each patch, starting at the top (wanting to make a nice, smooth fold), hot-gluing it across the back,

Fold and glue the bottom and sides

Fold and glue the bottom and sides

then folded it up from the bottom, hot-gluing it there, being careful not to burn myself. I continued to fold and glue on each side around the edge, making as smooth an edge as possible.  Make sure you fold from the outside (curving out) to the inside (curving in) that will be near your eye.

Ribbon

Ribbons for tying on

IMAG0236 Now cut ribbon long enough to run from the edge of the patch to the back of your head and tie a nice bow. Maybe a foot long. I used polyester fabric ribbon so I quickly ran the ends through a candle flame to seal them and keep them from fraying. If you use elastic you’ll still have to sew 2 ends to the patch, just make sure it’s not so long that it’s floppy and it stretches enough to hold but isn’t too tight. Come to think of it, maybe ribbons are a better idea.

Attaching ribbons

Sewing on the ribbons

Thread a needle with black (or matching) thread. Tie a knot in the end of the thread and pull the needle and thread through the end of a length of ribbon. Poke the needle through the patch near the bottom of the top swell on one side. Pull the ribbon end and thread up to the back of the patch and continue sewing it to the patch, making sure you catch both the ribbon and the patch on each pass.

Ribbons attached

Ribbons attached with cross-stitching

I used an X to distribute the strain of tying it to a head. When done repeat on the other side.

Patch-shaped attached to back

Hot-glue the patch-shaped cloth on the back

Then I took each patch-shaped piece of cloth and glued it to the inside of each patch so the folded cloth was covered and it would be smooth in front of the eye.This way the end of the ribbon and stitches don’t rub near your eye.

Tie in place

Tie on with a nice bow

Tie on using a nice bow and be ready for piracy.

My assistant Posh approves.

My assistant Posh approves.

Pirate time!

Testing…all done!

Posted by: briellethefirst | January 5, 2014

Rose


Don Juan red rose in the garden

Don Juan red rose by the garden path

Rose as part of the Herb-a-Week series!? Yup. Besides its use in potpourri, perfumes and cosmetics it has also been used in foods and confections. Besides, a garden just doesn’t seem compleat without a rose in it. They come in all sizes, manners and many colours, too. Some ramble and sprawl, some climb, some stay small and shy. You can even have one or more trained into a tree form with smaller ‘fairy’ sized cousins planted around their feet in your garden or a big pot. And the colours! From pure white to ivory to yellow, salmon, pink, lavender-ish red and some reds so dark they look black!  There’s even some that are white with red edges and some that are candy-striped and streaked. Many hybrids look pretty but don’t have a strong scent. I get the ones with a good smell, since that’s at least 1/2 of why I want roses.

Apparently most root-stocks don’t do well in Florida and some other places, so if you’re having problems keeping them alive try a bush that’s grafted onto sturdier roots. Nematodes are usually the culprit. Just make sure to cut back any ‘suckers’ that grow from the roots so the rootstock doesn’t overpower the variety you wanted. A reputable nursery will be able to tell you more about this.

We always had roses in the yard and weren’t as concerned with the variety as long as it looked and smelled pretty. When Mom moved to Arizona she loved that we had roses blooming at random warm spots in winter, especially Christmas and Easter. The pink one out front was always Dad’s favourite, it was named Duchess or Countess someting-or-other…wish I could remember! When it bloomed the fragrance filled the neighbourhood. One year we ran out of room for onions in the garden so, since they were small, we tucked them under the roses. That year we hardly had any aphid problems, so we kept planting onions under the roses. Years later I discovered companion planting in a book titled Carrots Love Tomatoes by Louise Riotte.

Miniature rose growing through lavender

Miniature rose growing through lavender

Even if your garden is small or limited to pots you can grow roses. One year my grandmother gave us a couple of miniature ‘fairy’ roses. There wasn’t much information on them so we played it by ear. They went into large clay pots and got careful attention at first. Eventually they would learn to fare for themselves, getting water and pruning when we remembered or they started looking poorly. After a couple of years one died in an accident but the other cheerfully greeted visitors in front of a huge asparagus fern for at least another decade and supplied my mother with miniature roses and buds for dried arrangements.

Miniature rosebush blooming among lavender and onion flowers

Miniature rosebush blooming among lavender and onion flowers

The petals are used in potpourri, perfumes, candies, teas, jellies, sauces and jewelry. Right, jewelry! My Mom was always doing cool stuff that would keep us amused and out from under-foot for hours. This is just another of those things she would do when we could gather enough petals. Red petals make black beads but other colours make tolerable browns. You can mix them separately and marble them together for an interesting look. Rose beads were popular with Victorians and as they are worn your body warmth releases their scent.

4c chopped Rose Petals.

1c Water

A few rusty nails, (from the garage, not the bar) *optional* to make the beads darker.

Barely cover the petals and nails with water and simmer *DON’T BOIL!* If you use an iron pot you don’t need the nails. Turn off the heat and leave the stuff for 8 hours or overnight, then simmer for an hour again. Add water occasionally so it doesn’t dry out and repeat until you have a pulp that resembles paper-mache.

Form the pulp into beads and let them dry until they can hold their shape, then poke a hole in them with a large needle and thread them onto waxed dental floss. Move them around occasionally so they don’t stick to the floss.

This can be modeled into just about any shape, but keep in mind they will shrink. Larger beads will take longer to dry. Try this with other flowers or even herb leaves. Leaves will take a bit more to break down into pulp, but you can make interesting potpourri jewelry this way.

Roses have been used to used to convey messages for centuries. The most readily recognized is a single or a dozen red roses to say “I love you” or I’m sorry”. Beyond that there is the Language of Flowers that makes the message a little clearer. A rose of any kind can mean Beauty and love. A rosebud can mean youthful beauty.

Yellow Rose

Yellow Rose

A yellow rose can mean jealousy.

White roses

White roses

A white rose can mean  purity or silence, especially if it’s in a vase on a table or carved or painted on the ceiling, often as a full-blooming rose with 2 buds. This gave rise to the term “sub rosa”, literally ‘under the rose’,  or a warning to keep a secret.

There’s so much to do with roses, so have fun!

Posted by: briellethefirst | January 4, 2014

Gluckshaus


Believe it or not, this is an ancestor of roulette and dates from the late medieval period. Gluckshaus means house of luck or fortune. The board can be as ornate or simple as you’d like to make it. I rather like this form. It has 10 cells numbered 2-12, leaving out number 4. Cell 2 has a pig in it (in my picture I used a fish since I didn’t have a piggie stamp and trouts and salmons can be lucky), 7 is a wedding scene or rings or something that symbolizes wedding (the closest I had was a boat, voyage of wedded bliss…yeah, I know, it’s a stretch), and 12 is a king or throne or crown or something else that symbolizes royalty. When you make your own board you can leave other cells plain or have pictures of everyday things as you like.

Players: at least 2, but as many as you like. Players may enter or leave the game as they please.

Equipment: Board, 2 6-sided dice, as many pennies or coins as each player desires.

The players take turns counter-clockwise throwing the 2 dice and entering or taking coins from the board depending on what they throw. If you throw a 3, 5, 6, 8, 9, 10 or 11 you put a coin on the corresponding cell if it is empty or take a coin off if it has a coin on it.

If you roll 4 you don’t get a coin but you also don’t lose a coin to a cell.

If you roll a 7 you have to leave a coin no matter how many coins there are already on the cell. It’s a wedding, after all, and everyone brings gifts to a wedding. Get ready to stack the coins carefully.

If you roll a 2 you hit the lucky pig (or whatever) and get to take all the coins off the board except the wedding. Even luck likes a wedding.

If you roll a 12, that’s the king and you get to take all the coins from the whole board, even the wedding…mean king!

I have heard of a version that reverses the pig and king’s deeds, so the pig is mean to the wedding but the king is benevolent. One would needs be specific before starting or entering play, so ask if it’s the good king or bad king version.

Gluckshaus

Gluckshaus

Posted by: briellethefirst | January 1, 2014

Latrunculi and Petteia


The board doesn’t look like much. Sometimes the simplest games are the most fun to pull out and play…or the longest lasting. At least they can be drawn up any time you want to play.

Latrunculi and Petteia Board

Latrunculi and Petteia Board

Players: 2

Board:1

Pieces: 6 each for Latrnculi, 5 each for Peteia

Object: To wipe out the opponent’s pieces or trap them so they can’t move.

In Latrunculi the pieces are placed in the cells. Ignore the big central cell. Each player takes turns placing their pieces on the board. Capture is by interception. When a player puts a piece on each side of an opponent’s piece they can remove their opponent’s piece. Once all the players have entered all their pieces they can start moving their pieces as if they were rooks in Chess. The players keep moving and capturing their opponent’s pieces until one of them is out of pieces or is trapped and can no longer move.

In Pettiea the play is very much the same except that the pieces are placed on the points instead of in the cells. More than one piece may be captured at a time.

Posted by: briellethefirst | November 19, 2013

Croutons


What to do with old bread? Is it possible to preserve bread? Absolutely! When your bread goes a bit stale, and before it gets fuzzy or too dry hard as a rock, cut it into cubes.

Cubed bread

Bread cubes

Dry them a bit more in a warm oven (if you have the patience). At this point, when they are absolutely dry, you can just put them in a container and keep them til you need them, but wait, there’s more… Melt a couple of Tablespoons of butter in a pan, or use olive oil if you like.

Melted butter and flavourings

Melted butter and flavourings

Add Worcestershire sauce and any other flavourings you like at the moment (garlic, pepper, basil…). Saute a layer of bread cubes until they all have some flavour on them and they’ve sopped up the butter.

sopping up flavour

Soaking up flavour

Spread the cubes on a cookie sheet, repeat if you have more bread cubes until they are all flavoured up. Dry them in a warm oven (250-350 degrees f) until golden brown.

Drying

Drying

The warmer the oven the faster they will dry and brown, so check them frequently. Serve with soups and salads if they last til the next meal. You’ll find they are great for snacking.

Yum!

Yum!

At least this is a snack food that you have made yourself and you know what’s in it!

« Newer Posts - Older Posts »

Categories