Posted by: briellethefirst | June 18, 2024

Quiche


It’s nice to be able to whip up something classy in no time when unexpected guests/family pop by or to make something ahead that’ll do for a few quick breakfasts on busy days. Quiche can be eaten hot, cold or room temperature, as a main course or side dish and washed down with your favourite beverage. Quiche is good for breakfast, brunch, lunch, tea time, dinner, appetizers, midnight snack…pretty much anytime.

The official version I learned in Home Economics was quiche Loraine (eggs, cream, ham and Swiss cheese in pie crust) but you can make quiche with whatever happens to be in your pantry, fridge, freezer at the time.

You’ll need:

1 pie crust, home made or store-bought

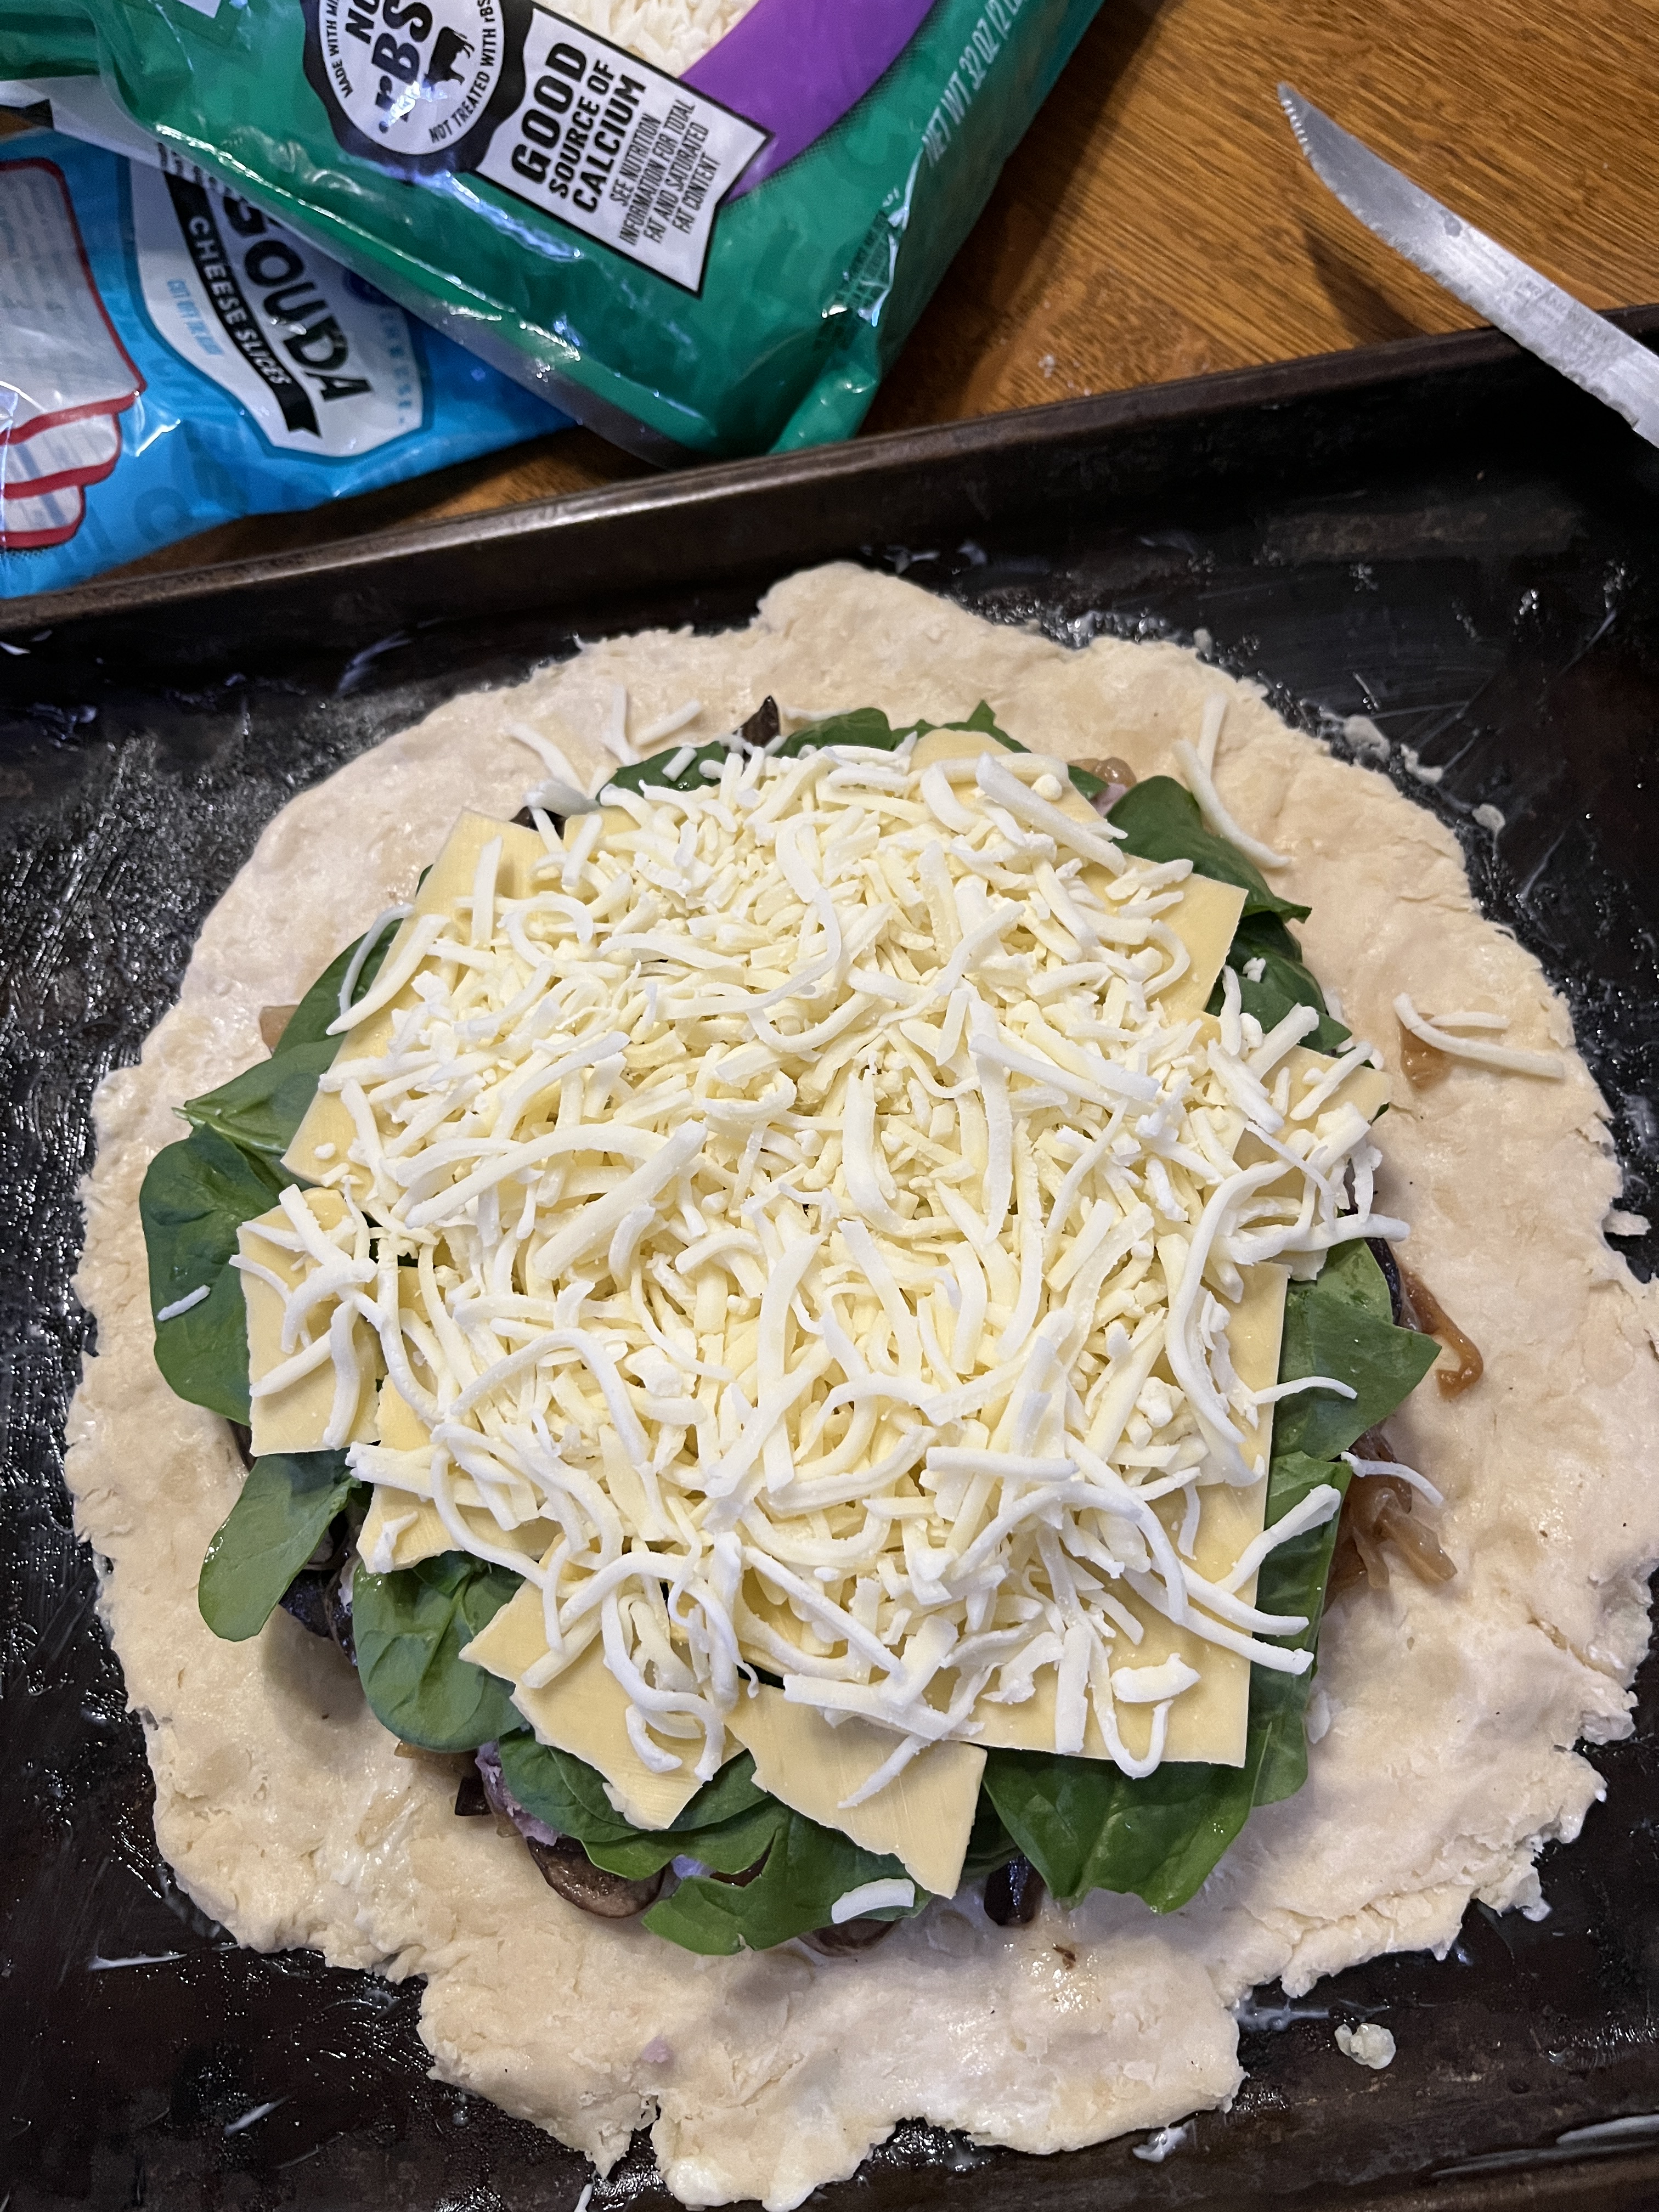
Cheese (I used Monterey Jack and Colby for this one)

Cooked meat (I used bacon I had in the freezer, easy to break up)

Vegetables (I used frozen broccoli here)

Eggs scrambled with either cream or milk and seasonings.

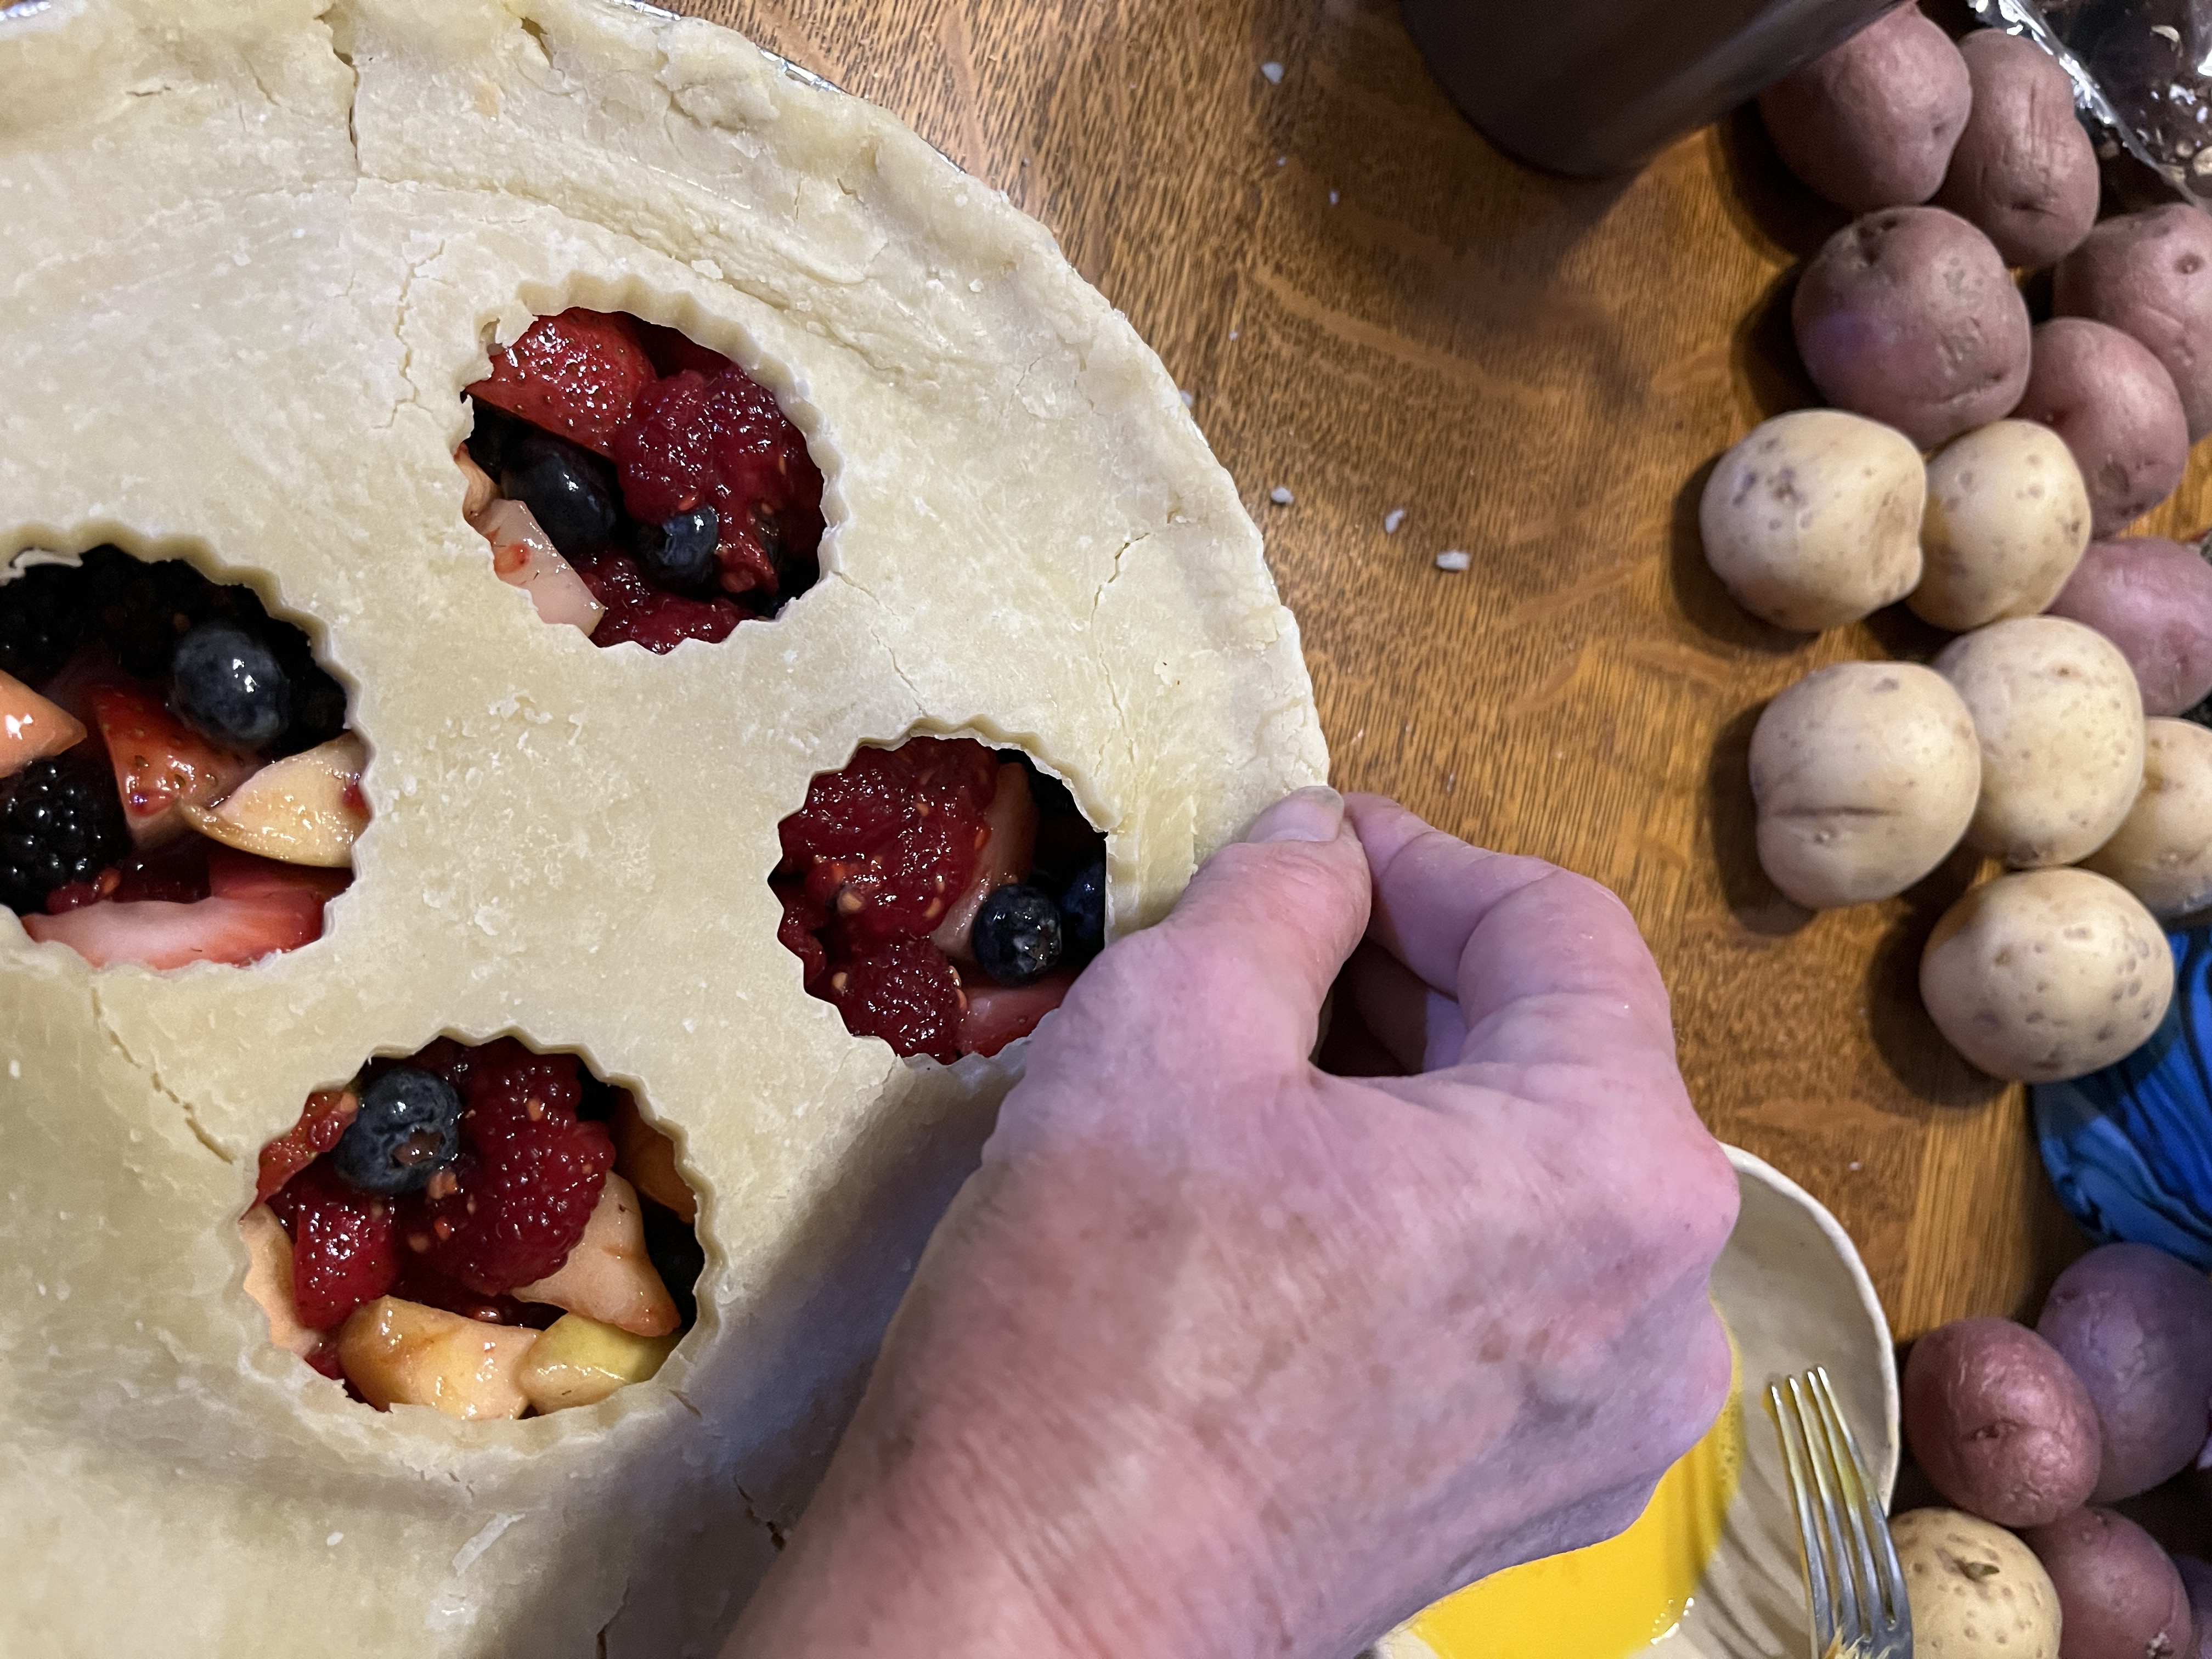
Layer the cheese in the pie crust (I used a deep dish crust) with vegetables (broccoli and onions here) and meat (I used bacon but had rotisserie chicken, too, just decided against it). This time I cut up and added an apricot because I had it and they work well in savory things, too. As you can see, this is a good way to use up leftovers that aren’t plentiful enough for a full meal. Use a couple different cheeses, chicken with ham or bacon, whatever vegetables you had in the last couple nights. Asparagus is especially nice and decorative.

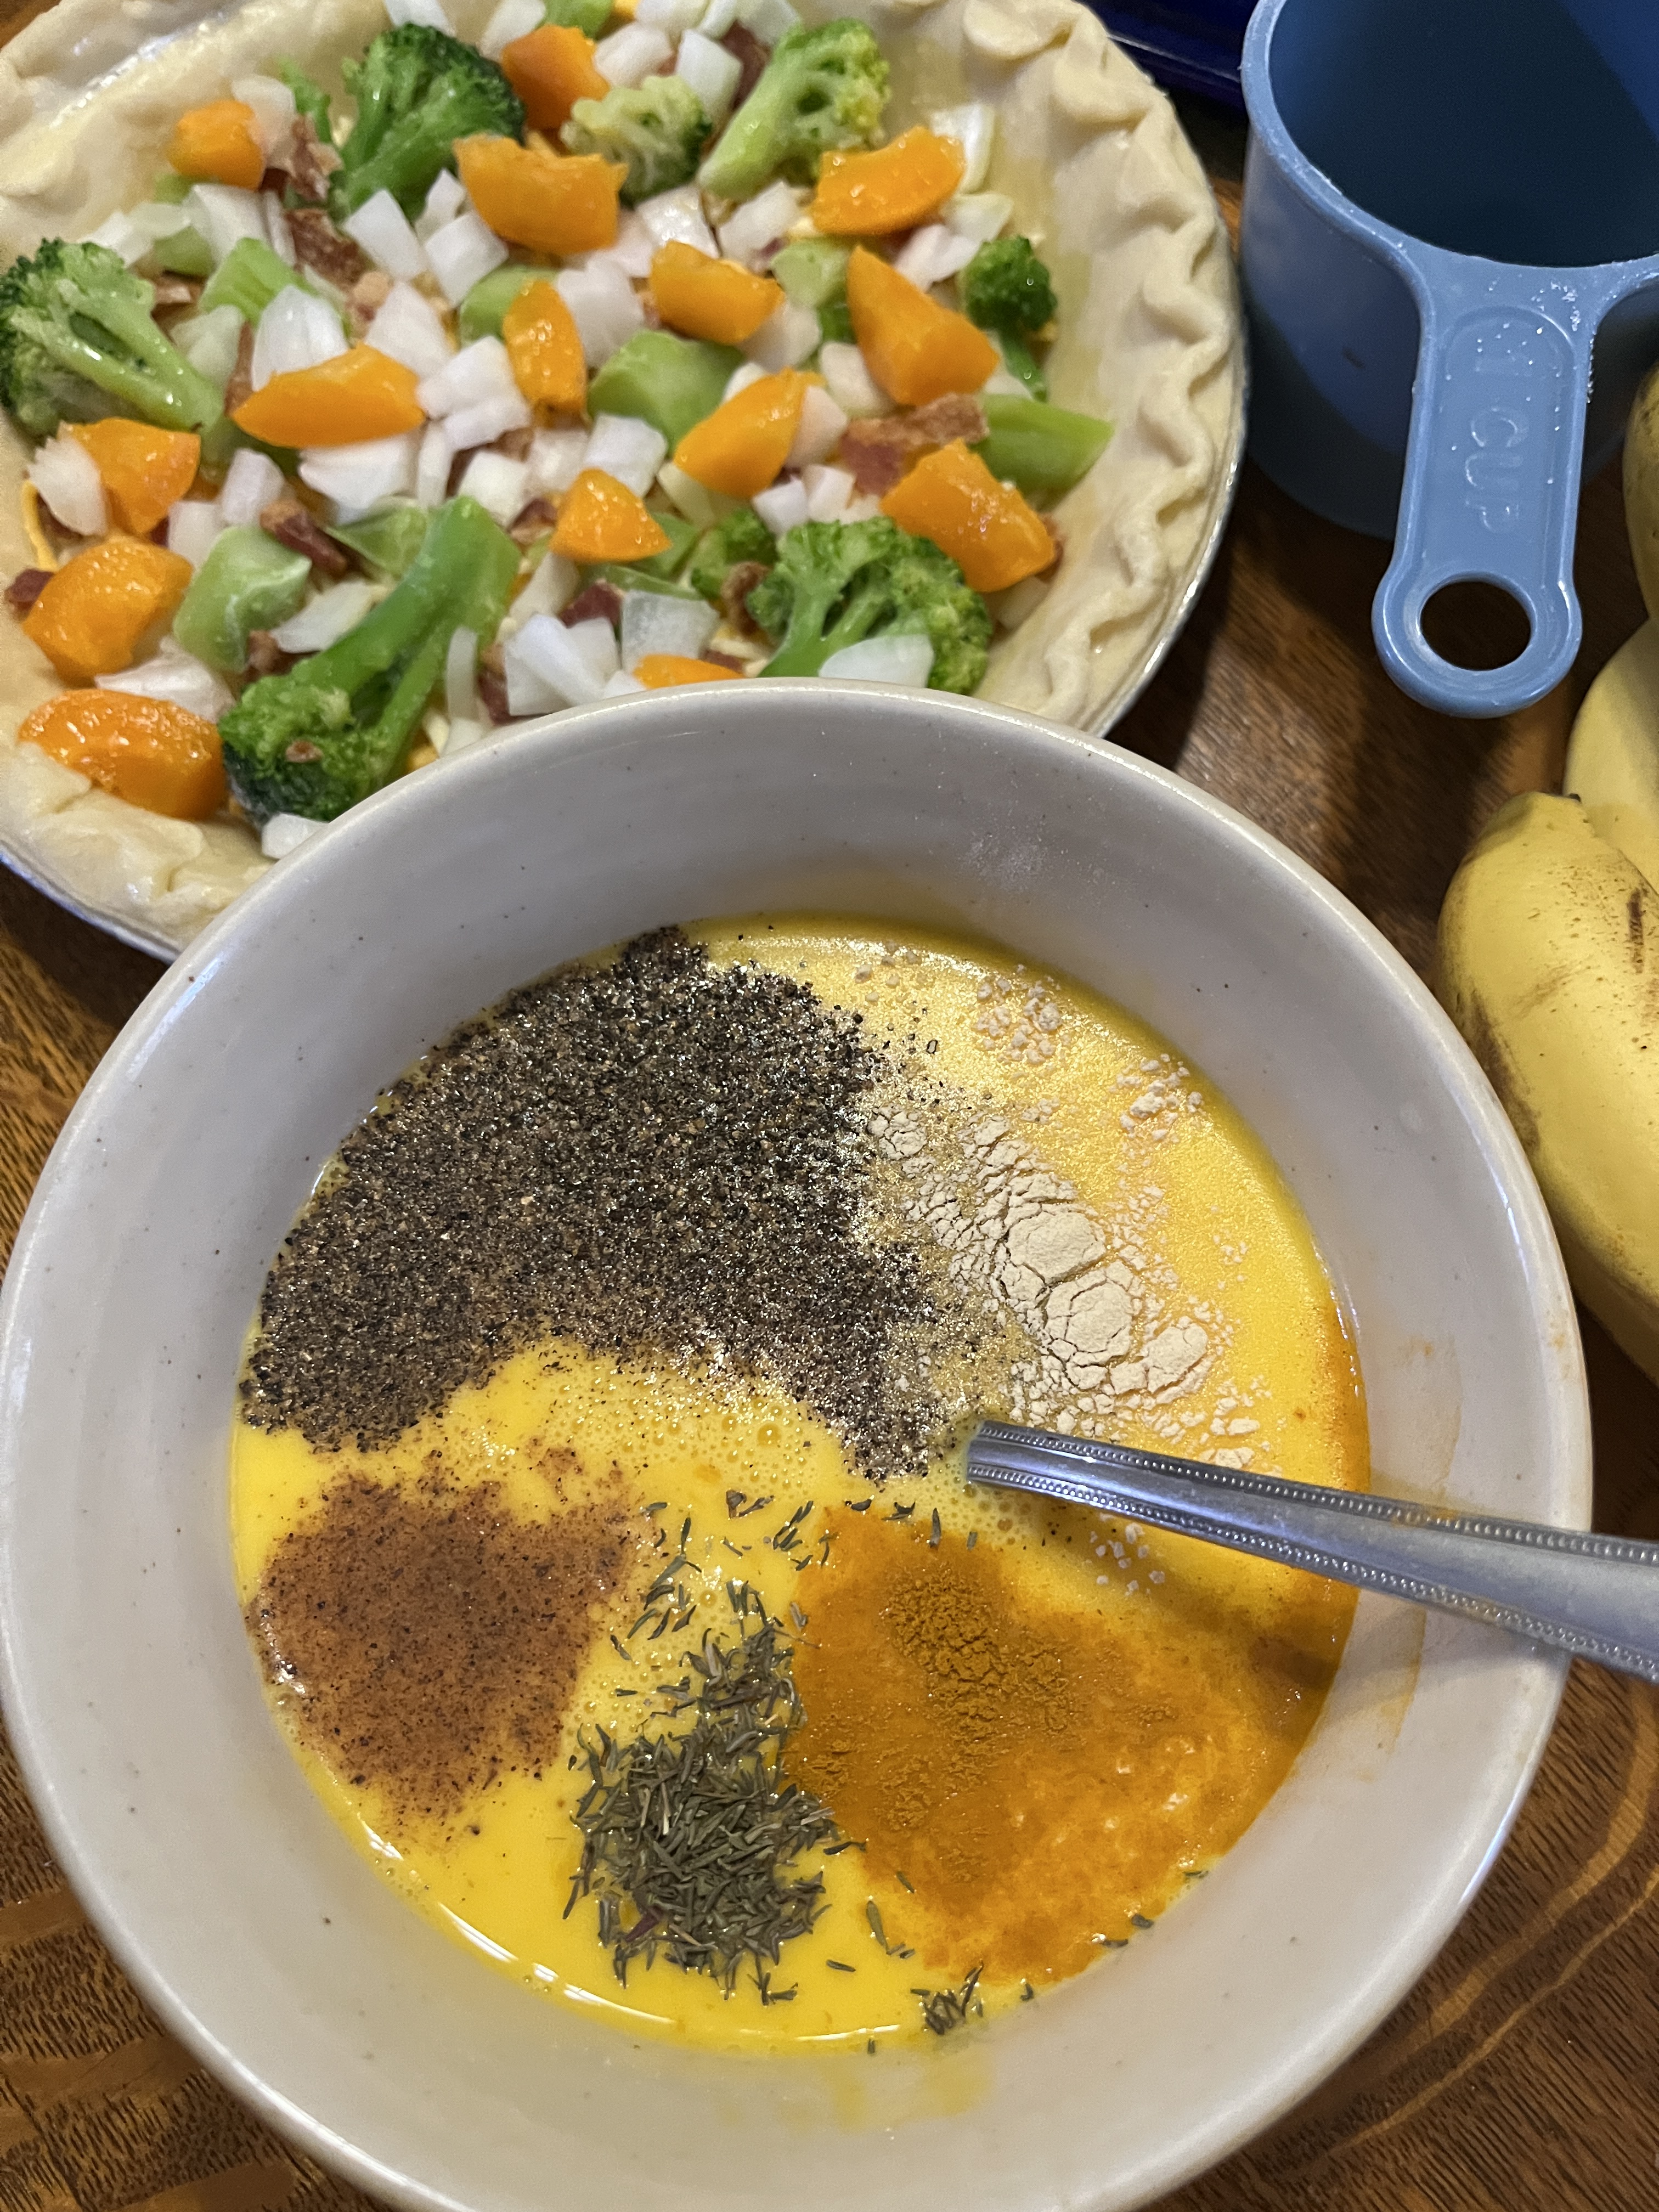
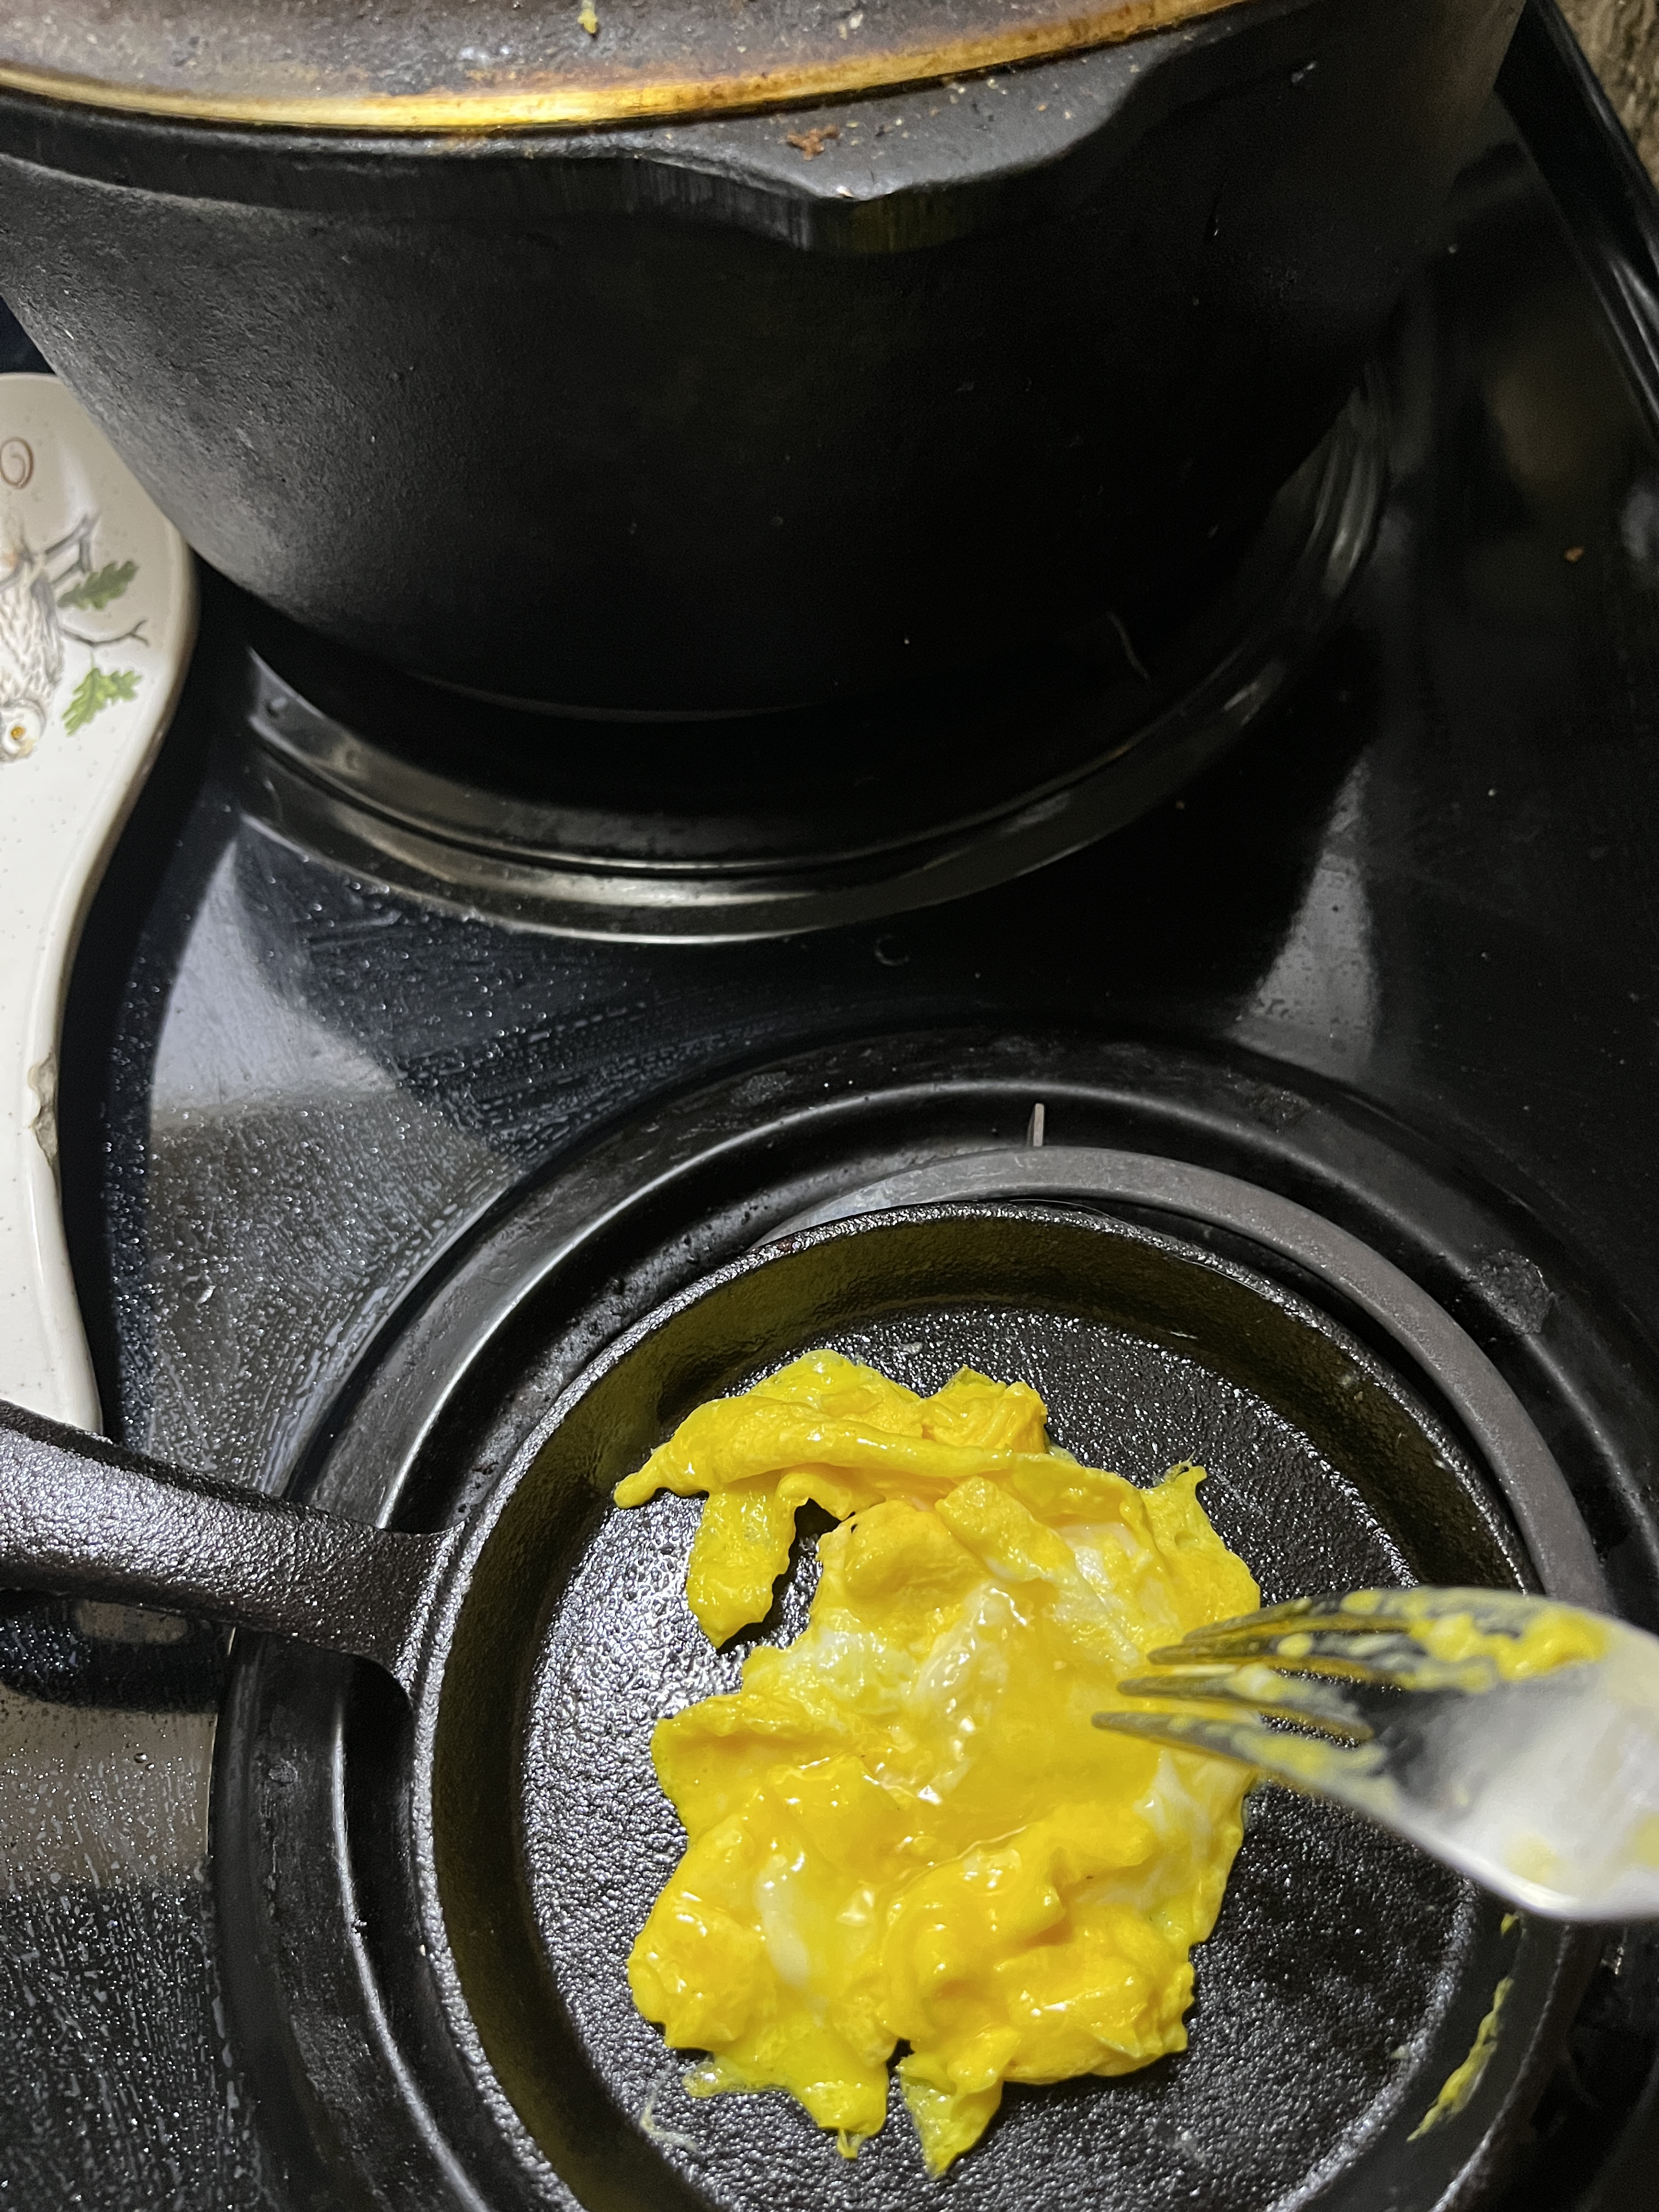
Scramble up 8 eggs with about 1/4c milk. I used a couple Tablespoons of heavy cream, too. The spices are, from the fork handle clockwise: turmeric, thyme, nutmeg, pepper and garlic.

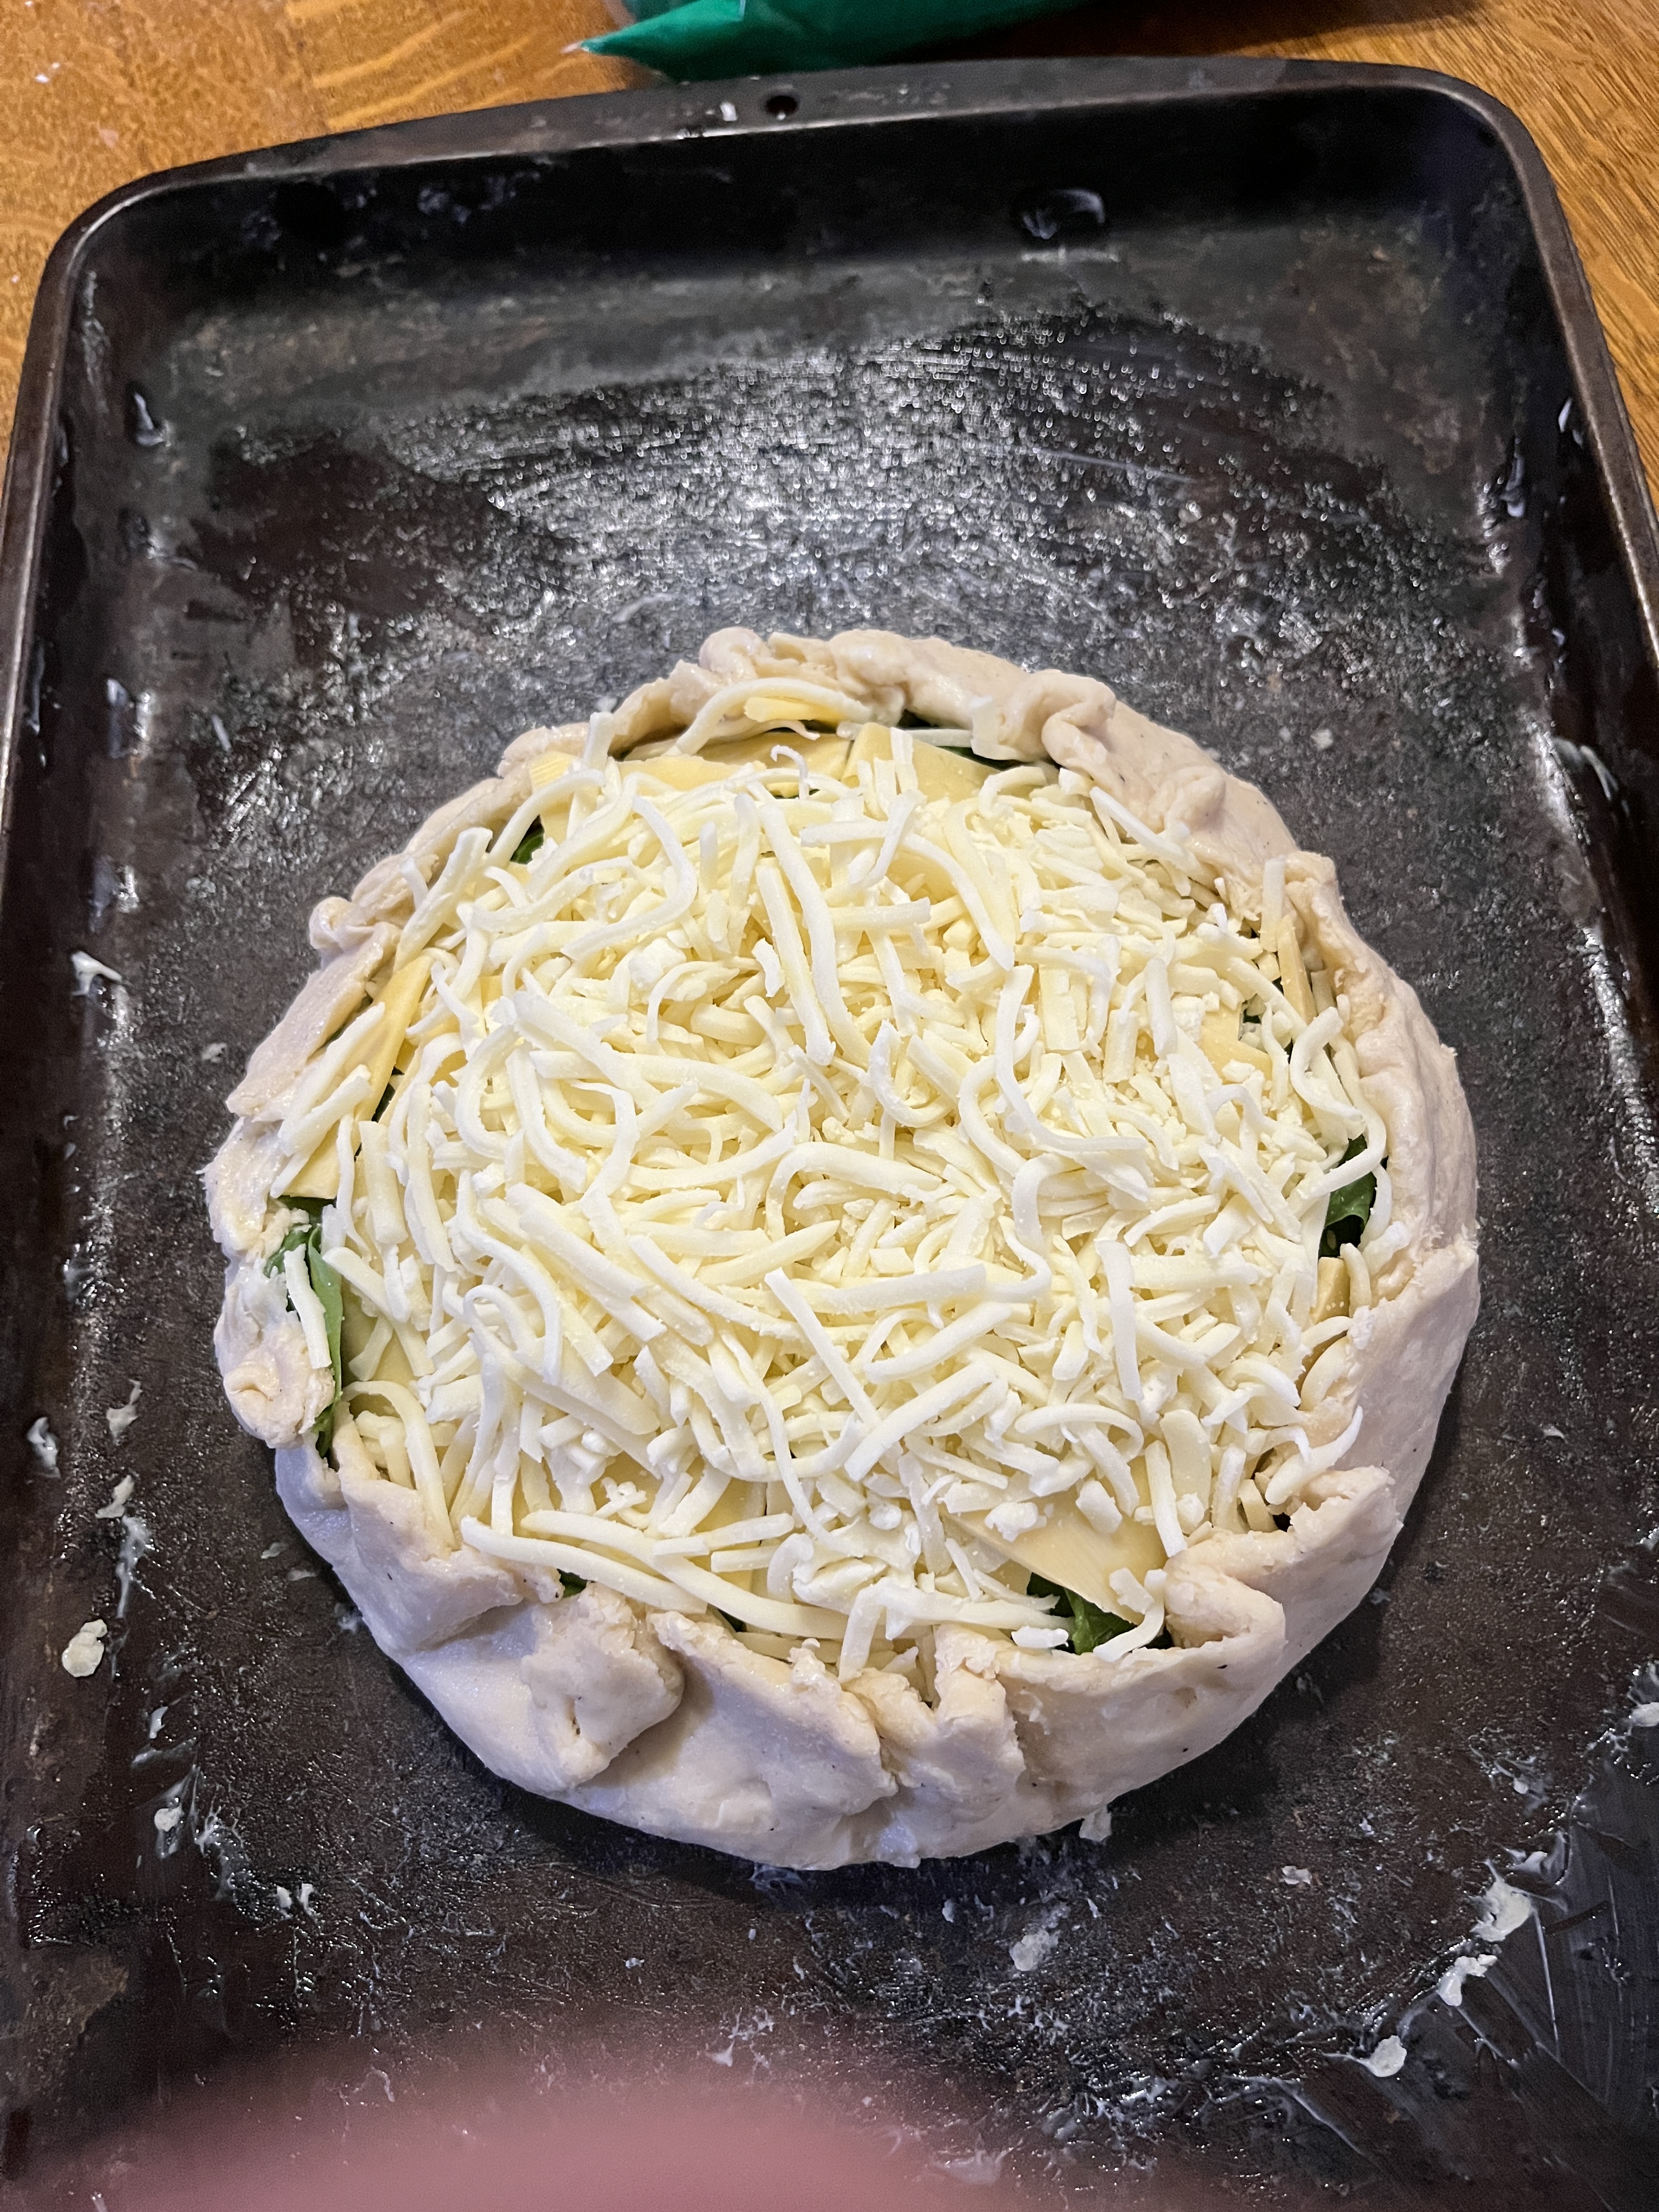
Put the pie crust on a rimmed baking sheet in case it overflows while baking and pour the scrambled mixture over the stuff in the piecrust. Putting it on the baking sheet before pouring in the eggs makes it easier to carry to the oven, too. If you’re using a regular pie crust use only 6 eggs and if you still have extra filling just scramble it up as a snack. Bake at 350 degrees Fahrenheit for 40 to 60 minutes until it’s done. The filling will dome and not jiggle anymore.

Eat as soon as it’s cool enough to cut, let it come to room temperature or refrigerate it for breakfast. It’s one of those things that’s good now and better the next day. You can re-warm it, have it cold or let it come to room temperature while you do your morning chores or get ready for work. Milk, coffee, tea, juice, wine, beer…whatever works with the meal or time of day you’re having it with are good beverages. Salad or a crudités platter are also options as well as maybe a cheese plate with cold cuts or even nuts.

Posted by: briellethefirst | June 11, 2024

Ham And Noodle Casserole


Just something I threw together today

Slice and fry up an onion until its caramelized. This will take a while. Once they’re almost done add some sliced mushrooms. This is optional but they’re yummy.

Pull the onions and mushrooms to the side of the pan and add a can of Cream of Mushroom soup. Add 1/2 can of wine and mix it all together.

Cut up a few slices of ham into cubes and add to the onion/mushroom/soup mixture.

Boil up a package of wide egg noodles. You know how to do that and the instructions are on the bag.

Put the cooked noodles into a casserole. If they don’t all fit that’s OK, just save the extra for a bonus.

Pour the mixture form the pan over the noodles and smoothe it out on top of the noodles.

Shred about 8oz of Swiss cheese and sprinkle over the casserole stuff. Bake at 350 until well melted or even slightly brown if you like it like that.

Serve in a bowl or on a plate if you like. Yes, it looks like glop but it tastes fabulous and the melty cheese is chewy. This works well as a main course, especially if you have a salad on the side. If you have leftover vegetables, especially green beans, broccoli or cauliflower, you can add those tight into the casserole.

Put the leftovers in individual serving containers and tuck away into the freezer for a night you don’t feel like cooking.

Now for the bonus dish. Mix the hot noodles with soft butter to keep them from sticking together while you make your casserole. Add herbs and spices that you like. I used pepper, thyme, garlic and paprika with a bit of salt. Mix well. Serve as a side dish. A garnish of parsley, green onions, bacon bits or anything that strikes your fancy to make it pretty.

Posted by: briellethefirst | June 11, 2024

Home Made General Cleaning Spray


I slept in and decided to share an orange with the Parrot. Looking up I spotted a few Ball jars, so instead of tossing the peels in the compost, at least not yet, I put them in a Ball jar, filled it half full with white vinegar and started making a batch of household spray cleaner. Being mostly vinegar I expect it should be good on windows, too…unless the citrus oil comes into play later. We’ll see.

At lunch I tossed in the 1/2 lemon I used. Later I added some thyme from the garden. Rosemary is a good herb to use as well. Keep adding citrus peels until it’s full and let stand a week or two.

After a couple weeks, using a funnel, strain it into a spray bottle.

Use it as you would any commercial spray cleaner.

Posted by: briellethefirst | June 10, 2024

Potpourri


Potpourris were more popular once upon a time and people who used them usually made their own. It’s not hard to make them yourself and the scents are not only customized to what you like, they’re more subtle and don’t hit your sinuses like the olfactory version of fingernails on a chalkboard.

Anything you like can go into a potpourri. Dried fruit, spent flower buds or petals from a bouquet, spices, herbs, tobacco, coffee beans, tea, pieces of leather, wood chips…really, anything you like to smell. My old favourite was Cavendish tobacco, coffee beans, orange slices (I let them dry on top of the potpourri), cinnamon sticks and a few cloves.

This is a recent potpourri that I just freshened with Canadian bourbon. I put the cinnamon sticks in a bowl, poured a shot of bourbon over them and let them soak for a bit before mixing in the tobacco. I just tossed the old rosemary sprigs and spent jonquils from February. This is 1/2 oz of Black Cavendish and 1/2oz of Nutty Irishman. It’s been out for a few months so the now-dry tobacco and cinnamon sticks will soak up the booze and be like new.

I love to go to tobacconist shops and sniff the different tobaccos. Some will always remind me of the one my Dad smoked in his pipes, or that my Grandfather, Great Grandfather, Uncle or even a few friends smoked in their pipes. If you don’t have those kinds of memories to spark you can find something that just smells delightful to you and start your own memories.

After a bit I turned the tobacco back into the pretty bowl I use and arranged the cinnamon in with a few fresh rosemary sprigs for a nice piney note, apple wedges for freshness and a few cloves just for fun spice. Yes, that’s a devil’s claw in there, too, just for fun. In the past I’ve even added leather and wood chips to potpourris. Whatever you have handy that you think smells good should work. If, for some reason it doesn’t work you can toss it into the compost and start over. Using things from your garden and kitchen makes it all fresher and healthier. You know where it all came from, it’s not synthetic scents from a laboratory somewhere, random plants treated with colours and preservatives or other little trinkets that might look pretty for bulk but you don’t even know what it is!

You can put your own trinket in amongst the vegetation to make it your own wonderfulness. This one I just freshened looks pretty alright as it is but when it was plainer I could have added a small brass figurine, piece of old costume jewelry, small ceramic or even plastic things that meant something to me or reminded me of something. Potpourri is an art and you can make of it whatever delights you.

Posted by: briellethefirst | June 5, 2024

Gallette


I wanted to try a gallette, so I made one. Basically, it’s just a pie without a pie tin. You still make the pie crust but you put it on a sheet pan, fill the middle and fold up the sides to contain the filling. The filling can be savory or sweet, vegetarian or for meat-lovers. Since you don’t use a pie tin/pan for a gallette you now don’t have an excuse to not make pies.

Crust:

Tonight I just winged it with the crust.

2c all purpose flour

6Tbsp butter, but next time I’ll use the whole 8 oz stick

1/4c milk

Filling:

Onions

Mushrooms

Ham, chicken or whatever leftover meat you happen to have.

Spinach

Cheese

Measure the flour into a bowl. Cut the fresh-from-the-fridge butter into slices into the bitter. With a pastry thing cut the butter into the flour until it’s mostly small, sandy lumps. Mix in the milk with a spoon, folding and cutting the milk into the flour until it mostly holds together into a ragged mess. Turn it our onto a clean surface and press it together until it holds in spite of the loose flour, trying not to work it too much (working it too much will make it tough).

Butter a pie tin and press or roll our the dough into a circle as thin and even as you can manage ten spread the caramelized onions and mushrooms in the middle, leaving enough crust at the edge to turn up as side walls. If course these are cold from the fridge because you caramelized them yesterday before you ran out of time to make the gallette yesterday.

Cube up a bunch of ham or other meat you have left over from another meal and layer it on top of the onions and mushrooms.

Take the stems off spinach leaves, tear the big ones down a bit and shingle them over the meat.

Pile on sliced or grated (or both) cheese to your hearts delight. Tonight I used sliced Gouda and shredded mozzarella.

Fold the edges up into sides, folding and pressing them together as you go.

Bake at 350 for 45 minutes to an hour. You can paint the edges with egg wash (1 beaten egg with a little water or milk added) or butter before baking. Or not. I didn’t. It was fine.

Serve with fruit, crudités or leftover vegetables on your favourite miss-matched plates. Wine, beer, milk or what-have-you is fine to drink with it out f your favourite glass, stemware or mug.

Posted by: briellethefirst | May 24, 2024

Growing Potatoes in a Pot


My last potato sprouted in the pantry. I didn’t want to waste it so I decided to try to make more potatoes. Usually I just plug them into an unused spot in the garden and keep adding straw mulch while they grow, then eventually pull the mulch off the mature plants and pick up potatoes. When the grandkids were small and I wielded the rake and the grandkids did the hunt and pick into baskets it was like an Easter egg hunt. I’m out of straw and don’t want to buy more til fall but I do have a bunch of potting soil that I haven’t used and a big, empty pot, so I figured I’d put them to use.

First I hosed off the big pot and put it where I wanted it to grow. It’ll get morning sun and open shade the rest of the day and will be convenient to water while not being in the way.

Then I put a big pot shard over the drain hole and added a thick layer of potting soil, nestling the potato into the center with most of the eye sprouts facing (more or less) up.

More potting soil, burying the potato by about 2 or 3 inches so it’s comfy and can start really growing.

Next water, a lot! If you use fresh from the store potting soil you won’t have this problem, but mine was REALLY dry so I had to soak it til it floated, let it drain while I watered the garden, then watered it well again before going inside to do other stuff for a while. After a couple hours I went back out to deal with the corn on the side of the house and soaked the pot again. This time it floated less and soaked more thoroughly. Now to wait for the sprouts to emerge, let it grow a bit and keep adding potting soil as it grows. I’ll update as I go.

Update June 2nd 2024:

It’s up! Just a nubbin of leaf buds, but it’s up! Make sure not to give it too much water. You don’t want the start to rot! Let the soil dry between waterings. Depending on the weather that could be a light watering every day if it’s hot and dry (like the furnace we live in out here in the Phoenix area of Arizona) or it could be just every 2 or 3 days in milder, more humid areas. Don’t be afraid to stick a finger in.

Making sure I’ve included a shot for scale…and Sophie was helping me out front today. She likes to rub against the brick wall.

Update June 10th 2024:

The spuds have grown enough to add more soil. I only filled it to the point of not covering the shortest/smallest sprouts, then watered it well. The potting soil soil was really dry so it floated and got on the foliage. That won’t hurt anything and it’ll wash off at the next watering.

I water every day or two, when the soil is dry when I poke my finger in all the way. I’m surprised how well this pot retains water.

Update 5/17/24

Just a week and it’s grown enough to add more soil. My soil is really dry since I don’t even remember when I bought it! Even if it isn’t dry, though, it’ll get on the leaves as you add it.

No problem, just lightly brush the soil off.

Water it well and keep going as you have been all along. Do keep in mind that too much water can be not a good thing for this project so don’t forget to stick your finger in way down to make sure the potato really needs watering before you water it.

Just for comparison, my in-ground potatoes are really struggling this year. These are the ones that sprouted in the pantry.

These are the ones I bought and put in in April, hoping for am actual harvest. he heat came on too soon and too strong this year. At least the datura (that I didn’t plant) is doing well behind it, as is the rosemary and Don Juan rose that you can barely see some leaves in the top left corner. The dead stuff on the right side is the artichoke dying back for the summer. It usually comes back in the fall. The sprawling grey-green thing in the bottom right corner is a globe mallow that came from native wildflower seed that I scattered 2 years ago. It and lupines are among my favourite desert wildflowers and I’m hoping for a nice show out front next spring.

6/25/24

It wilted, I stuck my finger in it seemed dry, it wilted more, I pushed my hand down the side, it was too wet. I overwatered it. There’s a chance it can come back, we’ll see. In this heat the balance is tricky. I pushed her back into the shade, too. I’m disappointed, she was starting to look like such a nice porch plant.

7/2/24 Update.

Sadly, in this heat the potato did not recover…and it was growing into such a nice porch plant. I’ll try it again in that pot later, next time a potato sprouts in the pantry.

In the mean time, one of the ones I dug out front was starting to sprout as I dug it up so, after waiting a week (for no good reason) I planted it in a different pot and put it in a fully shaded part of the porch. We’ll see how this one works out.

Posted by: briellethefirst | January 15, 2024

Leftover Fruit Salad Pie


My roommate made fruit salad for the potluck at his weekly gaming thing. It was well received but he brought home enough for 2 pies, so I stopped at the store for pie crusts on the way home from my dentist appointment and got to work on the 1st one.

There isn’t really a recipe, but I used:

2 deep dish frozen pie crusts,

a bunch of fruit salad (apple, blueberries, raspberries and blackberries). Any other fruit would be yummy, too, whatever fruits you happen to like or that are in season.

sugar

cider

corn starch

1 egg

vanilla

I let one pie crust thaw so I could work it as the top crust. Since it isn’t as malleable as home-made I just used a cookie cutter to make holes instead of trying to weave a lattice tip. Get creative, play with your food, it’s fun! I also took the thick edges of the crust off to make it easier to handle.

I put half the fruit in a container and stuck it in the fridge for later, then I put about 1/4c sugar on the fruit and mixed well.

Add sugar. I used 1/4c this time, you can use more or less if you like. Brown sugar could be nice, too.

Adding a slurry should make the juices thicken up when the pie bakes. A spoonful or so of cornstarch in water, juice or wine should work. I used apple cider this time.

Mix well, add vanilla or almond extract if you like, then pour into a deep dish pie crust. Of course this is store-bought, but if you happen to have made your own crust that’s more better.

Scramble an egg in a bowl with a little water and paint the edge of the crust with it. this will help adhere the top crust to the bottom crust.

Put the top crust on the bottom crust and pinch the edges together.

Paint the top crust with the egg wash

and sprinkle with sugar granulated is fine, demerara sugar is nice, too. You could even use coloured sugar if you like.

Bake at 350 for 45 minutes to an hour. Check after 30 minutes and every 10 minutes after that.

Put the cut out parts and edges in the left over pie tin and dab with butter,

sprinkle with spices like cinnamon, clove, nutmeg, ginger…

then sprinkle on some sugar before popping it in the oven for about 10 minutes with the pie.

While that’s baking put stuff in the dishwasher and scramble the egg in the new little cast iron skillet you got for Christmas. Have it for a snack or feed it to the chickens or the dog. Critters deserve treats, too.

When the scraps are done wait for them to cool enough before soaking so you don’t burn your mouth.

When the pie is done you should wait for it to cool before you cut into it, too. Not just because it’s hot and you’ll get burned but you want the juices to firm up a bit, too.

Have a slice plain or with a dollop of whipped cream. Hand whipped is divine but if you’re in a hurry to finish writing your blog post so you can get to bed a spritz from the canned kind of whipped cream is still yummy. It’s good with tea, milk, coffee, cocoa and it’s good for breakfast, too, with or without whipped cream.

Posted by: briellethefirst | January 8, 2024

I Did It! Finally!


A couple years ago my bathroom had a back up that lead to it being totally gutted and redone along with half the adjacent bathroom. It was an interesting year. I’d had this clothes hook on the front of the shower stall but now the tiles prevented that. The only place I could manage was between the door and the towel bar. I started but got called away mid job and then life happened and a new roommate who worked from home so the noise was problematic and, well, stuff. So I finally managed to clear space and time to do it!

I bought a masonry bit because the wall is an outside wall made of block. Yup, it’s a 1959 house that they built of block and plastered the inside. Lovely plaster job, though. Once the workmen had done their framing and plumbing and boarding and tiling and painting and fixing in general I was able to figure out where to put the robe hook.

First thing was to get a masonry bit so I could drill into that wall. Got it. Did a bad job on the first hole and had to do it right. Then I got distracted for a bit over a year and a half before I could do the second correct hole.

Then I had to clean out the holes with a Q tip.

 The deep end of the holes were narrower than the entry point so I sharpened the end of the dowel.

I cut the dowel a bit long with pruning shears

so I could hammer it in flush to the wall surface, wedging the wood into the holes.

To fill the holes and smoothe the surface I pulled some old Spackle out that just managed to work so fill the dents and holes.

Finally I put the hook up with the screws. I think the dowel works better than any plastic molly I could have bought and now I have the rest of the dowel to use for something else. The wood compressed beautifully into the hole and was soft enough to fill but not break the cement block. They took the screws well and the whole thing is quite solid.

It works fine and now I just have to find the leftover paint and touch up the scars. Sure, the jammies cover the dings for now but I don’t expect that to take another few months as there are several other paint scrapes that need a touch up in there and things in general seem to finally be getting done around here. Now it’s been a long day so I’ll just post this so I can take a shower and use those nice new jammies. It’ll be cold tonight!

1/15/24  So it only took 2 weeks to get around to touching up the paint in the bathroom. I painted around the robe hook as well as all the little dings that have happened in the couple of years since the bathroom was re-done. YAY!

Before

And after

Posted by: briellethefirst | December 11, 2023

Chicken Pot Pie


So the chicken soup leftovers won’t stretch another meal and are getting a bit thick and mushy, or you have some leftover chicken but not enough for a family meal…what to do, what to do…? Make pot pies! They’re great for lunch or if everyone’s out for dinner and you’re on your own it’s a nice, comforting dinner, especially if it’s cold or rainy out. Mmm, a nice evening by the fire with a book, tea, pot pie (it doesn’t actually have to be chicken), and maybe a couple cookies for dessert.

If you’re starting with leftover chicken, make a quick but of stew with some chopped onion, celery, carrot, peas, potato or any leftover veg you happen to have. Today I used some mushrooms because I happened to have them. Add chicken or any meat you happen to have handily left over. Make a roux (heat 2 Tbsp oil in a pan with 2 Tbsp flour, let it turn golden to take the raw taste away) and mix it into a gravy with the soup/stew liquid then mix it back into the soup/stew to make it nicely thick. If your stew is already the right consistency you can skip this and if your soup is too soupy you may have to let it cook down a bit.

When it’s ready make into a pot pie or 2 let it cool while you make the biscuits or pie crust. If you only have to pull a package or tube out of the fridge, that’s OK too. That’s what I did today because it’s what I had.

I buttered a plate so I could stretch them out together on it before putting them in as a crust. Depending on the size and shape of your (improvised) pie pan you’ll probably need more than 1 biscuit for the bottom. Just overlap them and press them together as you push them into a rough shape. Once you have the bottom in press it well up the sides and over the edge. If you butter the pan too well the crust probably won’t stick to the top edges, but you can work on that later.

Now that the bottom is formed fill the pie with the thick stew and press/stretch a biscuit out to form the top.

Lay the top on the pie and pinch the edges together with the sides before poking holes in the top to let out steam.

Bake at 350 for 20 minutes or so, until the crust is as golden or brown as you like.

Serve with the beverage of your choice, maybe a salad on the side and something yummy for dessert.

Posted by: briellethefirst | November 23, 2023

Mulled Cider Syrup


So it’s Thanksgiving. I have 2 roommates and we all stayed home for a very needed rest. I figured an hours cutting and chopping and mixing in the morning and I’d be free most of the rest of the day. I was mostly right, I spent 2 hours cutting and chopping and mixing, but it was still worth it. I mixed up some scones, then put on a pot of mulled cider, then made a pot of chicken soup and a bunch of dressing because it’s Thanksgiving and you have to have dressing. Once I laid out the cheese, crudités, chips and dip and humus I was free to do whatever I wanted, including eat. It was yum! I think I’ll file this under accidental cooking successes.

As I was cleaning up I found something I didn’t expect. I’d had a couple of mugs of mulled cider during the day and let it just stay warm on the stove, just like the soup. After the last mug full I stopped adding cider and left it warming. When I went to clean up I found that it was syrupy. I dipped in my finger and tasted it. YUM! This would be GREAT on ice cream!

So I strained it into a container for later. Of course all the stuff I strained out went into the compost. Waste not want not.

It’s amazing over ice cream, with or without a scone or cookies. A shot or spoonful of whipped cream is just gilding the Lilly.

« Newer Posts - Older Posts »

Categories